UEFI方式启动EfiGuard
Booting the loader
- Download EfiGuard and rename
EFI/Boot/Loader.efitobootx64.efi.- Place the files on a boot drive such as a FAT32 formatted USB stick (for physical machines) or an ISO/virtual disk (for VMs). Assuming drive
X:, the paths for the two files should now beX:/EFI/Boot/{bootx64|EfiGuardDxe}.efi- Boot the machine from the drive you used in step 2. Most firmwares provide a boot menu to do this via F8/F10/F11/F12. If not, you will need to configure the BIOS to boot from the new drive.
- Windows should now boot, and you should see EfiGuard messages during boot.
- If you booted with the
SetVariablehook (the default), runEfiDSEFix.exe -dfrom an Administrator command prompt after boot to disable DSE, or runEfiDSEFix.exeto see the full list of options.Note that you don't need to use a separate drive for the loader. If preferable, you can install EfiGuard on the ESP that Windows is already installed on. However, this is somewhat more complicated as you will need to add a UEFI boot entry for the loader.
To do this, mount the ESP at
X:usingmountvol X: /Sand follow the steps above, but do not rename the loader and simply copy both files toX:/EFI/Boot. After that, you will need to manually add a UEFI boot entry from the UEFI Shell usingbcfg boot addp 0 Loader.efi "EfiGuard", or alternatively usingefibootmgr(Linux), EasyUEFI (Windows), or similar.
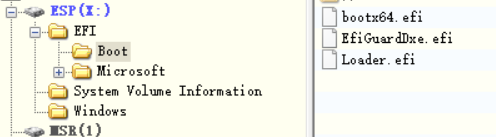
将 efi 文件放到ESP分区
使用DiskGenius打开ESP分区
浏览文件 -> 拖拽 Loader.efi EfiGuardDxe.efi 到 \EFI\Boot
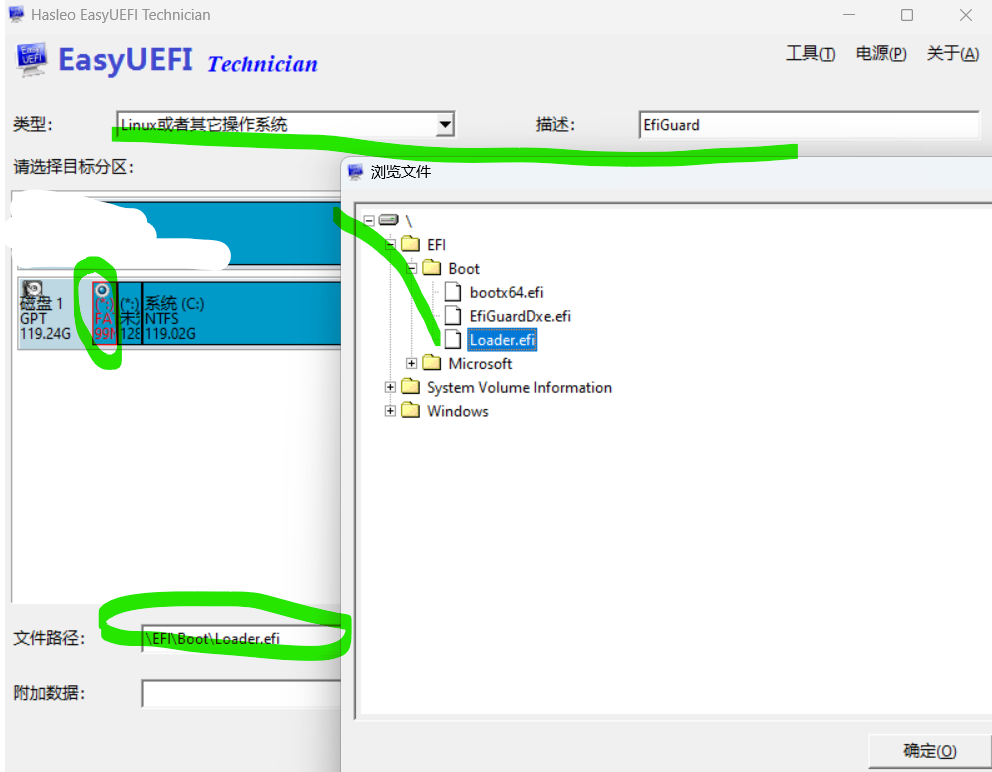
添加UEFI启动项
添加新项
类型选 Linux
描述写 EfiGuard
目标分区选 ESP分区(FAT格式)
文件路径选 EFI\Boot\Loader.efi
保存
启动EfiGuard
重启电脑
按 快捷键(F10?F12? F2?) 到启动项
选择 EfiGuard 即可 看到 EfiGuard 启动!

 浙公网安备 33010602011771号