


Linux的Windows子系统让开发人员可以直接在Windows上运行Linux环境(包括大多数命令行工具,实用程序和应用程序),而无需建立在虚拟机的开销之上,整个系统共200多M,但包含了你能用到的所有功能,并且和windows完美互操作(省去linux挂载本地windows分区或目录的操作),目前Linux的windows子系统已经相当完善,可当作完整linux系统使用
您可以:
- 从Windows应用商店中选择您最喜爱的Linux发行版。
- 运行常用的命令行实用程序,如
grep,sed,awk等。 - 运行Bash shell脚本和Linux命令行应用程序,包括:
- 工具:vim,emacs,tmux
- 语言:Javascript / node.js,Ruby,Python,C / C ++,C#和F#,Rust,Go等
- 服务:sshd,MySQL,Apache,lighttpd
- 使用发行版的内置包管理器(
apt-get)安装其他Linux工具。 - 从Linux控制台调用Windows应用程序。
- 在Windows上调用Linux应用程序。
1. 安装Linux的Windows子系统
控制面板 -> 程序 -> 启用或关闭 Windows 功能 -> 勾选 适用Linux的Windows子系统

或者直接PowerShell(管理员身份打开)中运行以下命令
Enable-WindowsOptionalFeature -Online -FeatureName Microsoft-Windows-Subsystem-Linux
出现提示重新启动计算机
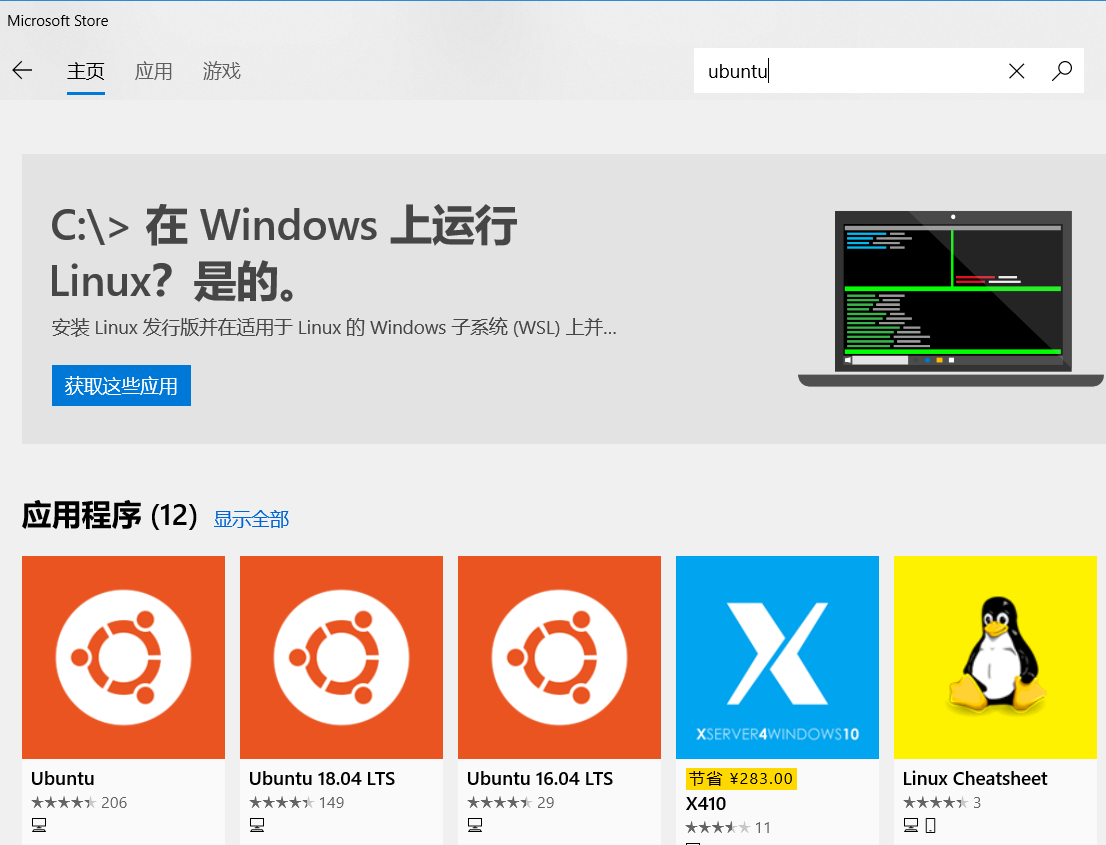
2. 安装Linux
在应用商店搜索“Linux”,选择您喜欢的Linux版本,推荐安装Ubuntu
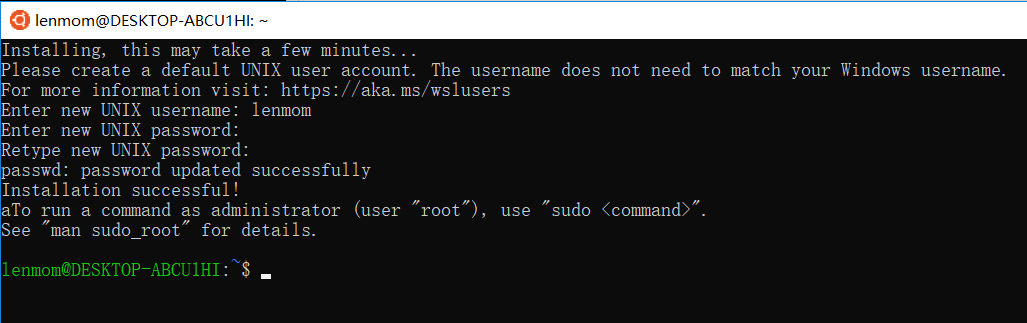
注意:应用商店的程序使用默认路径,不要更换到其他盘,安装完毕后出现

现在可以在里面进行任何和linux相关的命令,首次打开需要等一会,然后设置用户名密码,就可以系统了
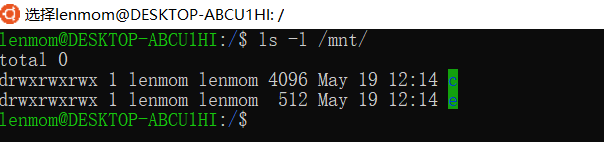
mnt文件夹就进入了windows系统的文件系统,windows的文件系统就挂载再/mnt文件下下,所以绝对不能够执行 mkdir -rf /mnt
cmd.exe或者power shell中执行linux命令
在power shell中执行bash.exe,进入linux环境下

以上路径显示:在windows中的c文件夹下(C盘符)
wsl在windows中的保存路径为:
%localappdata%\Packages\CanonicalGroupLimited.UbuntuonWindows_79rhkp1fndgsc\LocalState\rootfs
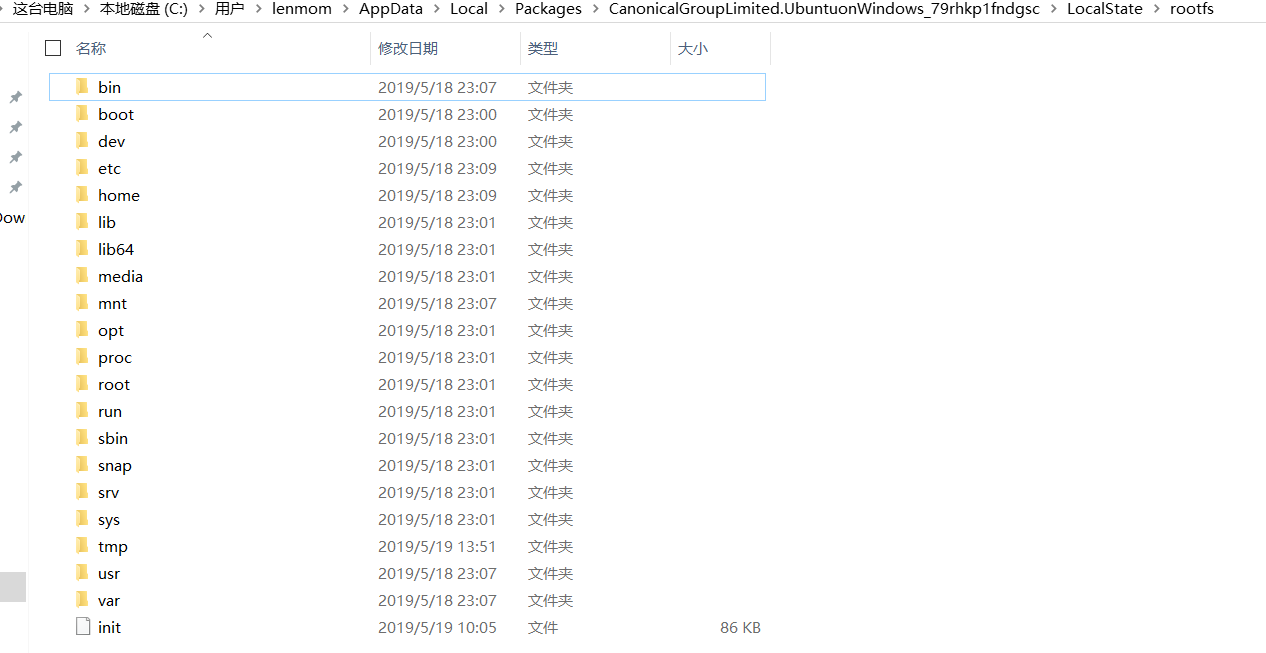
注:请不要直接修改这个目录的内容!!!
配置调整过程:
第一次启动初始化工作:设置用户名、密码,成功登入后可以设置root密码,root默认是没有密码的直接sudo su即可进入root用户,然后通过sudo passwd root 设置root密码;
在cmd或者power shell做常规设置(管理员权限运行),
设置bash、wsl启动的默认linux系统:wslconfig /setdefault [Linux_System_name(我这里是Ubuntu)]
还有一些wslconfig的命令比如:
卸载:wslconfig /unregister [Linux_System_name(我这里是Ubuntu)
查看已经安装的系统列表:wslconfig /list
设置bash、wsl默认登入的用户(这个还有配合默认系统系统,我这边安装的ubuntu所以命令开头是ubuntu):ubuntu config --default-user root
3. 设置linux软件源
在Ubuntu下我们可以通过 apt-get 命令 很方便的安装 / 卸载软件,由于默认的软件包仓库是位于国外的,安装软件的时候就可能遇到各种网络问题或者下载到的一些资源不完整,因此就需要切换数据源为国内的镜像站点来改善。
编辑数据源配置文件
sudo cp /etc/apt/sources.list  /etc/apt/sources.list.bak
sudo vi /etc/apt/sources.list
在文件末尾添加以下内容
aliyun源
deb http://mirrors.aliyun.com/ubuntu/ trusty main restricted universe multiverse
deb http://mirrors.aliyun.com/ubuntu/ trusty-security main restricted universe multiverse
deb http://mirrors.aliyun.com/ubuntu/ trusty-updates main restricted universe multiverse
deb http://mirrors.aliyun.com/ubuntu/ trusty-proposed main restricted universe multiverse
deb http://mirrors.aliyun.com/ubuntu/ trusty-backports main restricted universe multiverse
deb-src http://mirrors.aliyun.com/ubuntu/ trusty main restricted universe multiverse
deb-src http://mirrors.aliyun.com/ubuntu/ trusty-security main restricted universe multiverse
deb-src http://mirrors.aliyun.com/ubuntu/ trusty-updates main restricted universe multiverse
deb-src http://mirrors.aliyun.com/ubuntu/ trusty-proposed main restricted universe multiverse
deb-src http://mirrors.aliyun.com/ubuntu/ trusty-backports main restricted universe multiverse
也可以使用清华源:
deb http://mirrors.tuna.tsinghua.edu.cn/ubuntu/ xenial main multiverse restricted universe
deb http://mirrors.tuna.tsinghua.edu.cn/ubuntu/ xenial-backports main multiverse restricted universe
deb http://mirrors.tuna.tsinghua.edu.cn/ubuntu/ xenial-proposed main multiverse restricted universe
deb http://mirrors.tuna.tsinghua.edu.cn/ubuntu/ xenial-security main multiverse restricted universe
deb http://mirrors.tuna.tsinghua.edu.cn/ubuntu/ xenial-updates main multiverse restricted universe
deb-src http://mirrors.tuna.tsinghua.edu.cn/ubuntu/ xenial main multiverse restricted universe
deb-src http://mirrors.tuna.tsinghua.edu.cn/ubuntu/ xenial-backports main multiverse restricted universe
deb-src http://mirrors.tuna.tsinghua.edu.cn/ubuntu/ xenial-proposed main multiverse restricted universe
deb-src http://mirrors.tuna.tsinghua.edu.cn/ubuntu/ xenial-security main multiverse restricted universe
deb-src http://mirrors.tuna.tsinghua.edu.cn/ubuntu/ xenial-updates main multiverse restricted universe
保存退出。
接着在命令行控制台输入:
apt-get update
来更新配置信息.
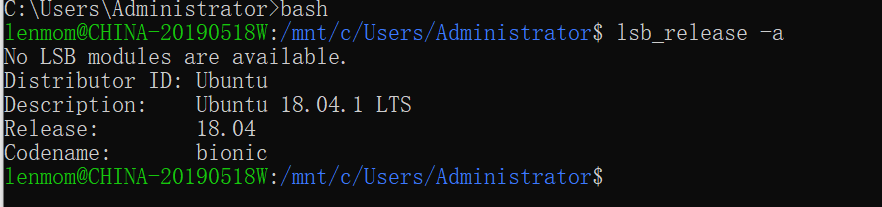
4. 查询版本信息
lsb_release -a
No LSB modules are available.
Distributor ID: Ubuntu
Description:    Ubuntu 18.04.1 LTS
Release:        18.04
Codename:       bionic
5. 设置常用alias
vim ~/.bashrc
因为在 WSL 中 window 的盘符都是挂载在 /mnt 下的,所以设置 alias 有助于你快速的访问 window 目录
alias cdc='cd /mnt/c/'    #enter windows c drive
alias cdd='cd /mnt/d/'   #enter windows d drive
alias cde='cd /mnt/e/'   #enter windows e drive

alias tf='tail -500f'
alias hg='history|grep'
alias cls='clear'
alias ssh-a='ssh user@host'
alias untar='tar -xzvf'
6. 安装tmux
在日常开发中,我们经常会一边运行程序 一边看错误日志,总觉得窗口不够用,每次都打开一个窗口又觉得麻烦,切换也不是很方便,这时候我们就需要 tmux 帮我们打开多个会话,分割多个窗口。
sudo apt-get install tmux -y
7. 安装git
sudo apt-get install git -y
8. 安装docker
9. 为Ubuntu安装图形化界面
9.1 安装xfce4-terminal图形客户端
搜索下载安装Xming X Server for Windows。
PS: 除了 Xming ,另外我们还可以选择 Xmanager 来开启Linux子系统图形化界面。只不过 Xming 是免费开源软件,而 Xmanager 则是收费商业软件。
安装之后运行其中的Xlaunch,界面如图:
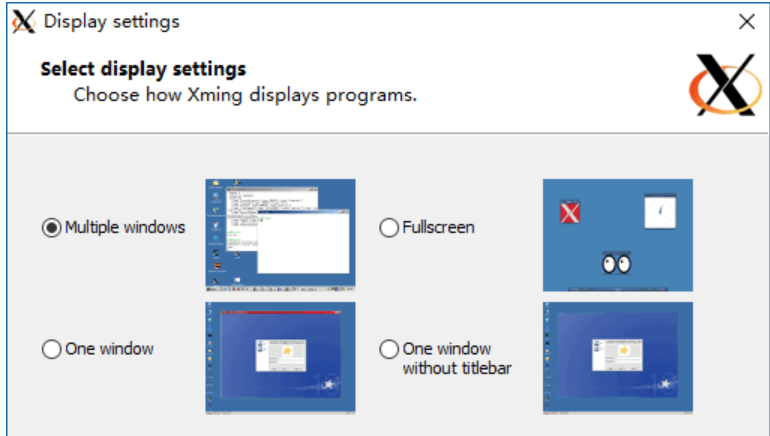
选择 Multiple Windows ,Display Number处填写为 1 ,然后“下一步”直到完成。
然后在Ubuntu系统命令提示符窗口中输入并运行以下命令:
echo "export DISPLAY=:1.0">> ~/.bashrc
继续输入并运行:
sudo apt-get update && sudo apt-get install xfce4-terminal
在输入你的密码之后就会开始下载安装xfce4-terminal图形客户端,期间需要你输入 y 确认。
安装完成以后,你只需要运行xfce4-terminal即可启动该图形化客户端。
9.2 安装“新立得”管理应用程序
下面来安装Ubuntu最常用的“新立得”图形化程序,运行以下命令即可自动下载安装最新版新立得:sudo apt-get update && sudo apt-get install synaptic
PS: 除了xfce,你还可以选择安装GUI图形化桌面组件 MATE 。

 浙公网安备 33010602011771号