git-ssh 配置和使用
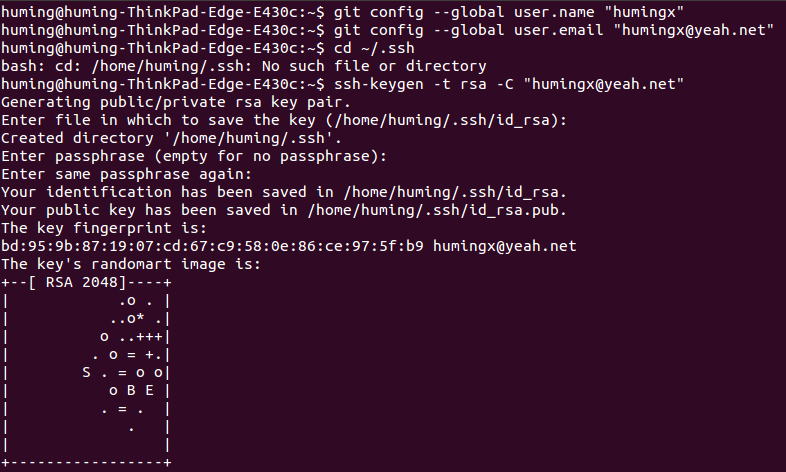
1、设置Git的user name和email:(如果是第一次的话)
    $ git config --global user.name "humingx"
    $ git config --global user.email "humingx@yeah.net"
2、生成密钥
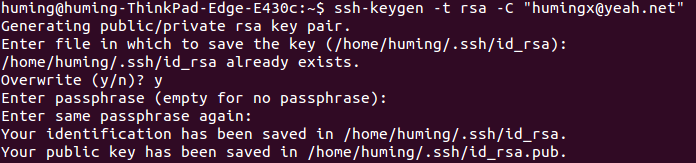
$ ssh-keygen -t rsa -C "humingx@yeah.net"
连续3个回车。如果不需要密码的话。
最后得到了两个文件:id_rsa和id_rsa.pub。
如果不是第一次,就选择overwrite.
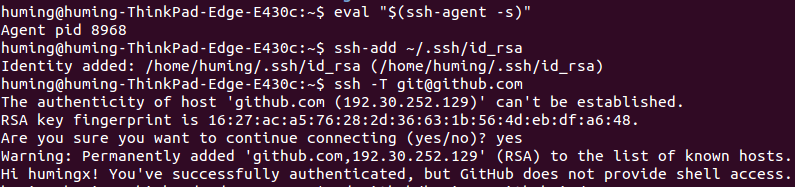
3、添加密钥到ssh-agent
确保 ssh-agent 是可用的。ssh-agent是一种控制用来保存公钥身份验证所使用的私钥的程序,其实ssh-agent就是一个密钥管理器,运行ssh-agent以后,使用ssh-add将私钥交给ssh-agent保管,其他程序需要身份验证的时候可以将验证申请交给ssh-agent来完成整个认证过程。
    # start the ssh-agent in the background
    eval "$(ssh-agent -s)"
    Agent pid 59566
添加生成的 SSH key 到 ssh-agent。
$ ssh-add ~/.ssh/id_rsa

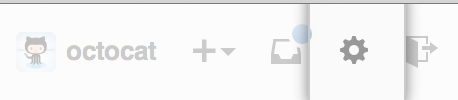
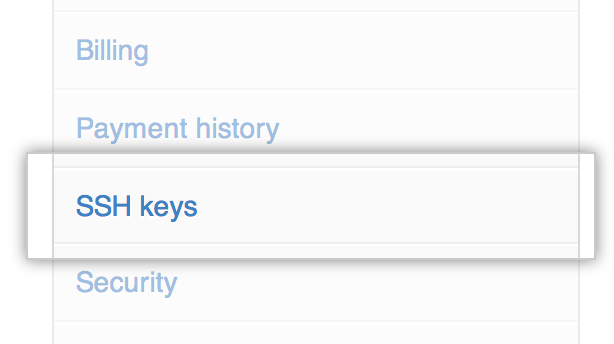
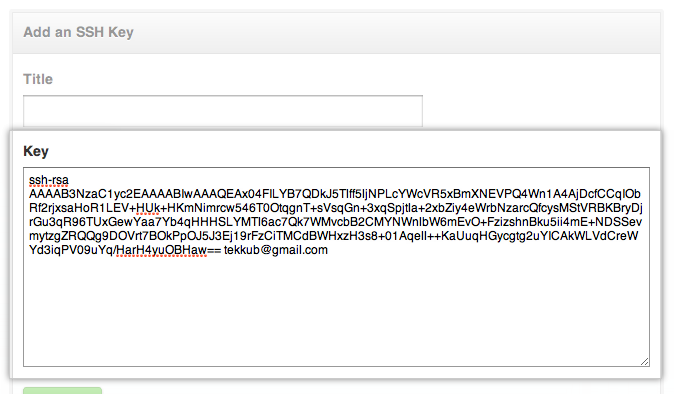
4、登陆Github, 添加 ssh 。
把id_rsa.pub文件里的内容复制到这里


5、测试:
$ ssh -T git@github.com
你将会看到:
    The authenticity of host 'github.com (207.97.227.239)' can't be established.
    RSA key fingerprint is 16:27:ac:a5:76:28:2d:36:63:1b:56:4d:eb:df:a6:48.
    Are you sure you want to continue connecting (yes/no)?
选择 yes
Hi humingx! You've successfully authenticated, but GitHub does not provide shell access.
如果看到Hi后面是你的用户名,就说明成功了。
6、修改.git文件夹下config中的url。
修改前
    [remote "origin"]
    url = https://github.com/humingx/humingx.github.io.git
    fetch = +refs/heads/*:refs/remotes/origin/*
修改后
    [remote "origin"]
    url = git@github.com:humingx/humingx.github.io.git
    fetch = +refs/heads/*:refs/remotes/origin/*
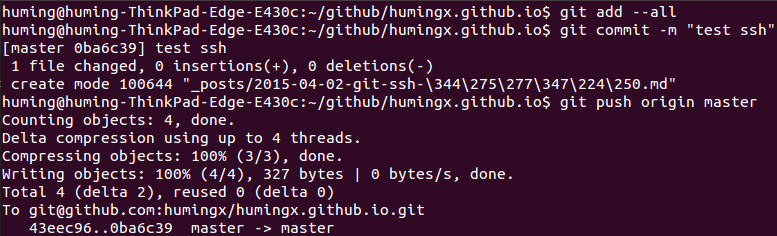
7、发布
作者: 一点点征服
出处:http://www.cnblogs.com/ldq2016/
本文版权归作者所有,欢迎转载,但未经作者同意必须保留此段声明,且在文章页面明显位置给出原文链接,否则保留追究法律责任的权利

 浙公网安备 33010602011771号