Zabbix-报警之微信(Wechat alert)告警
1.前言
Zabbix告警发送是监控系统的重要功能之一。Zabbix可以通过多种方式把告警信息发送到指定人,常用的有邮件,短信报警方式,但是越来越多的企业开始使用zabbix结合微信作为主要的告警方式,这样可以及时有效的把告警信息推送到接收人,方便告警的及时处理。
2.注册企业号或者企业微信
https://work.weixin.qq.com/ 企业微信官网,在这个网址进行注册企业微信。
2.1企业微信号注册完成后登录,添加子部门

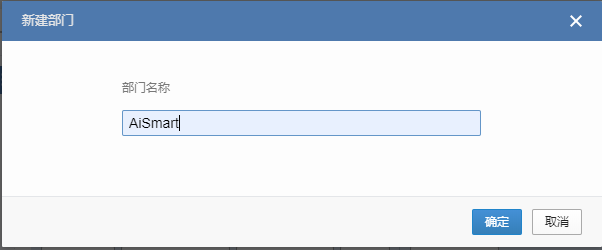
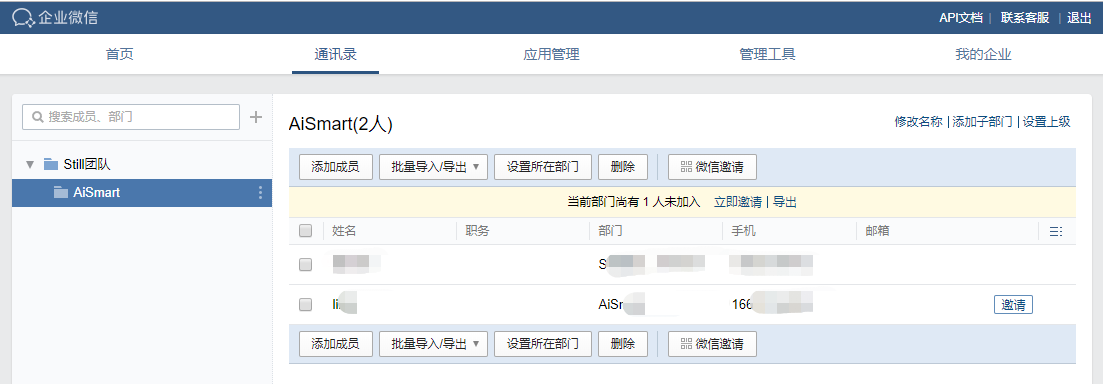

部门创建完成后需要添加人员,在新建的子部门内新建成员(点击添加成员)即可。
2.2创建应用
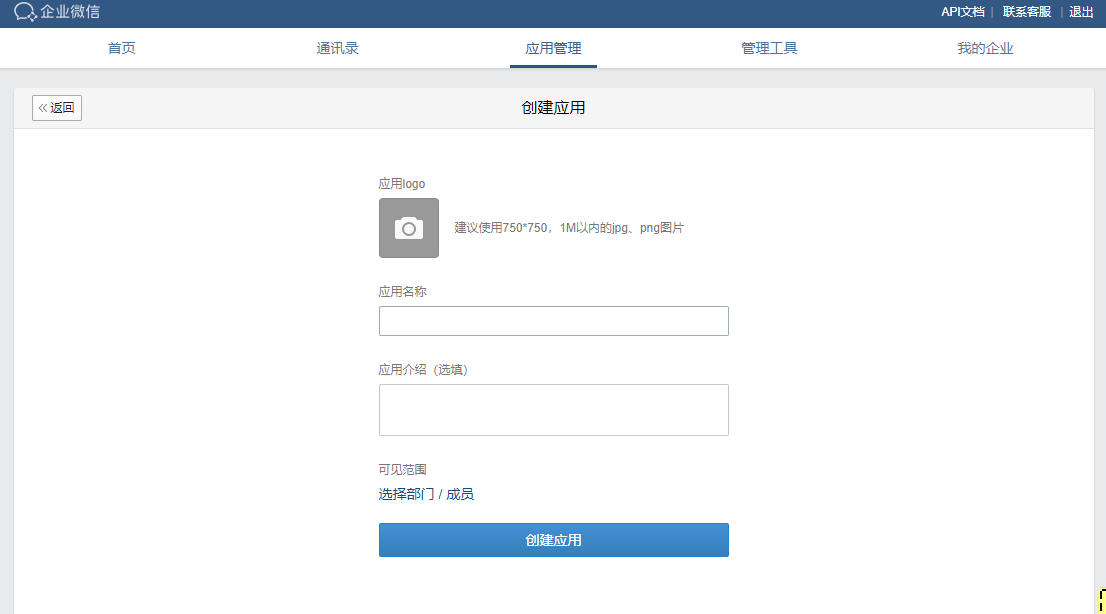
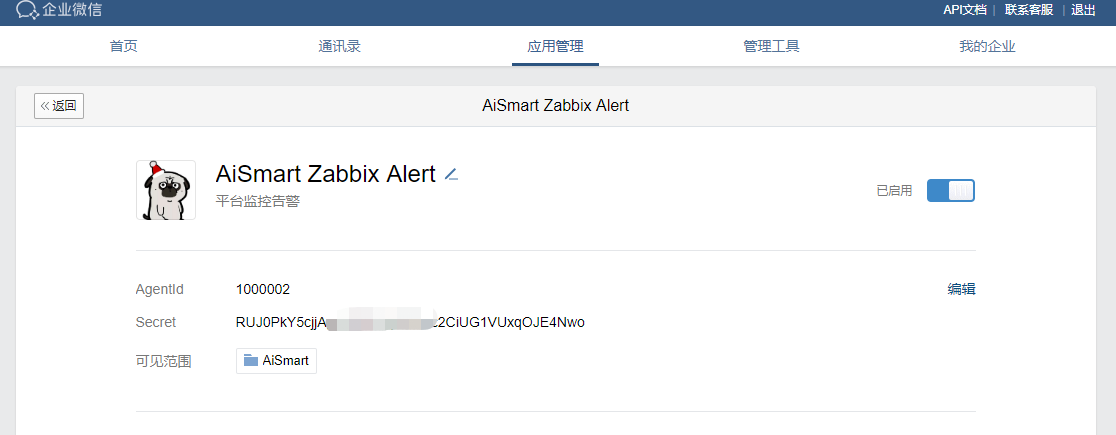
应用创建完成后需要记住agentid 以及secret 。后面会用到。到此企业微信号的配置就结束了。接下来配置Zabbix 系统在linux主机上操作。
3.配置安装自动发送消息脚本simplejson
3.1安装simplejson
  wget https://pypi.python.org/packages/f0/07/26b519e6ebb03c2a74989f7571e6ae6b82e9d7d81b8de6fcdbfc643c7b58/simplejson-3.8.2.tar.gz
  tar zxvf simplejson-3.8.2.tar.gz && cd simplejson-3.8.2
3.2Builder python脚本环境
python setup.py build
3.3Install python 脚本
python setup.py install
3.4配置自动发送消息脚本
#!/usr/bin/python
#_*_coding:utf-8 _*_

import urllib,urllib2
import json
import sys
import simplejson

reload(sys)
sys.setdefaultencoding('utf-8')

def gettoken(corpid,corpsecret):
    gettoken_url = 'https://qyapi.weixin.qq.com/cgi-bin/gettoken?corpid=' + corpid + '&corpsecret=' + corpsecret
    print  gettoken_url
    try:
        token_file = urllib2.urlopen(gettoken_url)
    except urllib2.HTTPError as e:
        print e.code
        print e.read().decode("utf8")
        sys.exit()
    token_data = token_file.read().decode('utf-8')
    token_json = json.loads(token_data)
    token_json.keys()
    token = token_json['access_token']
    return token

def senddata(access_token,user,subject,content):

    send_url = 'https://qyapi.weixin.qq.com/cgi-bin/message/send?access_token=' + access_token
    send_values = {
        "touser":"AiSmart Zabbix Alert",    #企业号中的用户帐号,在zabbix用户Media中配置,如果配置不正常,将按部门发送。此处可以写部门名字。
        "toparty":"2",    #企业号中的部门id。其实此处就是写第几个部门号,默认第一个是大部门 第二个就是刚创建的子部门。
        "msgtype":"text", #消息类型。
        "agentid":"1000002",    #企业号中的应用id。
        "text":{
            "content":subject + '\n' + content
           },
        "safe":"0"
        }
#    send_data = json.dumps(send_values, ensure_ascii=False)
    send_data = simplejson.dumps(send_values, ensure_ascii=False).encode('utf-8')
    send_request = urllib2.Request(send_url, send_data)
    response = json.loads(urllib2.urlopen(send_request).read())
    print str(response)

if __name__ == '__main__':
    user = str(sys.argv[1])     #zabbix传过来的第一个参数
    subject = str(sys.argv[2])  #zabbix传过来的第二个参数
    content = str(sys.argv[3])  #zabbix传过来的第三个参数

    corpid =  'wxd065d8cf6d14acb2'   #CorpID是企业号的标识,此处在微信企业号内我的企业中企业信息最下面查看
    corpsecret = 'RUJ0PkY5cjjAgcU5J0f_qTnXmc2CiUG1VUxqOJE4Nwo'  #corpsecretSecret是管理组凭证密钥,此处写的是子部门的secret。
    accesstoken = gettoken(corpid,corpsecret)
    senddata(accesstoken,user,subject,content)
3.5测试脚本是否可用
[root@zabbix simplejson-3.8.2]# ./wechat.py user alert testll!
https://qyapi.weixin.qq.com/cgi-bin/gettoken?corpid=wxd065d8cf6d14acb2&corpsecret=RUJ0PkY5cjjAgcU5J0f_qTnXmc2CiUG1VUxqOJE4Nwo
{u'invaliduser': u'aismart zabbix alert', u'errcode': 0, u'errmsg': u'ok'}
[root@zabbix simplejson-3.8.2]#
[root@zabbix simplejson-3.8.2]# ls
build        conf.py  index.rst    MANIFEST.in  README.rst  setup.cfg  simplejson           wechat.py
CHANGES.txt  dist     LICENSE.txt  PKG-INFO     scripts     setup.py   simplejson.egg-info
[root@zabbix simplejson-3.8.2]# cp wechat.py /usr/lib/zabbix/alertscripts/   ---------此处是Zabbix读取报警脚本位置,也可以自己修改。
[root@zabbix simplejson-3.8.2]#
[root@zabbix simplejson-3.8.2]# ll /usr/lib/zabbix/alertscripts/
total 4
-rwxr-xr-x 1 root root 2026 Sep  4 18:13 wechat.py
[root@zabbix simplejson-3.8.2]#
注:如果测试 脚本正常可以收到消息,当Zabbix系统配置完成后无法发送告警信息请查看Actions报错信息。
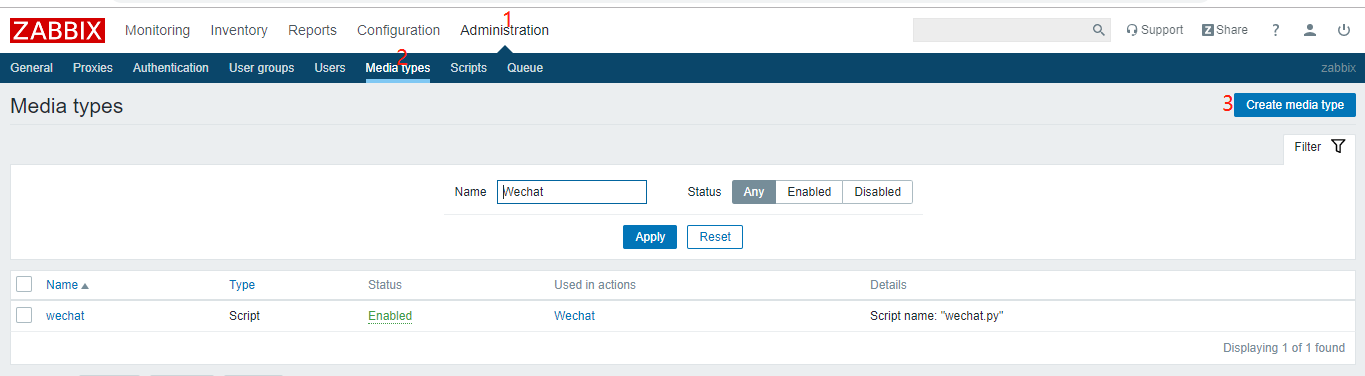
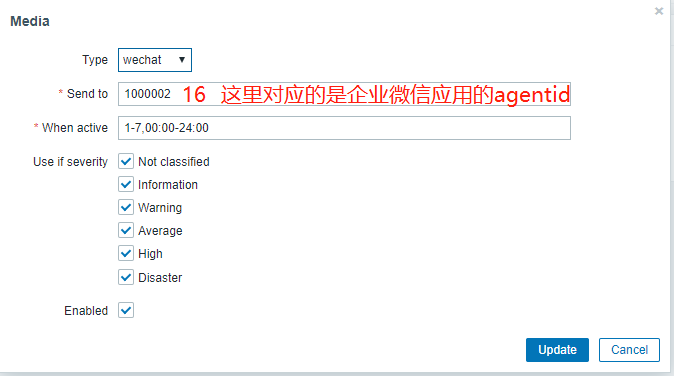
4.在zabbix中添加media types 及用户和用户组
登录Zabbix webUI 进行操作。按照截图下一步下一步即可。
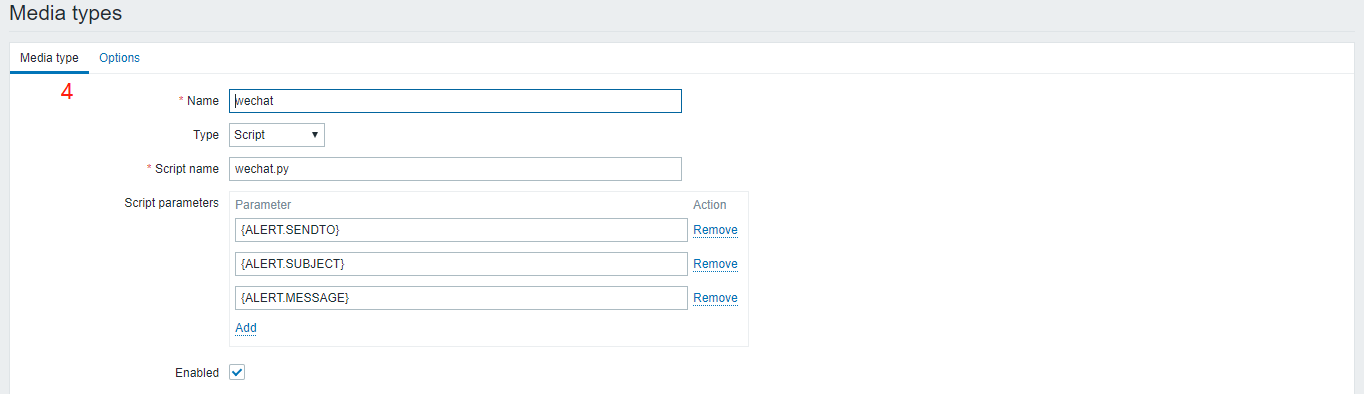
参数:
{ALERT.SENDTO}
{ALERT.SUBJECT}
{ALERT.MESSAGE}
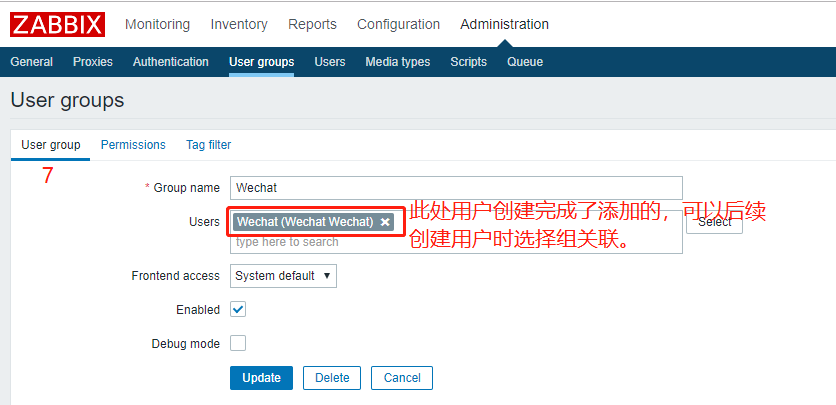
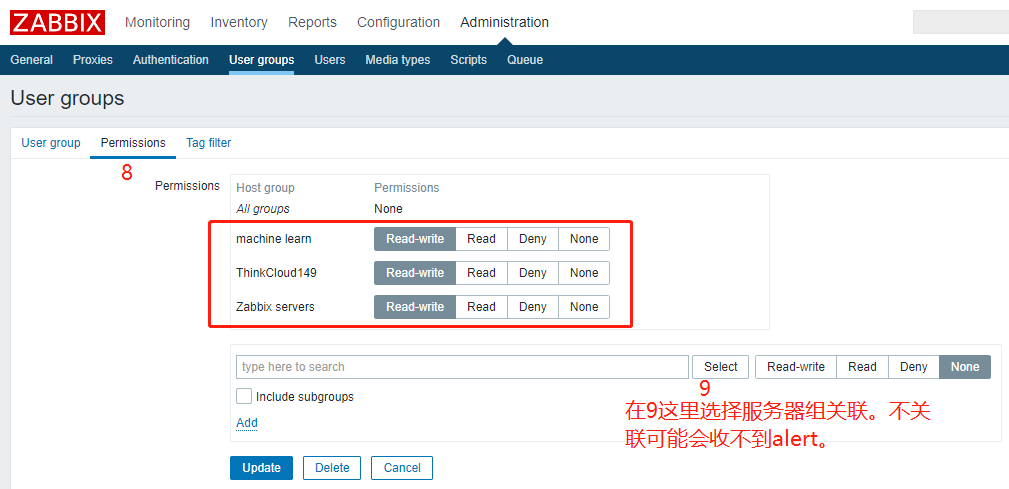
创建用户组

创建用户
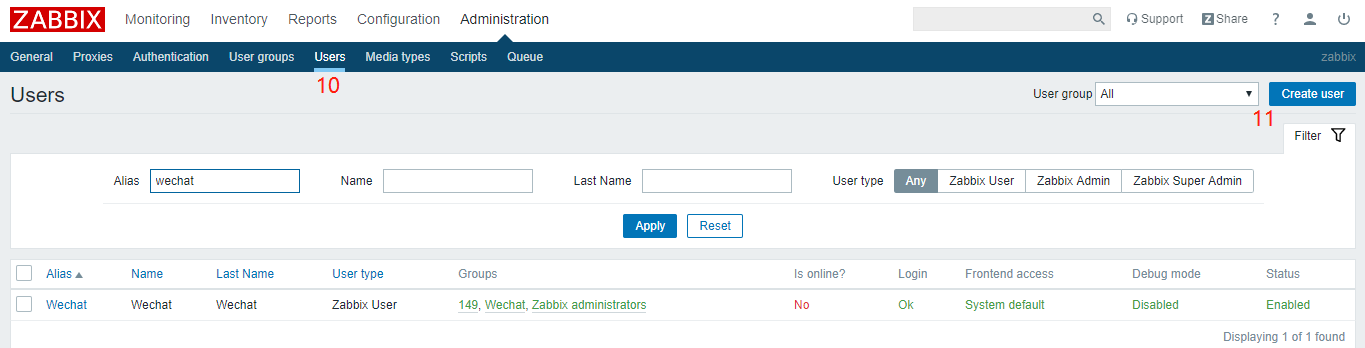
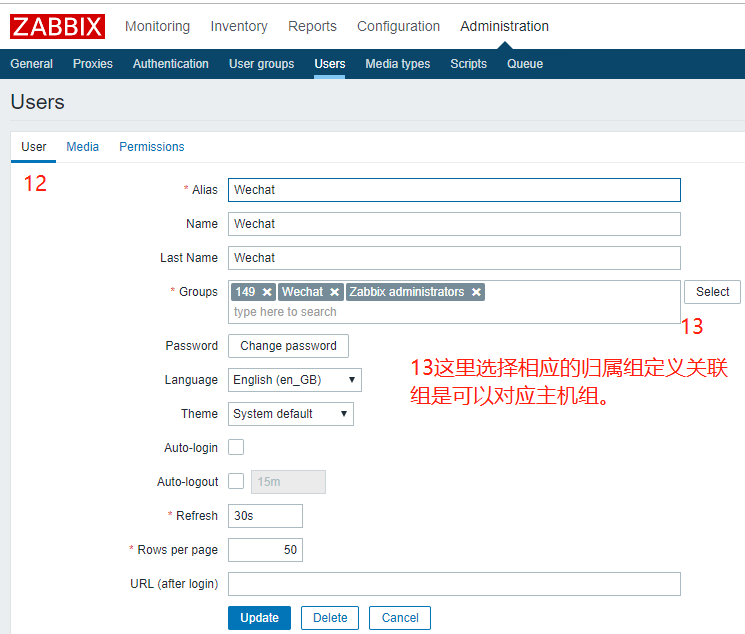
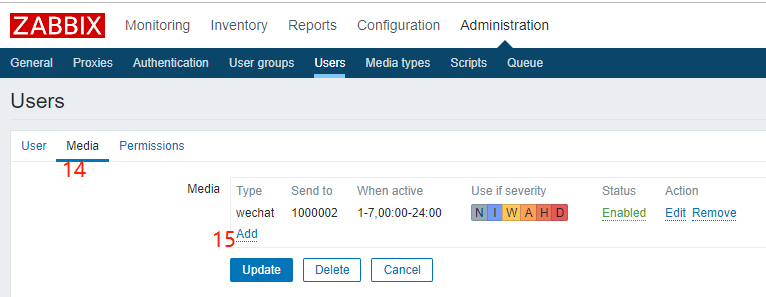
到此用户和用户组已经创建完,并关联了相应的主机组以及media types 。
5.配置告警动作
在zabbix中configuation-actions 中添加动作匹配条件以及关联报警media type 和User。

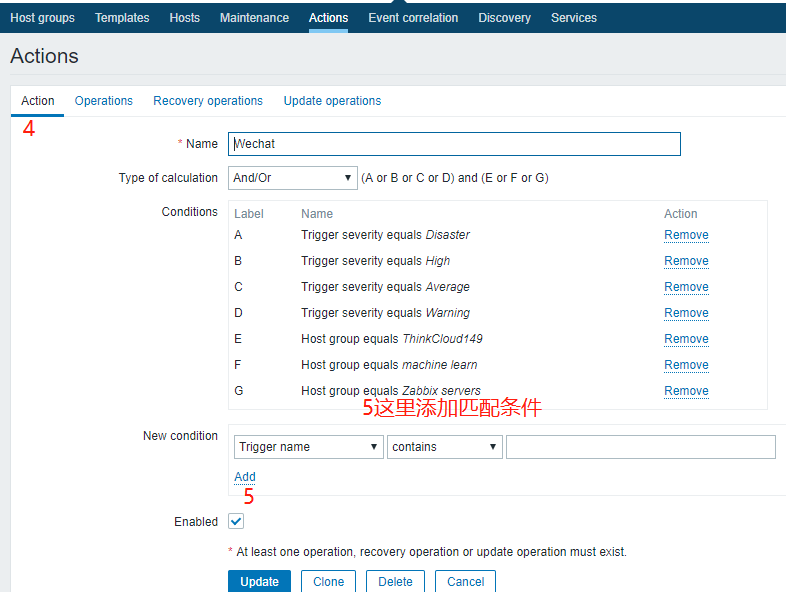
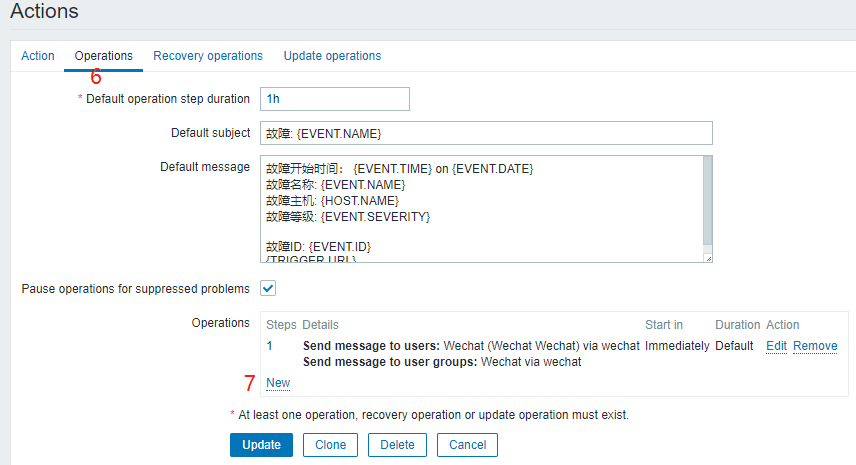

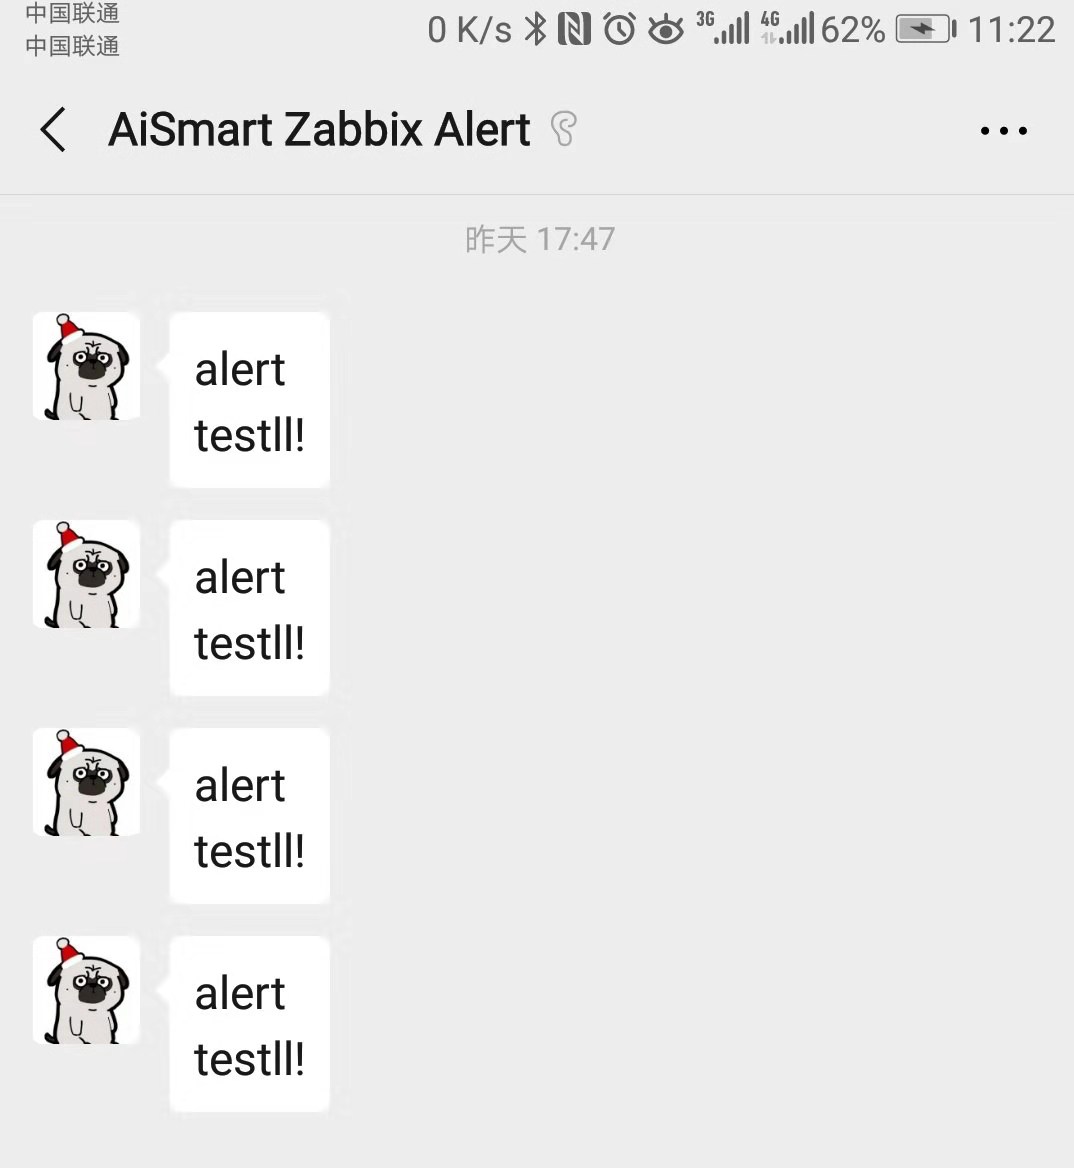
最后添加完成即可测试告警。
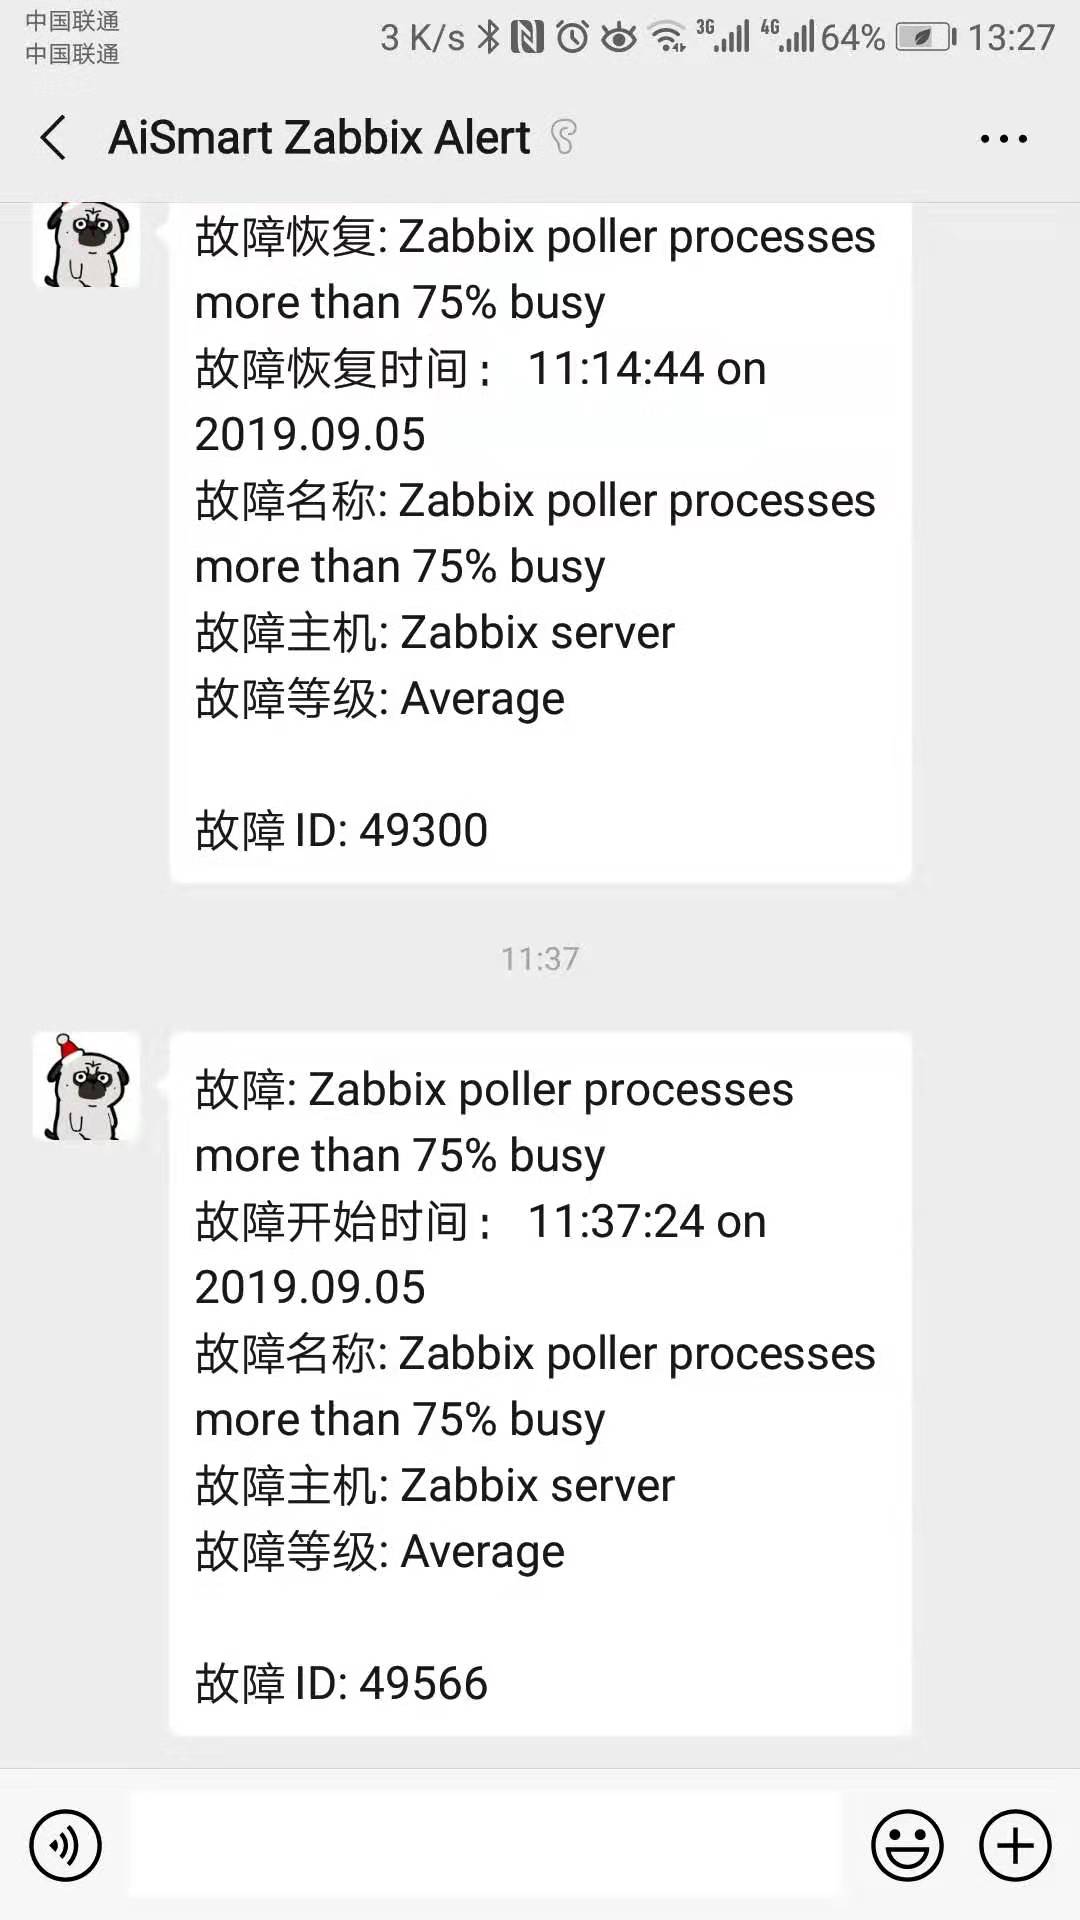
测试告警正常。此次配置Wechat报警就算是成功了。

 浙公网安备 33010602011771号