安卓开发学习笔记—————《第一行代码》第三章 UI开发
项目名:UIWidgetTest
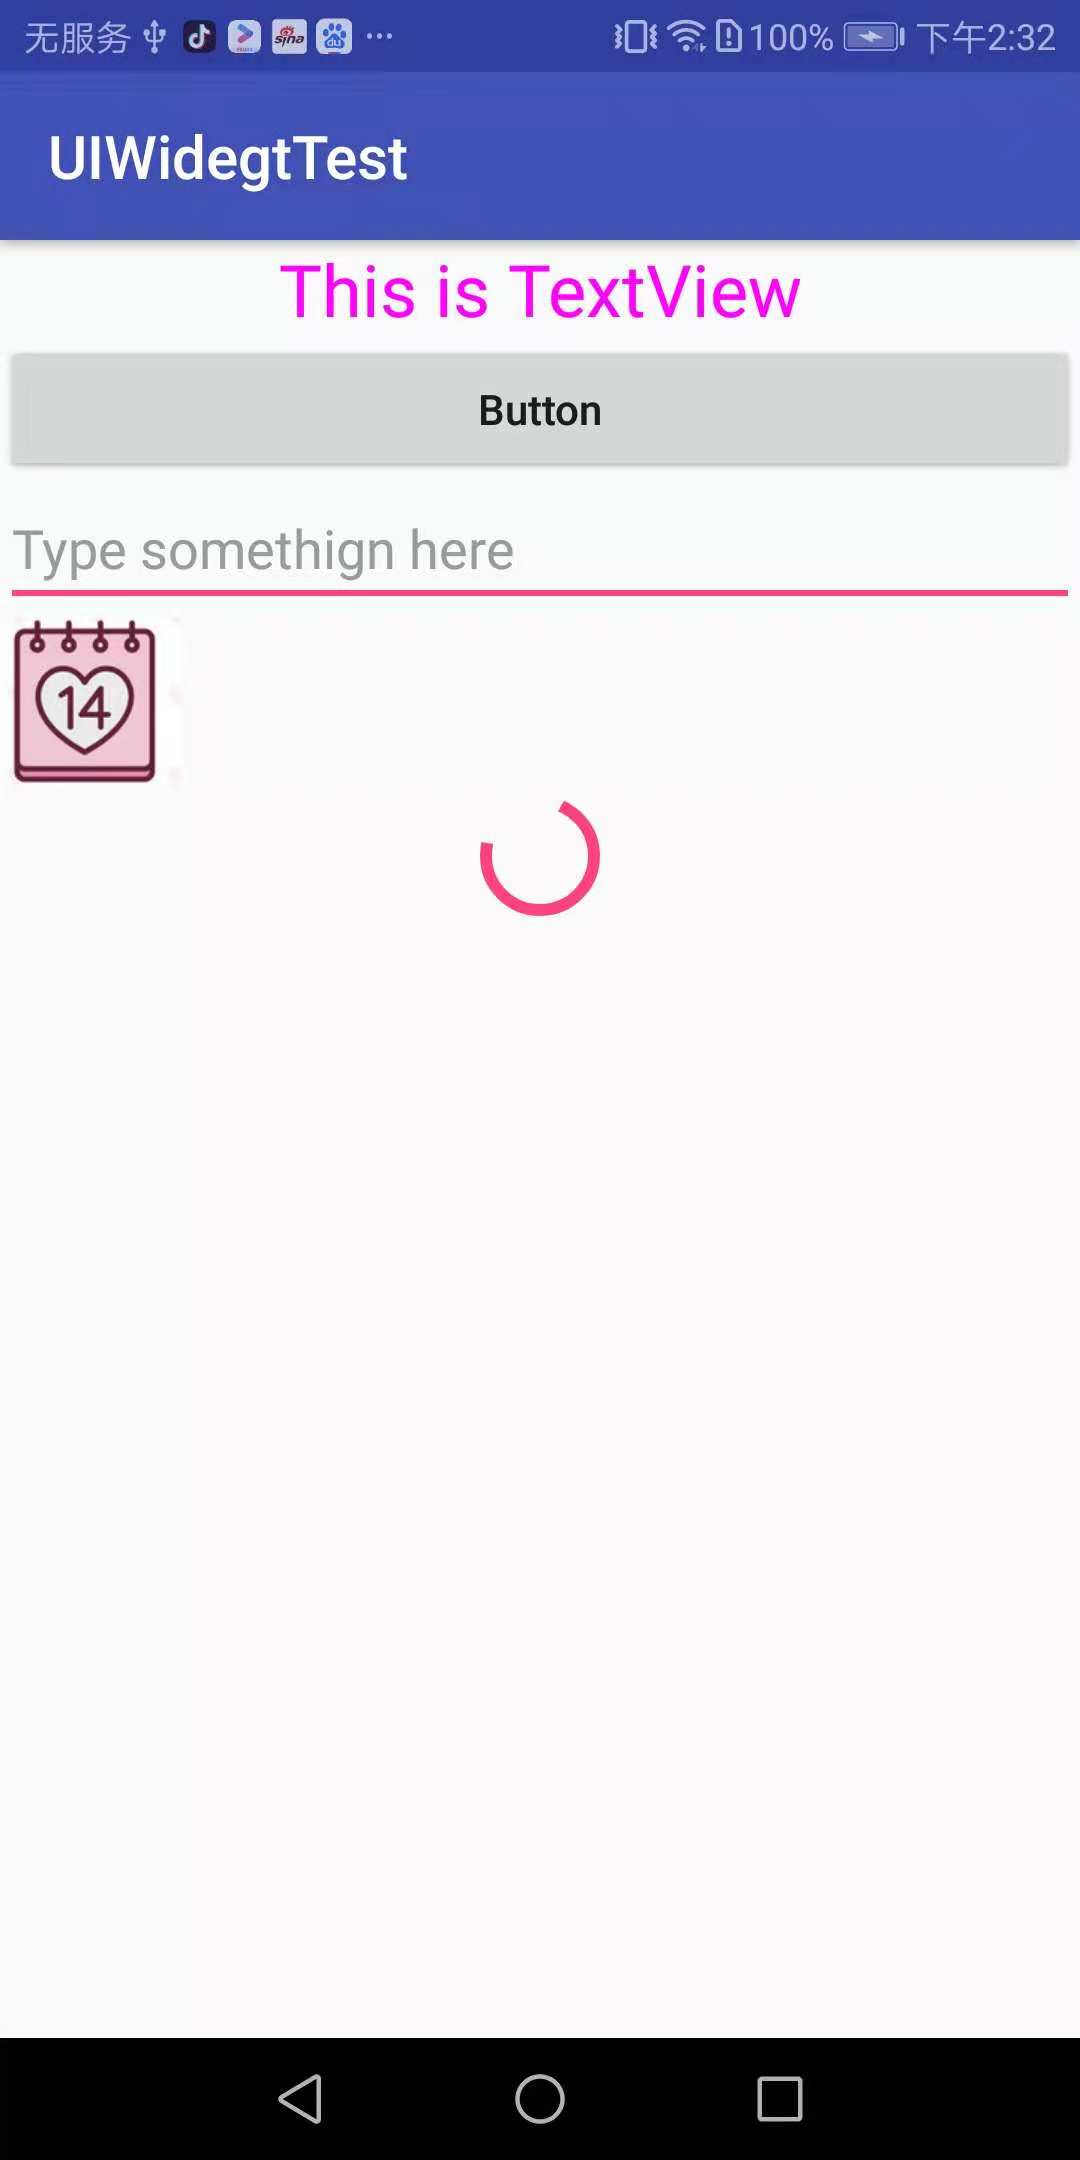
TextView
    <TextView
        android:id="@+id/text_view"
        android:layout_width="match_parent"
        android:layout_height="wrap_content"
        android:gravity="center"
        android:textSize="24sp"
        android:textColor="#ff00ff"
        android:text="This is TextView" />
![]()
Button
    <Button
        android:id="@+id/button"
        android:layout_width="match_parent"
        android:layout_height="wrap_content"
        android:text="Button"
        android:textAllCaps="false" />       //禁止英文字母大写转换
![]()
注册监听器方式:使用匿名类或实现接口的方式。
EditText
    <EditText
        android:id="@+id/edit_text"
        android:layout_width="match_parent"
        android:layout_height="wrap_content"
        android:hint="Type somethign here"
        android:maxLines="2" />               //最大行数为两行,当输入内容超过两行,文本会向上滚动
![]()
ImageView
    <ImageView
        android:id="@+id/image_view"
        android:layout_width="wrap_content"
        android:layout_height="wrap_content"
        android:src="@drawable/p111" />
动态更换ImageView中的图片
mImageView.setImageResource(R.drawable.p222);
ProgressBar
    <ProgressBar
        android:id="@+id/progress_bar"
        android:layout_width="match_parent"
        android:layout_height="wrap_content" />
通过按钮设置显示/隐藏
if(mProgressBar.getVisibility()==View.GONE) {
   mProgressBar.setVisibility(View.VISIBLE);
}else {
   mProgressBar.setVisibility(View.GONE);
}
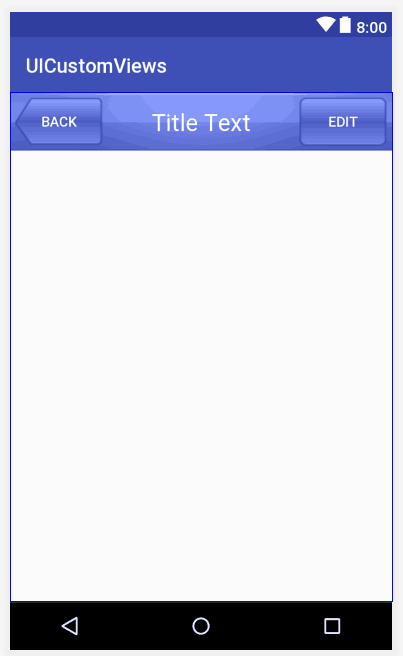
自定义控件
新建一个布局title.xml
<LinearLayout xmlns:android="http://schemas.android.com/apk/res/android"
    android:layout_width="match_parent"
    android:layout_height="wrap_content"
    android:background="@drawable/title_bg" >

    <Button
        android:id="@+id/title_back"
        android:layout_width="wrap_content"
        android:layout_height="wrap_content"
        android:layout_gravity="center"
        android:layout_margin="5dp"
        android:background="@drawable/back_bg"
        android:text="Back"
        android:textColor="#fff" />

    <TextView
        android:id="@+id/title_text"
        android:layout_width="0dp"
        android:layout_height="wrap_content"
        android:layout_gravity="center"
        android:layout_weight="1"
        android:gravity="center"
        android:text="Title Text"
        android:textColor="#fff"
        android:textSize="24sp" />

    <Button
        android:id="@+id/title_edit"
        android:layout_width="wrap_content"
        android:layout_height="wrap_content"
        android:layout_gravity="center"
        android:layout_margin="5dp"
        android:background="@drawable/edit_bg"
        android:text="Edit"
        android:textColor="#fff" />

</LinearLayout>
引入布局,在需要的xml添加
<include layout="@layout/title" />
创建自定义控件
public class TitleLayout extends LinearLayout {

    public TitleLayout(Context context,AttributeSet attrs) {
        super(context,attrs);
        LayoutInflater.from(context).inflate(R.layout.title,this);
        Button titleBack=(Button)findViewById(R.id.title_back);
        Button titleEdit=(Button)findViewById(R.id.title_edit);
        titleBack.setOnClickListener(new OnClickListener() {
            @Override
            public void onClick(View v) {
                ((Activity)getContext()).finish();
            }
        });
        titleEdit.setOnClickListener(new OnClickListener() {
            @Override
            public void onClick(View v) {
                Toast.makeText(getContext(),"You clicked Edit button",Toast.LENGTH_SHORT).show();
            }
        });
    }
}
在activity_main.xml中添加
    <com.example.android.uicustomviews.TitleLayout
        android:layout_width="match_parent"
        android:layout_height="wrap_content" />

 浙公网安备 33010602011771号