javaWeb实现完整的登录功能(新手使用)
十一部写一个完整的javaWeb登录(一个正在路上的小白纯手敲代码,无复制,大神绕路,供新上路的同学们一起交流)
建议从底层往上编写dao接口--->dao实现类--->service接口--->service实现类--->jsp-->servlet
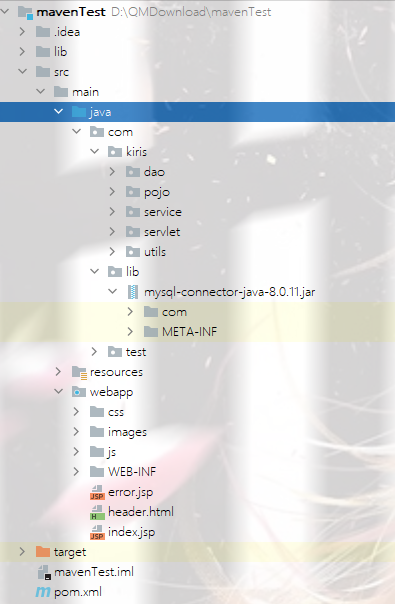
步骤一.新建web项目,创建好目录结构。
步骤二.导入相关联的依赖

步骤三,创建数据库,编写实体类放到pojo包下

package com.kiris.pojo;

public class User {
    private int userid;
    private String fullname;
    private String password;
    private String telephone;

    public User() {
    }

    public int getUserid() {
        return userid;
    }

    public void setUserid(int userid) {
        this.userid = userid;
    }

    public String getFullname() {
        return fullname;
    }

    public void setFullname(String fullname) {
        this.fullname = fullname;
    }

    public String getPassword() {
        return password;
    }

    public void setPassword(String password) {
        this.password = password;
    }

    public String getTelephone() {
        return telephone;
    }

    public void setTelephone(String telephone) {
        this.telephone = telephone;
    }

    public User(int userid, String fullname, String password, String telephone) {
        this.userid = userid;
        this.fullname = fullname;
        this.password = password;
        this.telephone = telephone;


    }
}
步骤四.编写db.properties文件放到resources目录下
driver=com.mysql.cj.jdbc.Driver
url=jdbc:mysql://localhost:3306/leave_system?useUnicode=true&characterEncoding=utf-8&serverTimezone=UTC&useSSL=false
username=root
password=123456
步骤五.编写一个操作数据库的公共类BaseDao放在dao包下面
package com.kiris.dao;

import java.io.IOException;
import java.io.InputStream;
import java.sql.*;
import java.util.Properties;

//操作数据库的公共类
public class BaseDao {
    //四个变量
    private static String driver;
    private static String url;
    private static String username;
    private static String password;

    //静态代码块,类加载的时候初始化
    static {
        Properties properties = new Properties();
        //通过类加载器读取对应的资源
        InputStream is = BaseDao.class.getClassLoader().getResourceAsStream("db.properties");
        try {
            properties.load(is);
        } catch (IOException e) {
            e.printStackTrace();
        }
        driver = properties.getProperty("driver");
        url = properties.getProperty("url");
        username = properties.getProperty("username");
        password = properties.getProperty("password");
    }

    //获取数据库连接

    public static Connection getConnection() {
        Connection connection = null;
        try {
            Class.forName(driver);
            connection = DriverManager.getConnection(url, username, password);
        } catch (Exception e) {
            e.printStackTrace();
        }
        return connection;
    }

    //编写查询公共类
    public static ResultSet execute(Connection connection, PreparedStatement pstm, ResultSet rs, String sql, Object[] params) throws SQLException {
       //预编译的sql,在后面直接执行即可
        pstm = connection.prepareStatement(sql);
        for (int i = 0; i < params.length; i++) {
            pstm.setObject(i+1,params[i]);
        }
         rs = pstm.executeQuery();
        return rs;
    }

    //编写增删改公共类
    public static int update(Connection connection,String sql,Object[] params, PreparedStatement pstm) throws SQLException {
        pstm = connection.prepareStatement(sql);
        for (int i = 0; i < params.length; i++) {
            pstm.setObject(i+1,params[i]);
        }
        int Row = pstm.executeUpdate();
        return Row;
    }

    //释放资源
    public  static boolean closeStream(Connection connection,PreparedStatement pstm,ResultSet rs){
        boolean flag = true;
        if(rs!=null){
            try {
                rs.close();
                rs =null;
            } catch (SQLException e) {
                e.printStackTrace();
                flag = false;
            }
        }
        if(pstm!=null){
            try {
                pstm.close();
                pstm =null;
            } catch (SQLException e) {
                e.printStackTrace();
                flag = false;
            }
        }
        if(connection!=null){
            try {
                connection.close();
                connection =null;
            } catch (SQLException e) {
                e.printStackTrace();
                flag = false;
            }
        }
        return flag;
    }
}
步骤六.编写dao接口(UserDao)和实现类(UserDaoImpl)
package com.kiris.dao;

import com.kiris.pojo.User;

import java.sql.Connection;
import java.sql.SQLException;

public interface UserDao {
     User getLoginUser(Connection connection, String fullname) throws SQLException;
}
package com.kiris.dao;

import com.kiris.pojo.User;

import java.sql.Connection;
import java.sql.PreparedStatement;
import java.sql.ResultSet;
import java.sql.SQLException;

public class UserDaoImpl implements UserDao{
    @Override
    public User getLoginUser(Connection connection, String fullname) throws SQLException {

        PreparedStatement pstm = null;
        ResultSet rs = null;
        User user =null;

        if(connection!=null) {
            String sql = "select * from tb_user where fullname = ?";
            Object[] params = {fullname};
                rs = BaseDao.execute(connection, pstm, rs, sql, params);
                if(rs.next()){
                    user = new User();
                    user.setUserid(rs.getInt("userid"));
                    user.setFullname(rs.getString("fullname"));
                    user.setPassword(rs.getString("password"));
                    user.setTelephone(rs.getString("telephone"));

                }
                BaseDao.closeStream(null,pstm,rs);

        }
            return user;
    }
}
步骤七.编写Service(UserService)接口和实现类(UserServiceImpl)
package com.kiris.service;

import com.kiris.pojo.User;

public interface UserService {
     User login(String fullname,String password);
}
package com.kiris.service;

import com.kiris.dao.BaseDao;
import com.kiris.dao.UserDao;
import com.kiris.dao.UserDaoImpl;
import com.kiris.pojo.User;
import org.junit.jupiter.api.Test;

import java.sql.Connection;
import java.sql.SQLException;

public class UserServiceImpl implements UserService{
    private UserDao userDao;
    public UserServiceImpl(){
         userDao = new UserDaoImpl();
    }
    @Override
    public User login(String fullname, String password) {
        //业务层调用dao层
        Connection connection;
        User user = null;
        connection = BaseDao.getConnection();
        try {
            user = userDao.getLoginUser(connection, fullname);
        } catch (SQLException e) {
            e.printStackTrace();
        }finally {
            BaseDao.closeStream(connection,null,null);
        }
        return user;
    }
    @Test
    public void test(){
        UserServiceImpl userService = new UserServiceImpl();
        User admin = userService.login("admin", "123332");
        System.out.println(admin.getPassword());
    }

}
步骤八.编写index.jsp(登录)页面 (可以不引用css和js样式)
<!DOCTYPE html>
<html>
<head>
    <%@ page language="java" contentType="text/html; charset=UTF-8" pageEncoding="UTF-8"%>
    <title>用户登录</title>
    <link rel="stylesheet" href="css/bootstrap.min.css" />
    <link rel="stylesheet" href="css/style.css" />
    <script src="js/bootstrap.min.js"></script>
</head>
<body>
<%--<form action="${pageContext.request.contextPath}/login" method="get">--%>
<%--    用户名:<input type="text" name="username">--%>
<%--    密码:<input type="password" name="password">--%>
<%--    <input type="submit">--%>
<%--</form>--%>

<form action="${pageContext.request.contextPath}/login" method="post">
    <div class="mycenter">
        <div class="mysign">
            <div class="col-lg-11 text-center text-info" >
                <h2>请登录</h2>
                <div class="info">${error}</div>
            </div>
            <div class="col-lg-10">
                <input type="text" class="form-control" name="username" placeholder="请输入账户名" required autofocus/>
            </div>
            <div class="col-lg-10"></div>
            <div class="col-lg-10">
                <input type="password" class="form-control" name="password" placeholder="请输入密码" required autofocus/>
            </div>
            <div class="col-lg-10"></div>
<%--            <div class="col-lg-10 mycheckbox checkbox">--%>
<%--                <input type="checkbox" class="col-lg-1">记住密码</input>--%>
<%--            </div>--%>
            <div class="col-lg-10"></div>
            <div class="col-lg-10">
                <button type="submit" class="btn btn-success col-lg-12">登录</button>
            </div>
        </div>
    </div>
</form>
</body>
</html>
步骤九.编写UserServlet放在servlet包下(用来接收请求转发页面)
package com.kiris.servlet;

import com.kiris.pojo.User;
import com.kiris.service.UserServiceImpl;
import com.kiris.utils.Constants;
import com.kiris.utils.JdbcUtils;

import javax.jms.Session;
import javax.servlet.ServletException;
import javax.servlet.http.HttpServlet;
import javax.servlet.http.HttpServletRequest;
import javax.servlet.http.HttpServletResponse;
import java.io.IOException;


public class loginServlet extends HttpServlet {
    @Override
    protected void doGet(HttpServletRequest req, HttpServletResponse resp) throws ServletException, IOException {
        String uname = req.getParameter("username");
        String password = req.getParameter("password");
        UserServiceImpl userService = new UserServiceImpl();
        User login = userService.login(uname,password);
        if(login!=null){
            System.out.println("登录成功!!!!!");
            req.getSession().setAttribute(Constants.USER_SESSION,login);
            resp.sendRedirect("/r/header.html");
        }else {
            req.setAttribute("error","用户名或密码错误!");
            req.getRequestDispatcher("index.jsp").forward(req,resp);
        }
//        resp.sendRedirect("/mavenTest_war/header.html");
    }

    @Override
    protected void doPost(HttpServletRequest req, HttpServletResponse resp) throws ServletException, IOException {
        doGet(req, resp);
    }
}
步骤十.在web.xml文件配置servlet,过滤器并编写fillterUtils过滤器放到utils包下
 <servlet>
        <servlet-name>login</servlet-name>
        <servlet-class>com.kiris.servlet.loginServlet</servlet-class>
    </servlet>
    <servlet-mapping>
        <servlet-name>login</servlet-name>
        <url-pattern>/login</url-pattern>
    </servlet-mapping>

    <filter>
        <filter-name>fillterUtils</filter-name>
        <filter-class>com.kiris.utils.fillterUtils</filter-class>
    </filter>
    <filter-mapping>
        <filter-name>fillterUtils</filter-name>
        <url-pattern>/r/*</url-pattern>
    </filter-mapping>
package com.kiris.utils;

import javax.servlet.*;
import javax.servlet.http.HttpServletRequest;
import javax.servlet.http.HttpServletResponse;
import java.io.IOException;

public class fillterUtils implements Filter {
    @Override
    public void init(FilterConfig filterConfig) throws ServletException {

    }

    @Override
    public void doFilter(ServletRequest req, ServletResponse resp, FilterChain filterChain) throws IOException, ServletException {
        HttpServletRequest request = (HttpServletRequest) req;
        HttpServletResponse response = (HttpServletResponse) resp;
        request.setCharacterEncoding("utf-8");
        response.setCharacterEncoding("utf-8");
        response.setContentType("text/html");
        filterChain.doFilter(req,resp);
    }

    @Override
    public void destroy() {

    }
}
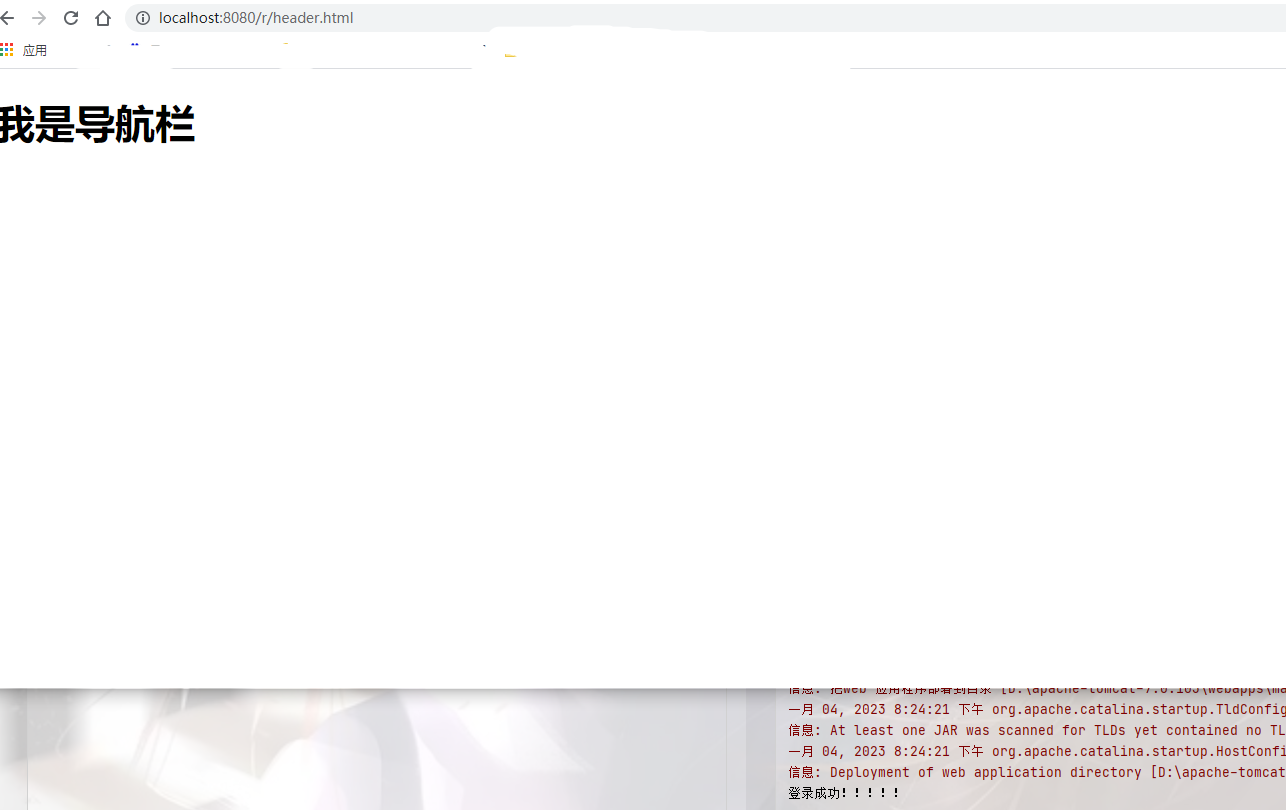
步骤十一.配置tomcat,并进行登录


 浙公网安备 33010602011771号