SAPUI5 Walkthrough Step 13: Margins and Paddings
https://sapui5.hana.ondemand.com/#/topic/17b87fbafb5a4474982760d2a3a73e69
边距和填充
使用sapui5中的标准CSS类, 来实现边距和填充。
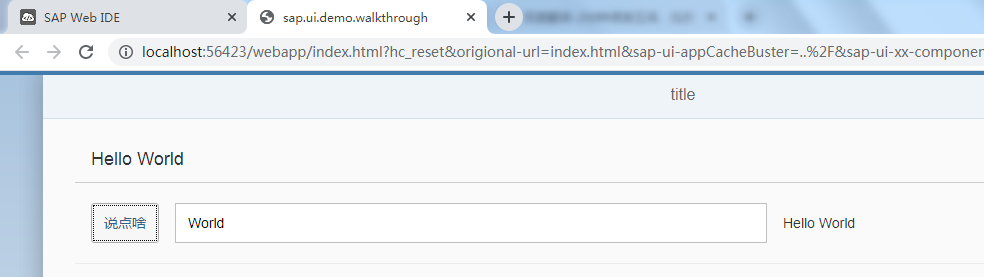
修改webapp/view/App.view.xml文件,去掉Input组件的description属性,新增Text组件。并增加组件的class属性
<mvc:View controllerName="sap.ui.demo.walkthrough.controller.App" xmlns:html="http://www.w3.org/1999/xhtml" xmlns:mvc="sap.ui.core.mvc"
    displayBlock="true" xmlns="sap.m">
    <Shell>
        <App>
            <pages>
                <Page title="{i18n>title}">
                    <content>
                        <Panel headerText="{i18n>helloPanelTitle}"
                            class="sapUiResponsiveMargin" width="auto">
                            <content>
                                <Button text="{i18n>showHelloButtonText}" press=".onShowHello"
                                    class="sapUiSmallMarginEnd"/>
                                <Input value="{jsonModel>/recipient/name}" valueLiveUpdate="true" width="50%"/>
                                <Text text="Hello {jsonModel>/recipient/name}"
                                    class="sapUiSmallMargin"/>
                            </content>
                        </Panel>
                    </content>
                </Page>
            </pages>
        </App>
    </Shell>
</mvc:View>
执行

 浙公网安备 33010602011771号