

实验环境
操作系统:Windonws11 专业版
开发工具:VScode和msys2
下载VScode和msys2
1、VScode
VScode官网链接:Visual Studio Code - 代码编辑。重新![]() https://code.visualstudio.com/
https://code.visualstudio.com/
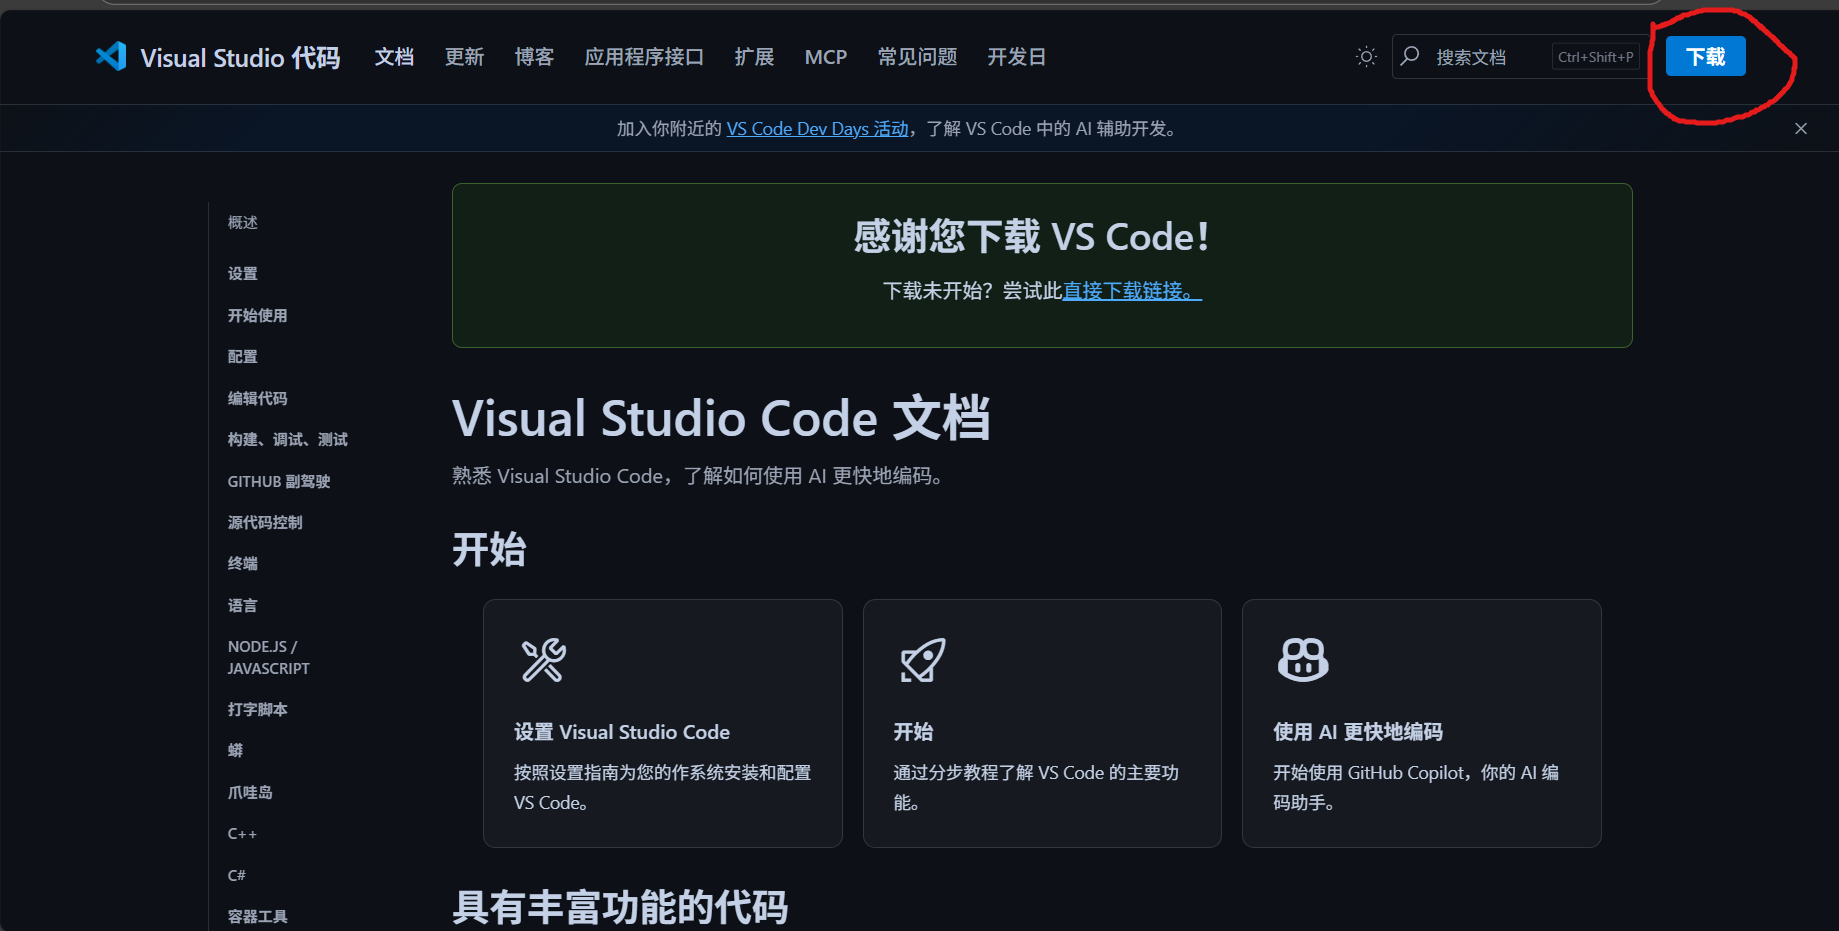
点击右上角的下载

选择系统安装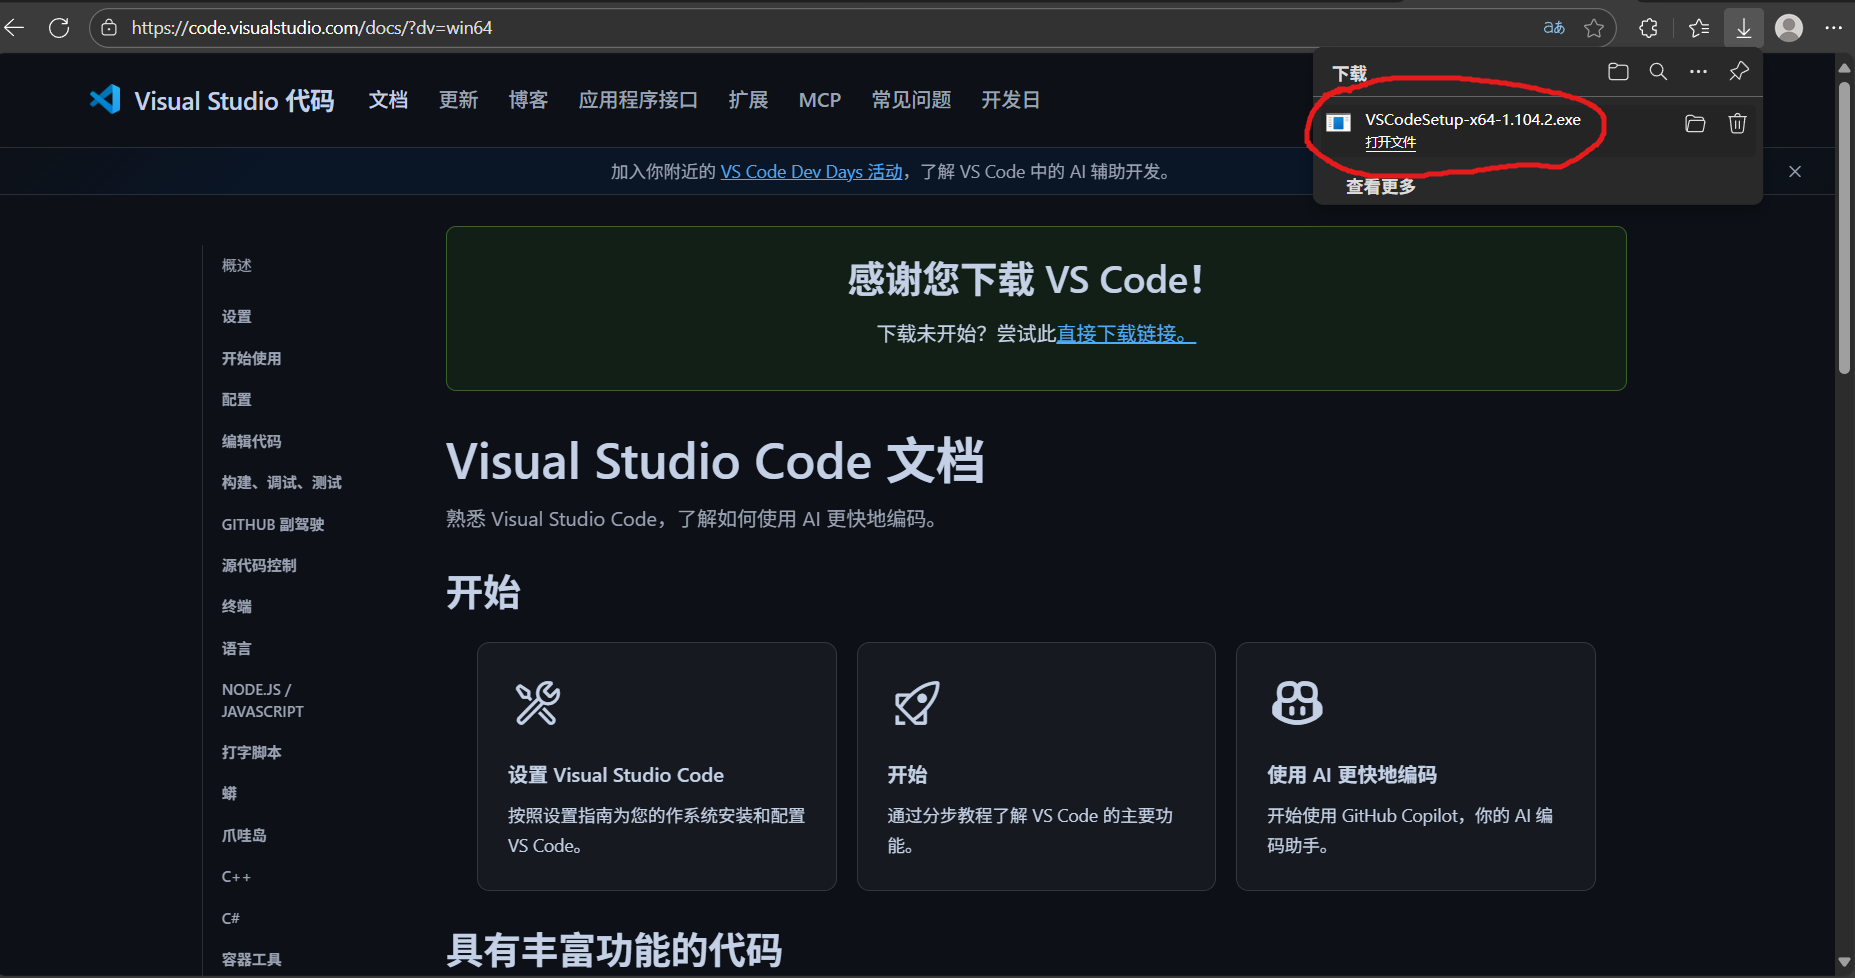 此时双击下载好的安装程序
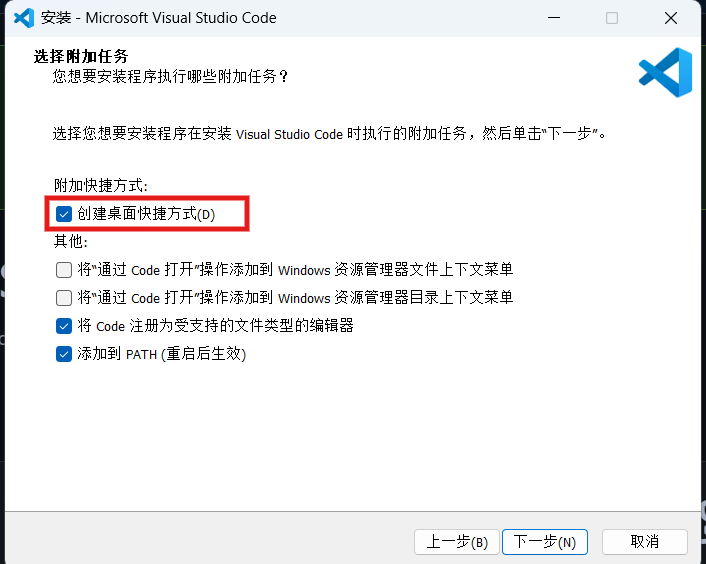 勾选创建快捷方式,便于后续启动VScode
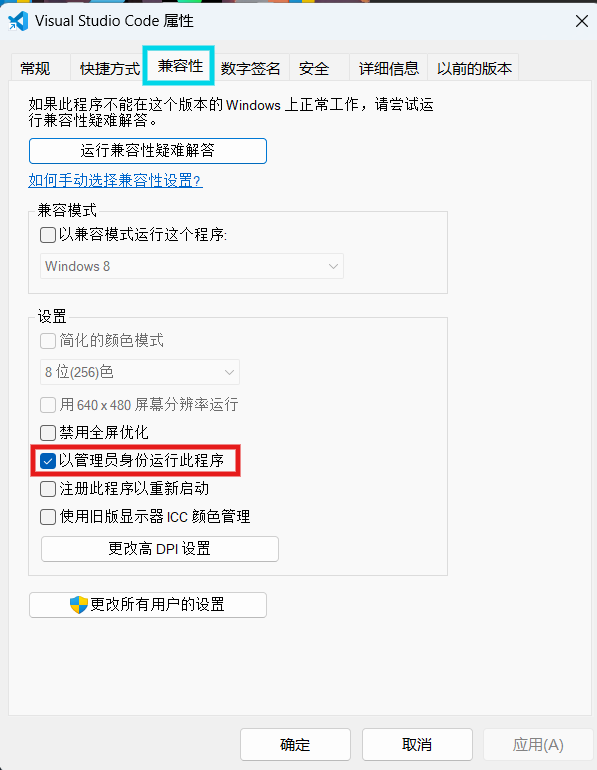
下载右键VScode桌面图标,点击属性
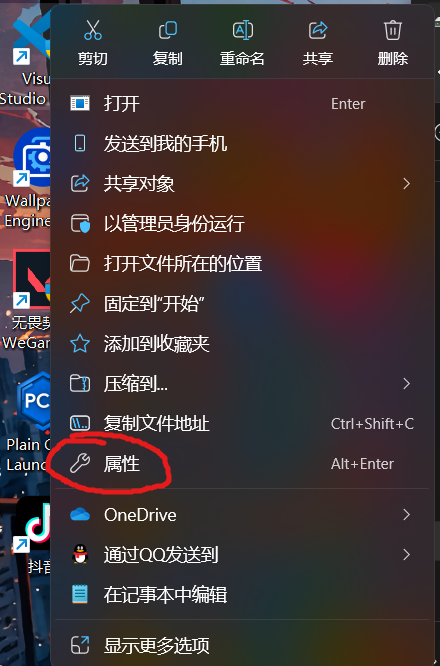
点击兼容性,在兼容性中勾选以管理员身份运行后点击确定
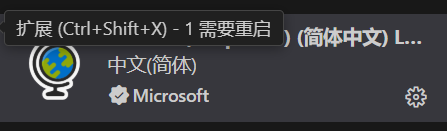
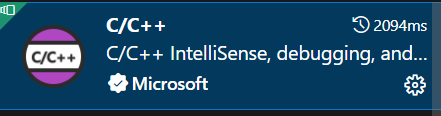
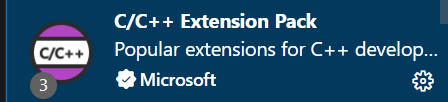
接着打开插件扩展,并在搜索栏分别搜索Chinese和C\C++后安装
2、msys2
官网:MSYS2![]() https://www.msys2.org/
https://www.msys2.org/
msys2安装包下载链接:
不过,基于网站是国外的,可能因延迟过高无法正常访问,建议大家采用加速器或者多线程下载器来加速下载。将msys2的安装包的下载链接复制可用于下载,因为我刚好下载了PCL2启动器,就直接用这个了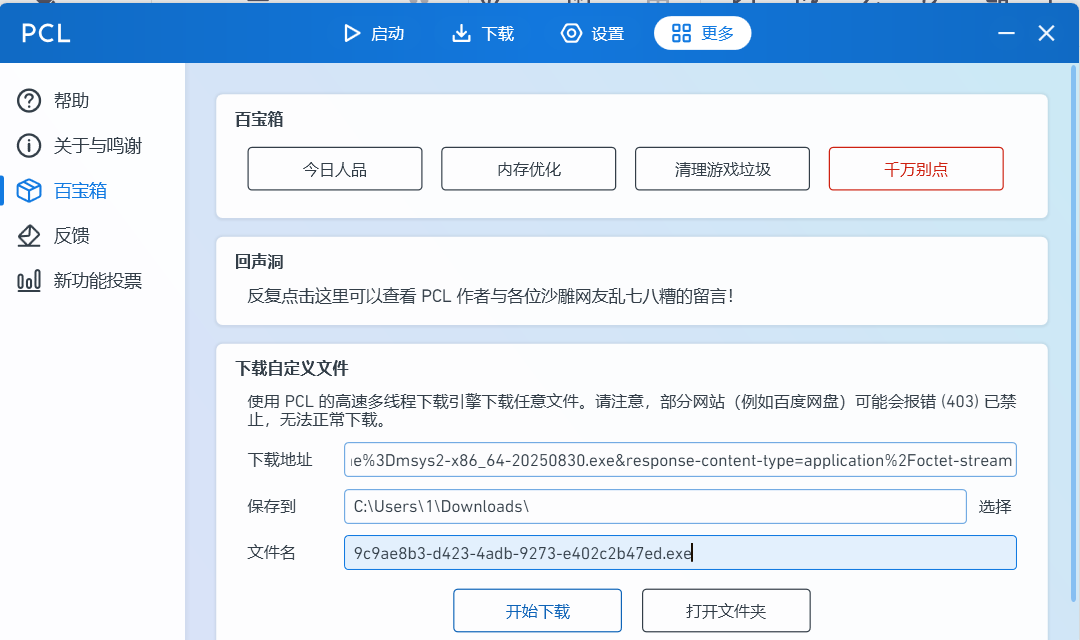
如果使用第三方下载器,可能得到文本文件,如下:
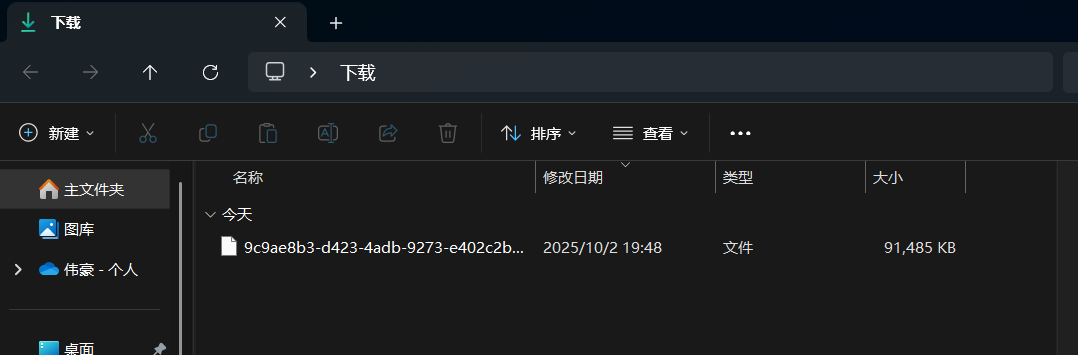
将其后缀改为.exe后即可

此时双击下载得到的应用程序:
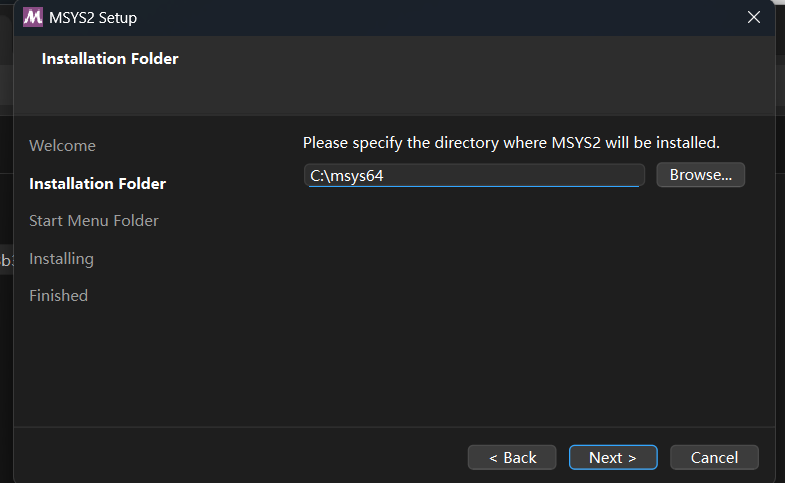 如果要将其安装到其他盘,如D盘,就修改路径为D:\msys64
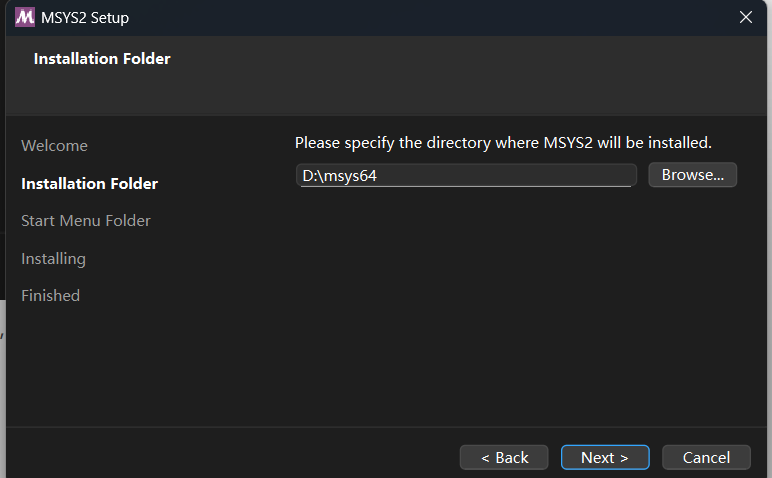
接下来一直点击Next即可完成下载
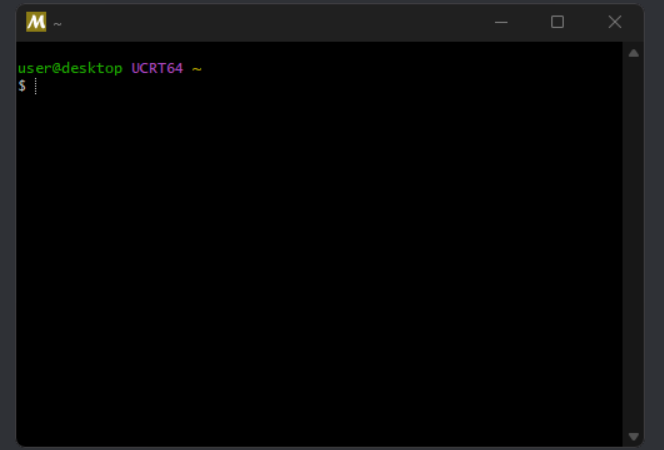
待安装结束后,软件会自动弹出ucrt64环境的终端:
运行以下命令
pacman -S mingw-w64-ucrt-x86_64-gcc
终端显示如下:
resolving dependencies...
looking for conflicting packages...Packages (15) mingw-w64-ucrt-x86_64-binutils-2.41-2
mingw-w64-ucrt-x86_64-crt-git-11.0.0.r216.gffe883434-1
mingw-w64-ucrt-x86_64-gcc-libs-13.2.0-2 mingw-w64-ucrt-x86_64-gmp-6.3.0-2
mingw-w64-ucrt-x86_64-headers-git-11.0.0.r216.gffe883434-1
mingw-w64-ucrt-x86_64-isl-0.26-1 mingw-w64-ucrt-x86_64-libiconv-1.17-3
mingw-w64-ucrt-x86_64-libwinpthread-git-11.0.0.r216.gffe883434-1
mingw-w64-ucrt-x86_64-mpc-1.3.1-2 mingw-w64-ucrt-x86_64-mpfr-4.2.1-2
mingw-w64-ucrt-x86_64-windows-default-manifest-6.4-4
mingw-w64-ucrt-x86_64-winpthreads-git-11.0.0.r216.gffe883434-1
mingw-w64-ucrt-x86_64-zlib-1.3-1 mingw-w64-ucrt-x86_64-zstd-1.5.5-1
mingw-w64-ucrt-x86_64-gcc-13.2.0-2Total Download Size: 49.38 MiB
Total Installed Size: 418.82 MiB:: Proceed with installation? [Y/n]
[... downloading and installation continues ...]
按下“Enther"键,继续下载mingw-w64工具链。
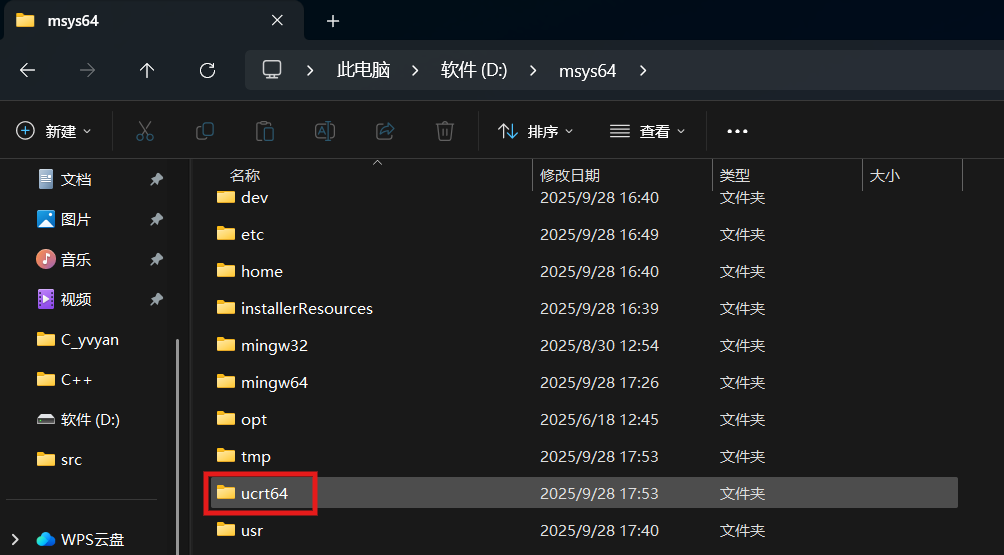
如果终端下载完成后自动关闭了终端界面,打开文件资源管理器找到下载msys2的路径:(以D盘根路径为例)
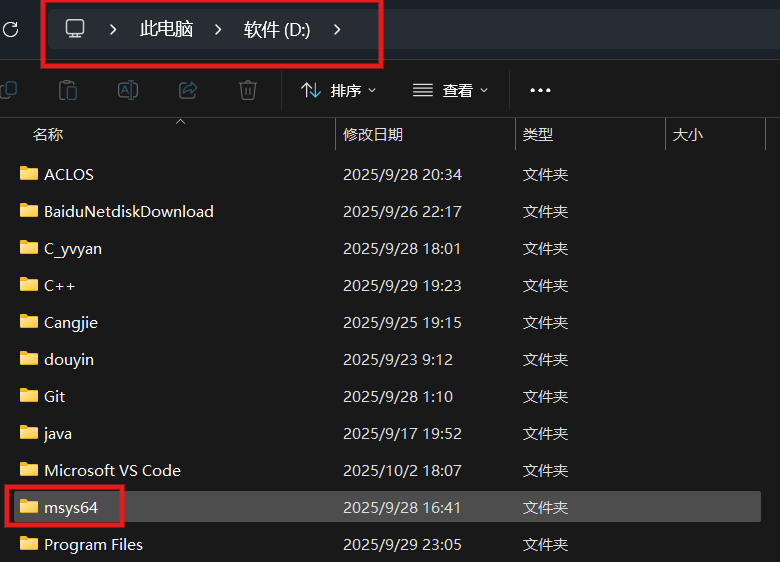
双击后,向下滑动找到图中所示应用程序
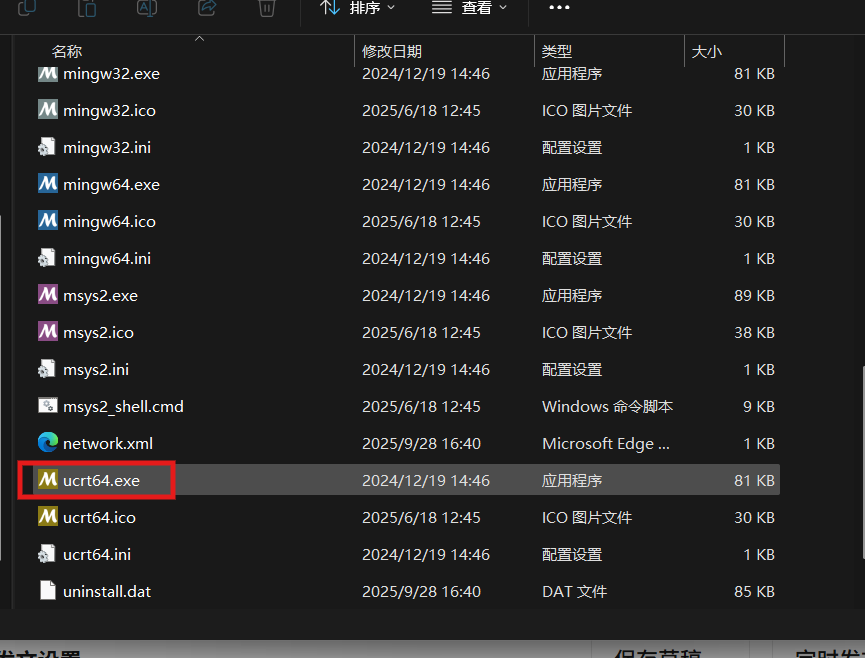
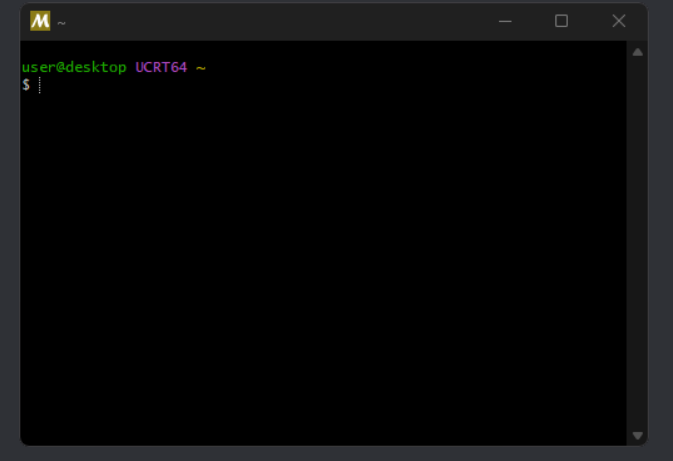
双击后,即可重新唤起ucrt64终端界面:
 执行以下命令:
pacman -S mingw-w64-ucrt-x86_64-wxwidgets3.3-msw
此时ucrt64终端将下载wxWidgets库,下载速度比较慢,需耐心等待一段时间。
配置环境
1、配置C/C++环境
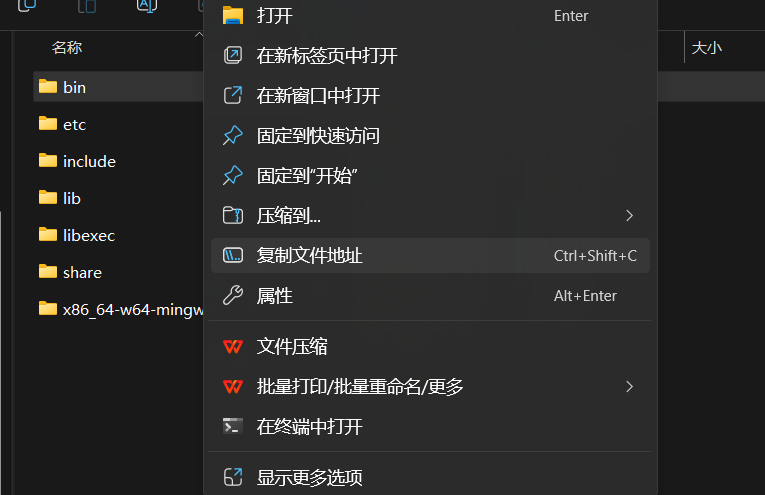
打开msys2文件夹,找到ucrt64
打开该文件,复制bin文件的路径:
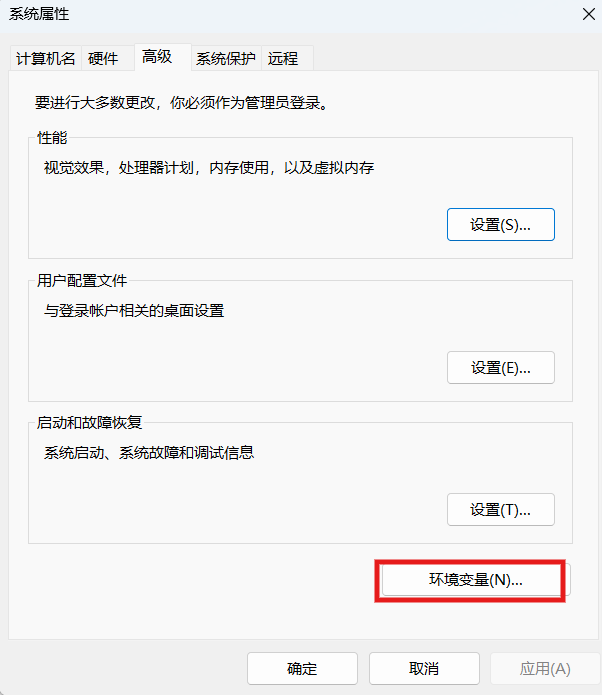
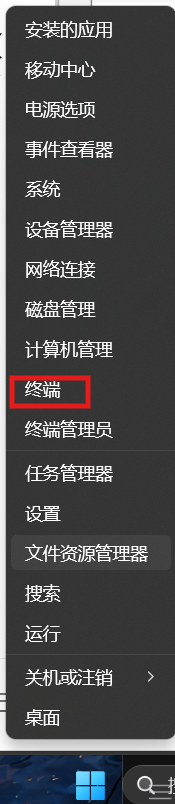
按下win键,搜索”环境“,打开体系变量(不是”用户变量“,不要搞错了):
点击”环境变量“
选择系统变量中的Path:
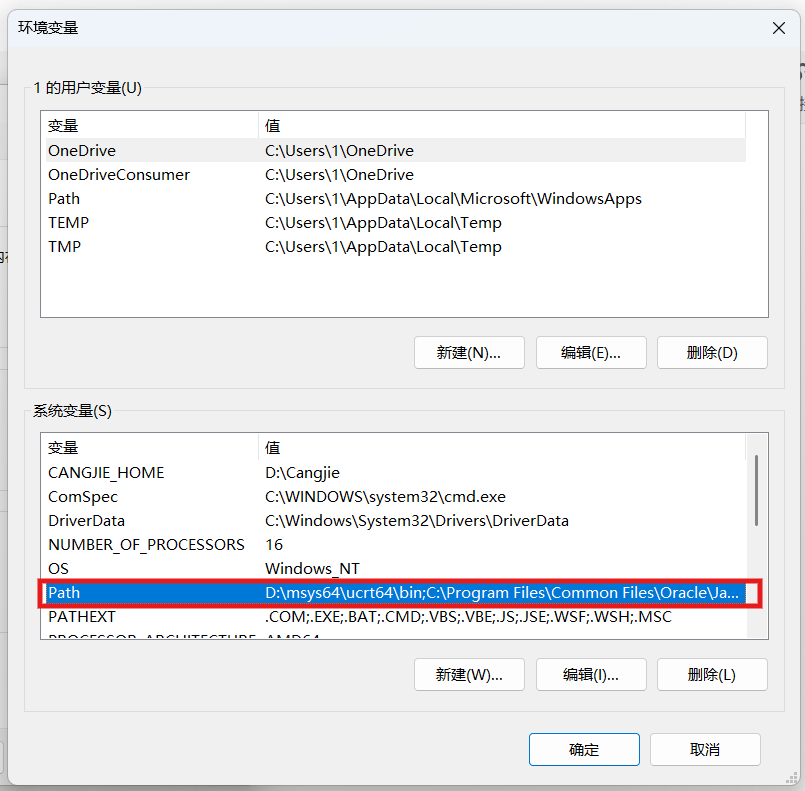
点击编辑,再新建路径,粘贴刚才复制的路径(可能带有引号,需去除):
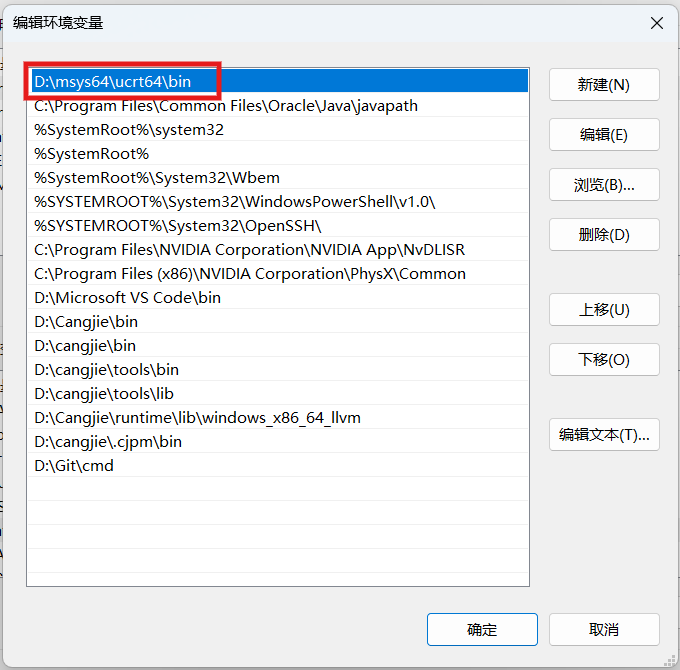
依次点击确定后即保存完毕,打开终端:
分别输入:
gcc -v
g++ -v
gdb -v
如果正常显示版本,即说明 C/C++环境已配置好。
2、创建项目
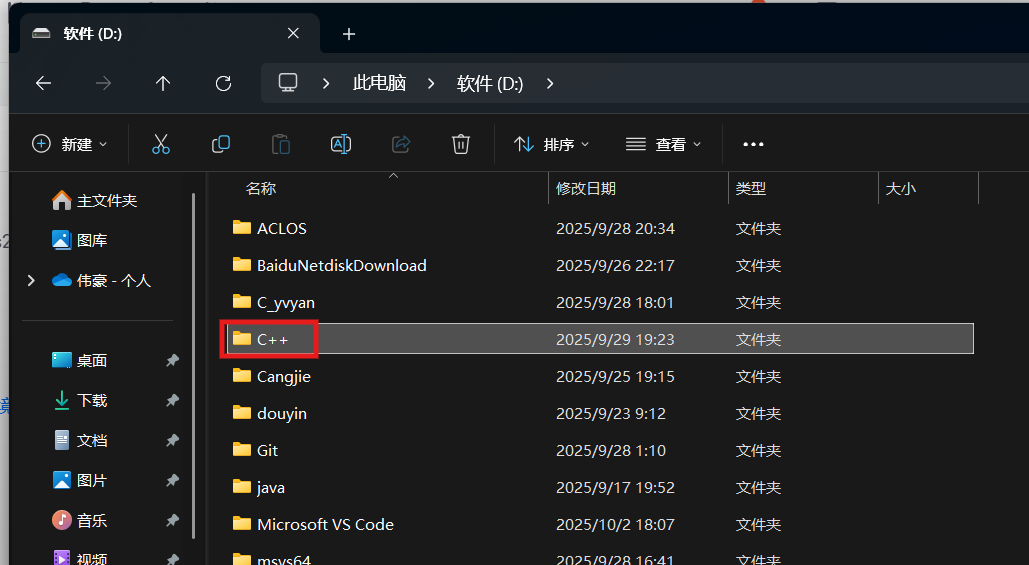
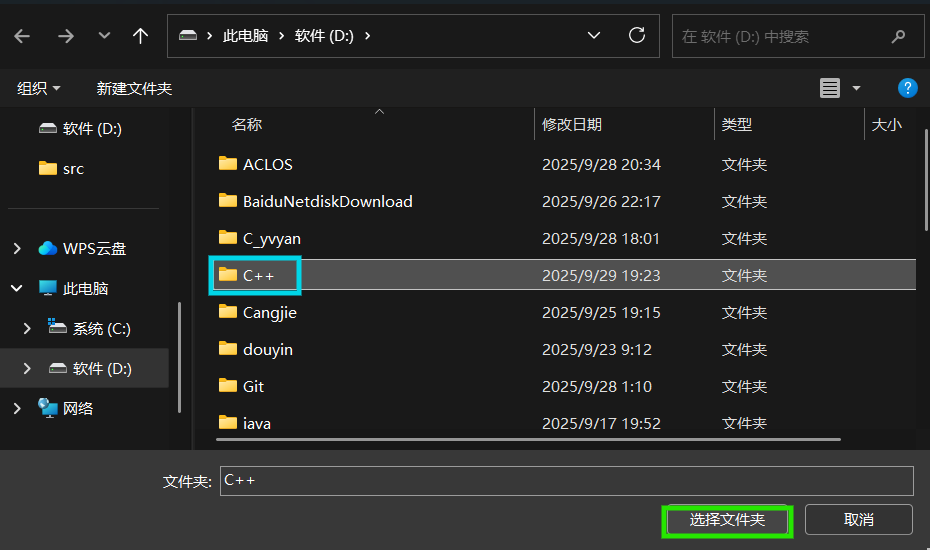
在D盘中新建文件夹:C++
打开VScode,点击打开文件夹:
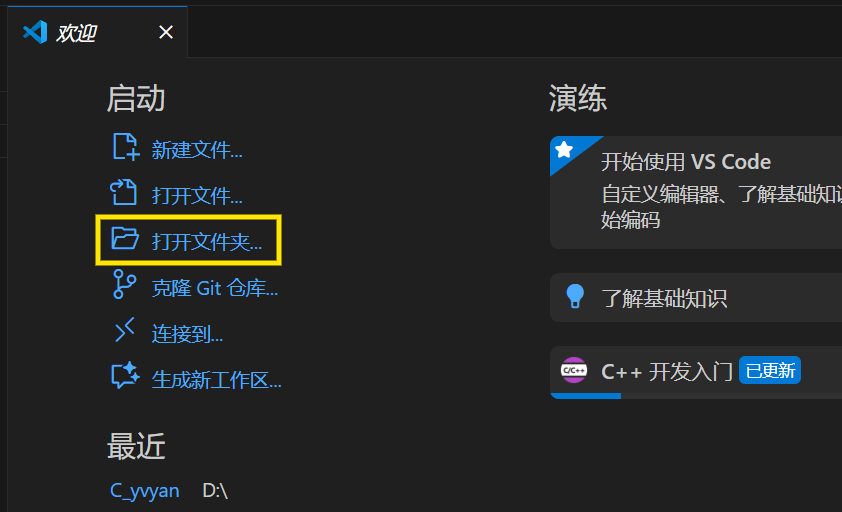
选择我们刚创建的文件夹:
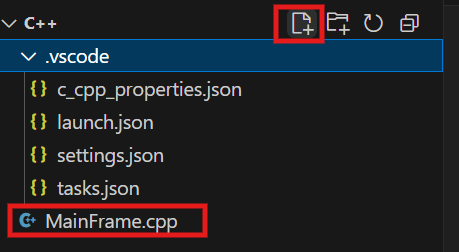
新建C++文件:
将这段C++代码粘贴:
MainFrame.cpp
#include
// 自定义应用程序类
class MyApp : public wxApp {
public:
bool OnInit() override {
// 创建主窗口
wxFrame* frame = new wxFrame(nullptr, wxID_ANY, "简单wxWidgets程序",
wxDefaultPosition, wxSize(400, 300));
// 创建面板(用于容纳控件)
wxPanel* panel = new wxPanel(frame);
// 创建文本框
wxTextCtrl* textCtrl = new wxTextCtrl(panel, wxID_ANY, "点击按钮修改我",
wxPoint(50, 50), wxSize(300, 30));
// 创建按钮,绑定点击事件
wxButton* button = new wxButton(panel, wxID_ANY, "点击我",
wxPoint(150, 100), wxSize(100, 30));
button->Bind(wxEVT_BUTTON, [textCtrl](wxCommandEvent&) {
textCtrl->SetValue("你点击了按钮!");
});
// 显示窗口
frame->Show(true);
return true;
}
};
// wxWidgets 程序入口宏
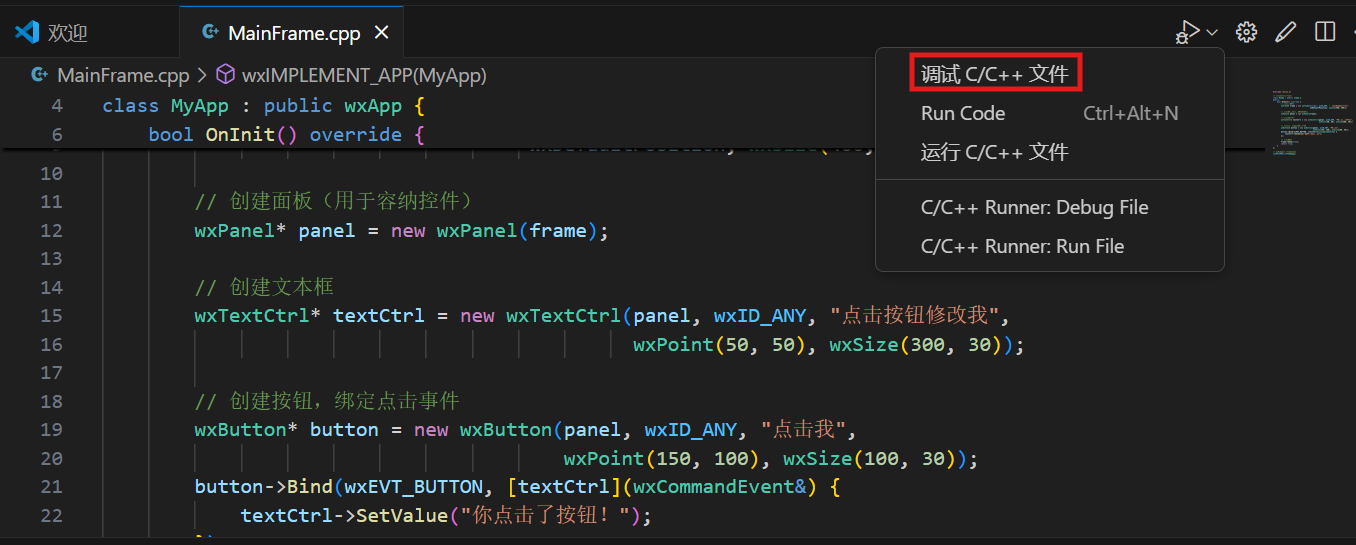
wxIMPLEMENT_APP(MyApp); 可能此时有报错,先调试一下:
此时,会生成.vscode文件夹,请在其中写下这四个代码文件(如果已经生成则覆盖原有的):
.vscode
c_cpp_properties.json
#include <wx/wx.h>
// 自定义应用程序类
class MyApp : public wxApp {
public:
bool OnInit() override {
// 创建主窗口
wxFrame* frame = new wxFrame(nullptr, wxID_ANY, "简单wxWidgets程序",
wxDefaultPosition, wxSize(400, 300));
// 创建面板(用于容纳控件)
wxPanel* panel = new wxPanel(frame);
// 创建文本框
wxTextCtrl* textCtrl = new wxTextCtrl(panel, wxID_ANY, "点击按钮修改我",
wxPoint(50, 50), wxSize(300, 30));
// 创建按钮,绑定点击事件
wxButton* button = new wxButton(panel, wxID_ANY, "点击我",
wxPoint(150, 100), wxSize(100, 30));
button->Bind(wxEVT_BUTTON, [textCtrl](wxCommandEvent&) {
textCtrl->SetValue("你点击了按钮!");
});
// 显示窗口
frame->Show(true);
return true;
}
};
// wxWidgets 程序入口宏
wxIMPLEMENT_APP(MyApp);
launch.json
{
"version": "0.2.0",
"configurations": [
{
"name": "C/C++ Runner: Debug Session",
"type": "cppdbg",
"request": "launch",
"args": [],
"stopAtEntry": false,
"externalConsole": true,
"cwd": "d:/C++",
"program": "d:/C++/build/Debug/outDebug",
"MIMode": "gdb",
"miDebuggerPath": "gdb",
"setupCommands": [
{
"description": "Enable pretty-printing for gdb",
"text": "-enable-pretty-printing",
"ignoreFailures": true
}
]
},
{
"name": "C/C++: g++.exe 构建和调试活动档案",
"type": "cppdbg",
"request": "launch",
"program": "${fileDirname}\\${fileBasenameNoExtension}.exe",
"args": [],
"stopAtEntry": false,
"cwd": "${fileDirname}",
"environment": [],
"externalConsole": false,
"MIMode": "gdb",
"miDebuggerPath": "D:\\msys64\\ucrt64\\bin\\gdb.exe",
"setupCommands": [
{
"description": "为 gdb 启用整齐打印",
"text": "-enable-pretty-printing",
"ignoreFailures": true
},
{
"description": "将反汇编风格设置为 Intel",
"text": "-gdb-set disassembly-flavor intel",
"ignoreFailures": true
}
],
"preLaunchTask": "C/C++: g++.exe 生成活动文件"
}
]
}
settings.json
{
"C_Cpp_Runner.cCompilerPath": "gcc",
"C_Cpp_Runner.cppCompilerPath": "g++",
"C_Cpp_Runner.debuggerPath": "gdb",
"C_Cpp_Runner.cStandard": "",
"C_Cpp_Runner.cppStandard": "",
"C_Cpp_Runner.msvcBatchPath": "C:/Program Files/Microsoft Visual Studio/VR_NR/Community/VC/Auxiliary/Build/vcvarsall.bat",
"C_Cpp_Runner.useMsvc": false,
"C_Cpp_Runner.warnings": [
"-Wall",
"-Wextra",
"-Wpedantic",
"-Wshadow",
"-Wformat=2",
"-Wcast-align",
"-Wconversion",
"-Wsign-conversion",
"-Wnull-dereference"
],
"C_Cpp_Runner.msvcWarnings": [
"/W4",
"/permissive-",
"/w14242",
"/w14287",
"/w14296",
"/w14311",
"/w14826",
"/w44062",
"/w44242",
"/w14905",
"/w14906",
"/w14263",
"/w44265",
"/w14928"
],
"C_Cpp_Runner.enableWarnings": true,
"C_Cpp_Runner.warningsAsError": false,
"C_Cpp_Runner.compilerArgs": [],
"C_Cpp_Runner.linkerArgs": [],
"C_Cpp_Runner.includePaths": [],
"C_Cpp_Runner.includeSearch": [
"*",
"**/*"
],
"C_Cpp_Runner.excludeSearch": [
"**/build",
"**/build/**",
"**/.*",
"**/.*/**",
"**/.vscode",
"**/.vscode/**"
],
"C_Cpp_Runner.useAddressSanitizer": false,
"C_Cpp_Runner.useUndefinedSanitizer": false,
"C_Cpp_Runner.useLeakSanitizer": false,
"C_Cpp_Runner.showCompilationTime": false,
"C_Cpp_Runner.useLinkTimeOptimization": false,
"C_Cpp_Runner.msvcSecureNoWarnings": false,
"editor.gotoLocation.alternativeDeclarationCommand": "editor.action.revealDefinition",
"editor.gotoLocation.alternativeDefinitionCommand": "editor.action.revealDefinition",
"editor.gotoLocation.alternativeTypeDefinitionCommand": "editor.action.revealDefinition",
"editor.selectionHighlight": false,
"files.autoSave": "onFocusChange",
"editor.suggest.snippetsPreventQuickSuggestions": false,
"editor.quickSuggestions": {
"other": "on",
"comments": "off",
"strings": "on"
}
tasks.json
{
"tasks": [
{
"type": "cppbuild",
"label": "C/C++: g++.exe 生成活动文件",
"command": "D:\\msys64\\ucrt64\\bin\\g++.exe",
"args": [
"-fdiagnostics-color=always",
"-g",
"${file}",
"-I",
"D:\\msys64\\ucrt64\\include\\wx-3.3",
"-I",
"D:\\msys64\\ucrt64\\lib\\wx\\include\\msw-unicode-3.3",
"-L",
"D:\\msys64\\ucrt64\\lib",
"-l:libwx_baseu-3.3.dll.a",
"-l:libwx_mswu_core-3.3.dll.a",
"-fdiagnostics-color=always",
// 解决汉字乱码问题,没有坐拥
"-finput-charset=UTF-8",
// "-fexec-charset=UTF-8",
"-fexec-charset=GBK", // 生成的可执行文件使用GBK编码(适配Windows)
"-o",
"${fileDirname}\\${fileBasenameNoExtension}.exe"
],
"options": {
"cwd": "${fileDirname}"
},
"problemMatcher": [
"$gcc"
],
"group": {
"kind": "build",
"isDefault": true
},
"detail": "调试器生成的任务。"
}
],
"version": "2.0.0"
}
然后将这四个代码中的路径换成你实际的路径,要是你是按照本文的路径来的,直接使用即可。
此时再点调试,等待代码运行一会后:
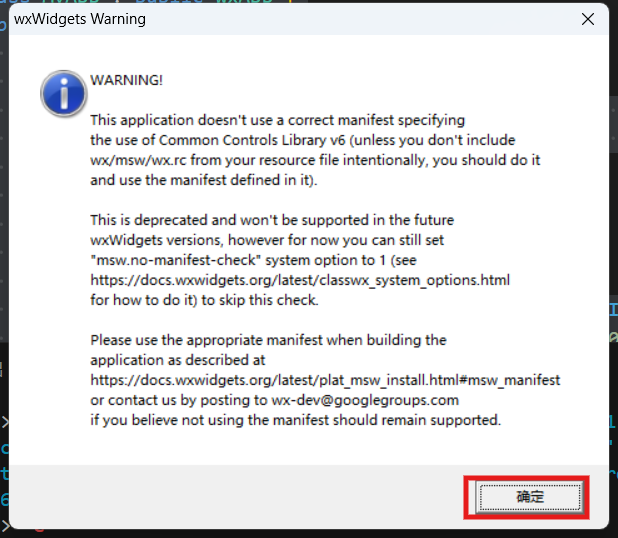
如图所示,说明已成功了。此时点击确定:

没有出现乱码,正常显示中文即达成了。


 浙公网安备 33010602011771号