ActiveMQ 5.x 消息队列
1.安装 ActiveMQ
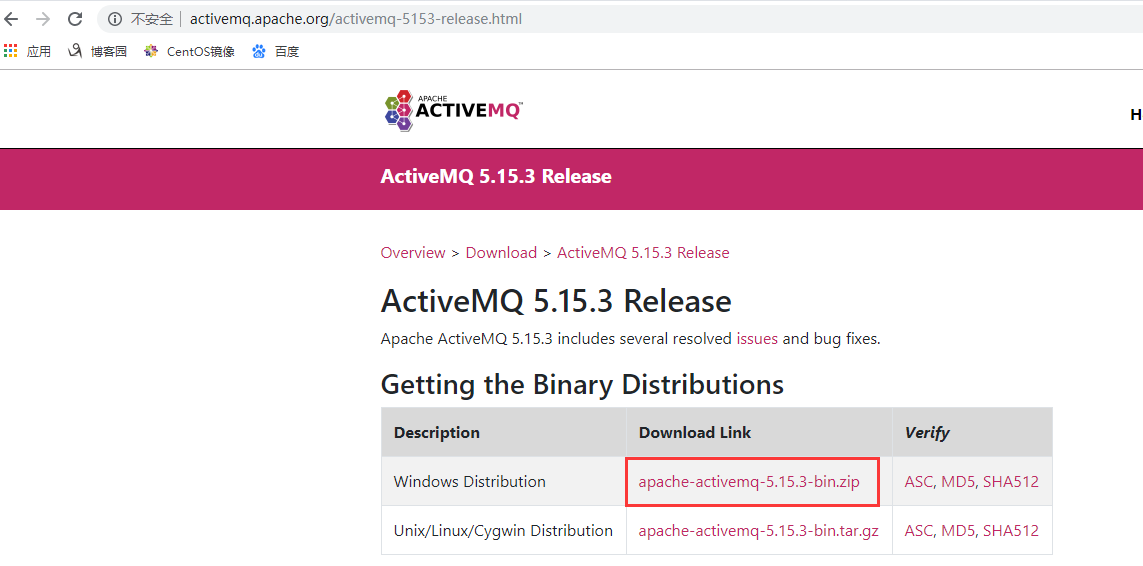
这里以 ActiveMQ 5.15.3 版本为例,下载地址:http://activemq.apache.org/activemq-5153-release.html
官网提供的快速开始案例:http://activemq.apache.org/getting-started.html
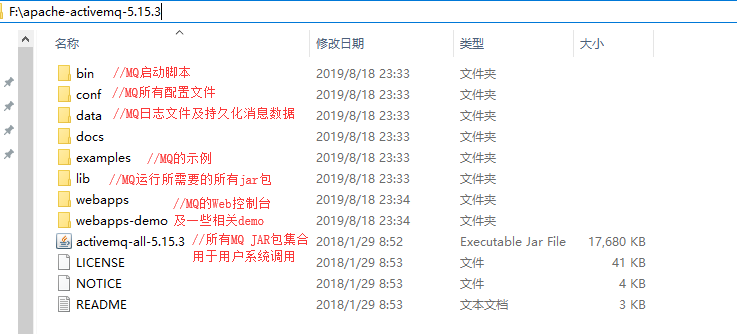
下载完以后,解压到用户自定义的目录下
如果我们是 32 位的机器,就双击 win32 目录下的 activemq.bat,如果是 64 位机器,则双击 win64 目录下的 activemq.bat

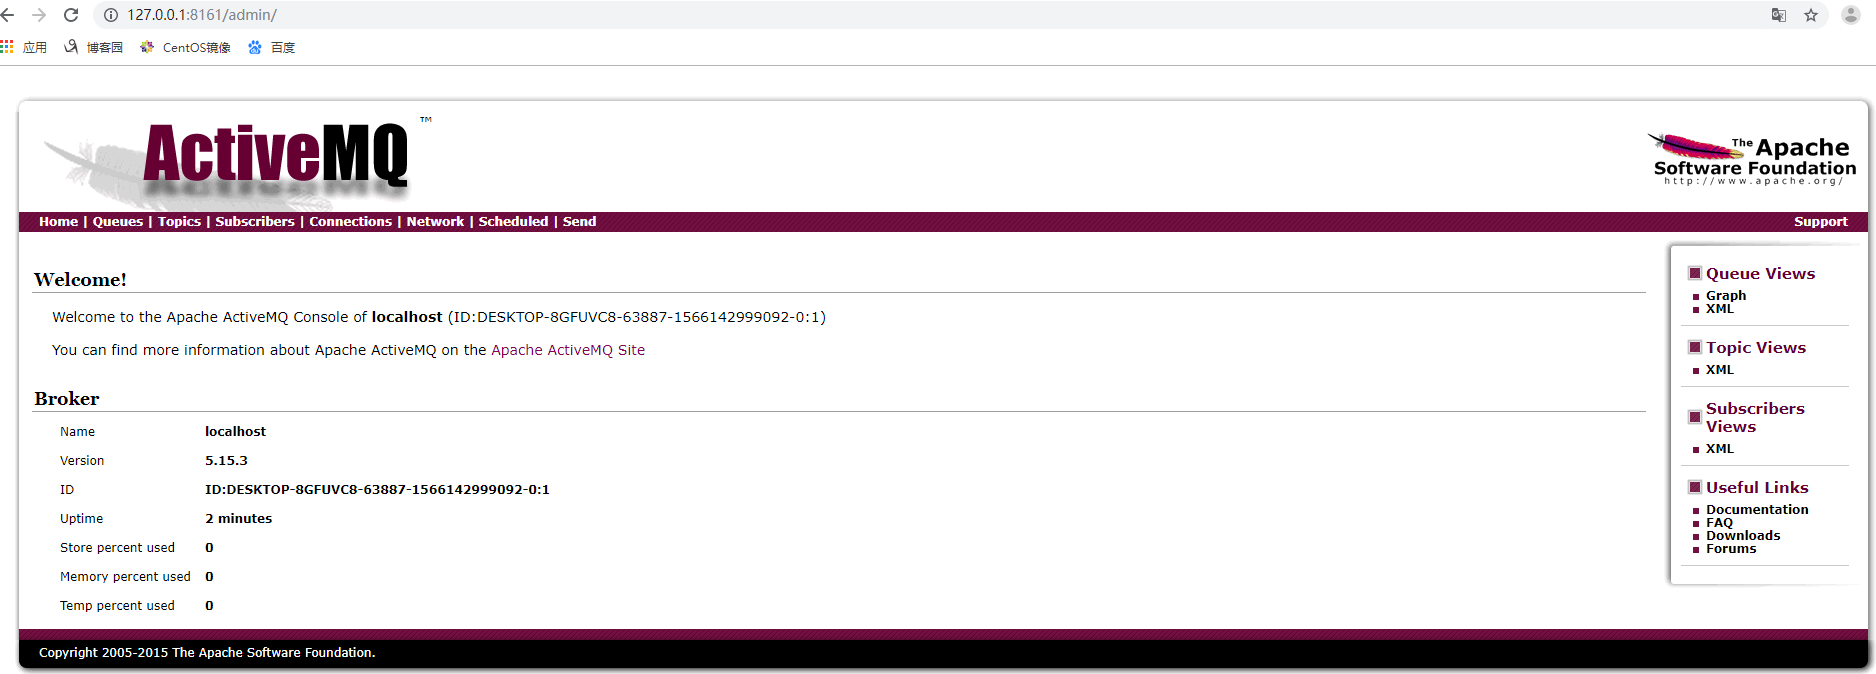
启动后访问路径 http://127.0.0.1:8161/,用户名和密码默认都是 admin
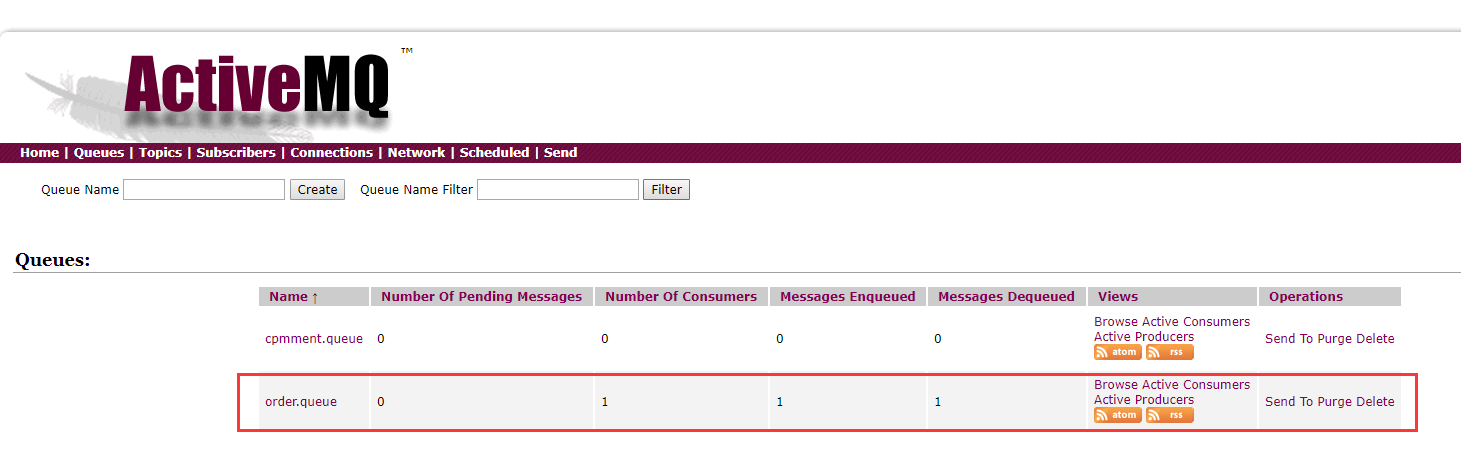
新增消息队列

2. Spring Boot 2.X 整合 ActiveMQ 之点对点消息
步骤1:加入依赖
<!-- 整合消息队列ActiveMQ -->
<dependency>
  <groupId>org.springframework.boot</groupId>
  <artifactId>spring-boot-starter-activemq</artifactId>
</dependency>

<!-- 如果配置线程池则加入 -->
<dependency>
  <groupId>org.apache.activemq</groupId>
  <artifactId>activemq-pool</artifactId>
</dependency>

<!-- 如果JmsMessagingTemplate无法自动注入,就引入以下依赖 -->
<dependency>
    <groupId>org.messaginghub</groupId>
    <artifactId>pooled-jms</artifactId>
    <version>1.0.3</version>
</dependency>
步骤2:application.properties 配置文件配置
#整合jms测试,安装在别的机器,防火墙和端口号记得开放
spring.activemq.broker-url=tcp://127.0.0.1:61616

#集群配置
#spring.activemq.broker-url=failover:(tcp://localhost:61616,tcp://localhost:61617)

spring.activemq.user=admin
spring.activemq.password=admin
#下列配置要增加依赖
spring.activemq.pool.enabled=true
spring.activemq.pool.max-connections=100
步骤3:Spring Boot 启动类增加注解 @EnableJms,开启支持 JMS
@SpringBootApplication
@EnableJms
public class XdclassApplication {
    @Bean
    public Queue queue(){
        return new ActiveMQQueue("common.queue");
    }

    public static void main(String[] args) {
        SpringApplication.run(XdclassApplication.class, args);
    }
}
步骤4:建立 service 接口及其实现类
package com.example.demo.service;

import javax.jms.Destination;
/**
 * 功能描述:消息生产
 */
public interface ProducerService {

    /**
     * 功能描述:指定消息队列,还有消息
     * @param destination
     * @param message
     */
    public void sendMessage(Destination destination, final String message);

    /**
     * 功能描述:使用默认消息队列, 发送消息
     * @param message
     */
    public void sendMessage(final String message);
}
实现类
package com.example.demo.service.impl;

import javax.jms.Destination;
import javax.jms.Queue;
import javax.jms.Topic;

import com.example.demo.service.ProducerService;

import org.springframework.beans.factory.annotation.Autowired;
import org.springframework.jms.core.JmsMessagingTemplate;
import org.springframework.stereotype.Service;

/**
 * 功能描述:消息生产者
 */
@Service
public class ProducerServiceImpl implements ProducerService{

    @Autowired
    private Queue queue;

    /**
     * 用来发送消息到broker的对象
     */
    @Autowired
    private JmsMessagingTemplate jmsMessagingTemplate;

    /**
     * 发送消息,destination是发送到的队列,message是待发送的消息*/
    @Override
    public void sendMessage(Destination destination, String message) {
        jmsMessagingTemplate.convertAndSend(destination, message);
    }

    /**
     * 发送消息,destination是发送到的队列,message是待发送的消息*/
    @Override
    public void sendMessage(final String message) {
        jmsMessagingTemplate.convertAndSend(queue, message);
    }
}
步骤5:新建 controller 用来测试
package com.example.demo.controller;

import javax.jms.Destination;

import com.example.demo.domain.JsonData;
import com.example.demo.service.ProducerService;

import org.apache.activemq.command.ActiveMQQueue;
import org.springframework.beans.factory.annotation.Autowired;
import org.springframework.web.bind.annotation.GetMapping;
import org.springframework.web.bind.annotation.RequestMapping;
import org.springframework.web.bind.annotation.RestController;

/**
 * 功能描述:模拟微信支付回调
 */
@RestController
@RequestMapping("/api/v1")
public class OrderController {

    @Autowired
    private ProducerService producerService;
    /**
     * 功能描述:微信支付回调接口
     * @param msg 支付信息
     * @return
     */
    @GetMapping("order")
    public Object order(String msg){
    Destination destination = new ActiveMQQueue("order.queue");
    producerService.sendMessage(destination, msg);
       return JsonData.buildSuccess();
    }

    @GetMapping("common")
    public Object common(String msg){
    producerService.sendMessage(msg);
       return JsonData.buildSuccess();
    }
}
模拟请求:http://localhost:8080/api/v1/order?msg=123
以上步骤完成了向队列里发送消息的代码,但只有生产消息的代码,还不够,还需要消费消息的代码
步骤6:新建消费者:实时监听对应的队列
package com.example.demo.jms;

import org.springframework.jms.annotation.JmsListener;
import org.springframework.stereotype.Component;
@Component

public class OrderConsumer {

    @JmsListener(destination="order.queue")//实时监听消息队列,这里监听了名为:order.queue 的队列
    public void receiveQueue(String text){
    System.out.println("OrderConsumer收到的报文为:"+text);
    }
}
项目结构如下图所示:

注意:
1)消费者一般是单独的项目,这里写在一起方便测试
2)之所以是点对点消息,是因为只能被一个消费者捕获到,定义多个消费者是没有用的,比如,再定义一个消费者
public class OrderConsumer {

    @JmsListener(destination="order.queue")
    public void receiveQueue(String text){
        System.out.println("OrderConsumer收到的报文为:"+text);
    }

    @JmsListener(destination="order.queue")
    public void receiveQueue2(String text){
        System.out.println("OrderConsumer222收到的报文为:"+text);
    }
}
最后的输出如下图所示,所以点对点消息无法被多个消费者消费

3. Spring Boot 2.X 整合 ActiveMQ 之发布订阅模式
如果想被多个消费者消费,需要对上面的项目进行改造
步驟1:pom 文件还是和上面的一样
步驟2:首先需要支持发布订阅,在配置文件中进行配置(默认只支持点对点)
#整合jms测试,安装在别的机器,防火墙和端口号记得开放
spring.activemq.broker-url=tcp://127.0.0.1:61616

#集群配置
#spring.activemq.broker-url=failover:(tcp://localhost:61616,tcp://localhost:61617)

spring.activemq.user=admin
spring.activemq.password=admin
#下列配置要增加依赖
spring.activemq.pool.enabled=true
spring.activemq.pool.max-connections=100

#default point to point
spring.jms.pub-sub-domain=true
步骤3:Spring Boot 启动类增加注解 @EnableJms,开启支持 JMS,和上面的项目其实是一样的
@SpringBootApplication
@EnableJms
public class XdclassApplication {
  @Bean
  public Topic topic(){
    return new ActiveMQTopic("video.topic");
  }

  public static void main(String[] args) {
    SpringApplication.run(XdclassApplication.class, args);
  }
}
步骤4:建立 service 接口及其实现类
package com.example.demo.service;

import javax.jms.Destination;

public interface ProducerService {
    public void publish(String msg);
}
实现类
@Service
public class ProducerServiceImpl implements ProducerService{
    @Autowired
    private JmsMessagingTemplate jmsMessagingTemplate;

    @Autowired
    private Topic topic;

    @Override
    public void publish(String msg) {
    this.jmsMessagingTemplate.convertAndSend(this.topic, msg);
    }
}
步骤5:新建 controller 用来测试
@RestController
@RequestMapping("/api/v1")
public class OrderController {

    @Autowired
    private ProducerService producerService;

    @GetMapping("topic")
    public Object publish(String msg){
        producerService.publish(msg);
        return JsonData.buildSuccess();
    }
}
模拟请求:http://localhost:8080/api/v1/topic?msg=publish_sub
以上步骤完成了向主题(Topic)里发送消息的代码,但只有发布消息的代码,还不够,还需要订阅消息的代码
步骤6:新建订阅者:实时监听对应的Topic
@Component
public class TopicSub {

    @JmsListener(destination="video.topic")
    public void receive1(String text){
        System.out.println("video.topic 消费者:receive1="+text);
    }

    @JmsListener(destination="video.topic" )
    public void receive2(String text){
        System.out.println("video.topic 消费者:receive2="+text);
    }

    @JmsListener(destination="video.topic" )
    public void receive3(String text){
        System.out.println("video.topic 消费者:receive3="+text);
    }
}
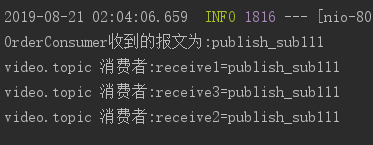
当发布者发布消息时,订阅者就能实时收到消息,效果如下图所示:

注意:以上配置不支持点对点(生产者依然可以生产消息,但是消费者无法消费)
4. 为了同时支持点对点和发布订阅模式,需要做以下修改
步骤1:在配置文件里面,注释掉 #spring.jms.pub-sub-domain=true
步骤2:@JmsListener 如果不指定独立的 containerFactory 的话是只能消费 queue 消息,需要给 topic 定义独立的 JmsListenerContainer
@SpringBootApplication
@EnableJms
public class DemoApplication {

    @Bean
    public Queue queue(){
        return new ActiveMQQueue("common.queue");
    }

    @Bean
    public Topic topic(){
        return new ActiveMQTopic("video.topic");
    }

    @Bean
    public JmsListenerContainerFactory<?> jmsListenerContainerTopic(ConnectionFactory activeMQConnectionFactory) {
        DefaultJmsListenerContainerFactory bean = new DefaultJmsListenerContainerFactory();
        bean.setPubSubDomain(true);
        bean.setConnectionFactory(activeMQConnectionFactory);
        return bean;
    }

    public static void main(String[] args) {
        SpringApplication.run(DemoApplication.class, args);
    }
}
步骤3:修改订阅者 container:containerFactory="jmsListenerContainerTopic"
package com.example.demo.jms;

import org.springframework.jms.annotation.JmsListener;
import org.springframework.stereotype.Component;

@Component
public class TopicSub {

    @JmsListener(destination="video.topic", containerFactory="jmsListenerContainerTopic")
    public void receive1(String text){
        System.out.println("video.topic 消费者:receive1="+text);
    }

    @JmsListener(destination="video.topic" , containerFactory="jmsListenerContainerTopic")
    public void receive2(String text){
        System.out.println("video.topic 消费者:receive2="+text);
    }

    @JmsListener(destination="video.topic" , containerFactory="jmsListenerContainerTopic")
    public void receive3(String text){
        System.out.println("video.topic 消费者:receive3="+text);
    }
}
效果如下图所示,同时支持点对点和发布订阅模式

 浙公网安备 33010602011771号