day:30 接口自动化——生成邮箱
一.下载一个邮件模板(属于封装号的模板)
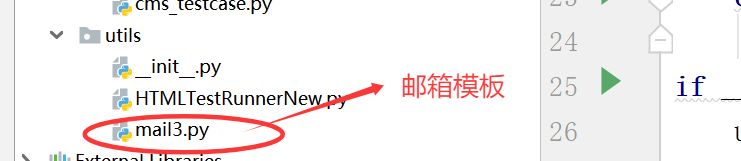
二.将邮件模板存放在utlis中
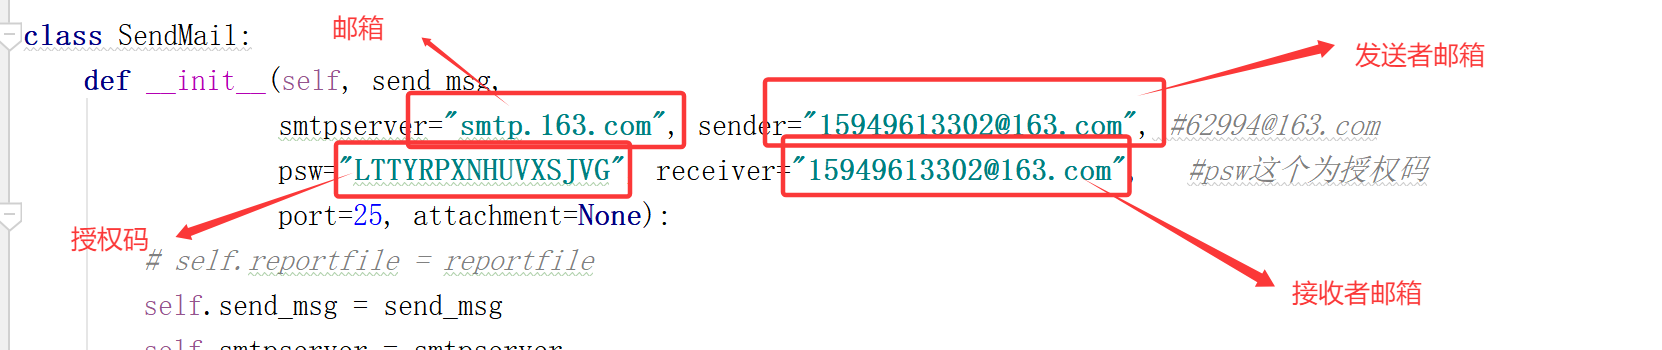
三.修改邮件模板
1.注册一个邮箱(案例163邮箱)
**2. 网址:
163邮箱:网址https://mail.163.com/js6/main.jspsid=aLdwHUuYwOueisERUbYYwPJQIJpXbsny&df=mail163_letter#module=read.ReadModule%7C%7B%22area%22%3A%22normal%22%2C%22isThread%22%3Afalse%2C%22viewType%22%3A%22%22%2C%22id%22%3A%22417%3AxtbBoRvU2meF1pqmGgAAsm%22%2C%22fid%22%3A1%7D
qq邮箱网址:
https://mail.qq.com/cgi-bin/frame_html?sid=gOm8D3SAnyPANUQj&r=ff6163ec2440258c4a188d905096558d&lang=zh
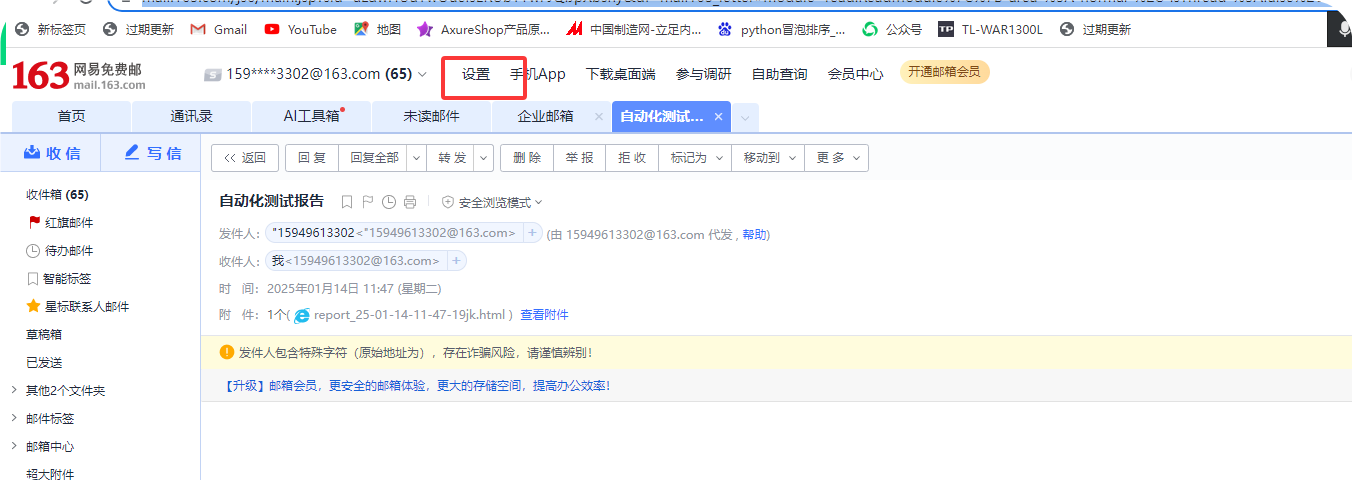
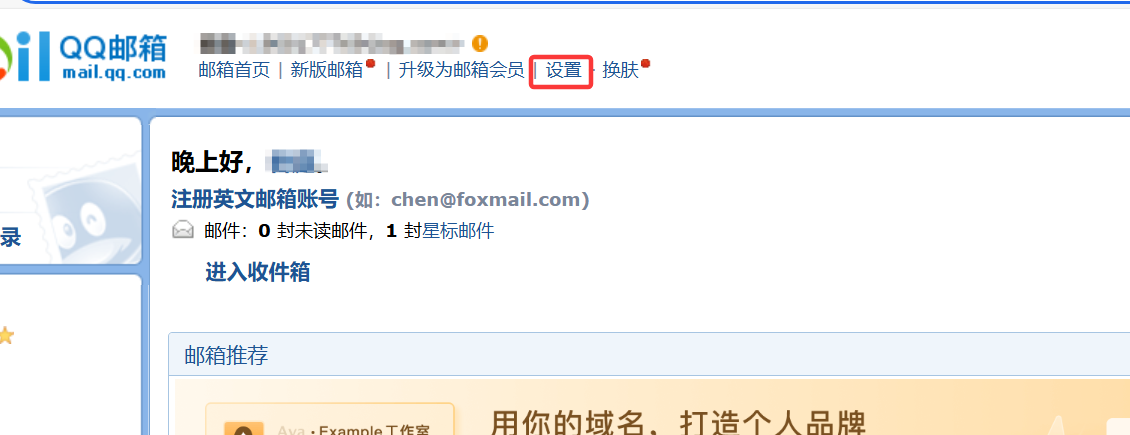
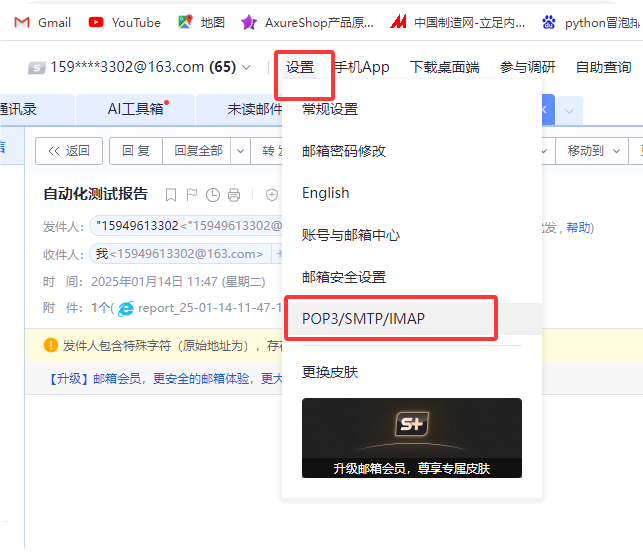
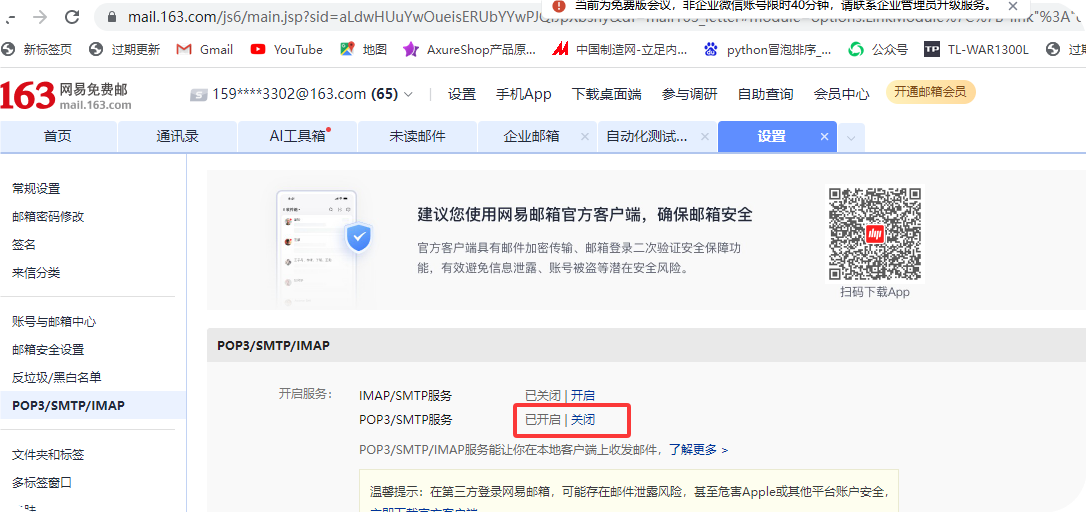
3.点击设置
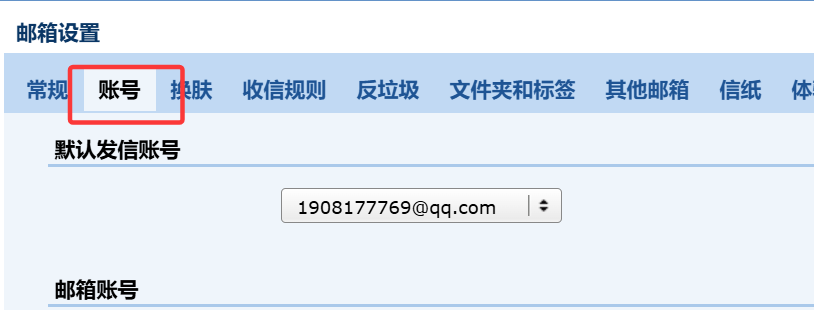
4.协议
163邮箱:
qq邮箱:
5.开启协议
163邮箱:
qq邮箱:

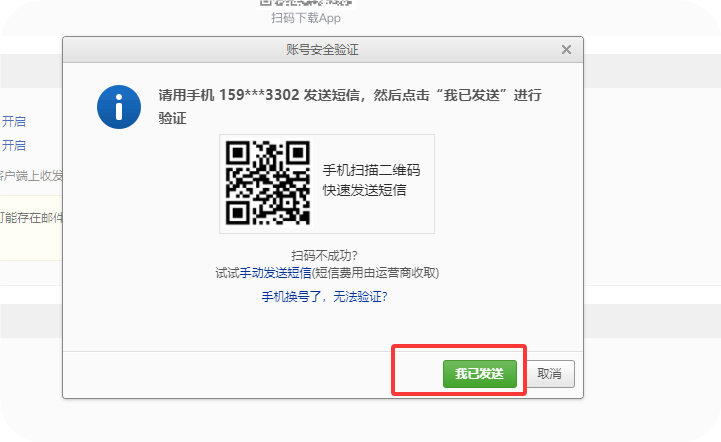
扫码界面
163邮箱: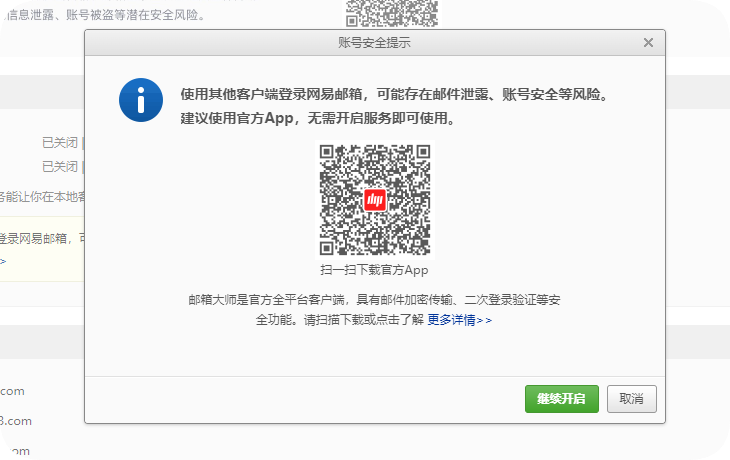
qq邮箱: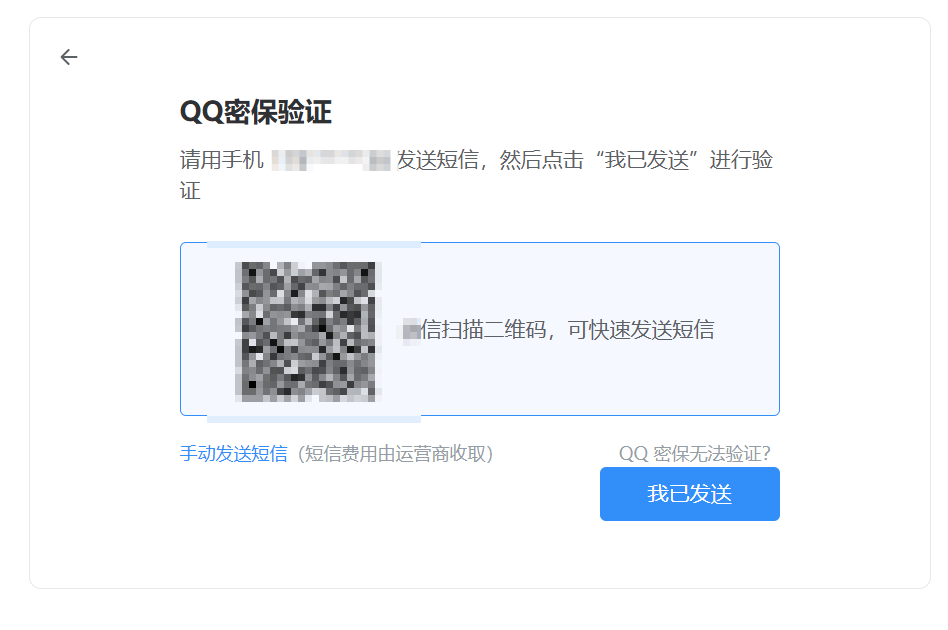
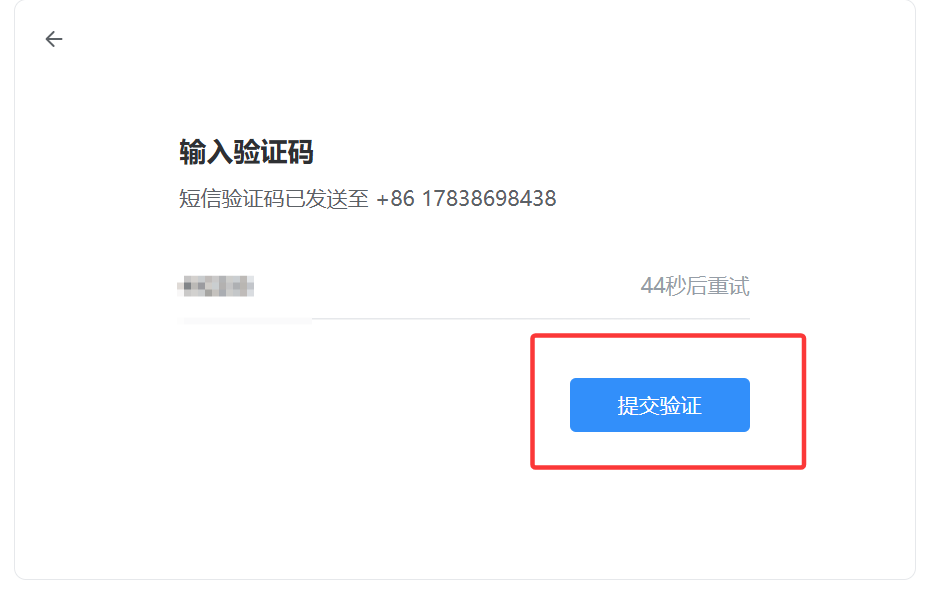
点解继续开启
163邮箱:
qq邮箱:
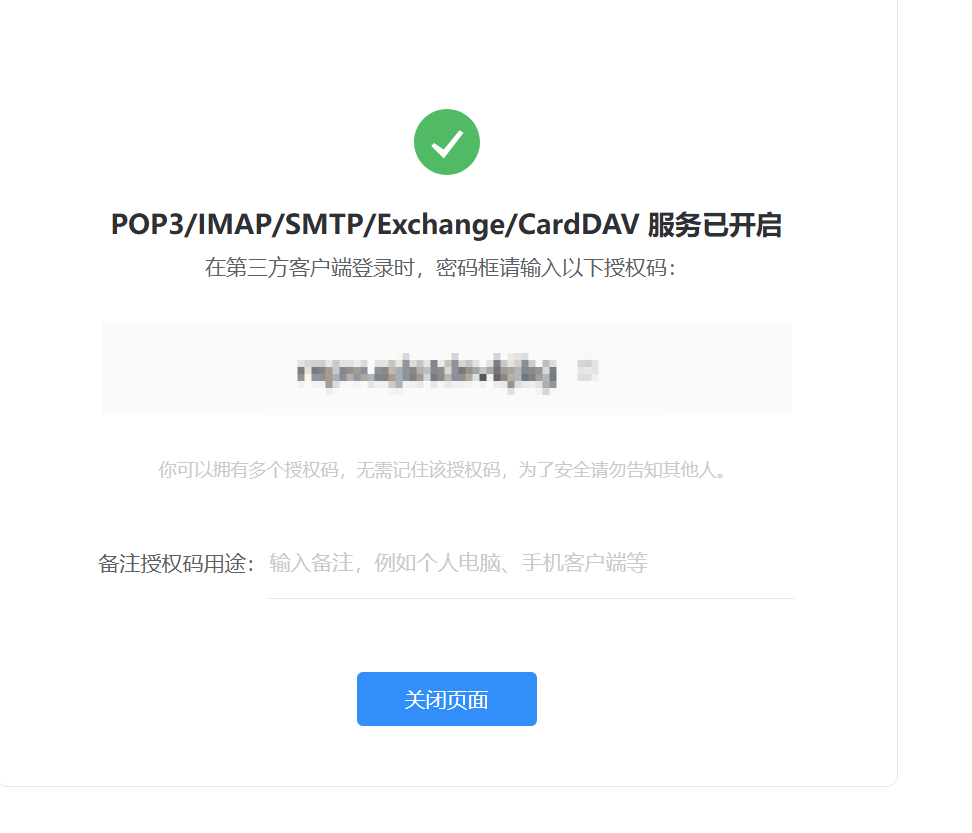
获取授权码
163邮箱:
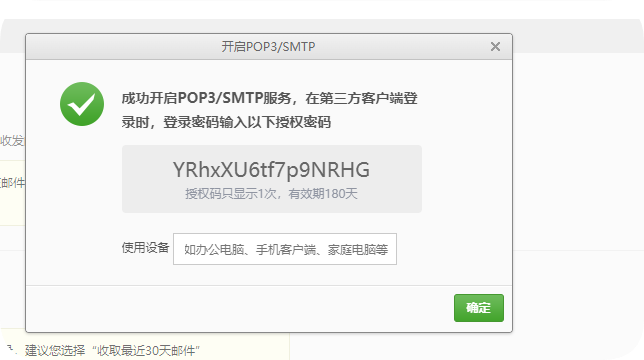
qq邮箱:
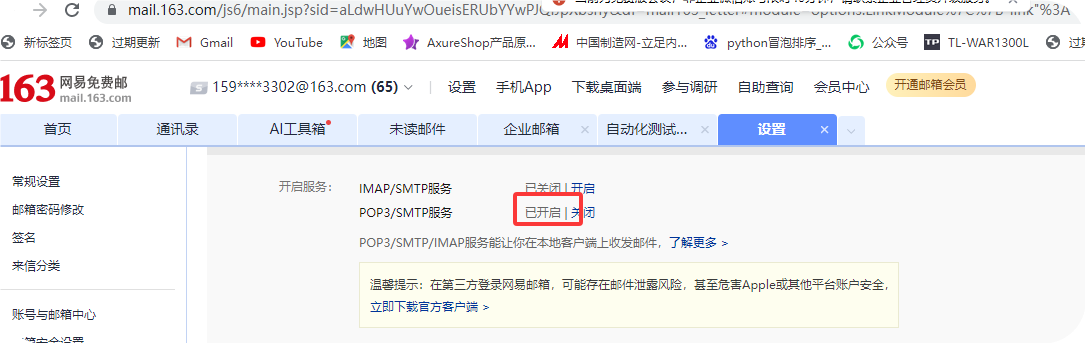
显示已开启

三.运行报告模板
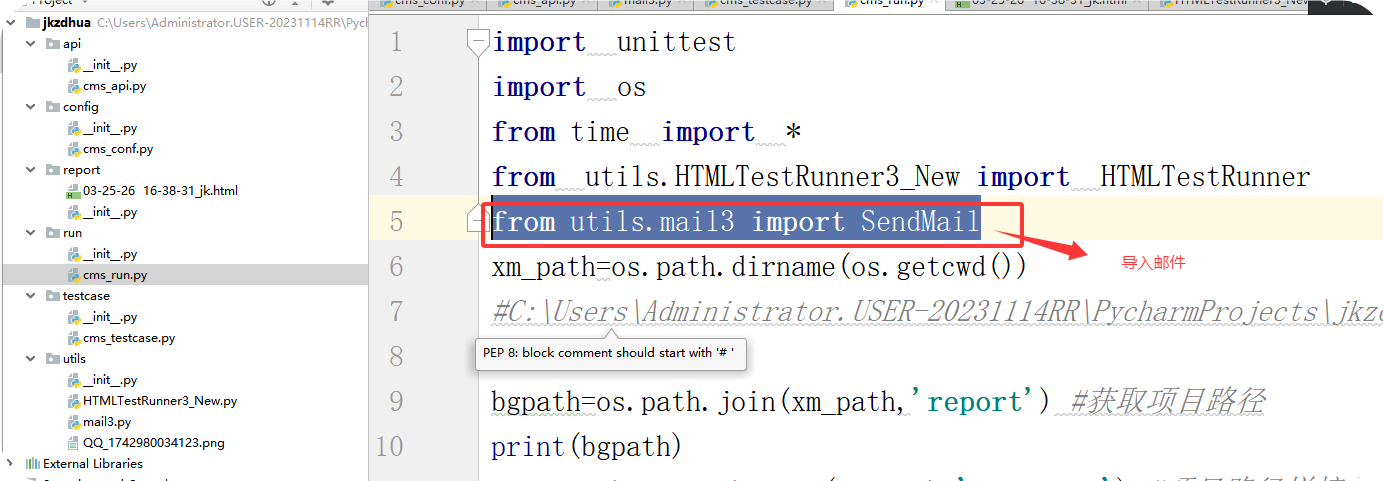
(1)导入邮件模板
from utils.mail3 import SendMail
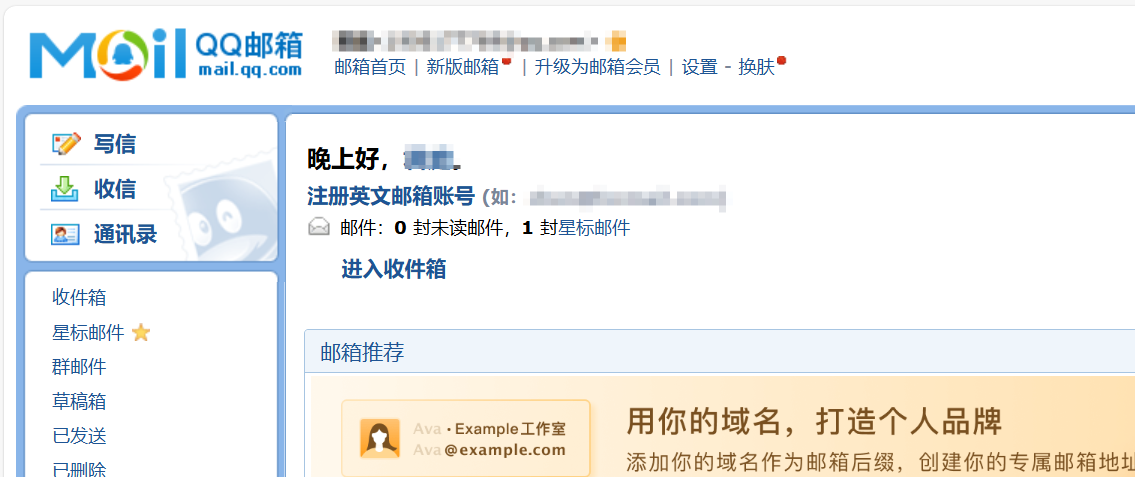
接受到邮箱
图片
图片
import unittest
import os
from time import *
from testcase.cms_testcase import *
from utils.HTMLTestRunner3_New import HTMLTestRunner
from utils.mail3 import SendMail
xm_path=os.path.join(os.path.abspath(os.path.dirname(os.getcwd())))
print(xm_path)
bg_path=os.path.join(xm_path,"report")
print(bg_path) #
yl_path=os.path.join(xm_path,"testcase")
print(yl_path)
new=strftime("%y-%m-%d %H-%M-%S")
file=bg_path+"/"+str(new)+"api_.html"
def bg(wj):
d = unittest.TestLoader().discover(start_dir=yl_path, pattern=wj)
f=open(file,"bw")
r=HTMLTestRunner(
stream=f,title="接口自动化测试框架",description="用例执行情况",
tester="dcs"
)
r.run(d)
def yj():
fs=SendMail(send_msg=file,attachment=file)
fs.send_mail()
if name == 'main':
bg("cms*.py")
yj()
图片

 浙公网安备 33010602011771号