RHEL7.5系统安装Oracle19c数据库
RHEL7.5系统安装Oracle12c数据库
0 相关软件下载

第一种下载方式:官网下载
第二种下载方式:百度云下载
点我下载 提取码:v3if
1 配置oracle的安装环境
1.1 关闭防火墙、SElinux
systemctl stop firewalld
systemctl disable firewalld
setenforce 0
sed -i '/SELINUX/s/enforcing/disabled/' /etc/selinux/config
1.2 修改主机名(永久修改,打开新会话生效)
# 在root用户下执行命令
nmtui


vi /etc/hosts
添加以下内容:
192.168.6.20 ora
1.3 配置本地yum源
# 在root用户下执行命令
vi /etc/yum.repos.d/base.repo
添加以下内容:
[bash]
name=bash
baseurl=file:///mnt
enabled=1
gpgcheck=0
mount /dev/sr0 /mnt
yum repolist all
1.4 安装数据库所需要的rpm包
# 在root用户下执行命令
# 安装所需软件包
yum -y install libst* gcc* libaio* glibc* compat* libx* libX* make* sysstat* ksh net-tools
# 上传iso镜像中缺失的rpm包
mkdir /soft

# 安装compat-libstdc++
cd /soft
rpm -ivh compat-libstdc++-33-3.2.3-72.el7.x86_64.rpm
# 检查所需软件包是否安装
rpm -qa binutils bc binutils compat-libcap1 compat-libstdc++ glibc glibc-devel ksh libaio libaio-devel libgcc libstdc++ libstdc++-devel libxcb libX11 libXau libXi libXtst libXrender libXrender-devel make
1.5 禁止Transparent Huge Pages
# 在root用户下执行命令
echo never > /sys/kernel/mm/transparent_hugepage/enabled
cat /sys/kernel/mm/redhat_transparent_hugepage/enabled   # 输出结果为[always]表示透明巨页启用、[never]表示透明巨页禁用
grep -i HugePages_Total /proc/meminfo   # HugePages_Total返回0,意味着透明巨页禁用
cat /proc/sys/vm/nr_hugepages   # 返回0也意味着透明巨页禁用
1.6 创建oracle所需要的用户组和用户
# 在root用户下执行命令
groupadd -g 54321 oinstall
groupadd -g 54322 dba
groupadd -g 54323 oper
groupadd -g 54324 backupdba
groupadd -g 54325 dgdba
groupadd -g 54326 kmdba
groupadd -g 54330 racdba
useradd -u 54321 -g oinstall -G dba,oper,backupdba,dgdba,kmdba,racdba oracle
passwd oracle
1.7 创建oracle所需目录并更新权限
# 在root用户下执行命令
mkdir -p /u01/app/oracle/product/19.3.0/dbhome_1
mkdir -p /u01/app/oraInventory
mkdir -p /u01/app/oracle/cfgtoollogs
chmod -R 755 /u01
chown -R oracle:oinstall /u01/
1.8 配置系统参数文件
# 在root用户下执行命令
vi /etc/security/limits.conf
添加以下内容:
oracle soft nofile 1024
oracle hard nofile 65536
oracle soft nproc 2047
oracle hard nproc 16384
oracle soft stack 10240
1.9 配置系统内核参数文件
# 在root用户下执行命令
vi /etc/sysctl.conf
添加以下内容:
net.ipv4.tcp_rmem = 4096 87380 4194304
net.ipv4.tcp_wmem = 4096 16384 4194304
fs.aio-max-nr = 1048576
fs.file-max = 6815744
kernel.shmall = 2097152
kernel.shmmax = 4294967295
kernel.shmmni = 4096
kernel.sem = 250 32000 100 128
net.ipv4.ip_local_port_range = 9000 65500
net.core.rmem_default = 262144
net.core.rmem_max = 4194304
net.core.wmem_default = 262144
net.core.wmem_max = 1048576
执行下面命令使配置生效:
sysctl -p
1.10 使用root用户将文件上传到服务器/u01目录下
# 在root用户下执行命令
cd /u01

# 修改数据库软件权限
chmod 775 LINUX.X64_193000_db_home.zip
chown oracle:oinstall LINUX.X64_193000_db_home.zip
1.11 配置oracle用户环境变量
# 在oracle用户下执行命令
vi ~/.bash_profile
添加以下内容:
export ORACLE_BASE=/u01/app/oracle
export ORACLE_HOME=$ORACLE_BASE/product/19.3.0/dbhome_1
export ORACLE_SID=orcl
export PATH=$ORACLE_HOME/bin:$PATH
export LD_LIBRARY_PATH=$ORACLE_HOME/lib:$LD_LIBRARY_PATH
# 使oracle环境变量生效命令:
source ~/.bash_profile
# 解压数据库软件到指定文件夹
cd /u01
unzip LINUX.X64_193000_db_home.zip -d $ORACLE_HOME
2 安装数据库
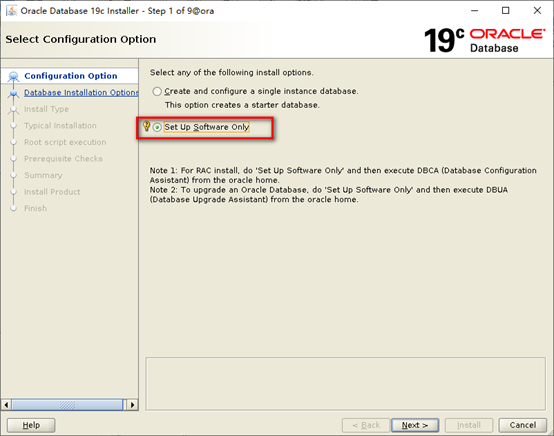
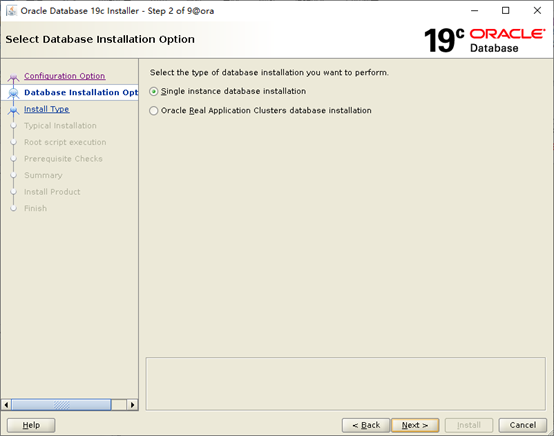
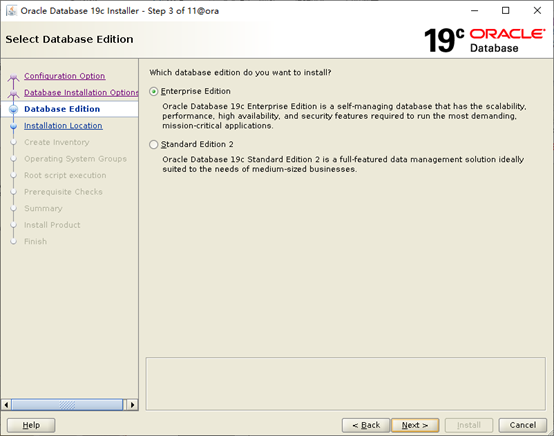
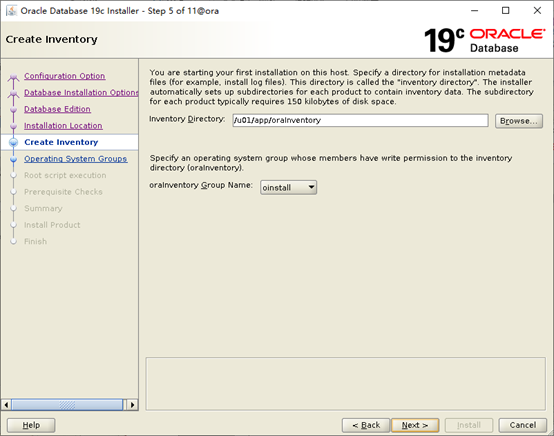
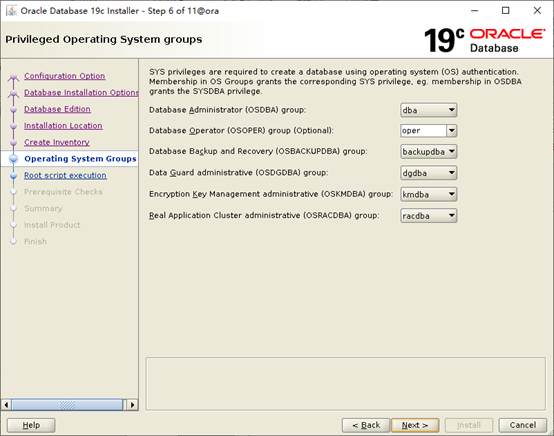
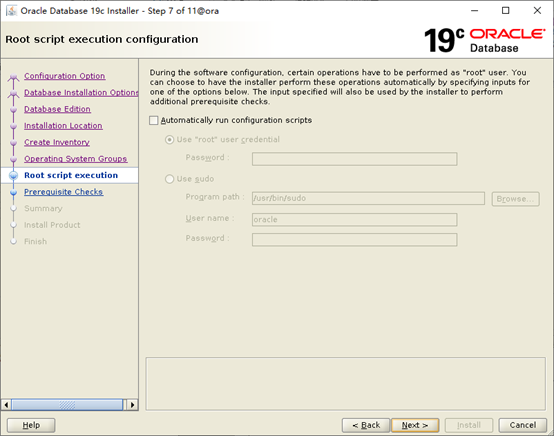
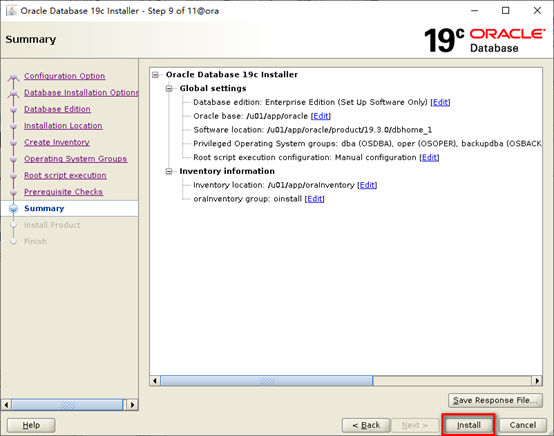
2.1 安装数据库软件
# 在oracle用户下执行命令
cd /u01/app/oracle/product/19.3.0/dbhome_1
DISPLAY=192.168.6.1:0.0; export DISPLAY
./runInstaller

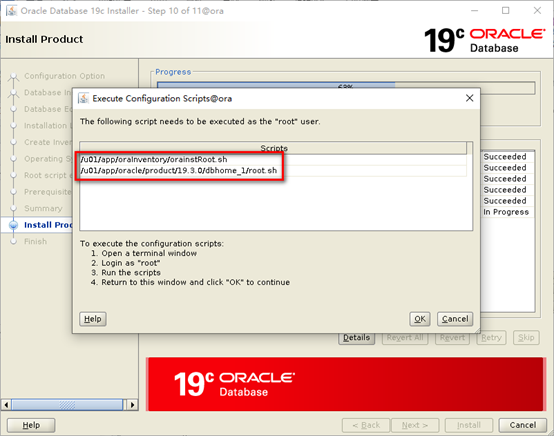
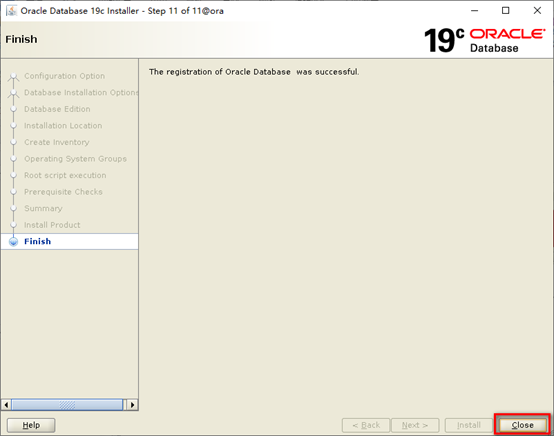
安装过程中出现上页面,登录root用户执行脚本:
/u01/app/oraInventory/orainstRoot.sh
/u01/app/oracle/product/19.3.0/dbhome_1/root.sh
执行完成之后点击OK
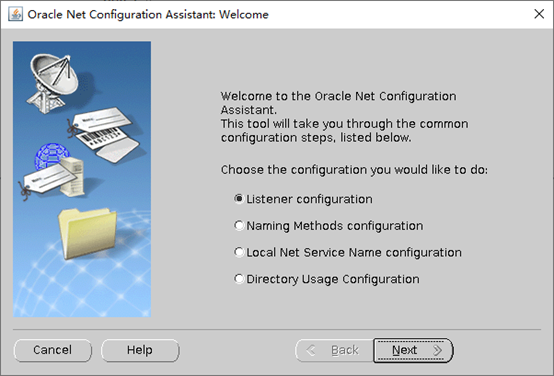
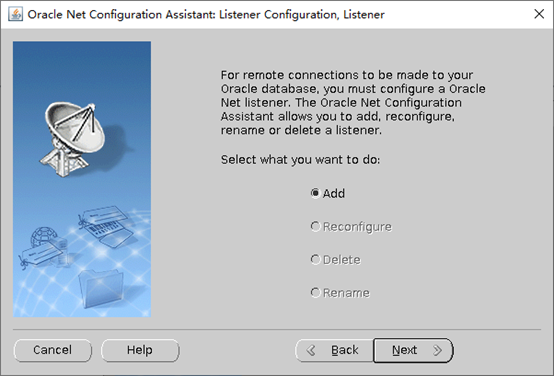
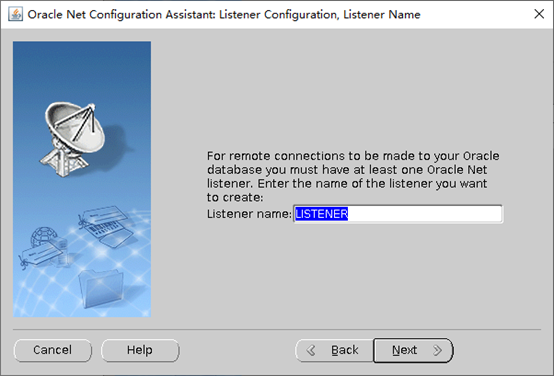
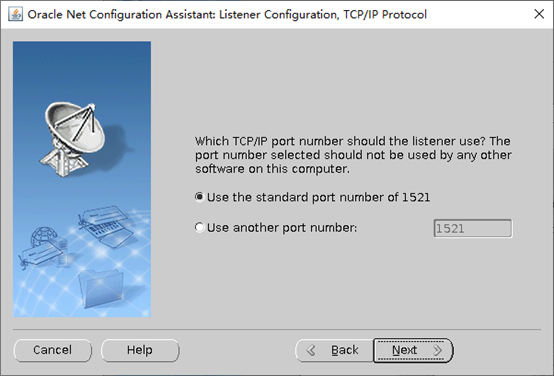
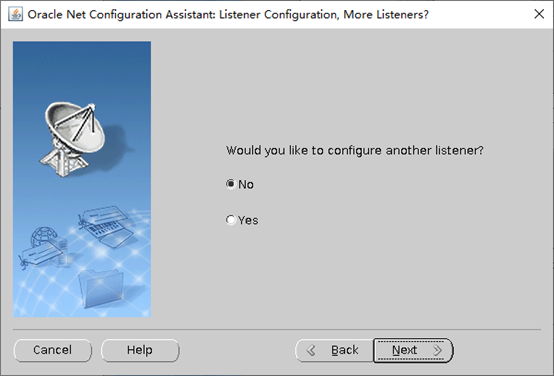
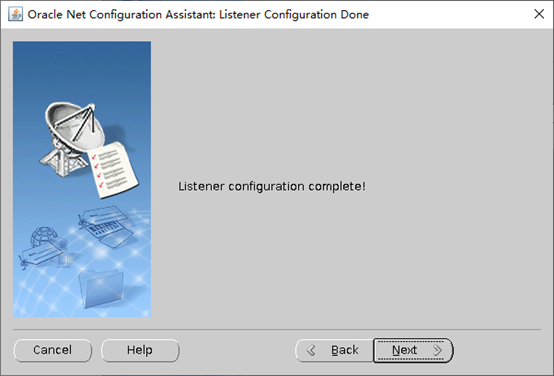
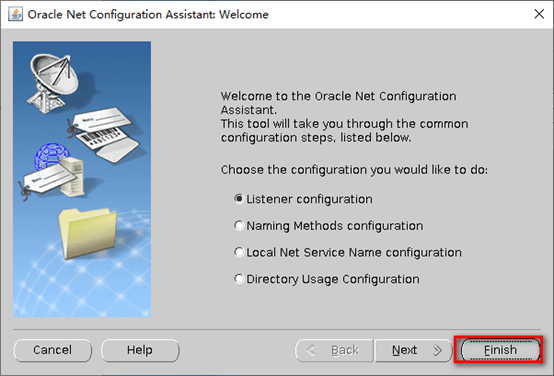
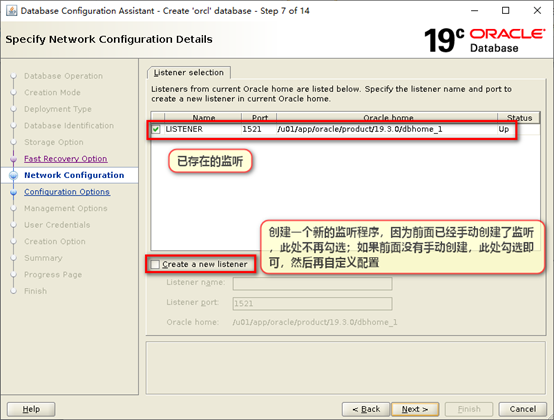
2.2 创建数据库监听listener(可选,dbca建库过程中可快捷创建)
监听的作用:便于客户端远程连接
# 在oracle用户下执行命令
netca

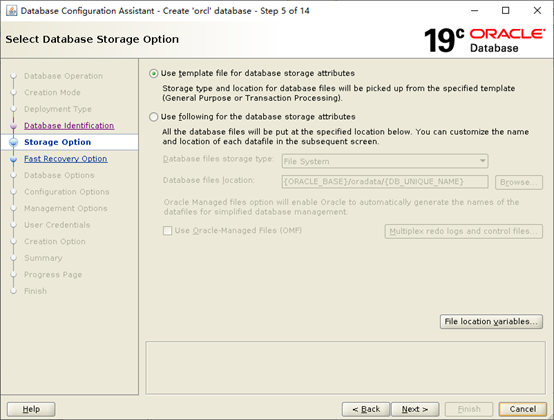
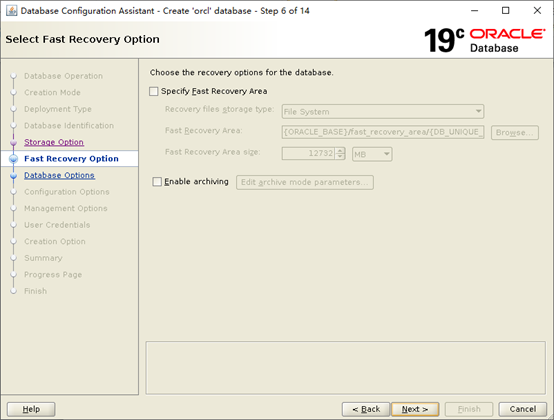
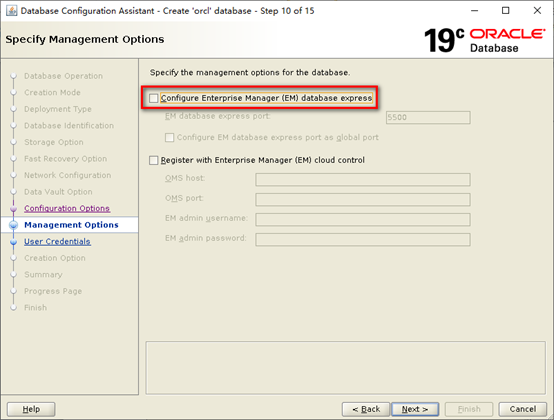
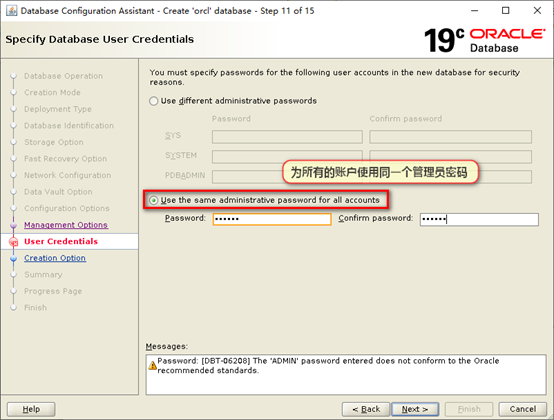
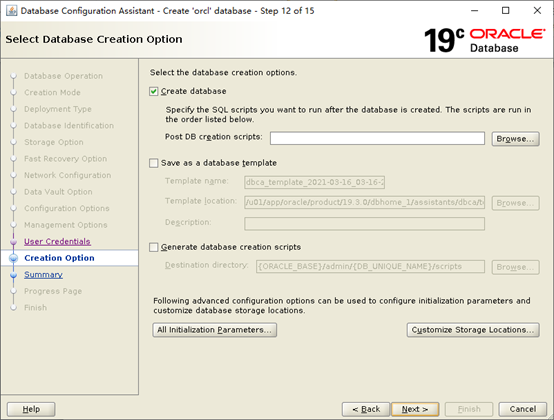
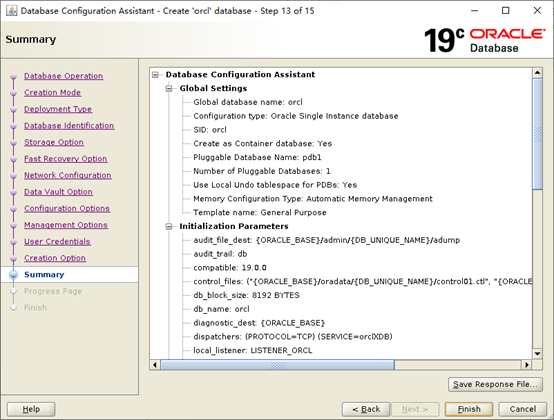
2.3 dbca建库
# 在oracle用户下执行命令
dbca
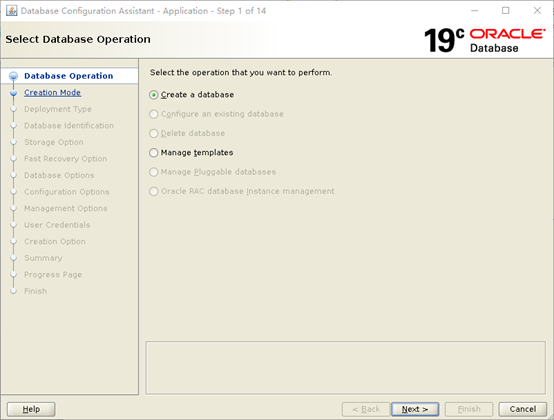
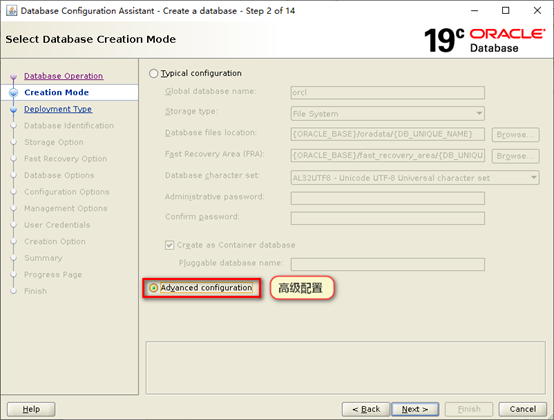
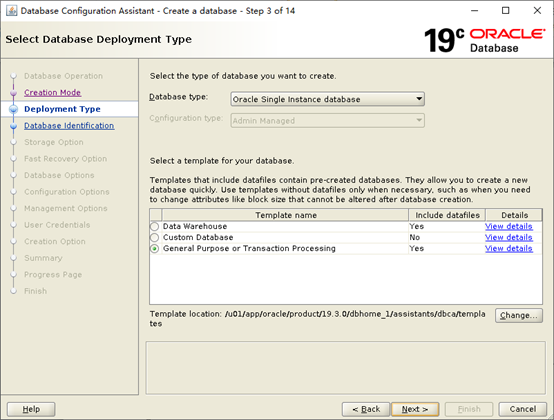
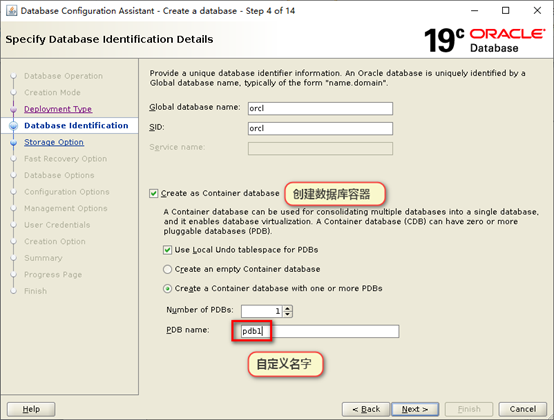
注:如果要是仅仅创建传统数据库non-CDB,取消勾选Create as Container database即可,如果要是创建CDB,勾选即可


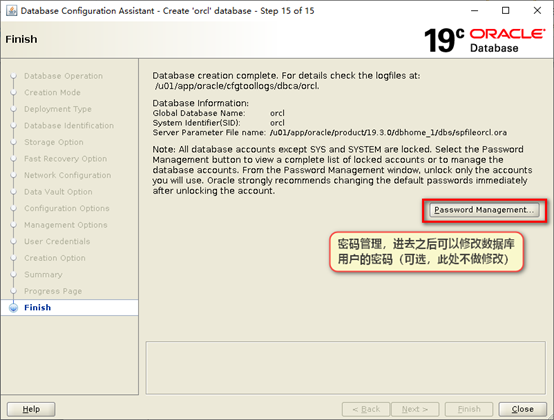
创建完成!!!
3 测试登录
# 在oracle用户下执行命令
# 开启监听
lsnrctl start
# 登录数据库
sqlplus / as sysdba
SQL*Plus: Release 19.0.0.0.0 - Production on Tue Mar 16 03:54:40 2021
Version 19.3.0.0.0

Copyright (c) 1982, 2019, Oracle.  All rights reserved.


Connected to:
Oracle Database 19c Enterprise Edition Release 19.0.0.0.0 - Production
Version 19.3.0.0.0

SQL> show user
USER is "SYS"
SQL>
4 安装rlwrap
作用:在oracle命令行可以通过“↑↓”键查找历史语句
# 在root用户下执行命令
cd /soft
rpm -ivh rlwrap-0.42-1.el7.x86_64.rpm
# 在oracle用户下执行命令
vi ~/.bash_profile
添加以下内容:
alias sqlplus='rlwrap sqlplus'
alias rman='rlwrap rman'
export NLS_DATE_FORMAT='yyyy-mm-dd hh24:mi:ss'
source ~/.bash_profile
5 添加oracle数据库开机自动启动、关机自动停止
# 在root用户下执行命令
5.1 修改/etc/oratab
vi /etc/oratab
修改为:
orcl:/u01/app/oracle/product/19.3.0/dbhome_1:Y
5.2 创建启动文件dbora
vi /etc/init.d/dbora
添加以下内容:
#! /bin/sh
# description: Oracle auto start-stop script.
#
# Set ORACLE_HOME to be equivalent to the $ORACLE_HOME
# from which you wish to execute dbstart and dbshut;
#
# Set ORACLE_OWNER to the user id of the owner of the
# Oracle database in ORACLE_HOME.

ORACLE_HOME=/u01/app/oracle/product/19.3.0/dbhome_1
ORACLE_OWNER=oracle

case "$1" in
'start')
    # Start the Oracle databases:
    # The following command assumes that the oracle login
    # will not prompt the user for any values
    # Remove "&" if you don't want startup as a background process.
    su - $ORACLE_OWNER -c "$ORACLE_HOME/bin/dbstart $ORACLE_HOME" &
    touch /var/lock/subsys/dbora
    ;;

'stop')
    # Stop the Oracle databases:
    # The following command assumes that the oracle login
    # will not prompt the user for any values
    su - $ORACLE_OWNER -c "$ORACLE_HOME/bin/dbshut $ORACLE_HOME" &
    rm -f /var/lock/subsys/dbora
    ;;
esac
5.3 修改dbora的组和文件权限
chgrp dba /etc/init.d/dbora
chmod 750 /etc/init.d/dbora
5.4 创建符号链接
ln -s /etc/init.d/dbora /etc/rc.d/rc0.d/K01dbora
ln -s /etc/init.d/dbora /etc/rc.d/rc3.d/S99dbora
ln -s /etc/init.d/dbora /etc/rc.d/rc5.d/S99dbora
将机器重启,Oracle数据库开机自动启动
5.5 重启系统测试
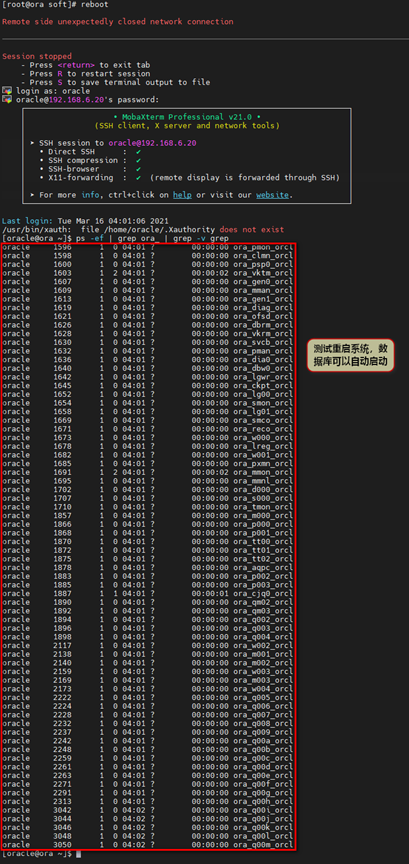
6 修改数据库连接提示符
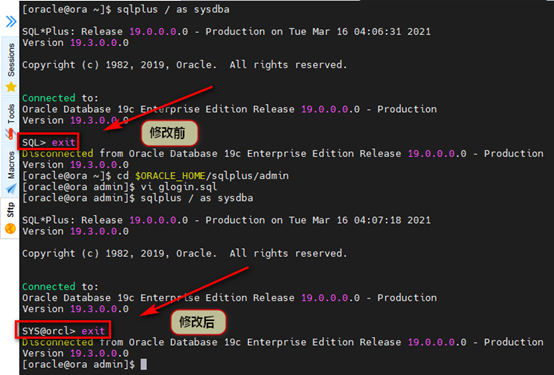
# 在oracle用户下执行命令
cd $ORACLE_HOME/sqlplus/admin
vi glogin.sql
添加以下内容:
set linesize 120;
set pagesize 200;
define _editor=vi
set sqlprompt "_user'@'_connect_identifier> "
重新登录即可!!!
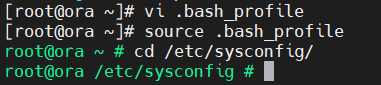
7 修改shell命令提示符颜色
vi .bash_profile
添加以下内容:
export PS1="\[\e[01;32m\]\u@\h \w \\$\[\e[00m\] "
再使其生效:
source .bash_profile
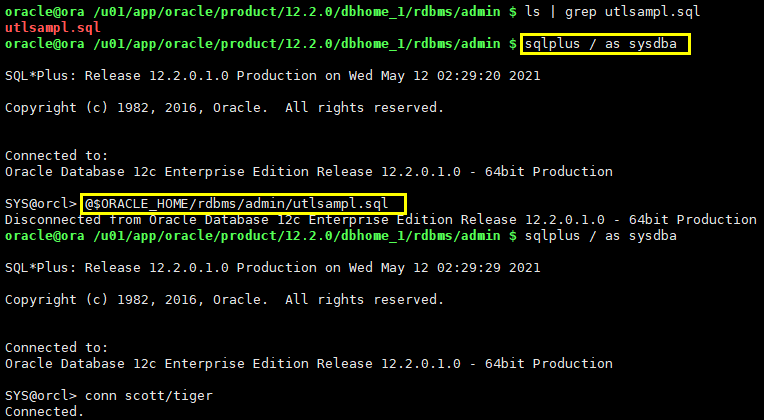
8 ORACLE默认示例scott的脚本
sqlplus / as sysdba
@$ORACLE_HOME/rdbms/admin/utlsampl.sql
conn scott/tiger

 浙公网安备 33010602011771号