django html页面开发总结
HTML页面 实现时钟效果
效果展示:
主题:(纯文字版)
<div id="clock" style="font-size: xxx-large;">12:00:00</div>
<script>
    let oClock = document.querySelector('#clock');
    let addZero = (num) => {
        if (num >= 10) {
            return num;
        } else {
            return `0${num}`;
        }
    }
    let updateTime = () => {
        let now = new Date();
        let time = addZero(now.getHours()) + ":" + addZero(now.getMinutes()) + ":" + addZero(now.getSeconds());
        oClock.innerText = time;

    }
    updateTime();
    setInterval(updateTime, 1000);
</script>
HTML页面定时刷新
部署爬虫舆情监测系统时,需要时不时进行爬虫爬取和数据更新
只需要在里设置
20000:每20秒刷新一次页面
<body onload="setInterval('refreshPage()', 20000);">
....
</body>
<script type="text/javascript">
        function refreshPage() {
            location.reload();
        }
</script>
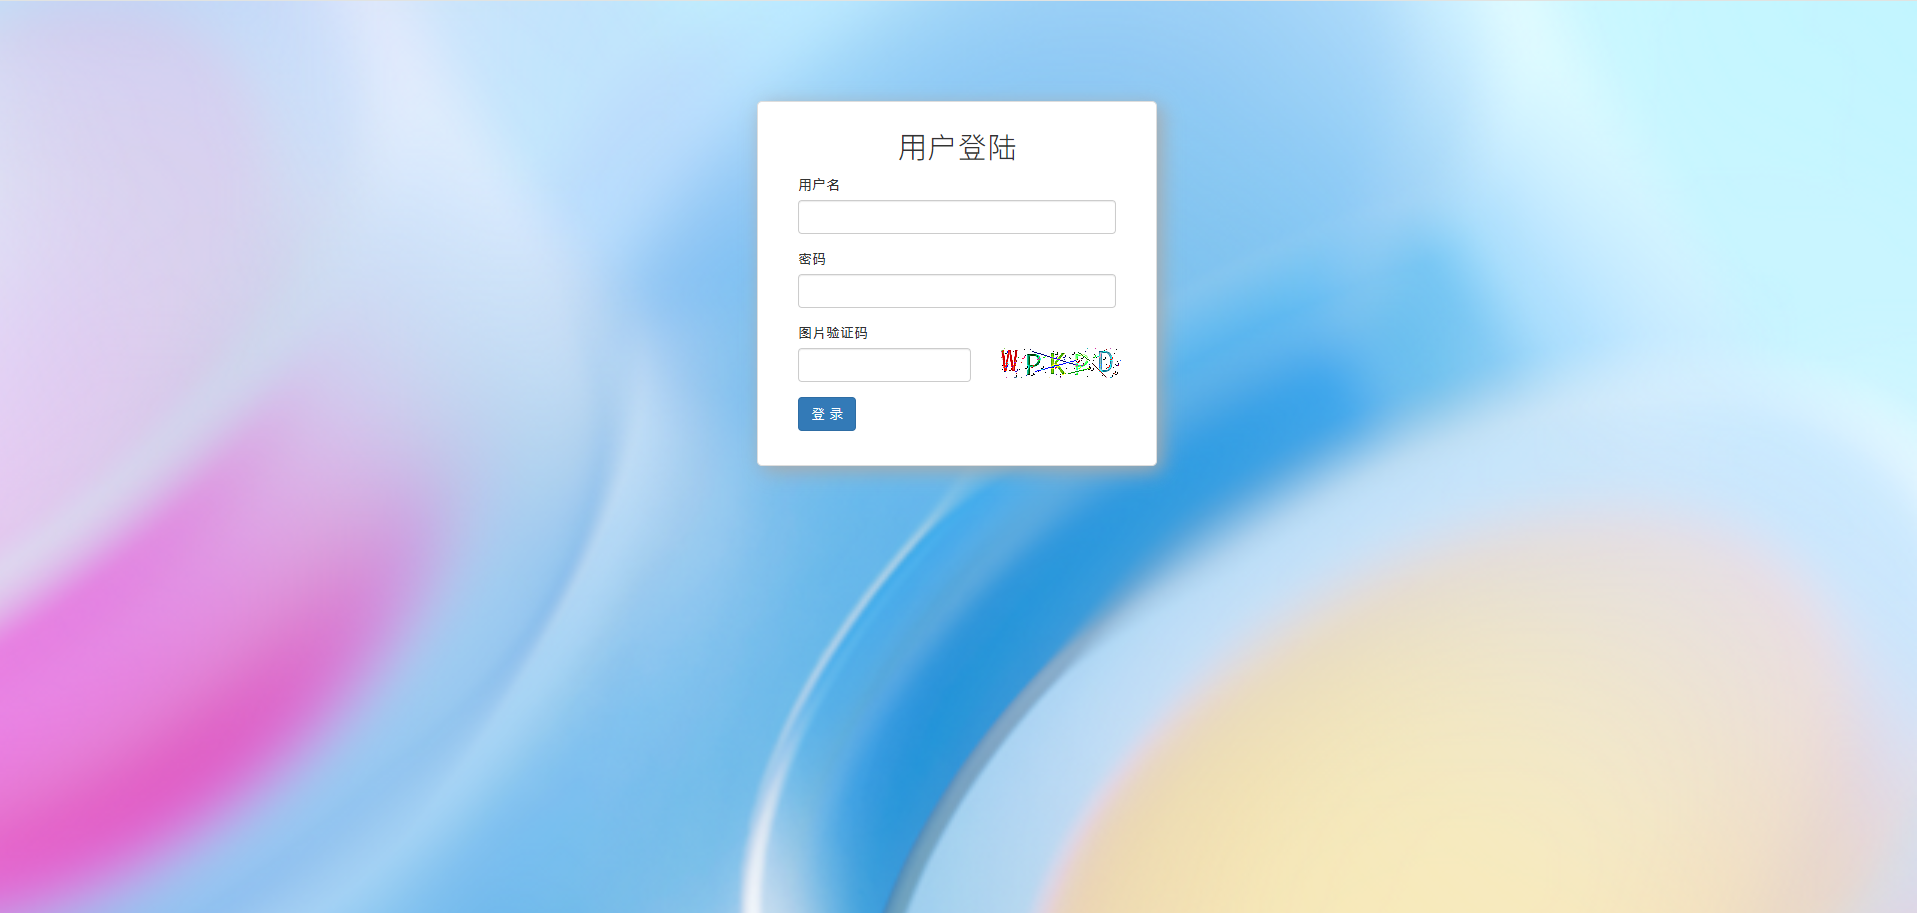
管理系统用户登陆页面模板
{% load  static %}
{% csrf_token %}
<!DOCTYPE html>
<html lang="en">
<head>
    <meta charset="utf-8">
    <title>demo</title>
    <link rel="stylesheet" href="{% static 'bootstrap-3.4.1-dist/css/bootstrap.min.css' %}">
    <script src="{% static 'bootstrap-3.4.1-dist/js/bootstrap.js' %}"></script>
    <style>
        .account {
            width: 400px;
            border: 1px solid #dddddd;
            border-radius: 5px;
            box-shadow: 5px 5px 20px #aaa;
            margin-left: auto;
            margin-right: auto;
            margin-top: 100px;
            padding: 20px 40px;
        }

        .account h2 {
            margin-top: 10px;
            text-align: center;
        }
        body {
        background-image: url("{% static  '/img/background.jpg'%}");background-repeat: no-repeat; /* 不重复 */
  background-position: center center; /* 居中 */
  background-size: cover; /* 覆盖整个元素 */
        }
    </style>
</head>
<body>
<div class="account" style="background-color: white">
    <h2>用户登陆</h2>
    <form method="post">
        {% csrf_token %}
        <div class="form-group">
            <label>用户名</label>
            {{ form.username }}
            <span style="color: red">{{ form.username.errors.0 }}</span>
        </div>
        <div class="form-group">
            <label>密码</label>
            {{ form.password }}
            <span style="color: red">{{ form.password.errors.0 }}</span>
        </div>
        <div class="form-group">
            <label for="id_code">图片验证码</label>
            <div class="row">
                <div class="col-xs-7">
                    {{ form.code }}
                    <span style="color: red">{{ form.code.errors.0 }}</span>
                </div>
                <div class="col-xs-5">
                    <img id="image_code" src="/image/code/" href="/login/">
                </div>
            </div>
        </div>
        <input type="submit" value="登 录" class="btn btn-primary">
    </form>
</div>
</body>
</html>
在django【views.py】中
(check_code函数在下面)
def image_code(request):
    """ 生成图片验证码"""
    img,code_string = check_code()
    # print(code_string)
    request.session['image_code'] = code_string
    request.session.set_expiry(60) #60s超时
    stream = BytesIO()
    img.save(stream, 'png')

    return HttpResponse(stream.getvalue())
python生成自动验证码
需要ttf文件(字体文件)
from PIL import Image,ImageDraw,ImageFont,ImageFilter
import random


def check_code(width=120, height=30, char_length=5, font_file='Monaco.ttf', font_size=28):
    code = []
    img = Image.new(mode='RGB', size=(width, height), color=(255, 255, 255))
    draw = ImageDraw.Draw(img, mode='RGB')

    def rndChar():
        """
        生成随机字母
        :return:
        """
        return chr(random.randint(65, 90))

    def rndColor():
        """
        生成随机颜色
        :return:
        """
        return (random.randint(0, 255), random.randint(10, 255), random.randint(64, 255))

    # 写文字
    font = ImageFont.truetype(font_file, font_size)
    for i in range(char_length):
        char = rndChar()
        code.append(char)
        h = random.randint(0, 4)
        draw.text([i * width / char_length, h], char, font=font, fill=rndColor())

    # 写干扰点
    for i in range(40):
        draw.point([random.randint(0, width), random.randint(0, height)], fill=rndColor())

    # 写干扰圆圈
    for i in range(40):
        draw.point([random.randint(0, width), random.randint(0, height)], fill=rndColor())
        x = random.randint(0, width)
        y = random.randint(0, height)
        draw.arc((x, y, x + 4, y + 4), 0, 90, fill=rndColor())

    # 画干扰线
    for i in range(5):
        x1 = random.randint(0, width)
        y1 = random.randint(0, height)
        x2 = random.randint(0, width)
        y2 = random.randint(0, height)

        draw.line((x1, y1, x2, y2), fill=rndColor())

    img = img.filter(ImageFilter.EDGE_ENHANCE_MORE)
    return img, ''.join(code)


# if __name__ == '__main__':
#     img,code_str=check_code()
#     print(code_str)
#     with open('code.png','wb') as f:
#        img.save(f,format='png')
# 1. 直接打开
# img,code = check_code()
# img.show()

# 2. 写入文件
# img,code = check_code()
# with open(r'D:/111实习项目实训/pachongsystem/code.png','wb') as f:
#     img.save(f,format='png')

# 3. 写入内存(Python3)
# from io import BytesIO
# stream = BytesIO()
# img.save(stream, 'png')
# stream.getvalue()

# 4. 写入内存(Python2)
# import StringIO
# stream = StringIO.StringIO()
# img.save(stream, 'png')
# stream.getvalue()
python将文件放入内存操作
#写入内存(Python3)
from io import BytesIO
stream = BytesIO()
img.save(stream, 'png')
stream.getvalue()
django利用html模板语法制作echarts图
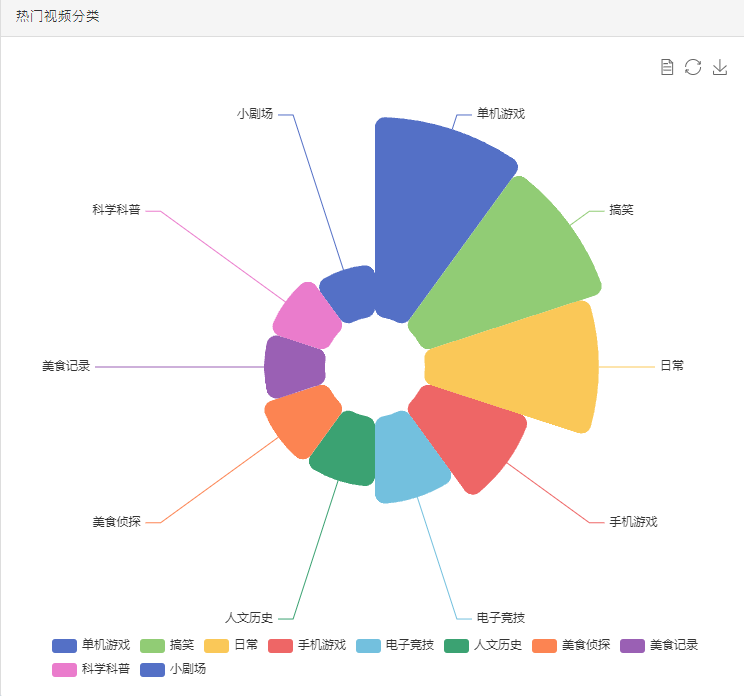
数据均来源于后台
【图片名为g_1_1】只需要把getElementById('g_1_1')修改即可
只需将数据转化成字典或者列表
用 django的模板语法 {% for %} 循环置入数据
                    {% for obj in topcatagory  %}
                        {value: {{ obj.1}}, name: '{{ obj.0 }}'},
                    {% endfor %}
            <div class="panel panel-default">
                <div class="panel-heading">热门视频分类</div>
                <div class="panel-body">
                    <div id="g_1_1" style="width: 100%; height: 630px;user-select: none; -webkit-tap-highlight-color: rgba(0, 0, 0, 0);" _echarts_instance_="ec_1705386174880">
                        <div style="position: relative; width: 1101px; height: 919px; padding: 0px; margin: 0px; border-width: 0px; cursor: default;">
                            <canvas data-zr-dom-id="zr_0" width="1101" height="919" style="position: absolute; left: 0px; top: 0px; width: 1101px; height: 919px; user-select: none; -webkit-tap-highlight-color: rgba(0, 0, 0, 0); padding: 0px; margin: 0px; border-width: 0px;"></canvas>
                        </div>
                    </div>
                </div>
            </div>
<script type="text/javascript">
    var dom = document.getElementById('g_1_1');
    var myChart = echarts.init(dom, null, {
        renderer: 'canvas',
        useDirtyRect: false
    });
    var app = {};

    var option;

    option = {
        legend: {
            top: 'bottom'
        },
        toolbox: {
            show: true,
            feature: {
                mark: {show: true},
                dataView: {show: true, readOnly: false},
                restore: {show: true},
                saveAsImage: {show: true}
            }
        },
        series: [
            {
                name: 'Nightingale Chart',
                type: 'pie',
                radius: [50, 250],
                center: ['50%', '50%'],
                roseType: 'area',
                itemStyle: {
                    borderRadius: 10
                },
                data: [
                    {% for obj in topcatagory  %}
                        {value: {{ obj.1}}, name: '{{ obj.0 }}'},
                    {% endfor %}
                ]
            }
        ]
    };

    if (option && typeof option === 'object') {
        myChart.setOption(option);
    }

    window.addEventListener('resize', myChart.resize);
</script>

 浙公网安备 33010602011771号