接口自动化- Jenkins+Idea/Eclipse+Jmeter+Gitee
环境及工具
|
工具 |
版本 |
|
OS |
window10 |
|
jdk |
jdk-16 |
|
git |
2.31.1.windows.1 |
|
jmeter |
apache-jmeter-5.4.1 |
|
maven |
apache-maven-3.8.1 |
|
idea |
IntelliJ Idea 2020.3.1 |
Git的安装及配置
下载安装git
下载地址:https://git-scm.com/downloads
配置git的环境变量
1.windows10操作系统-桌面-左下角搜索框-输入“环境变量”-编辑账户的环境变量
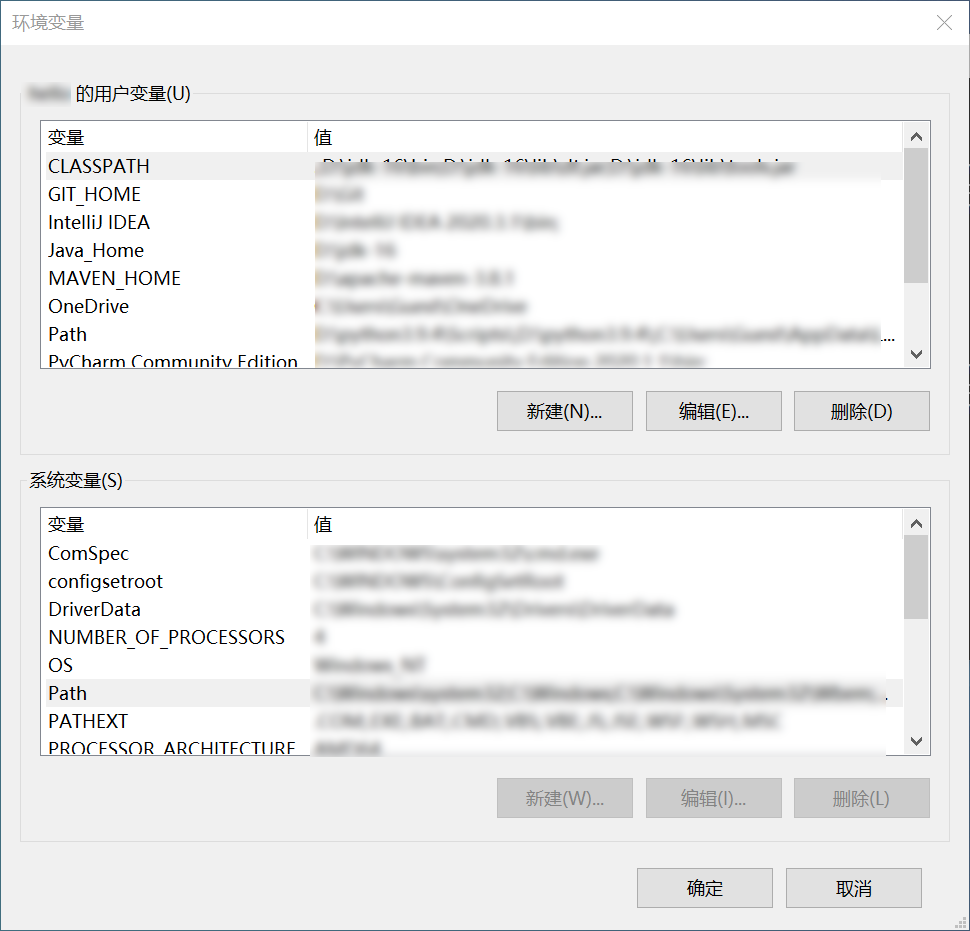
2.选择用户变量模块的新建,变量名:GIT_HOME,变量值:D:\Git,根据自己安装的git目录填到变量值中
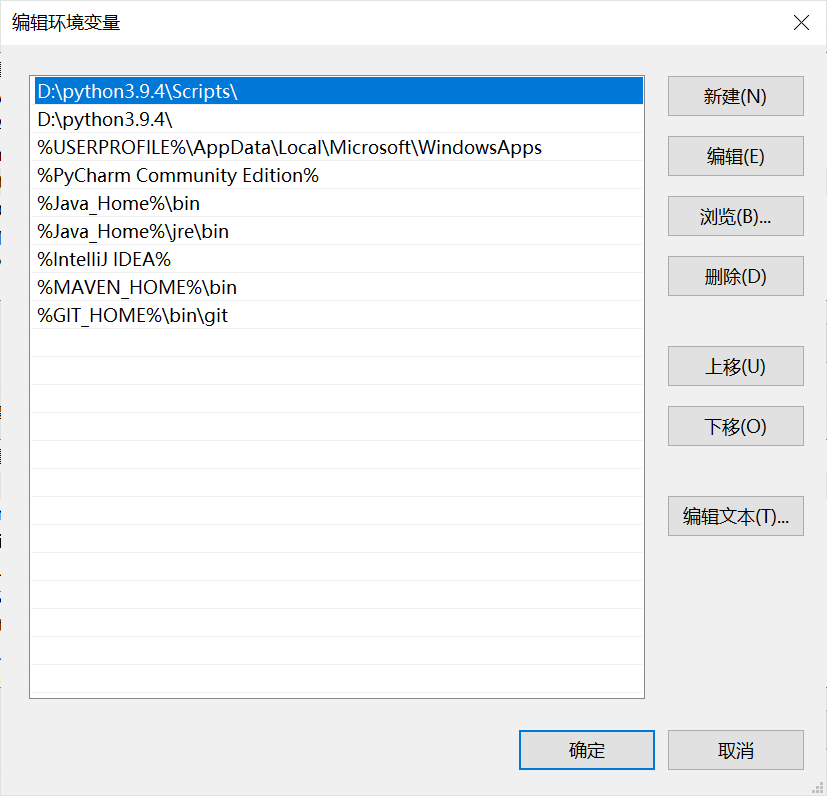
3.将git的可执行文件目录添加到用户变量的Path中,编辑Path,添加 %GIT_HOME%\bin\git
验证配置是否成功
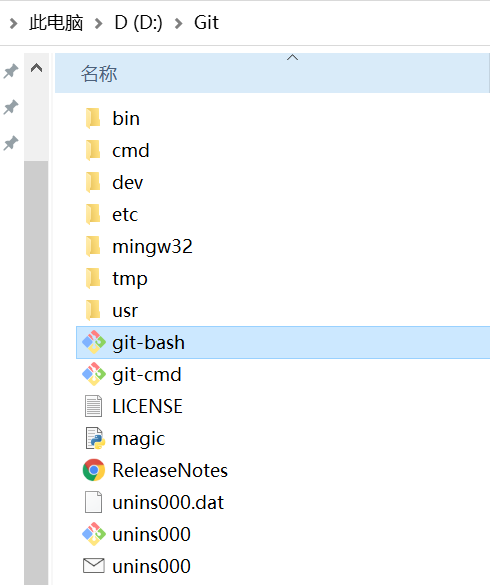
打开git安装目录下的git-bash
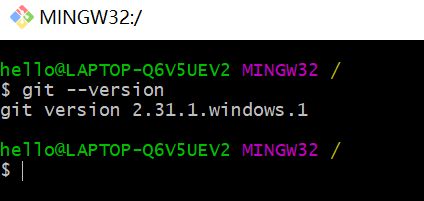
输入git --version,显示版本号,说明配置成功
Jmeter的安装及配置
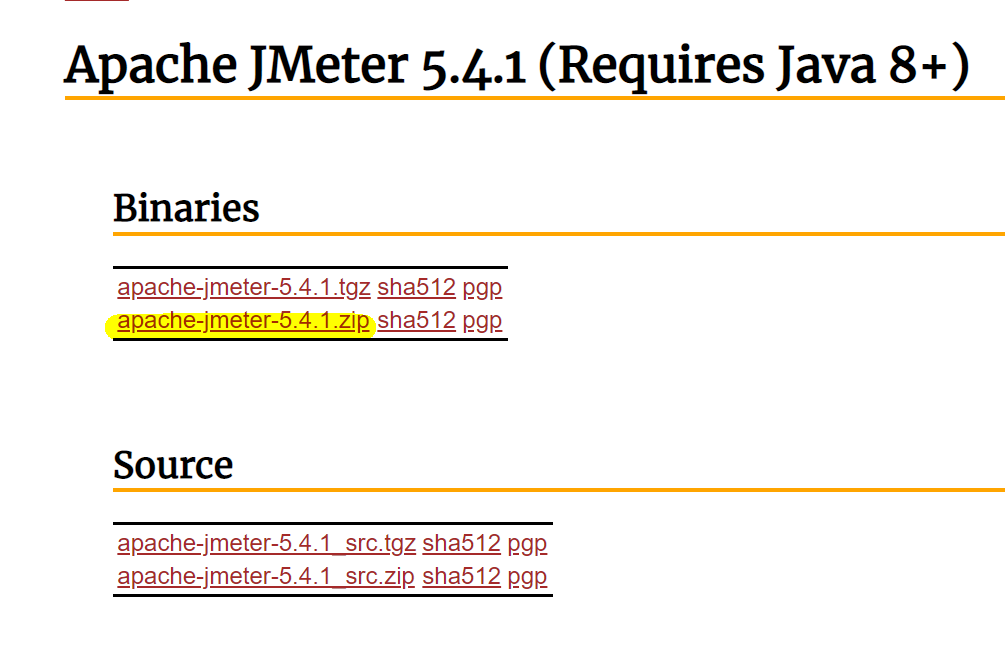
下载安装jmeter
1.下载地址:https://jmeter.apache.org/download_jmeter.cgi
2.选择zip文件下载,下载后解压缩文件
3.启动jmeter,打开bin目录下的jmeter批处理文件进入jmeter的GUI模式
Maven的安装及配置
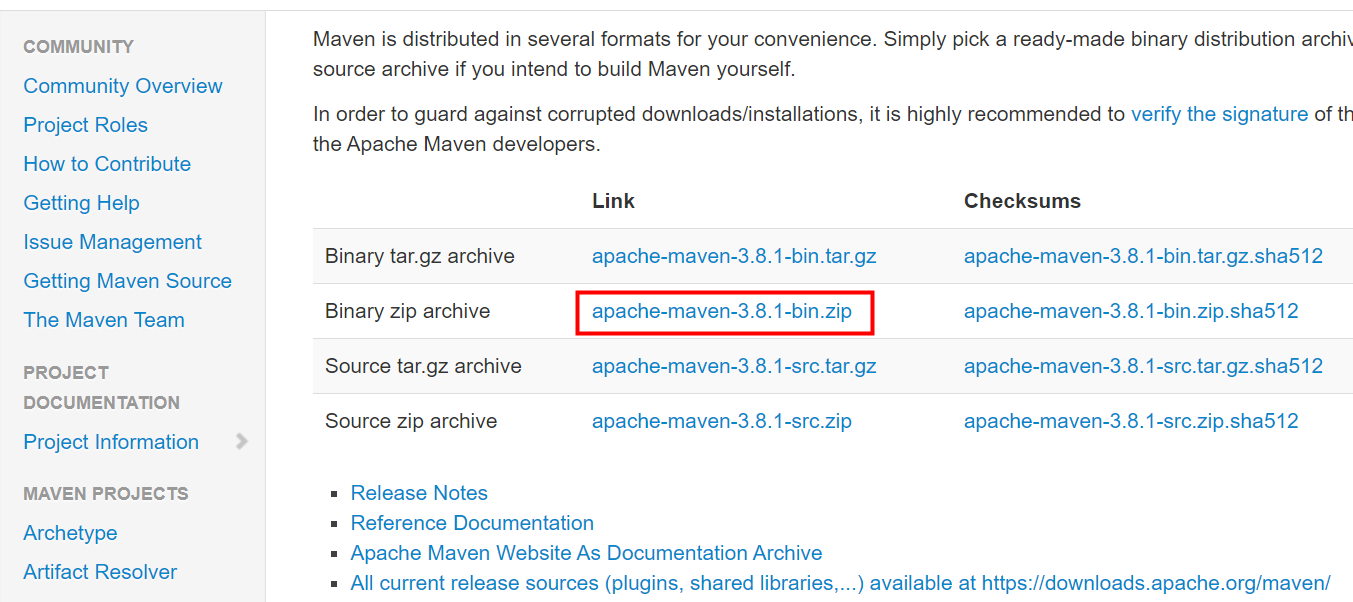
下载安装maven
1.下载地址:https://maven.apache.org/download.cgi
2.下载zip格式的文件,解压缩文件
配置maven的环境变量
1.windows10操作系统-桌面-左下角搜索框-输入“环境变量”-编辑账户的环境变量
2.选择用户变量模块的新建,变量名:maven_HOME,变量值:D:\apache-maven-3.8.1,根据自己安装的git目录填到变量值中
3.将git的可执行文件目录添加到用户变量的Path中,编辑Path,添加 %maven_HOME%\bin
验证配置是否成功
进入cmd命令行,输入mvn --version,显示版本号说明配置成功

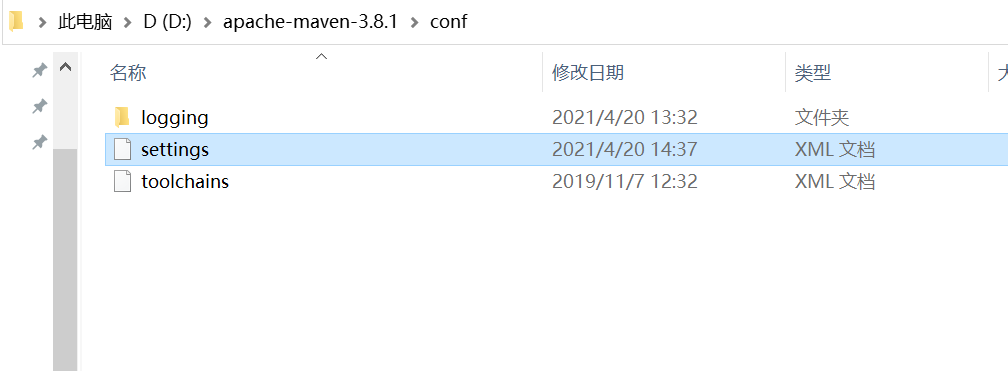
新建本地maven仓库
在maven安装的同级目录,新建本地仓库目录,名称为:maven-repository
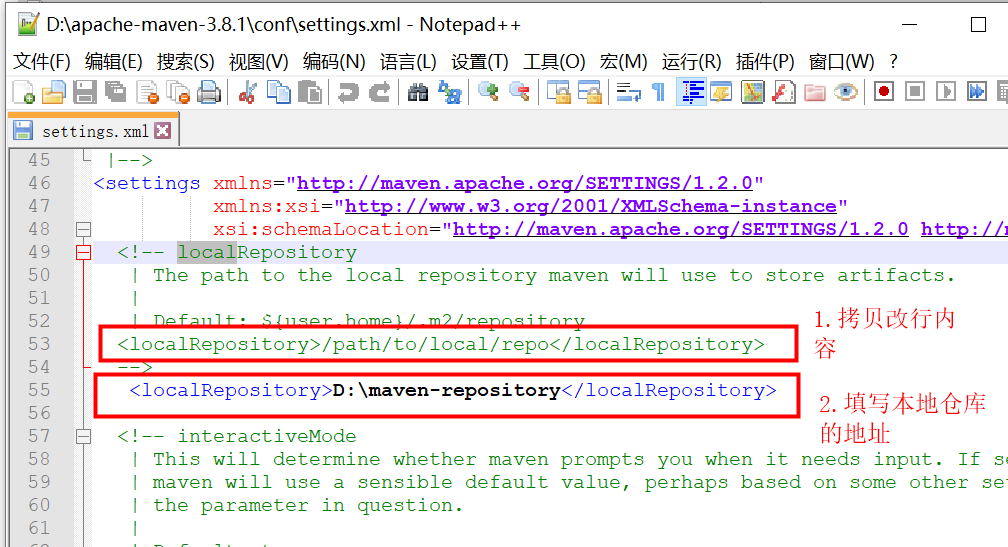
配置本地仓库路径
修改maven安装目录conf目录下的settings文件,配置为本地仓库地址
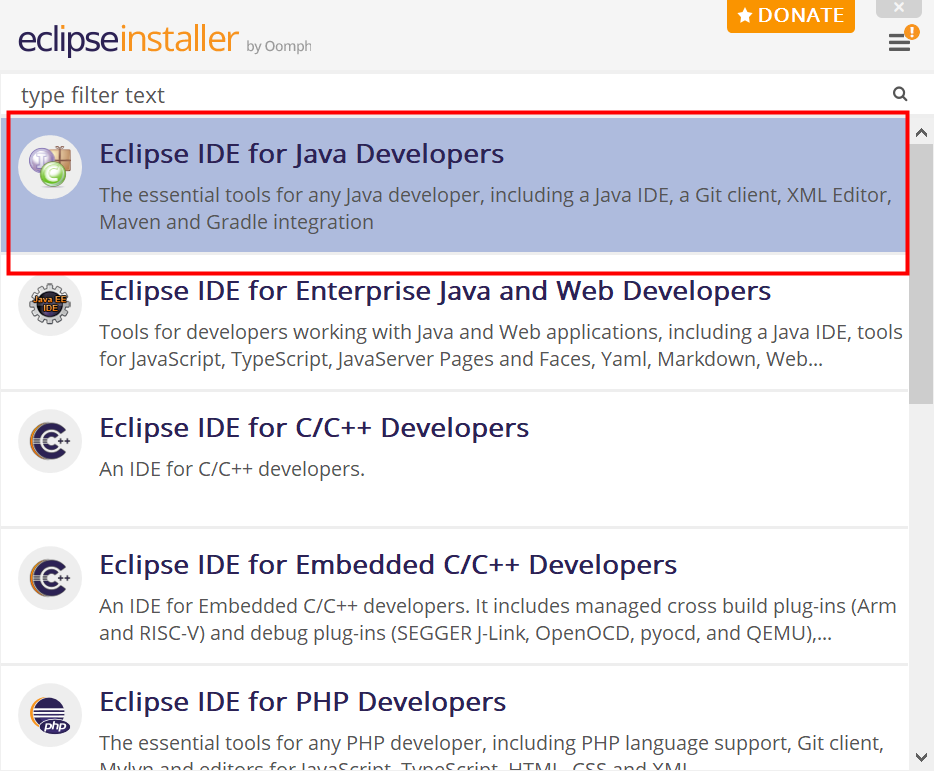
Eclipse
下载安装
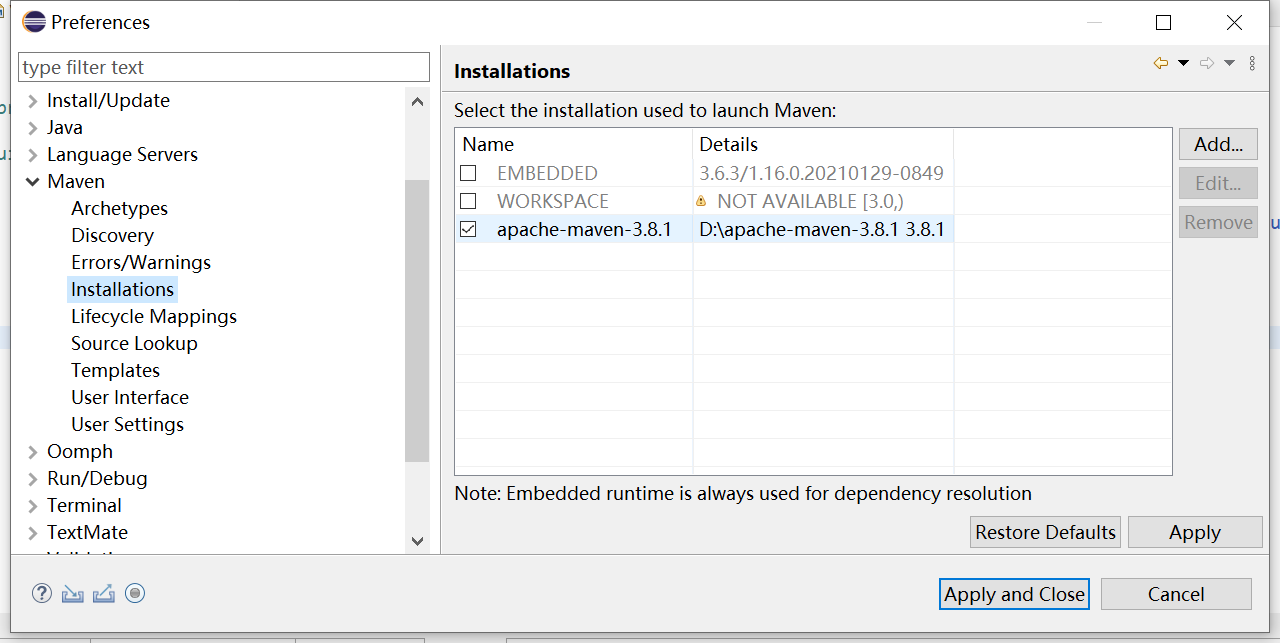
配置Maven

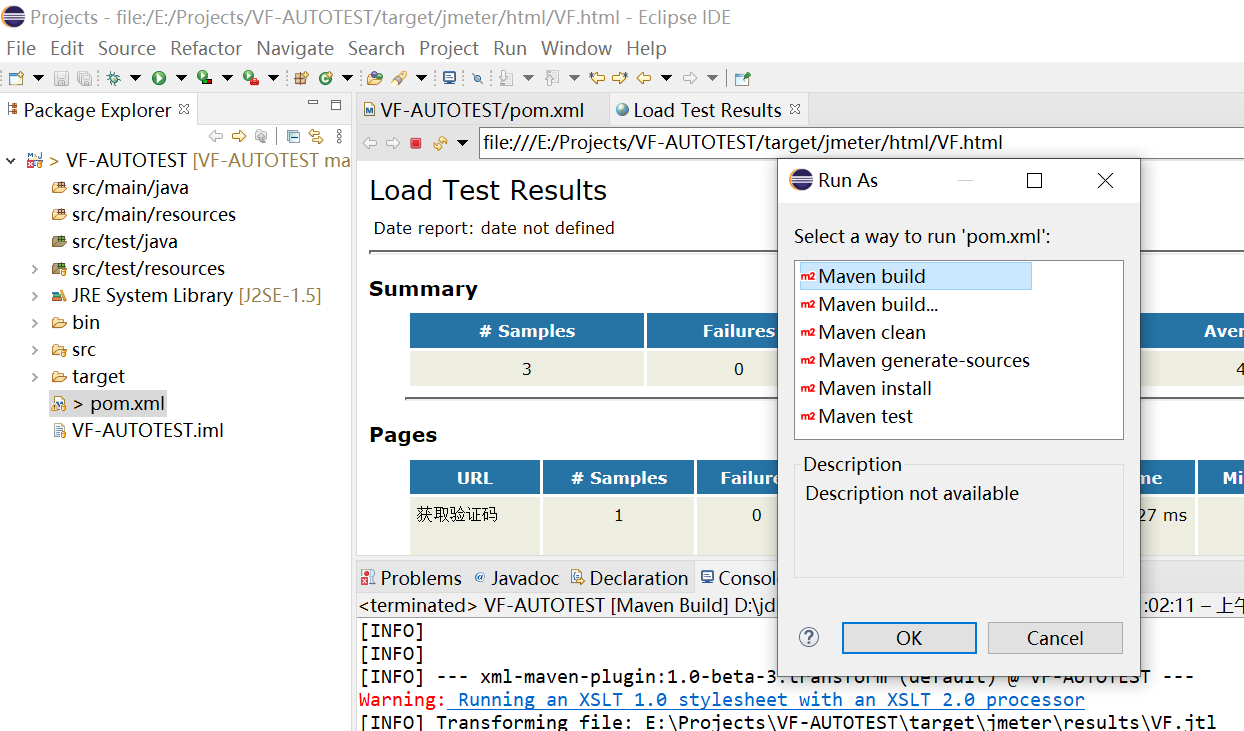
运行项目
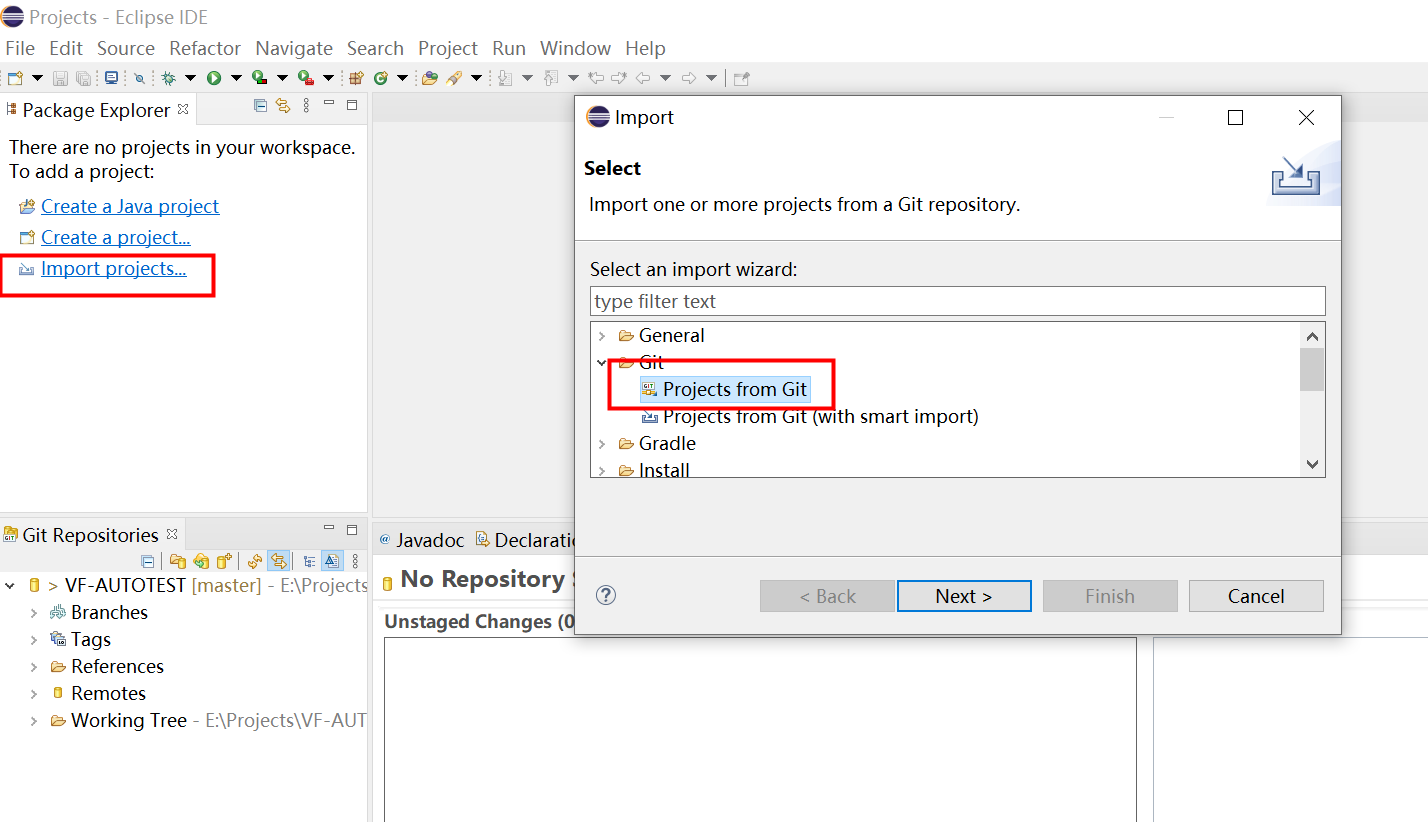
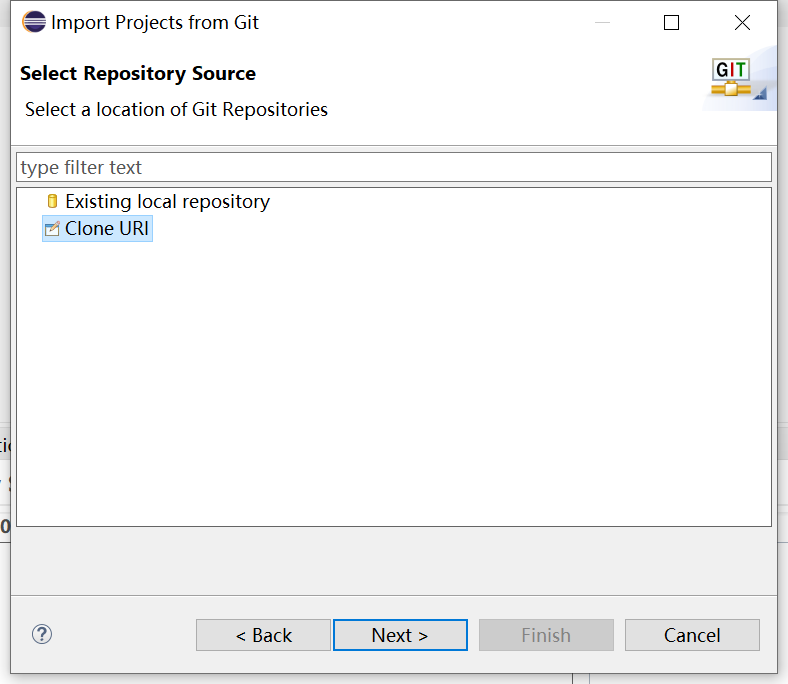
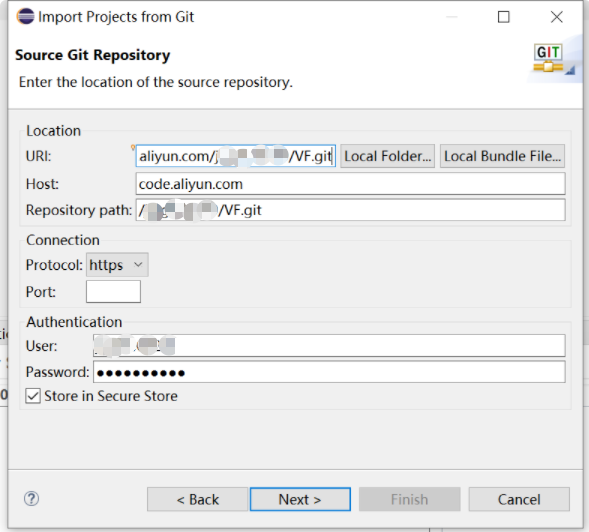
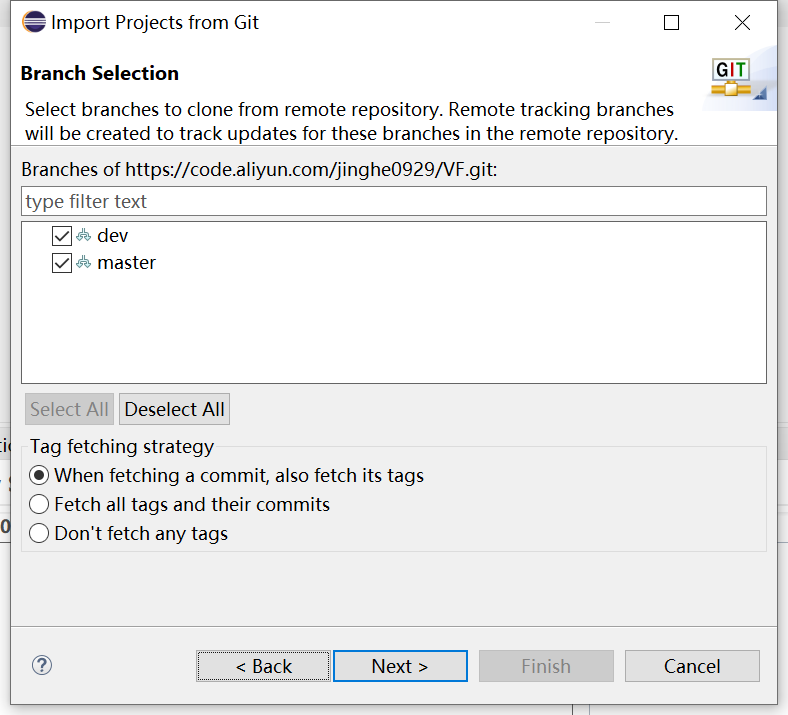
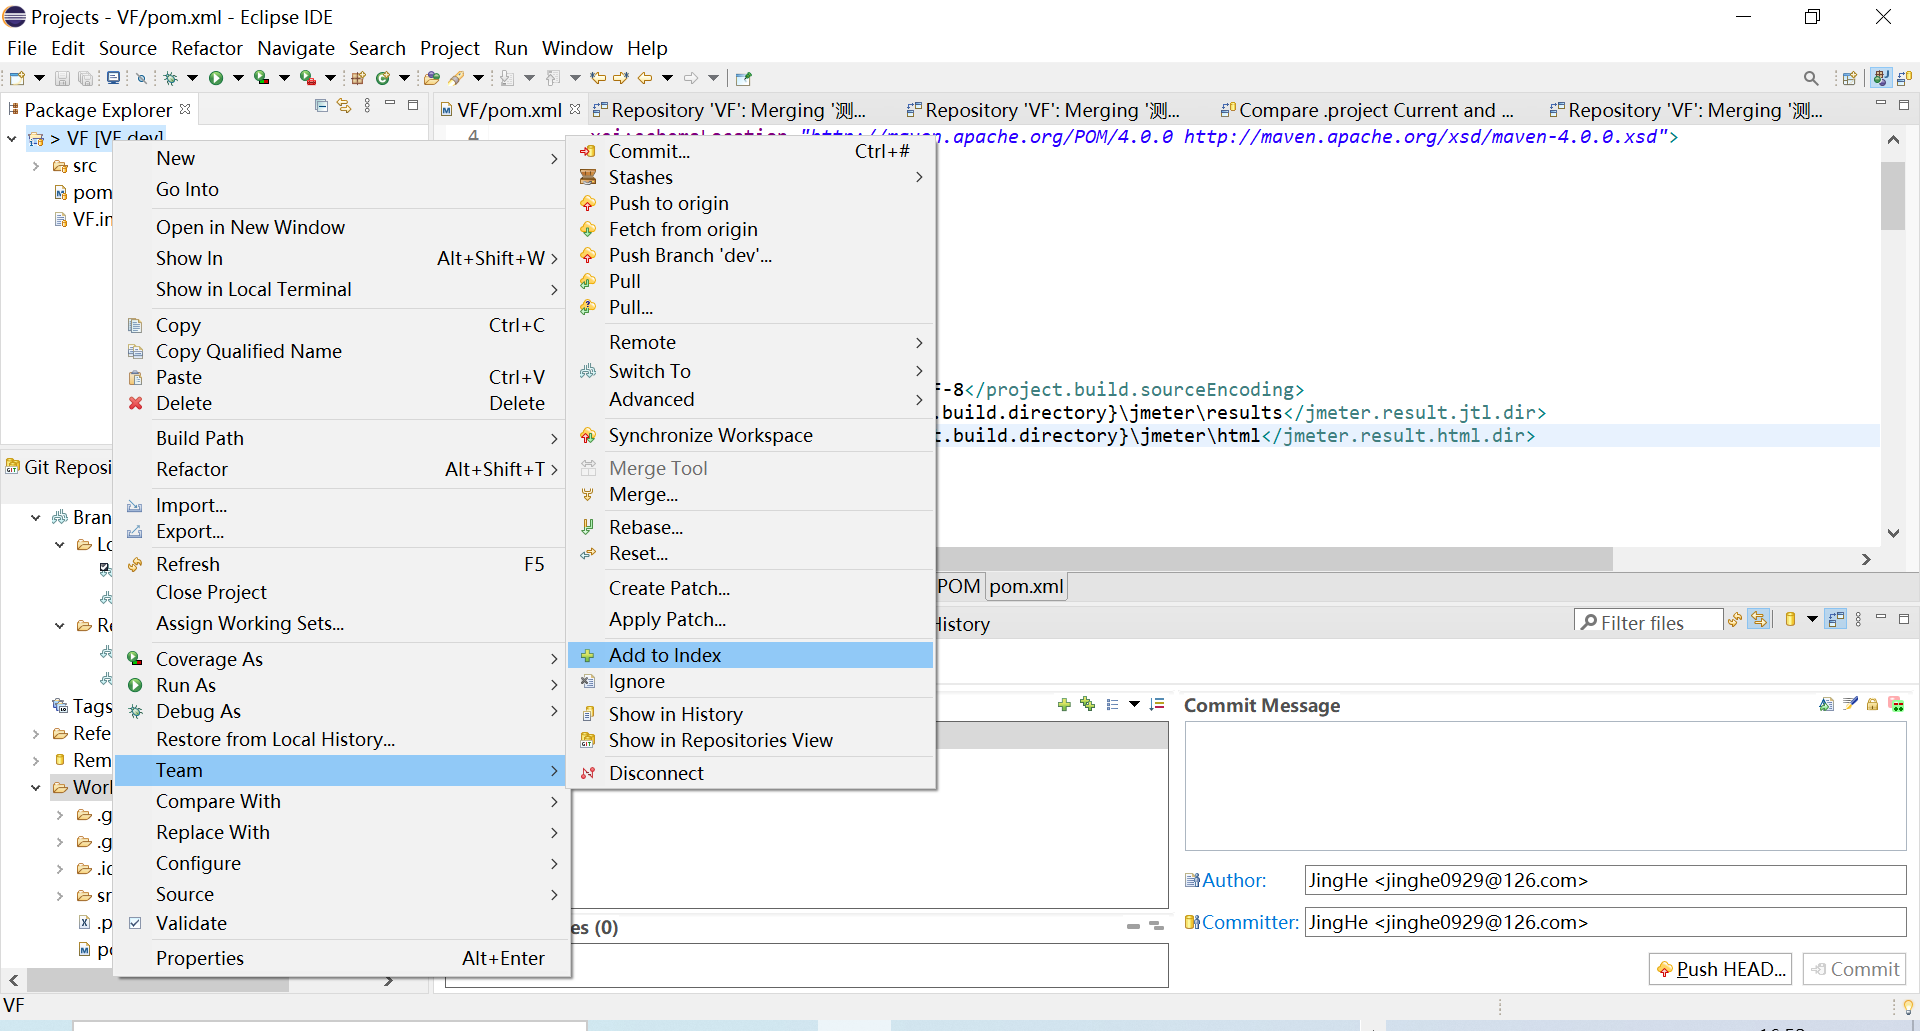
配置Git
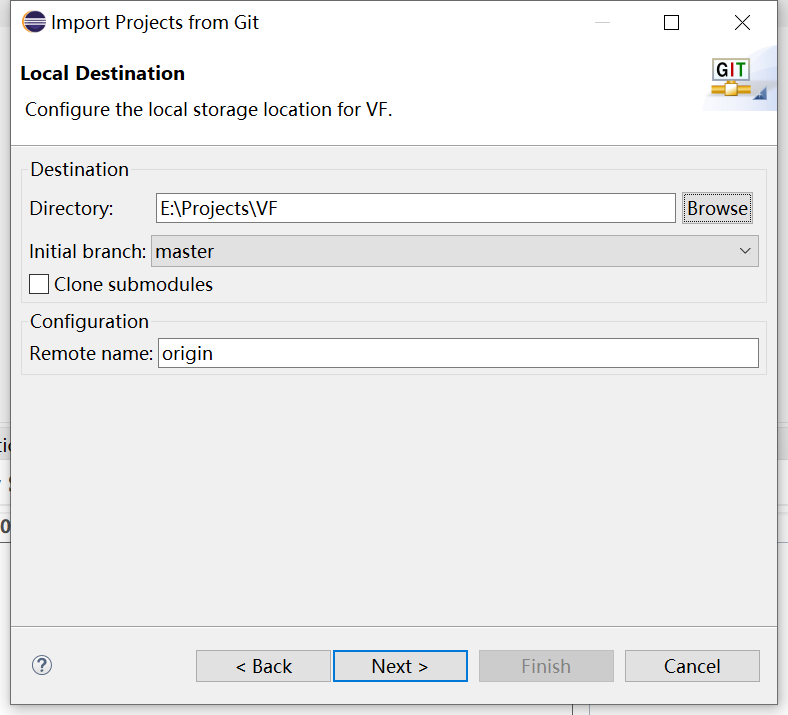
将新增的文件添加到缓存
IDEA
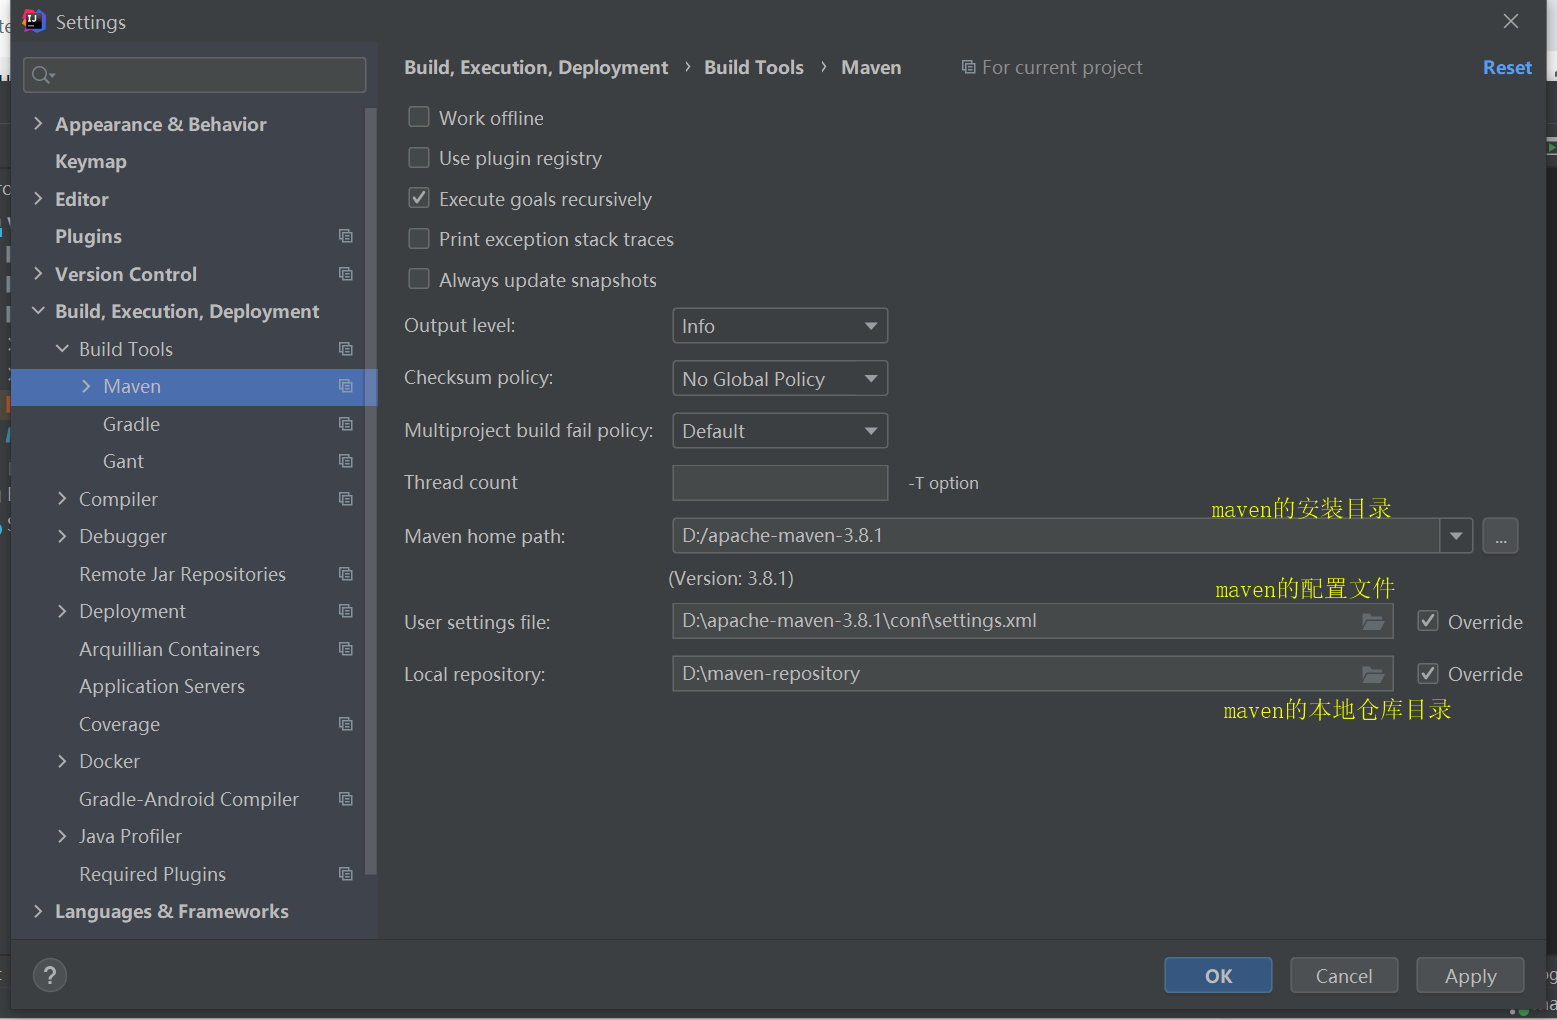
Idea配置Maven
1.打开idea,File→Settings→Buid,Execution,Deployment→Build Tools→Maven
2.配置本地maven的安装目录,配置文件,本地仓库目录
Idea创建maven工程
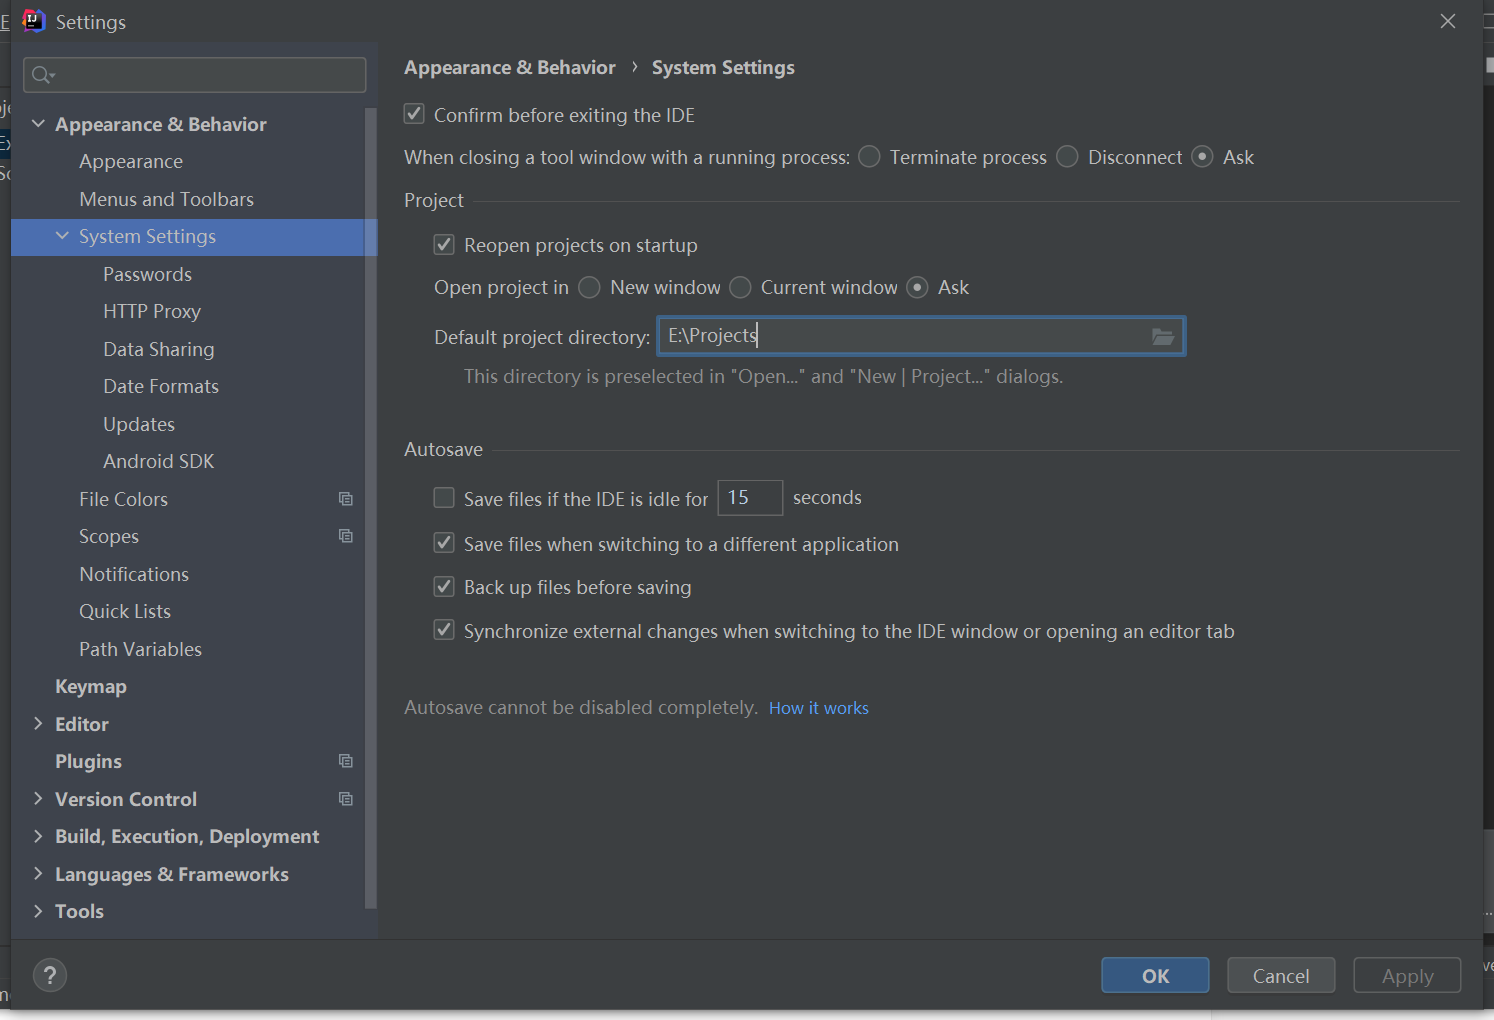
修改idea的默认项目目录
创建maven工程
1.File→New→Project
2.选择Maven,project sdk选择本地安装的jdk16,create from archetype不勾选选择,该选项是maven项目的模板。
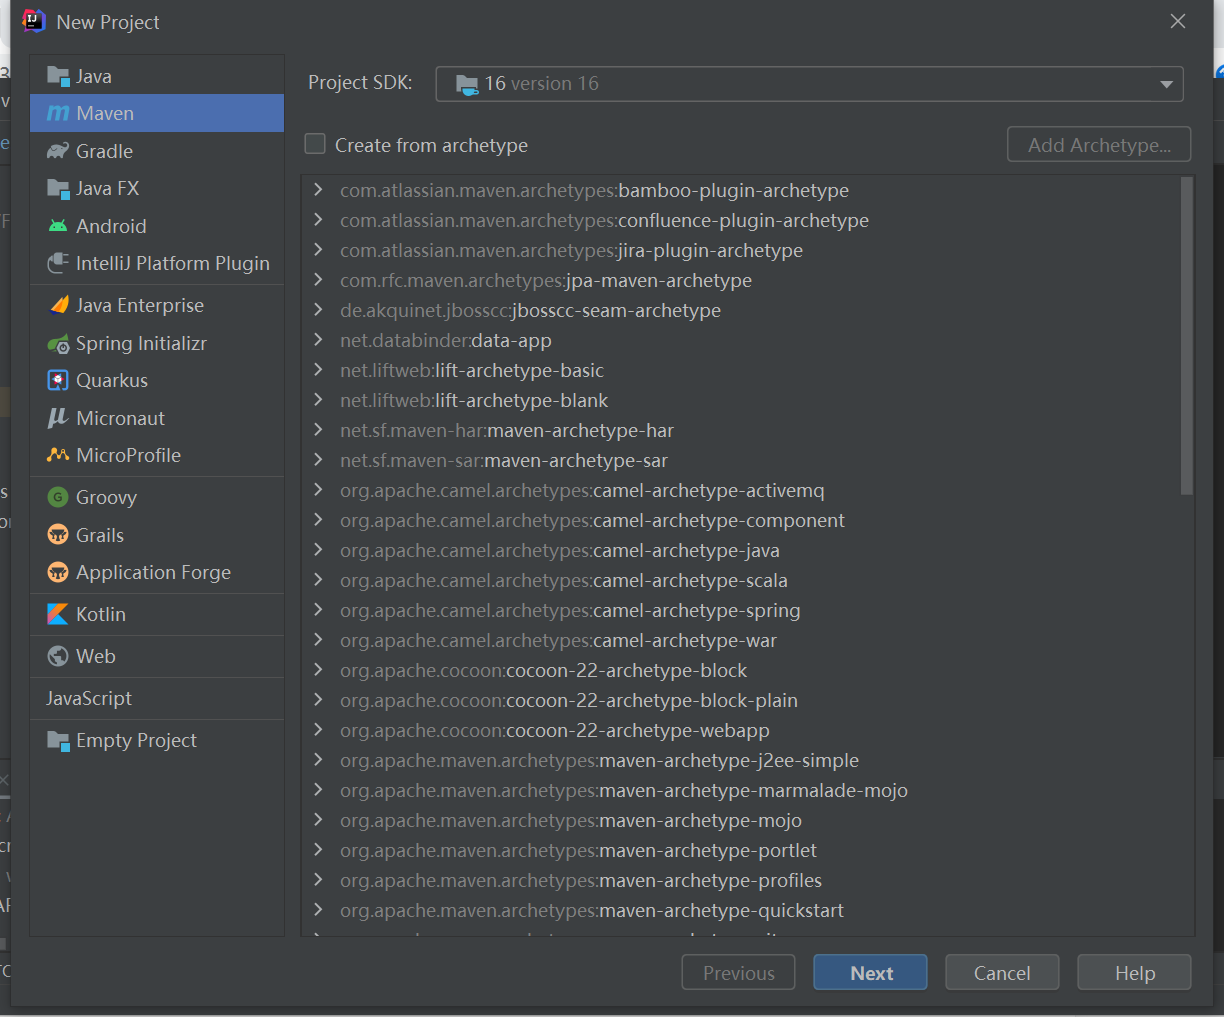
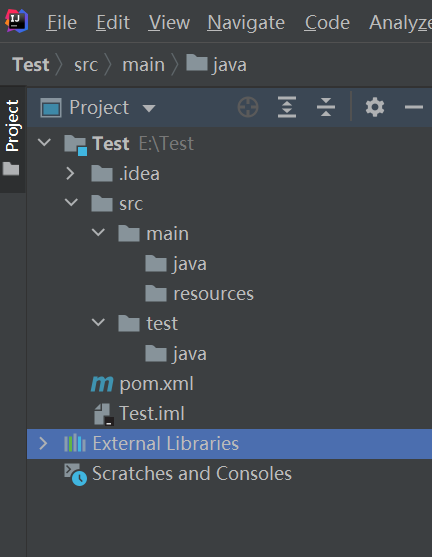
3.进入下一步,输入项目名称,目录后保存,maven项目创建完成
配置jmeter
1.在test目录下创建jmeter目录,用来存放jmeter脚本、配置文件、参数化文件
2.将jmeter脚本拷贝到maven工程src/test/jmeter
3.将jmeter的bin目录下的配置文件拷贝至maven工程src/test/jmeter
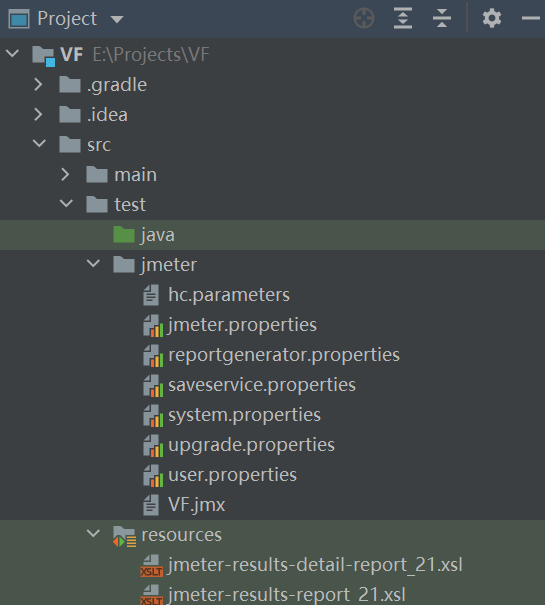
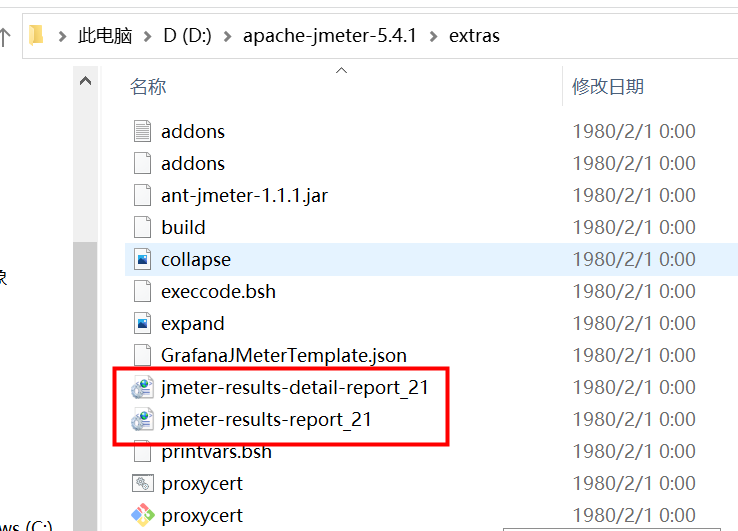
4.将jmeter的extras目录下的XSL样式表文件拷贝到resources目录下
修改pom.xml文件
<?xml version="1.0" encoding="UTF-8"?>
<project xmlns="http://maven.apache.org/POM/4.0.0"
         xmlns:xsi="http://www.w3.org/2001/XMLSchema-instance"
         xsi:schemaLocation="http://maven.apache.org/POM/4.0.0 http://maven.apache.org/xsd/maven-4.0.0.xsd">
    <modelVersion>4.0.0</modelVersion>

    <groupId>jmeterScript</groupId>
    <!--项目名称-->
    <artifactId>VF</artifactId>
    <version>1.0-SNAPSHOT</version>

    <!--设置报告生成的路径-->
    <properties>
        <project.build.sourceEncoding>UTF-8</project.build.sourceEncoding>
        <jmeter.result.jtl.dir>${project.build.directory}\jmeter\results</jmeter.result.jtl.dir>
        <jmeter.result.html.dir>${project.build.directory}\jmeter\html</jmeter.result.html.dir>
    </properties>

    <build>
        <plugins>
            <plugin>
                <!-- 核心插件,用来执行jmx脚本,版本号对应的jmeter版本可在此地址查询 https://github.com/jmeter-maven-plugin/jmeter-maven-plugin#readme-->
                <groupId>com.lazerycode.jmeter</groupId>
                <artifactId>jmeter-maven-plugin</artifactId>
                <version>3.4.0</version>
                <executions>
                    <!-- Generate JMeter configuration -->
                    <execution>
                        <id>configuration</id>
                        <goals>
                            <goal>configure</goal>
                        </goals>
                    </execution>
                    <!-- Run JMeter tests -->
                    <execution>
                        <id>jmeter-tests</id>
                        <phase>verify</phase>
                        <!--脚本所在的文件夹 -->
                        <goals>
                            <goal>jmeter</goal>
                        </goals>
                    </execution>
                    <!-- Fail build on errors in test -->
                    <execution>
                        <id>jmeter-check-results</id>
                        <goals>
                            <goal>results</goal>
                        </goals>
                    </execution>
                </executions>
                <configuration>
                    <!-- 设置jmeter生成结果文件格式-->
                    <resultsFileFormat>xml</resultsFileFormat>
                    <!-- 设置忽略失败是否停止运行-->
                    <ignoreResultFailures>true</ignoreResultFailures>
                    <!--设置结果是否有时间戳-->
                    <testResultsTimestamp>false</testResultsTimestamp>
                    <testFilesIncluded>
                        <!-- //指定运行的jmeter脚本 -->
                        <jMeterTestFile>VF.jmx</jMeterTestFile>
                    </testFilesIncluded>
                    <!-- 指定jtl生成目录 -->
                    <resultsDirectory>${jmeter.result.jtl.dir}</resultsDirectory>
                </configuration>
            </plugin>
            <plugin>
                <!--根据xsl模版把jtl文件转换成html-->
                <groupId>org.codehaus.mojo</groupId>
                <artifactId>xml-maven-plugin</artifactId>
                <version>1.0-beta-3</version>
                <executions>
                    <execution>
                        <phase>verify</phase>
                        <goals>
                            <goal>transform</goal>
                        </goals>
                    </execution>
                </executions>
                <configuration>
                    <transformationSets>
                        <transformationSet>
                            <dir>${jmeter.result.jtl.dir}</dir>
                            <stylesheet>src\test\resources\jmeter-results-detail-report_21.xsl</stylesheet>
                            <outputDir>${jmeter.result.html.dir}</outputDir>
                            <!-- 把jtl格式转传承html -->
                            <fileMappers>
                                <fileMapper
                                        implementation="org.codehaus.plexus.components.io.filemappers.FileExtensionMapper">
                                    <targetExtension>html</targetExtension>
                                </fileMapper>
                            </fileMappers>
                        </transformationSet>
                    </transformationSets>
                </configuration>
                <!-- using XSLT 2.0 -->
                <dependencies>
                    <dependency>
                        <groupId>net.sf.saxon</groupId>
                        <artifactId>saxon</artifactId>
                        <version>8.7</version>
                    </dependency>
                </dependencies>
            </plugin>
        </plugins>
    </build>
</project>
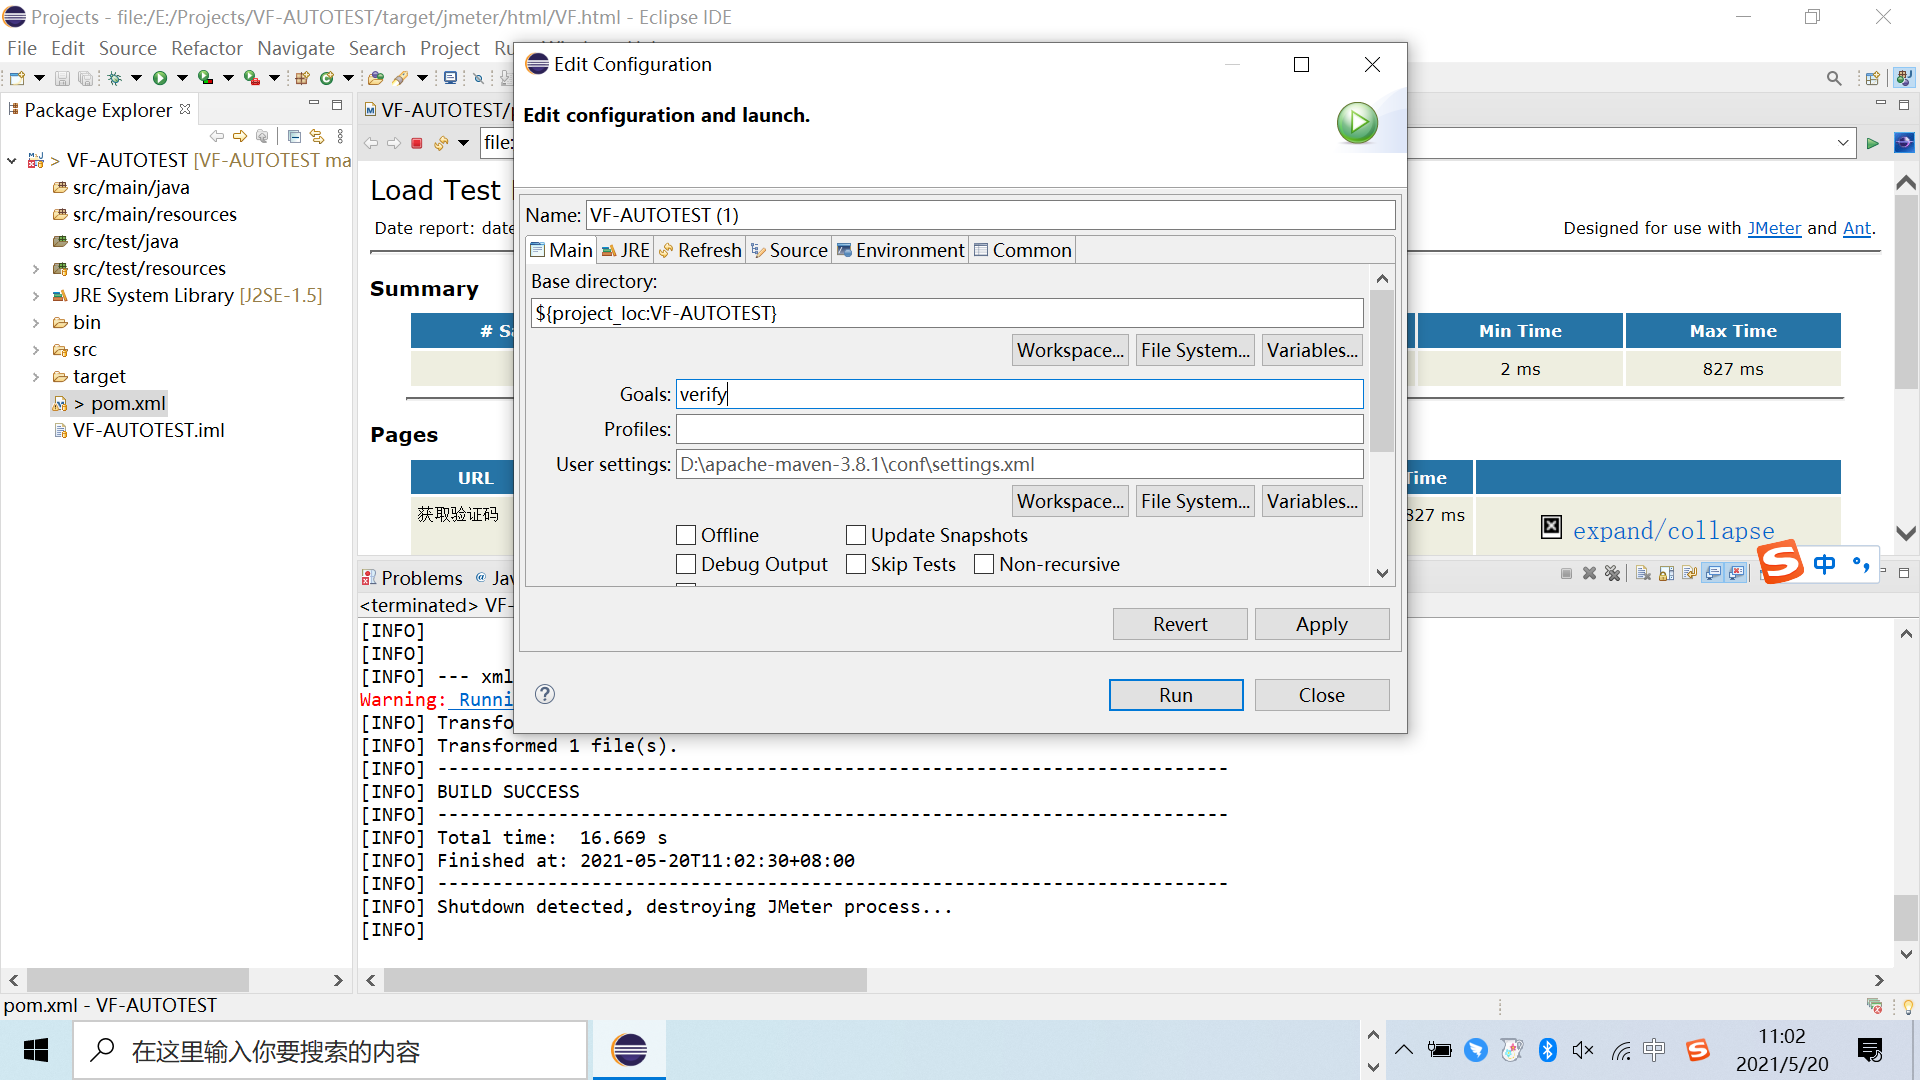
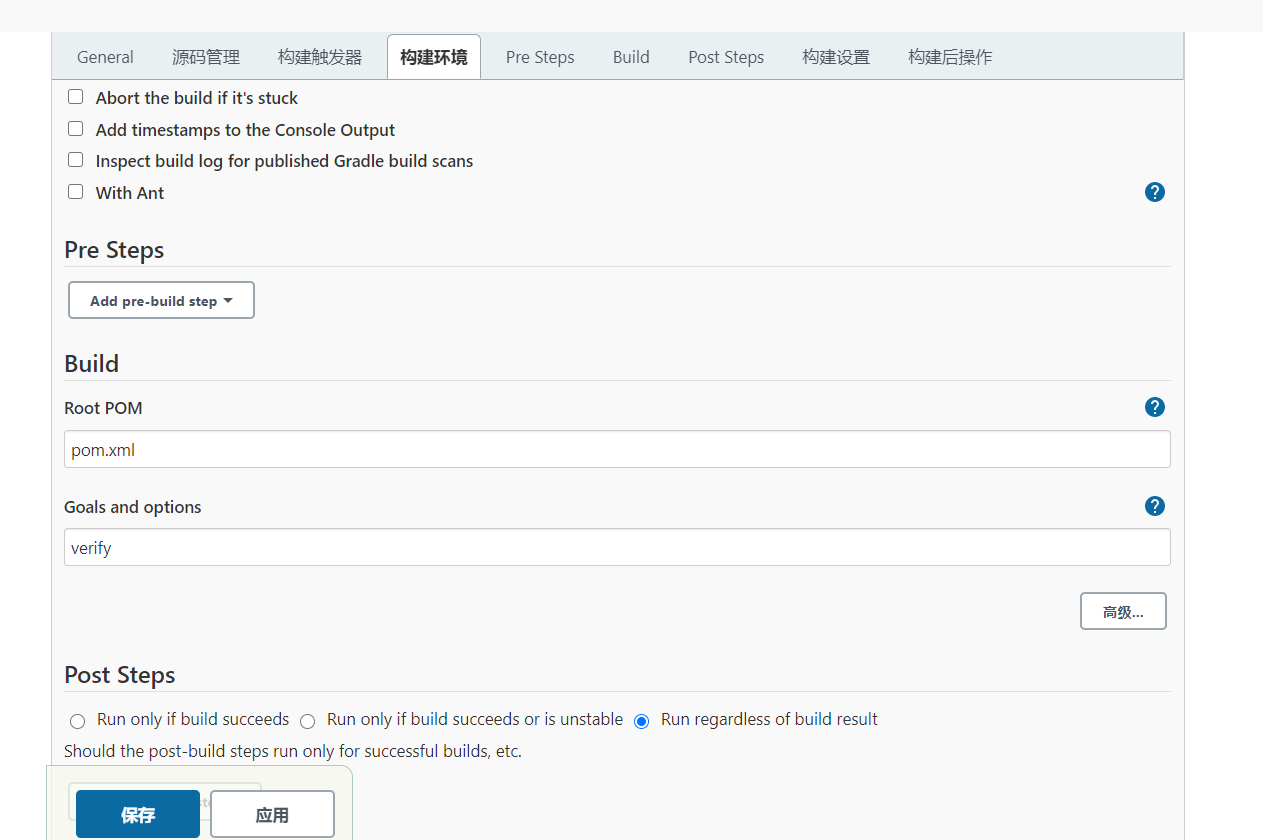
运行maven工程
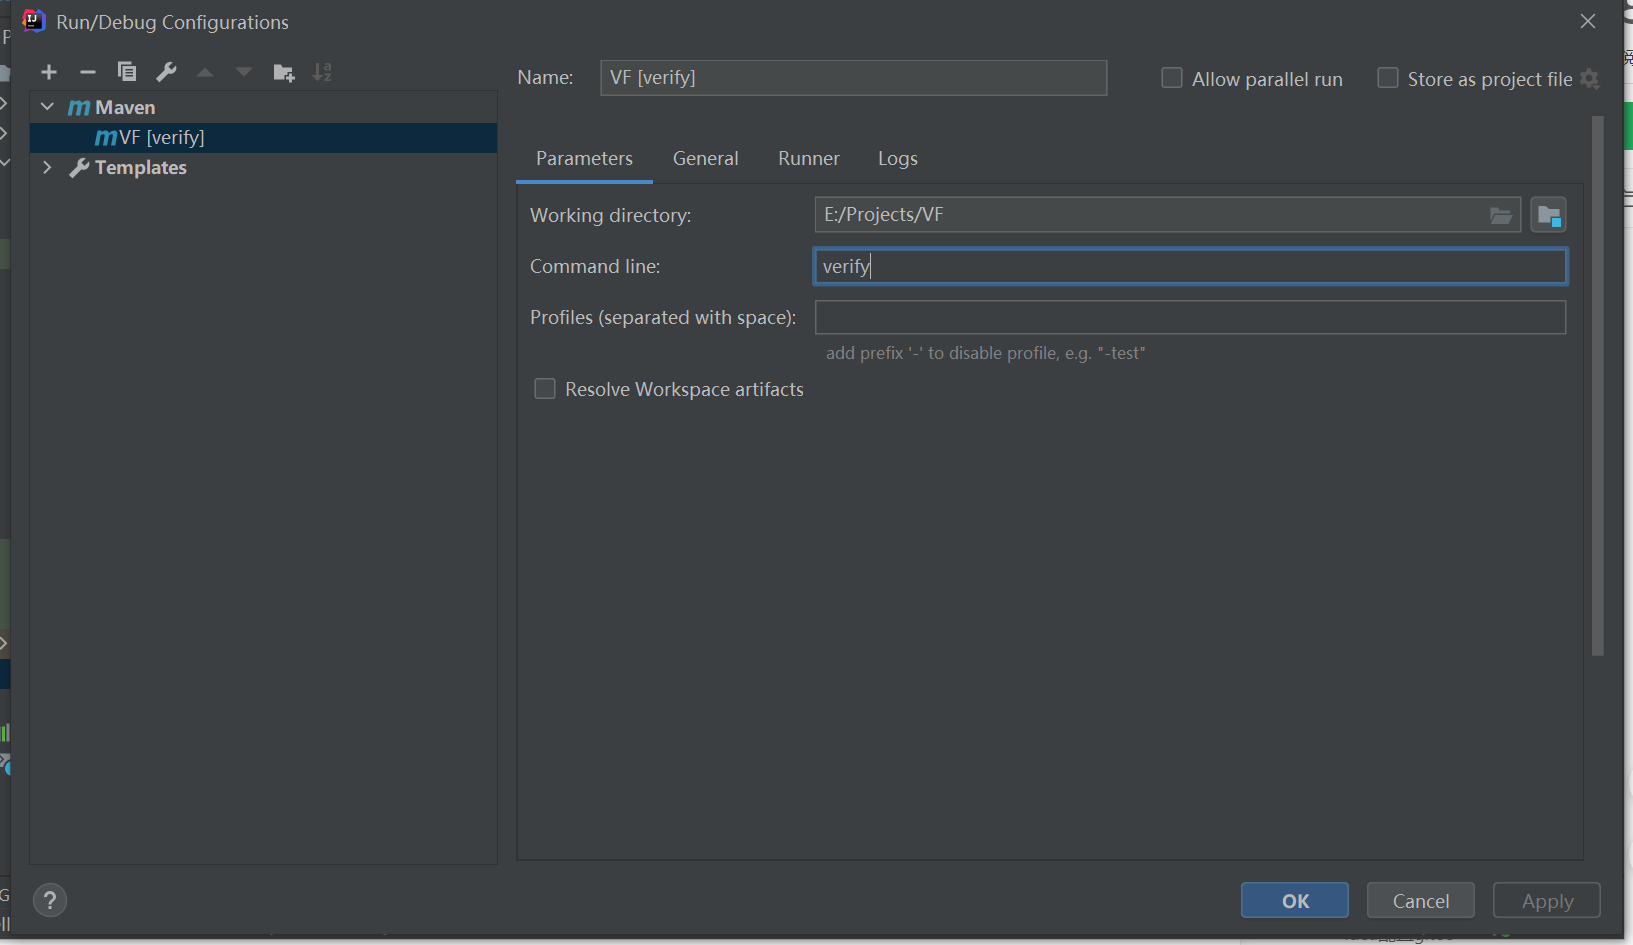
1.配置运行的命令,Run→Edit Configurations,Command line输入verify
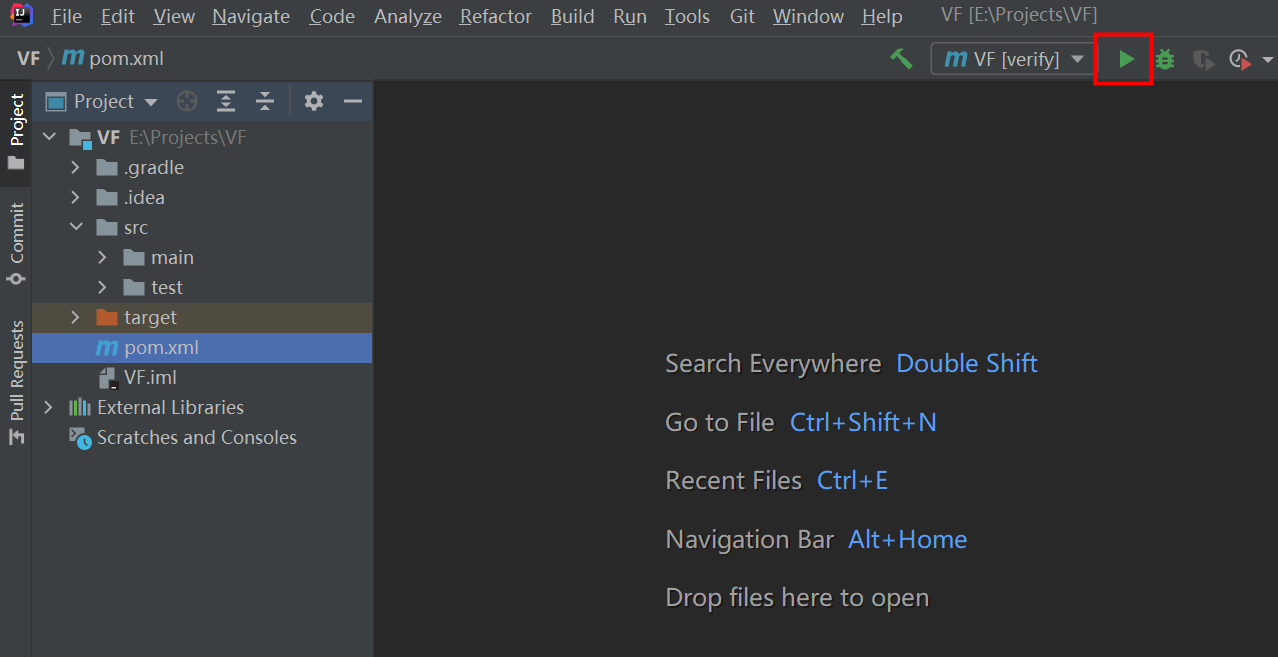
2.运行工程,点击运行图标
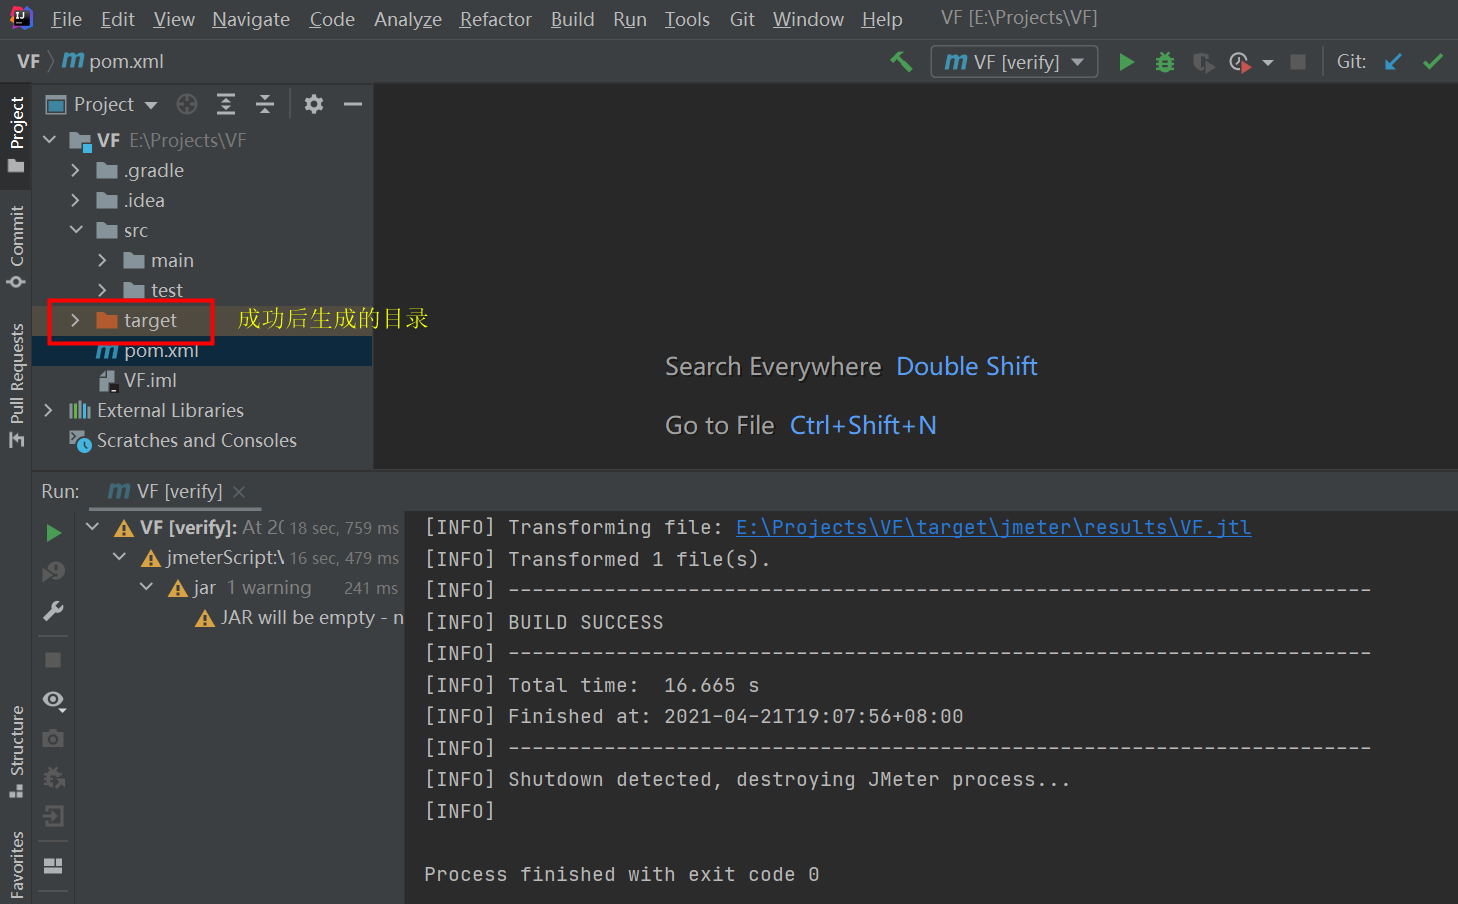
查看生成的HTML报告
1.运行成功后生成target目录
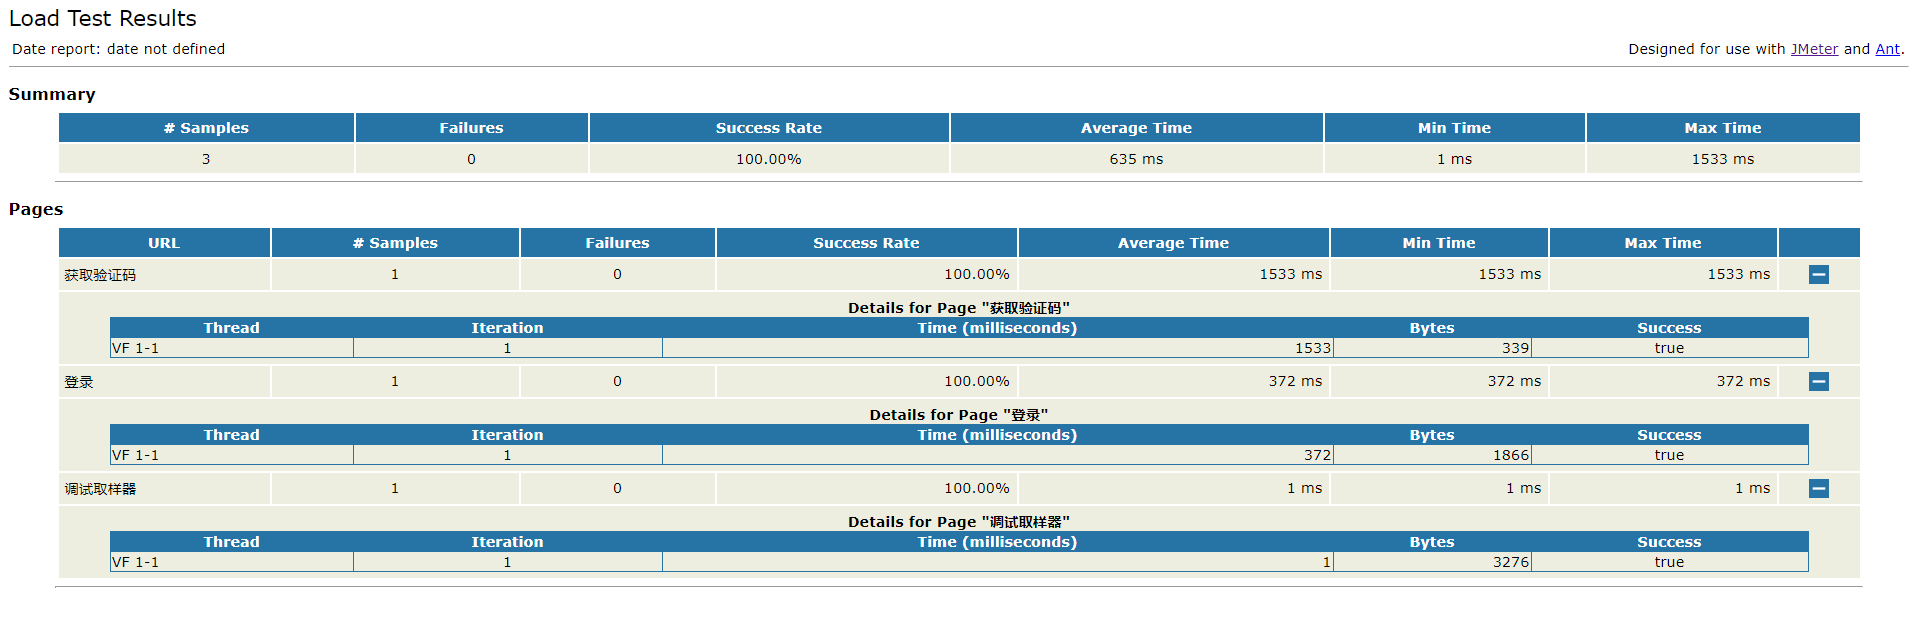
2.打开生成的html报告
在E:\Projects\VF\target\jmeter\html目录下,打开html文件在浏览器查看,发现有图片未成功加载,到jmeter安装目录的extras文件夹中,找到collapse.png、expand.png文件,复制到autotest\target\jmeter\html的文件夹中,然后刷新html报表可正常显示。
Idea配置Gitee
下载安装gitee插件
File→Settings→Plugins,下载安装gitee插件
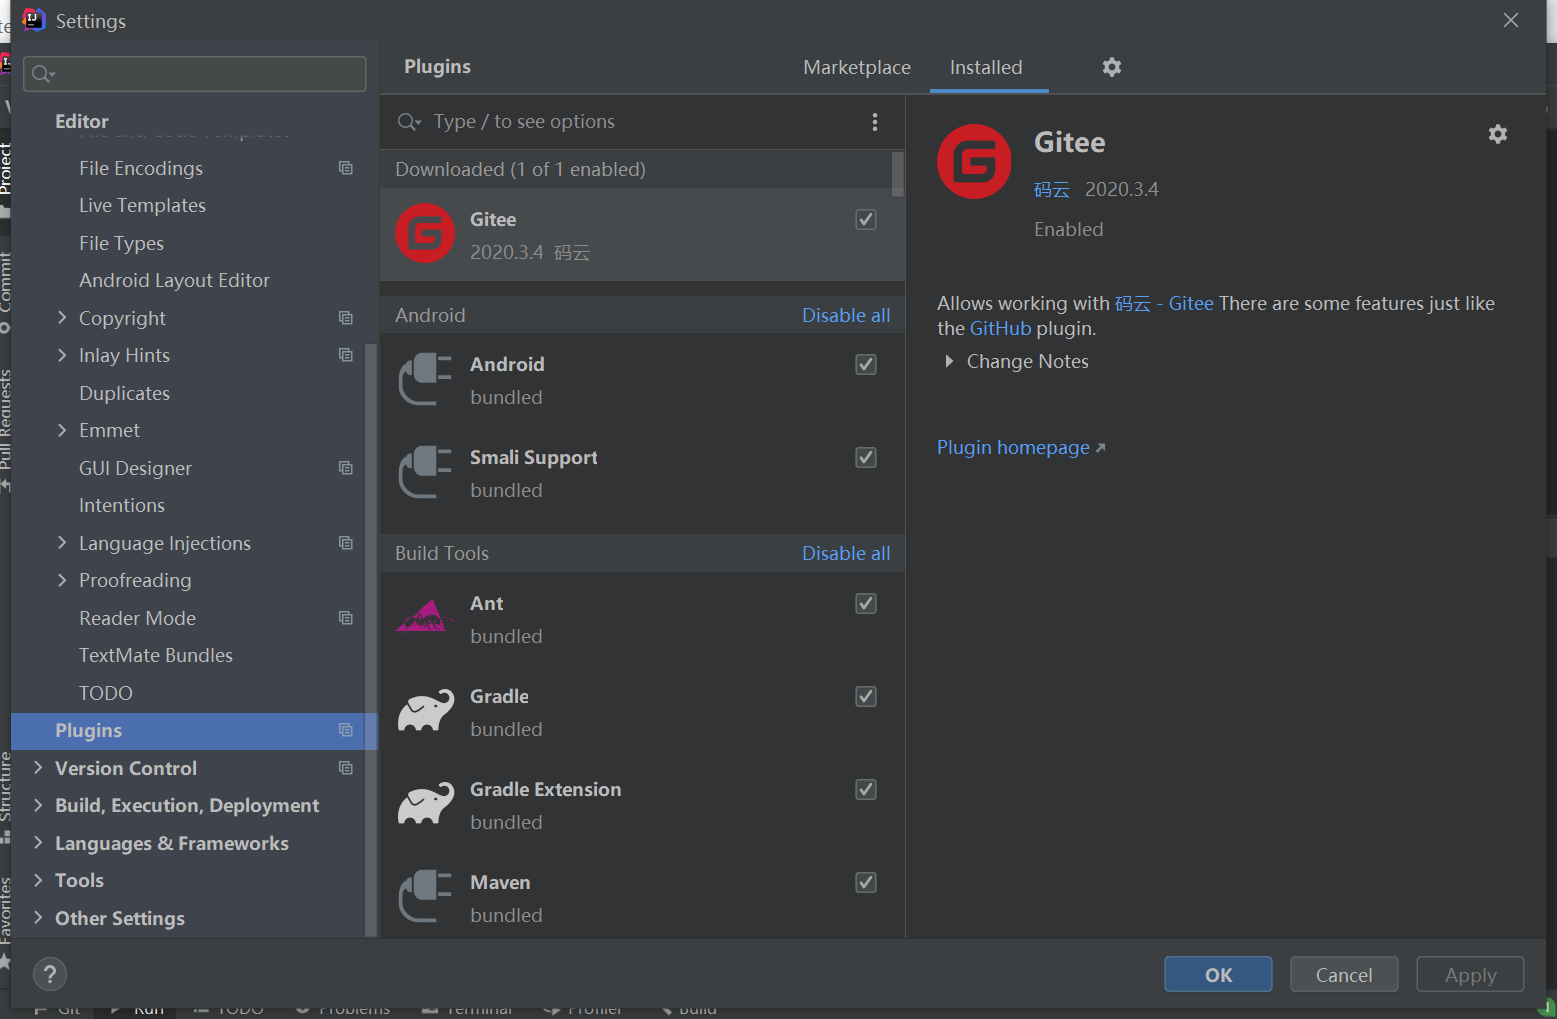
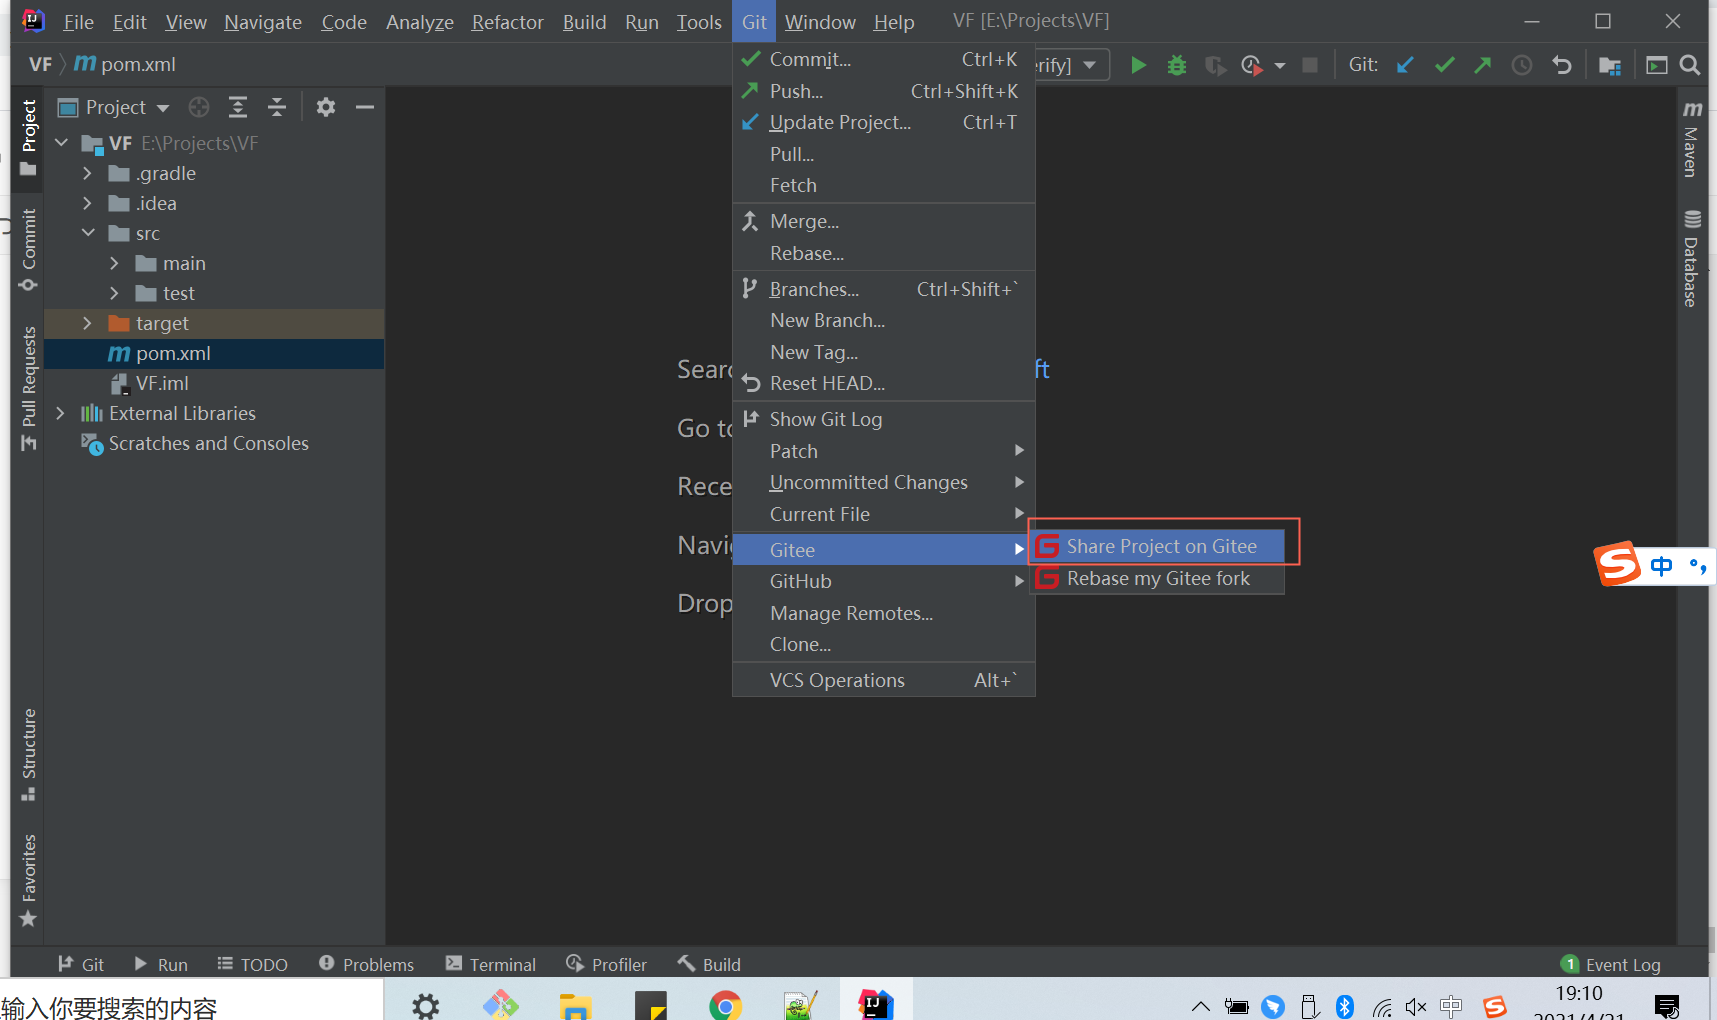
将工程分享到gitee
选择Share Project on Gitee,填写账号密码分享至gitee
Jenkins集成
下载安装Jenkins
下载地址:https://www.jenkins.io/download/
安装成功后,浏览器进入http://localhost:8080/ ,根据提示登陆Jenkins
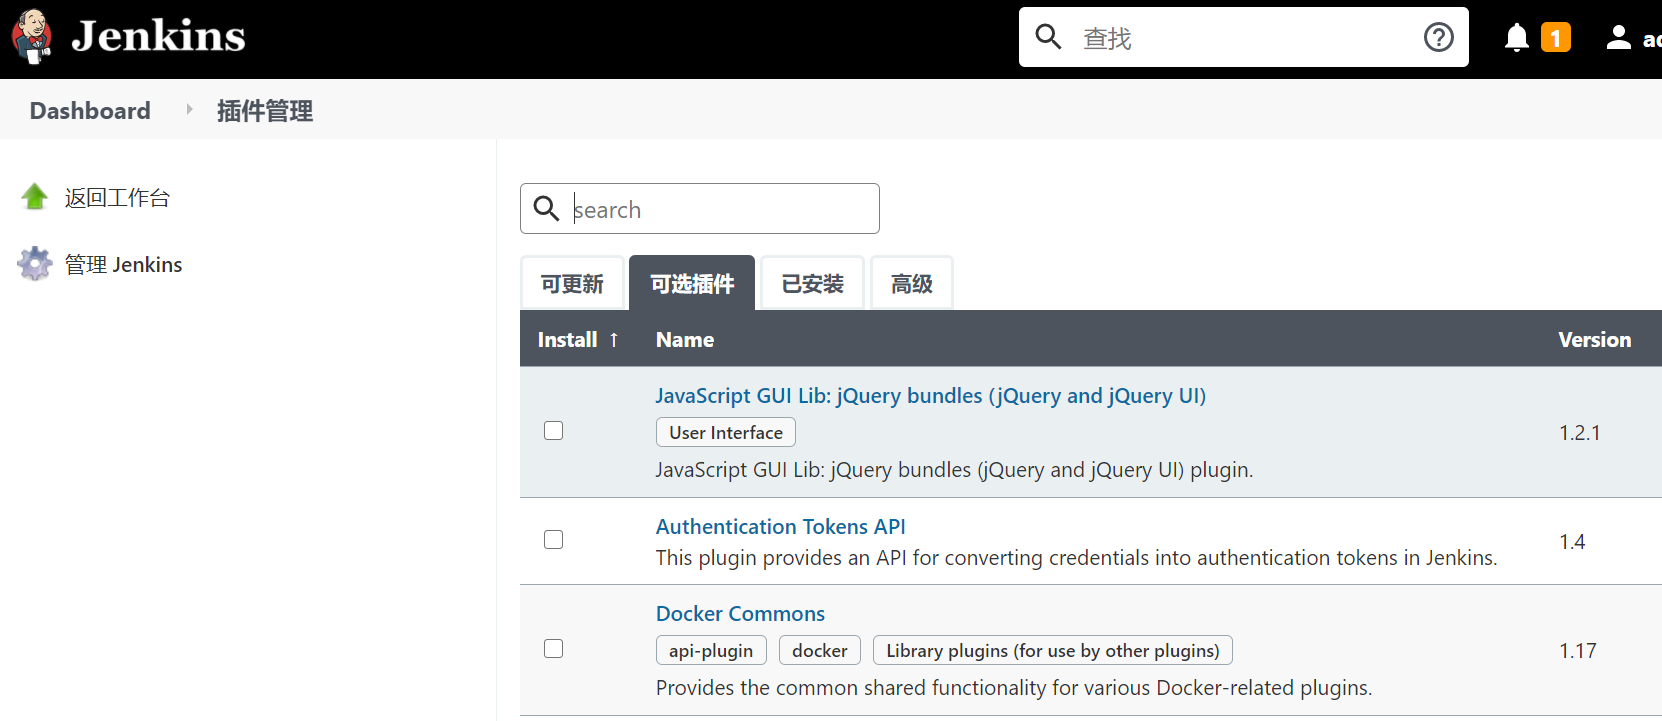
安装Jenkins插件
1.Dashboard→Manage Jenkins→Manage Plugins进入插件管理页面,在可选插件里搜索安装插件
|
插件 |
作用 |
|
Maven Integration |
maven插件 |
|
gitee |
gitee插件 |
|
git |
github插件 |
|
Performance |
性能报告插件 |
|
HTML Publisher |
HTML报告插件 |
配置Jenkins插件
Manage Jenkins → Global Tool Configuration
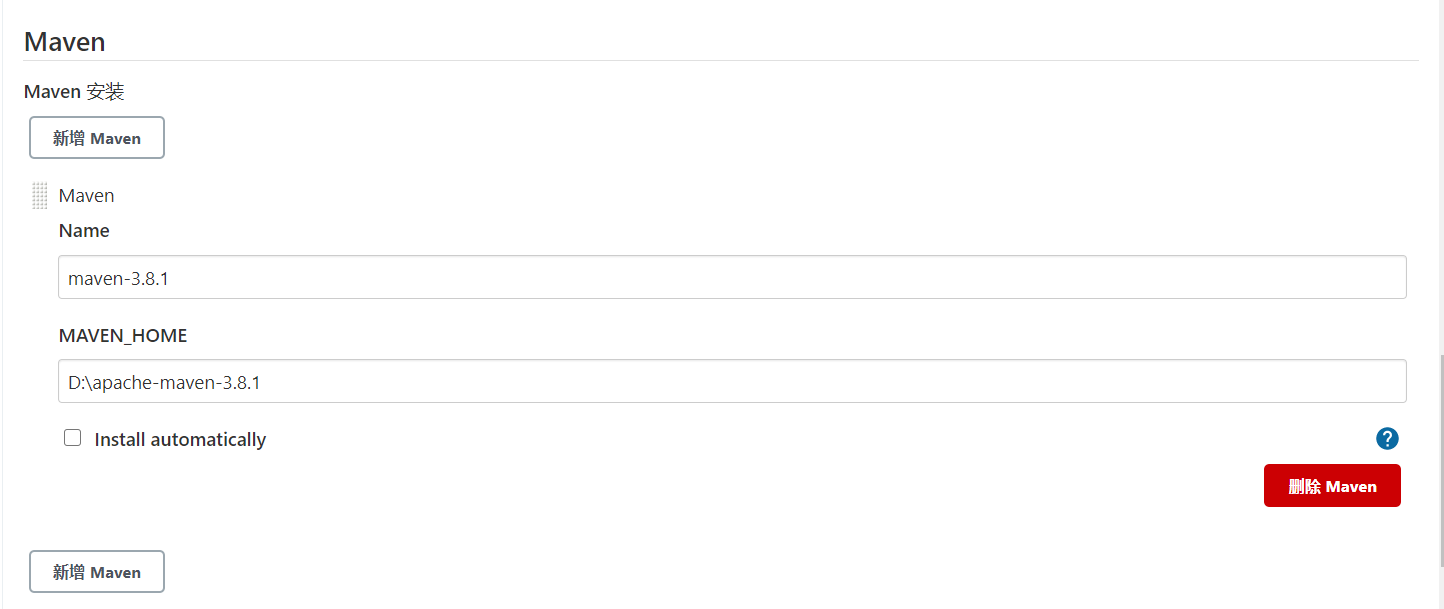
配置maven
1.配置maven的默认配置文件路径
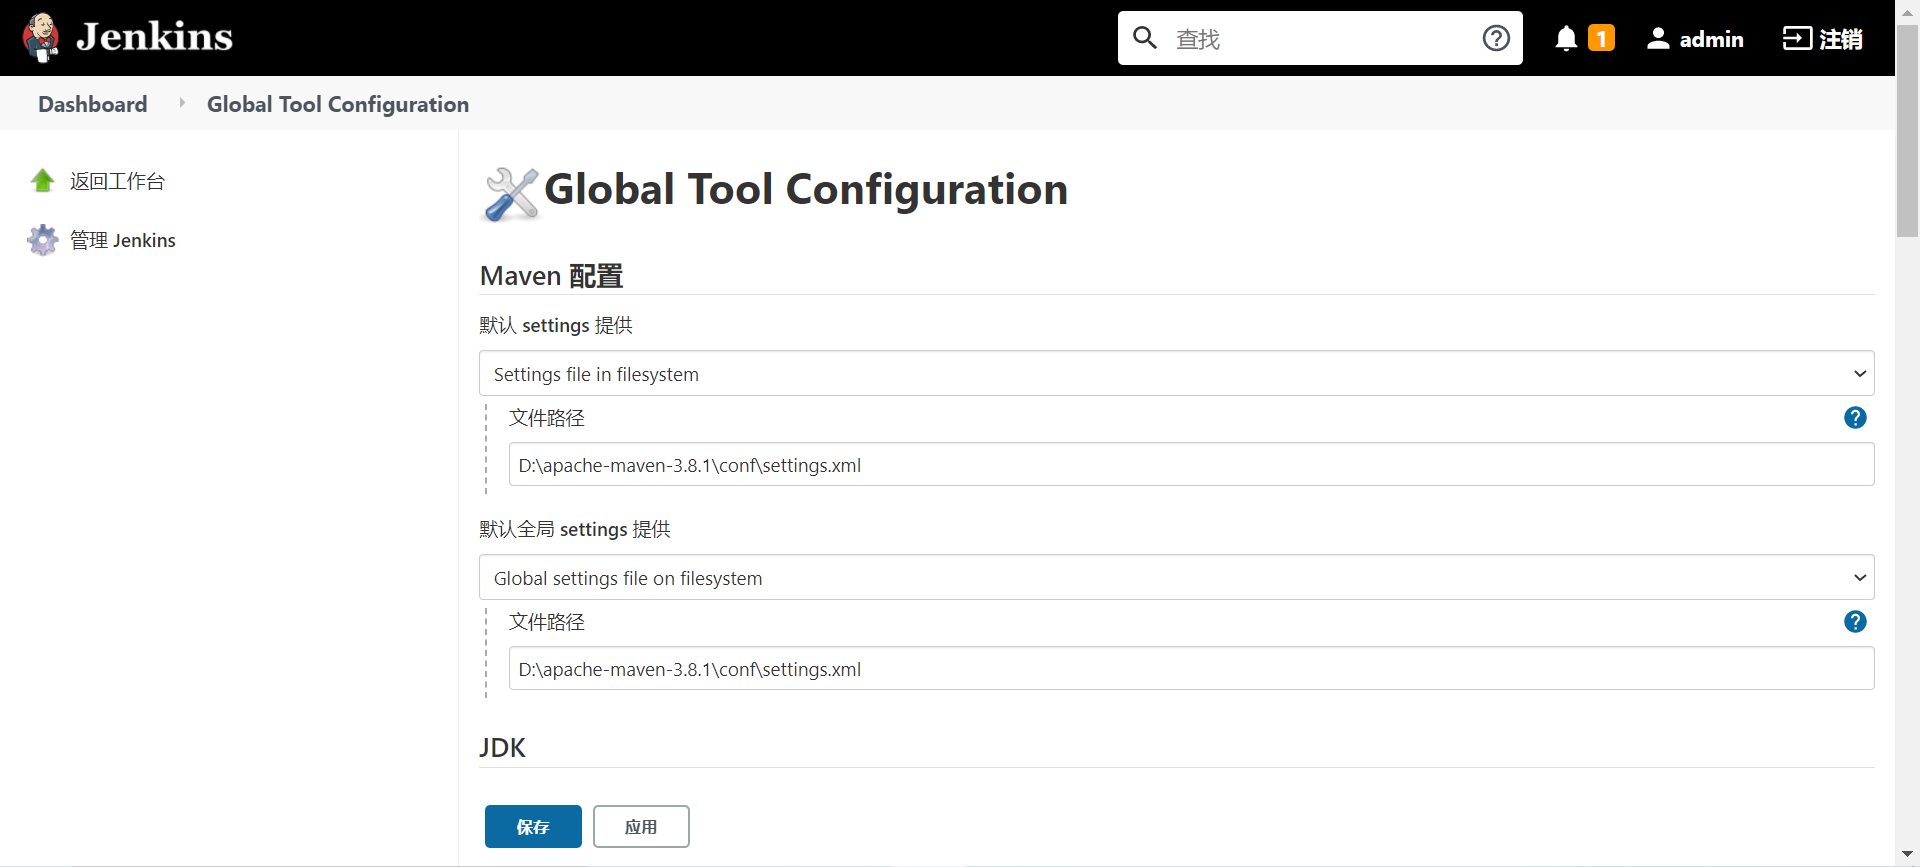
2.配置maven的安装目录
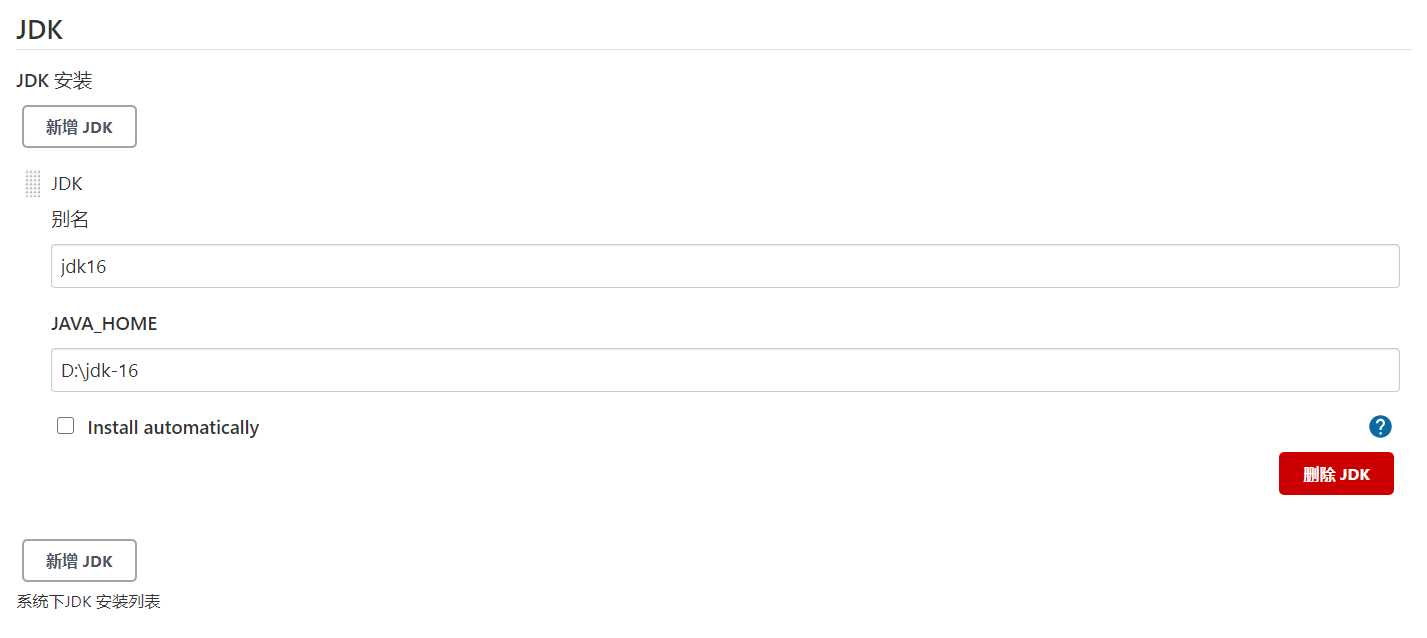
配置jdk
配置jdk的安装路径
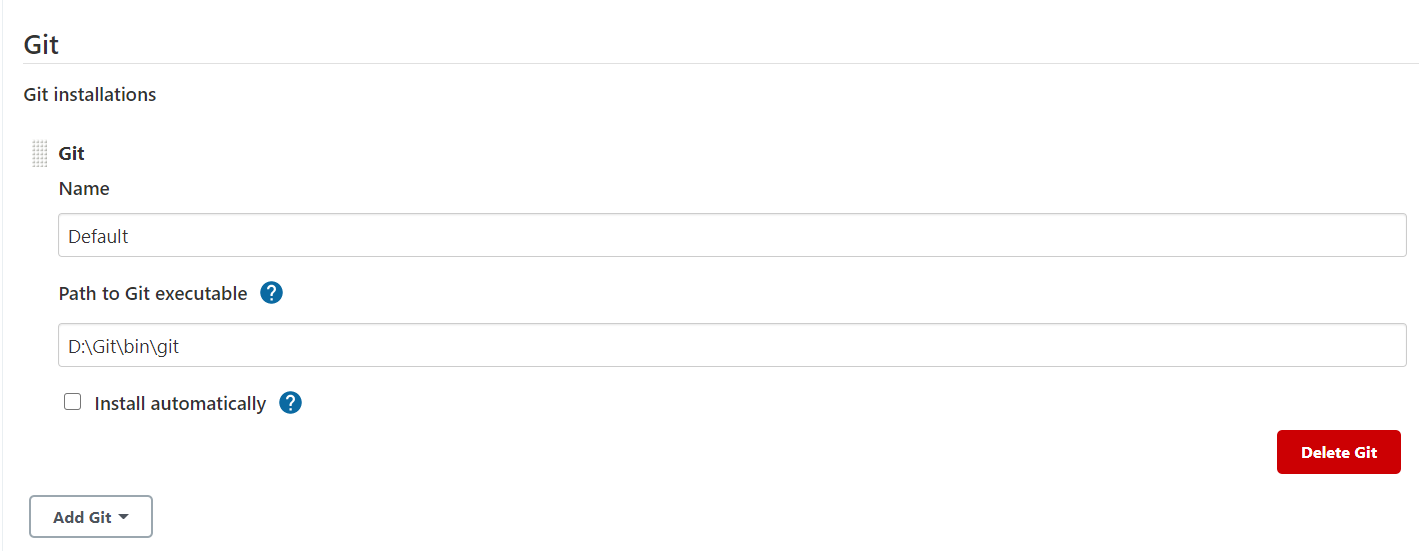
配置git的安装路径
配置git
Gitee凭据账号配置
参考资料:https://gitee.com/help/articles/4193#article-header13 插件配置章节
Jenkins任务
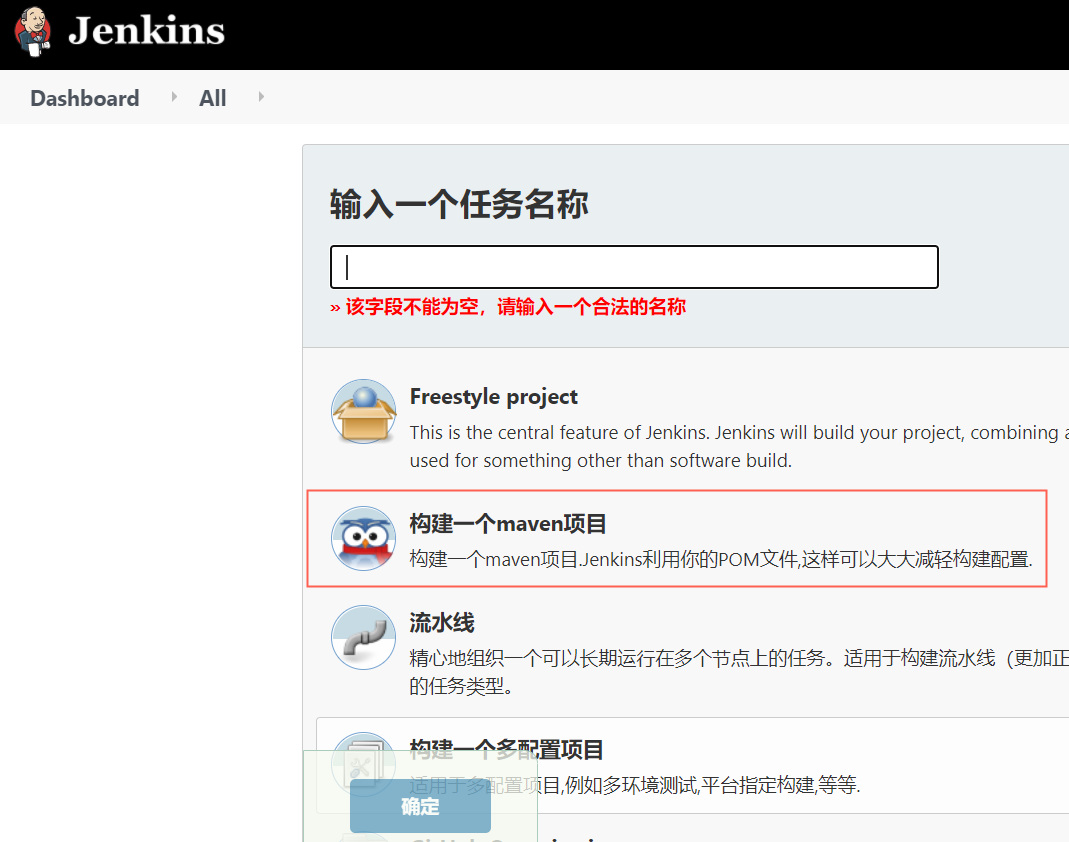
新建任务
Dashboard→新建Item,选择构建一个maven项目
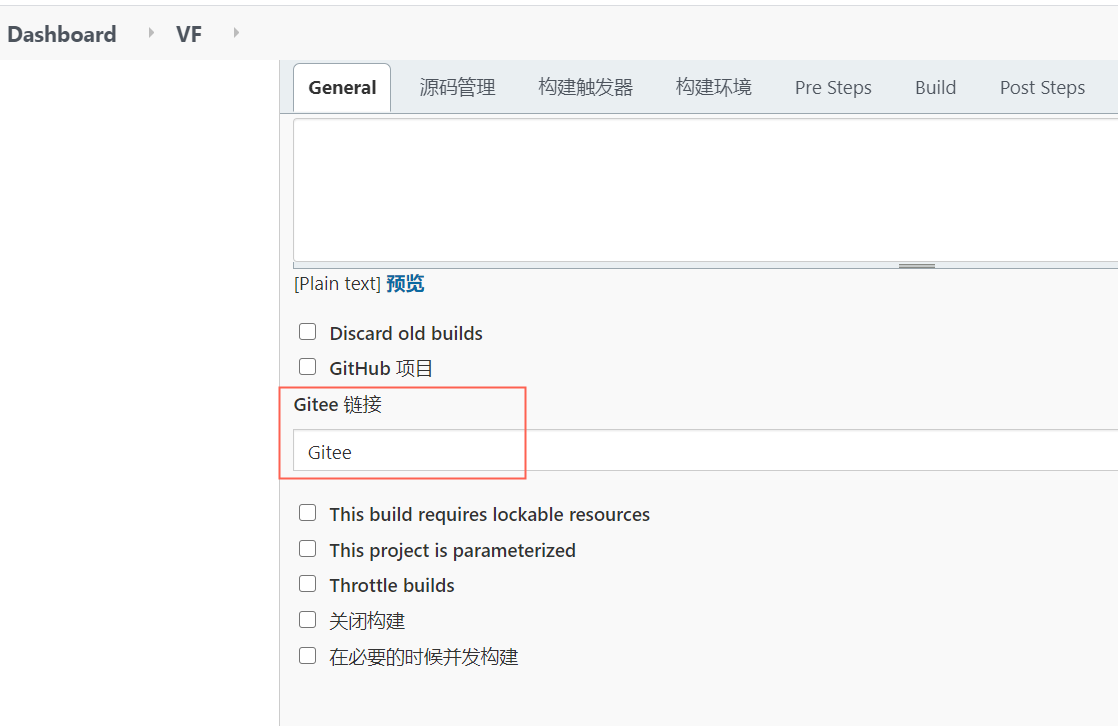
General配置
Gitee链接选项,选择Gitee
源码管理的配置

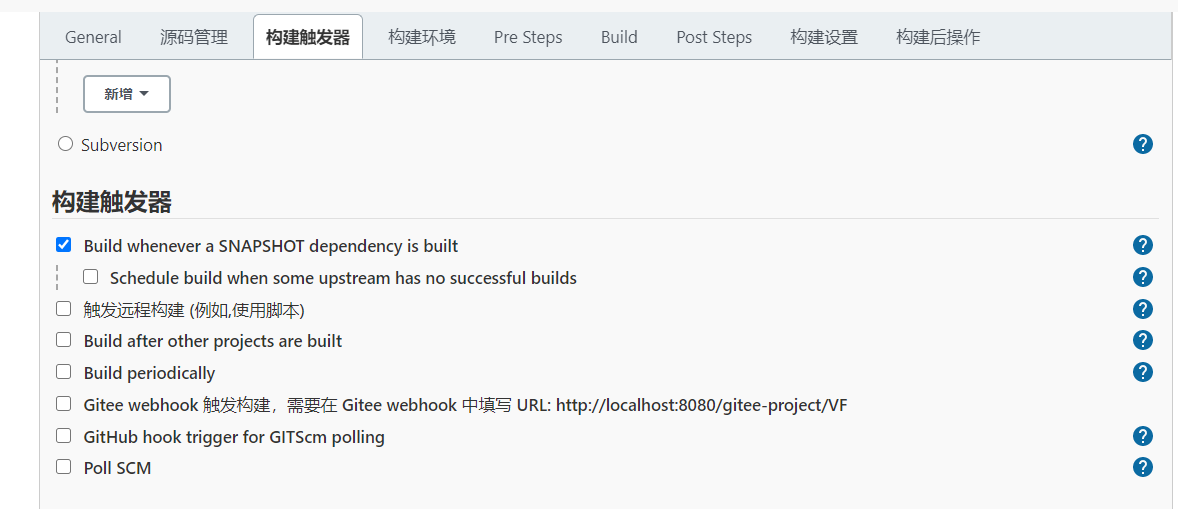
构建触发器
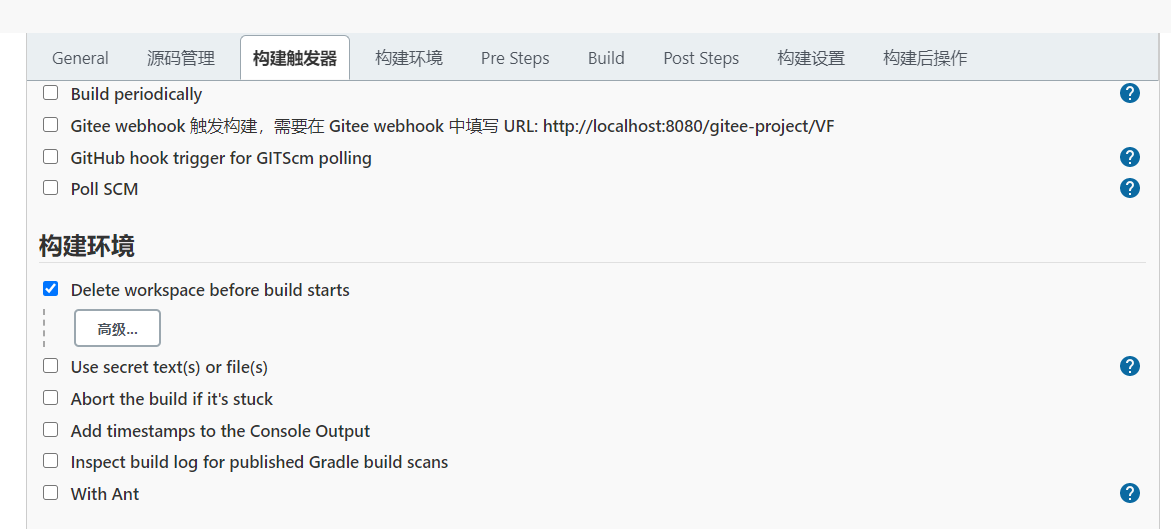
构建环境
配置每次构建都清空之前的构建文件
Pre Step
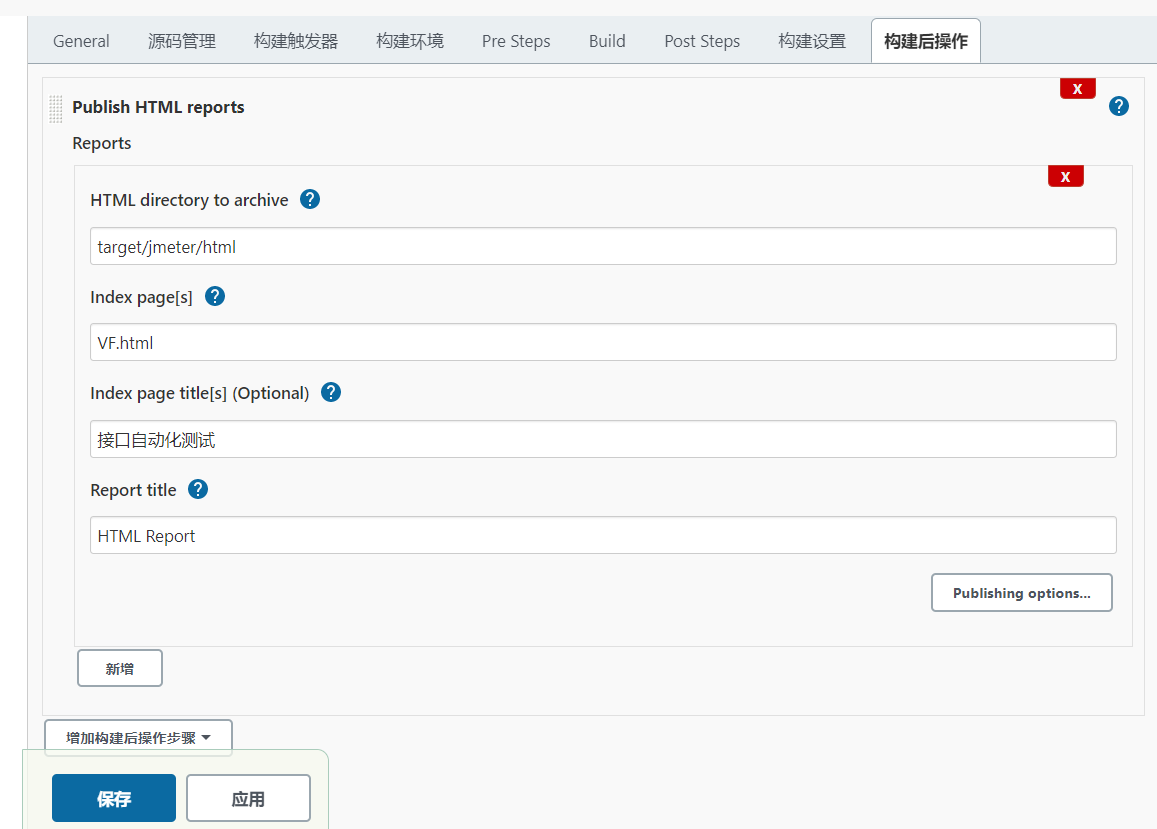
html报告文件
生成的测试报告的目录

html报告的配置
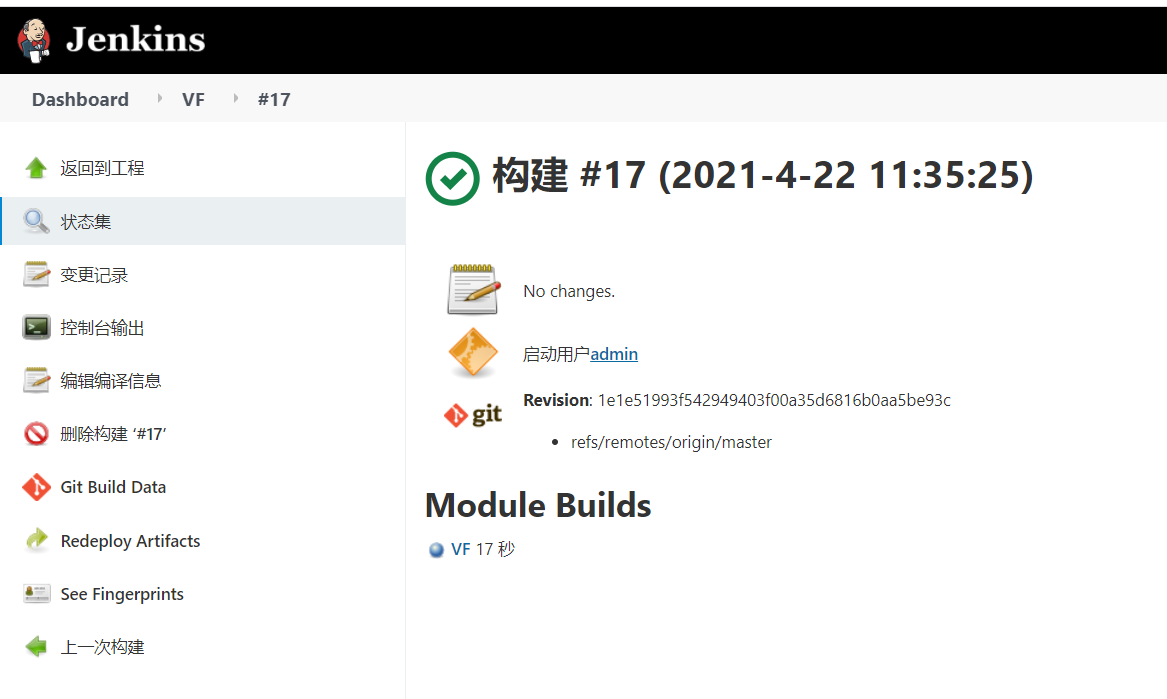
运行任务


 浙公网安备 33010602011771号