

单片机成长之路(51基础篇) - 006 在Linux下搭建51单片机的开发烧写环境
在Linux下没有像keli那样好用的IDE来开发51单片机,开发环境只能自己搭建了。
第一步:安装交叉编译工具
a) 安装SDCC
sudo apt-get install sdcc
b)测试SDCC是否可用,这是个网上找的简单的流水灯代码 test.c, 用来测试
 1 #include "8051.h"
 2
 3 #define uint unsigned int
 4 #define uchar unsigned char
 5 uchar tab[8] = {0x01,0x02,0x04,0x08,0x10,0x20,0x40,0x80};
 6
 7 void Delay(uint xms){
 8         uint i,j;
 9         for(i=xms;i>0;i--)
10         for(j=110;j>0;j--);
11 }
12
13 void main(){
14     uchar i;
15     while(1){
16         for(i=0;i<8;i++){
17             P1 = tab[i];
18             Delay(100);
19         }
20     }
21 }
编译它:
sdcc test.c
会生成这么多的文件(我们只需要其中的 test.ihx):
test.lk test.map test.rel test.sym test.asm test.ihx test.lst test.mem test.rst
packihx file.ihx >file.hex 转换为hex文件
接着下载hex2bin文件,网址(http://sourceforge.net/projects/hex2bin/files/latest/download)。
hex2bin sourcefile.hex。之后就会生成sourcefile.bin文件。
注意:为了方便以后调用hex2bin,可以将路径加入到 .bashrc文件在~/.bashrc最后一行加上Hex2bin 所在的文件夹位置:
PATH=$PATH:/home/jikexianfeng/51-demo/Hex2bin-2.5
可以写个makefile文件,编译方便些
这是我写的makefile:
1 test.hex : test.c
2     sdcc test.c
3     packihx test.ihx > test.hex
4     hex2bin test.hex
5 clean:
6     rm -rf *.asm *.lst *.mem *.rst *.lnk *.rel *.sym *.ihx *.hex *.map
第二步:安装烧写工具
a)下载stcflash: http://github.com/laborer/stcflash ,这是个用python写的向单片机烧写bin文件的软件
b)安装环境:sudo apt-get install python-serial
c)烧写 : sudo python ./stcflash.py test.bin
解决 ImportError: No module named 'serial' 问题
Traceback (most recent call last):
  File "/home/jikexianfeng/51-demo/.stcflash/stcflash.py", line 22, in <module>
    import serial
ImportError: No module named serial
解决办法(安装 serial module,这里区分python2和 python3):
sudo apt install python-pip //python2
sudo apt install python3-pip    //python3
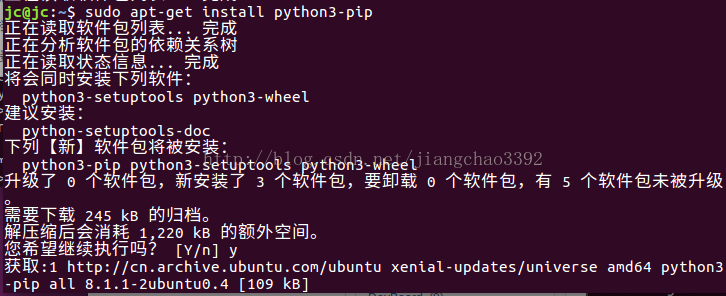
安装python3的 pip3的时候,如果时国内的软件源可能安装不上,(当时用中国科学技术大学的软件源,python3-pip下载有问题),换成ubuntu官网成功下载。
安装pyserial:
pip install pyserial    //python2
pip3 install pyserial   //python3

可以从pyserial下载这里去获取源码进行熟悉和学习。

 浙公网安备 33010602011771号