

0321-Chip8-通过第一个测试
环境
- Time 2023-07-26
- Zig 0.11.0-dev.4191+1bf16b172
- SLD2 2.28.1
前言
说明
参考资料:
- https://en.wikipedia.org/wiki/CHIP-8
- https://austinmorlan.com/posts/chip8_emulator/
- https://rsj217.github.io/chip8-py/
- https://github.com/Timendus/chip8-test-suite
其中最后一个提供了测试的套件,实现的过程中,可以检测哪些指令有问题,帮助很大。
目标
实现 Dxyn 指令。
cpu.zig
- 新增了 0xD 分支,新增了 draw 画图的方法。
const std = @import("std");
const Instruct = @import("instruct.zig").Instruct;
const Memory = @import("memory.zig").Memory;

pub const CPU = struct {
    instruct: Instruct = undefined,
    register: [16]u8 = std.mem.zeroes([16]u8),
    index: u16 = 0,
    pc: u16,

    pub fn cycle(self: *CPU, memory: *Memory) void {
        self.fetch(memory);
        self.decode();
        self.execute(memory);
    }

    fn fetch(self: *CPU, memory: *Memory) void {
        var opcode = memory.load(self.pc);
        self.instruct = Instruct{ .opcode = opcode };
        self.next();
    }

    fn next(self: *CPU) void {
        self.pc += 2;
    }

    fn decode(self: *CPU) void {
        self.instruct.decode();
    }

    fn execute(self: *CPU, memory: *Memory) void {
        const ins = &self.instruct;
        var reg = &self.register;
        switch (ins.code) {
            0x0 => memory.clearScreen(),
            0x1 => self.pc = ins.nnn,
            0x6 => reg[ins.x] = ins.nn,
            0xA => self.index = ins.nnn,
            0xD => self.draw(memory),
            else => std.log.info("unknow opcode: 0x{X:0>4}", .{ins.opcode}),
        }
    }

    const width: u8 = 0x80; // 每个精灵的固定宽度
    fn draw(self: *CPU, memory: *Memory) void {
        self.register[0xF] = 0;
        var rx = self.register[self.instruct.x];
        var ry = self.register[self.instruct.y];
        for (0..self.instruct.n) |row| {
            const sprite = memory.ram[self.index + row];
            for (0..8) |col| {
                const shift = width >> @as(u3, @truncate(col));
                if (sprite & shift == 0) continue;
                if (!memory.setPixel(rx + col, ry + row)) {
                    self.register[0xF] = 1;
                }
            }
        }
    }
};
逐行解释
const width: u8 = 0x80; // 每个精灵的固定宽度
fn draw(self: *CPU, memory: *Memory) void {
    // 最后需要F寄存器来表示是否碰撞,所以先清空
    self.register[0xF] = 0;
    // x和y的寄存器的值
    var rx = self.register[self.instruct.x];
    var ry = self.register[self.instruct.y];
    // 精灵的高度
    for (0..self.instruct.n) |row| {
        // 找到对应精灵的数据
        const sprite = memory.ram[self.index + row];
        // 每个精灵8位宽
        for (0..8) |col| {
            const shift = width >> @as(u3, @truncate(col));
            // 如果精灵的像素没有打开,跳过。
            if (sprite & shift == 0) continue;
            // 如果像素变暗了,则表示碰撞,需要设置F寄存器。
            if (!memory.setPixel(rx + col, ry + row)) {
                self.register[0xF] = 1;
            }
        }
    }
}
chip8.zig
删除之前测试用的绘图,直接使用游戏 rom 的绘图。
const cpu = @import("cpu.zig");
const memory = @import("memory.zig");
const screen = @import("screen.zig");
const keypad = @import("keypad.zig");

const ENTRY = 0x200;
const HZ = 500;
const FPS = 60;

pub const Emulator = struct {
    cpu: cpu.CPU,
    memory: memory.Memory,
    screen: screen.Screen,
    keypad: keypad.Keypad,

    pub fn new(rom: []const u8) Emulator {
        return Emulator{
            .cpu = cpu.CPU{ .pc = ENTRY },
            .memory = memory.Memory.new(rom, ENTRY),
            .screen = screen.Screen{},
            .keypad = keypad.Keypad{},
        };
    }

    pub fn run(self: *Emulator) void {
        self.screen.init();
        defer self.screen.deinit();
        self.memory.screen = &self.screen;
        self.memory.keypad = &self.keypad;

        var index: usize = 0;
        while (self.keypad.poll()) : (index += 1) {
            for (0..(HZ / FPS)) |_|
                self.cpu.cycle(&self.memory);

            self.screen.update(FPS);
        }
    }
};
启动
zig build run
效果
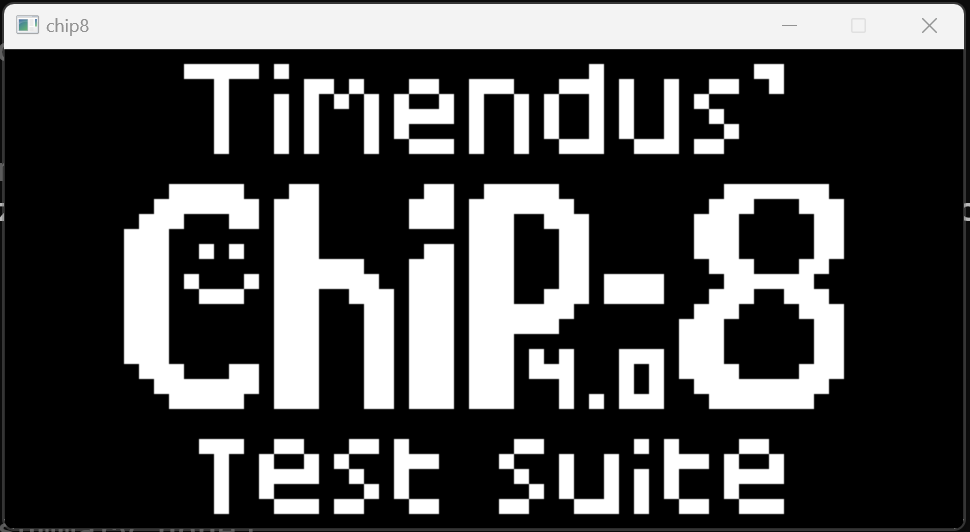
总结
实现了 D 指令,通过了 Chip-8 测试 rom 的第一个。

 浙公网安备 33010602011771号