[Vue] 09 - Canvas + OpenCV.js
Case: Canvas and Router
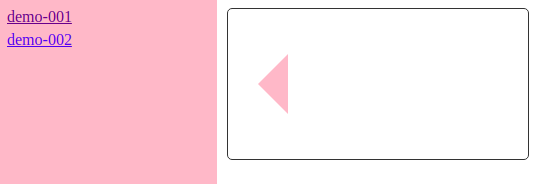
一、效果图
侧边栏效果。
代码下载:https://github.com/jiaopi404/my-canvas
二、demo-001 子模块
执行动画
window.requestAnimationFrame(this.draw)
对canvas做具体操作。
<template>
  <div id="demo-001">
    <canvas id="demo-001-canvas">
      不支持 canvas
    </canvas>
  </div>
</template>

<script>
export default {
  name: 'demo-001.vue',
  data () {
    return {
      ctx: null,
      x: 0
    }
  },
  mounted () {
    this.init()
    // window.requestAnimationFrame(this.draw)
    this.draw()
  },
  methods: {
    init () {
      const canvas = document.getElementById('demo-001-canvas')
      this.ctx = canvas.getContext('2d')
    },
    draw () {
      // this.drawRect()  // 意义不大,可以注释掉
      this.drawPolygon()
      this.x += 1
      if (this.x >= 270) {
        this.x = 0
      }
      window.requestAnimationFrame(this.draw)
    },
    drawRect () {
      this.ctx.strokeRect(50, 50, 50, 50)
      this.ctx.fillRect(75, 75, 25, 25)
    },
    drawPolygon () {
      this.ctx.clearRect(0, 0, 300, 150)
      this.ctx.beginPath()
      this.ctx.moveTo(this.x, 75)
      this.ctx.lineTo(this.x + 30, 45)
      this.ctx.lineTo(this.x + 30, 105)
      // this.ctx.stroke()
      this.ctx.fillStyle = 'pink'
      // this.ctx.rotate(5 * Math.PI / 360)
      this.ctx.fill()
      // note
    }
  }
}
</script>

<style lang="scss" scoped>
#demo-001 {
  #demo-001-canvas {
    border-radius: 5px;
    border: 1px solid #333;
  }
}
</style>
三、home 主模块
<template>
  <div id="home">

    <div class="menu">
      <el-scrollbar>
        <ul>
          <li><router-link to="demo-001">demo-001</router-link></li>
          <li><router-link to="demo-002">demo-002</router-link></li>
        </ul>
      </el-scrollbar>
    </div>

    <div class="body">
      <router-view></router-view>
    </div>

  </div>
</template>

<script>

export default {
  name: 'home',
  components: {

  }
}
</script>

<style lang="scss" scoped>
#home {
  display: flex;
  height: 100%;
  .menu {
    padding: 10px;
    width: 200px;
    height: 100%;
    background-color: pink;
    li {
      margin-bottom: 5px;
    }
  }
  .body {
    flex: auto;
    padding: 10px;
  }
}
</style>
四、路由配置
Ref: 关于Vue.use()详解(跟 install 有关)
import Vue from 'vue'
import App from './App.vue'
import router from './router'
import store from './store'
import ElementUI from 'element-ui'
import 'element-ui/lib/theme-chalk/index.css'

Vue.use(ElementUI)

Vue.config.productionTip = false

new Vue({
  router,
  store,
  render: h => h(App)
}).$mount('#app')
此处,单独一个文件 router.js 进行路由配置。
import Vue from 'vue'
import Router from 'vue-router'
import Home from './views/Home.vue'

Vue.use(Router)

export default new Router({
  mode: 'history',
  base: process.env.BASE_URL,
  routes: [
    {
      path: '/',
      name: 'home',
      component: Home,
      redirect: '/demo-001'
    },
    {
      path: '/demo-001',
      name: 'demo-001',
      component: () => import('@/components/demo-001/demo-001.vue')
    },
    {
      path: '/demo-002',
      name: 'demo-002',
      component: () => import('@/components/demo-002/demo-002.vue')
    }
  ]
})
OpenCV.js
一、资源
Ref: https://github.com/greenpdx/opencv-vue [OpenCV 3.3.1 版本有点老旧]
Ref: https://github.com/hengzi/opencv-vue [预编译出opencvjs的包文件,也是 3.3.1 版本,再动态引用]
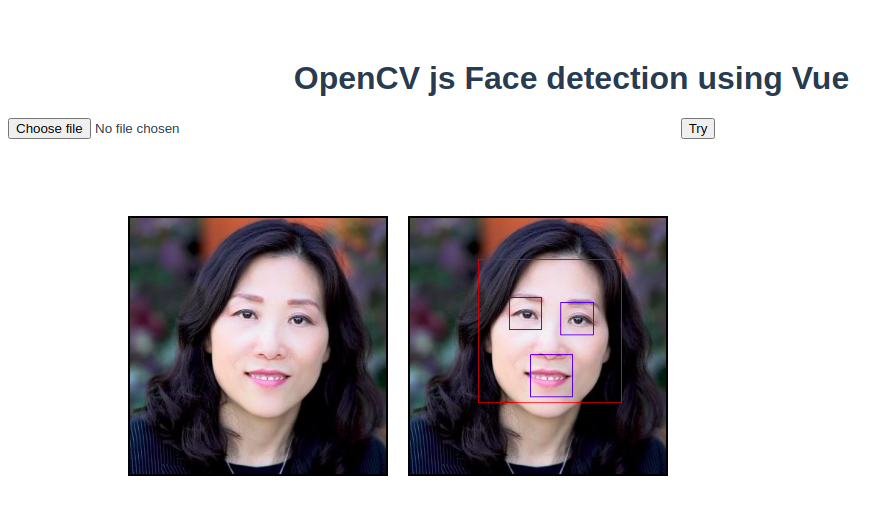
使用OpenCV.js进行人脸检测。
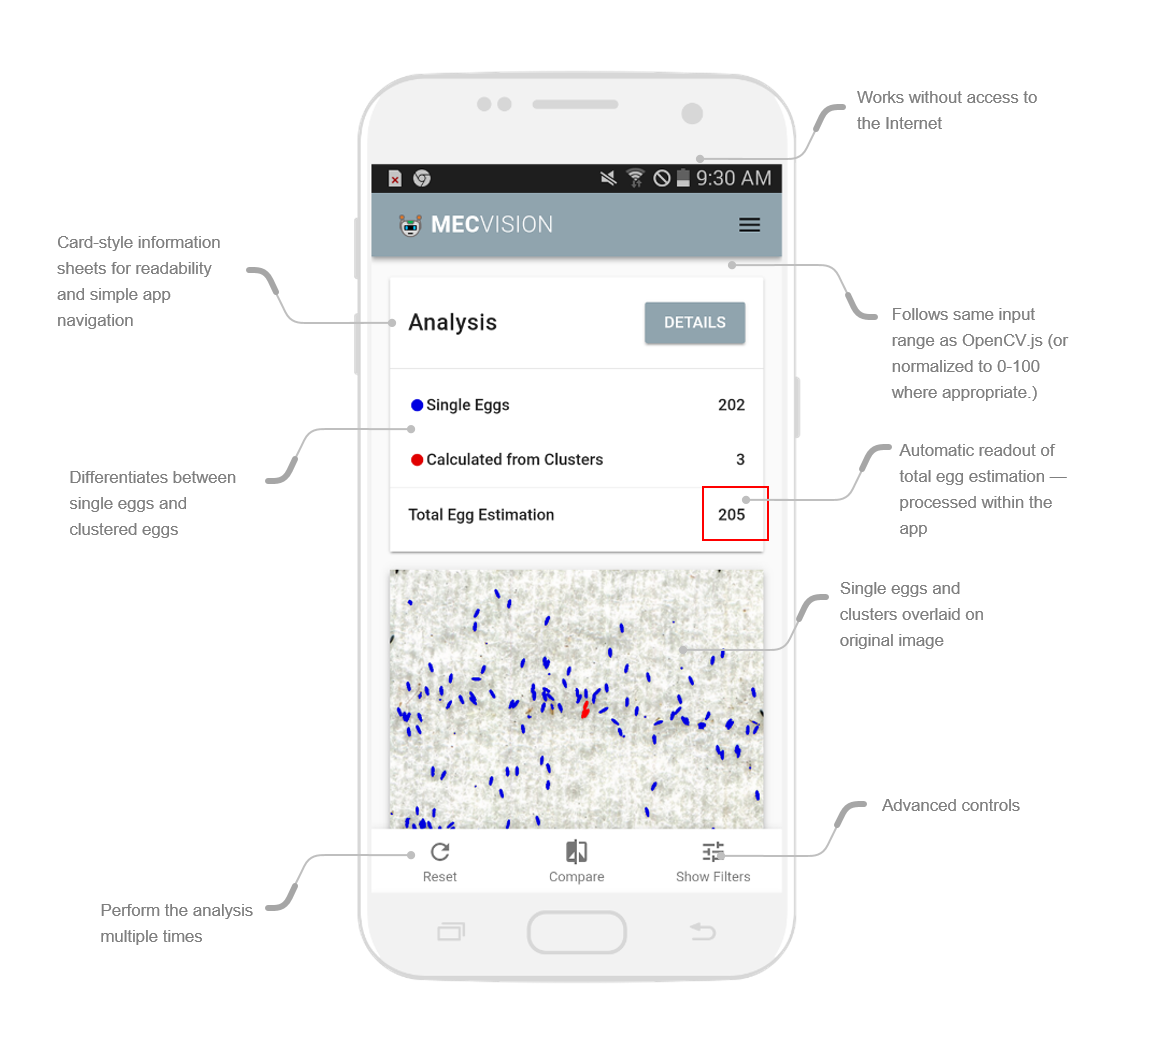
Ref: https://github.com/abtassociates/mecvision [前后端完整展示]
Ref: https://github.com/latsic/imgalign
WebAssembly的例子:
-
- Vue - The web framework used
- Vuex - Vue store
- Vuetify - Vue Material Design Component Framework
- OpenCV - Open Source Computer Vision Library
- WebAssembly - Binary instruction format for a stack-based virtual machine
二、代码分析
-
依赖包配置:package.json
  "dependencies": {
    "axios": "^0.18.0",
    "opencv.js": "^1.2.1",
    "vue": "^2.6.6"
  },
-
默认脚本文件:main.js
默认的样子。
import Vue from 'vue'
import App from './App.vue'
import Vue2TouchEvents from 'vue2-touch-events'
// import * as cv from './build-4.3.0/wasm/opencv.js';

Vue.use(Vue2TouchEvents)
Vue.config.productionTip = false

new Vue({
  render: h => h(App),
}).$mount('#app')
工程中使用OpenCV的案例。
import Vue from 'vue'
import App from './App.vue'
import Axios from 'axios'
import * as cv from 'opencv.js'

Vue.prototype.$http = Axios
Vue.prototype.$cv = cv

Vue.config.productionTip = false


let cnt = 0
let info
let tim = setInterval(() => {
  cnt++
  try {
    info = cv.getBuildInformation()
    clearInterval(tim)
    //console.log(cnt, 'INFO\n', info)

    // Now start Vue
    new Vue({
      render: h => h(App),
    }).$mount('#app')
  }
  catch(err) {
    //console.log('try again', cnt)
    if (cnt > 100) clearInterval(tim)
  }
}, 25)
-
加载main.js的过程
index.tml->main.js->app.vue->index.js->helloworld.vue
常见问题
这个画笔怎么奇奇怪怪的呢?
this.$cv.imshow("output", this.g_cur_frame);
this.$cv.imshow("canvas", this.g_cur_frame);
// this.canvasContext.drawImage(this.$refs.output, 0, 0)
imshow一用,就出现了如下奇怪的“画笔”,圆笔变叉叉笔。 What happened?
若干属性。
this.canvasContext = this.$refs.canvas.getContext('2d');
this.canvasContext.lineJoin    = 'round';
this.canvasContext.lineCap     = 'round';
this.canvasContext.lineWidth   = this.brushSize;
this.canvasContext.strokeStyle = this.tools[this.selectedToolIdx].color;
Ref: Canvas学习:globalCompositeOperation详解 [有图例和示范]
答案:
imshow后,可能是某种原因重置了canvas的属性,re-init canvas就好了。虽然比较龊,不优雅,但不妨碍功能的使用。
End.

 浙公网安备 33010602011771号