Linux安装Docker
Uninstall old versions
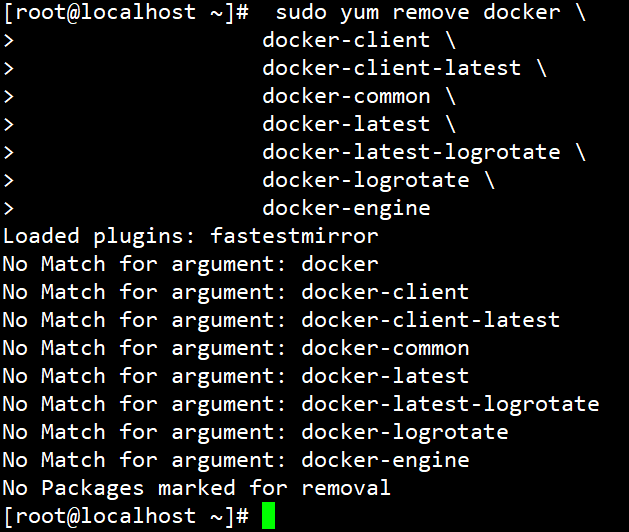
Older versions of Docker were called docker or docker-engine. If these are installed, uninstall them, along with associated dependencies.
sudo yum remove docker \
                  docker-client \
                  docker-client-latest \
                  docker-common \
                  docker-latest \
                  docker-latest-logrotate \
                  docker-logrotate \
                  docker-engine
Install using the repository
Before you install Docker Engine for the first time on a new host machine, you need to set up the Docker repository. Afterward, you can install and update Docker from the repository.
SET UP THE REPOSITORY
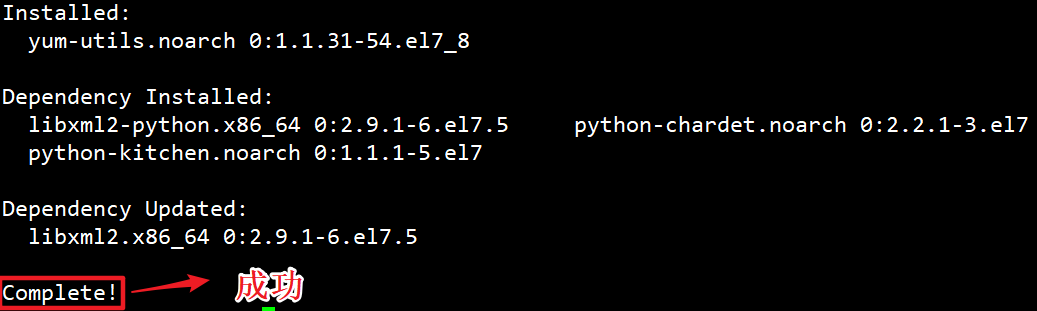
Install the yum-utils package (which provides the yum-config-manager utility) and set up the stable repository.
sudo yum install -y yum-utils
#使用官方镜像
sudo yum-config-manager \
--add-repo \
https://download.docker.com/linux/centos/docker-ce.repo
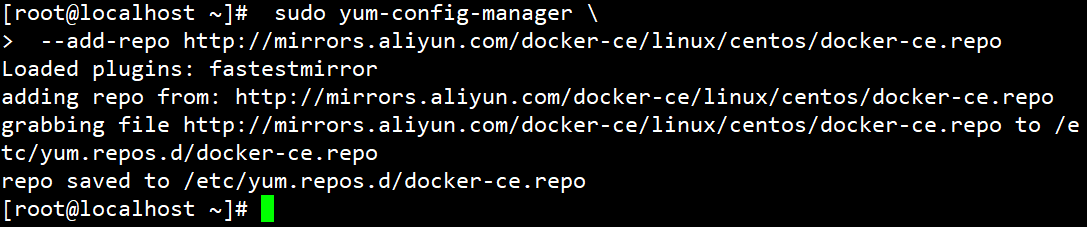
#使用阿里云加速
sudo yum-config-manager \
--add-repo http://mirrors.aliyun.com/docker-ce/linux/centos/docker-ce.repo
INSTALL DOCKER ENGINE
-
Install the latest version of Docker Engine and containerd, or go to the next step to install a specific version:
sudo yum install docker-ce docker-ce-cli containerd.io docker-compose-plugin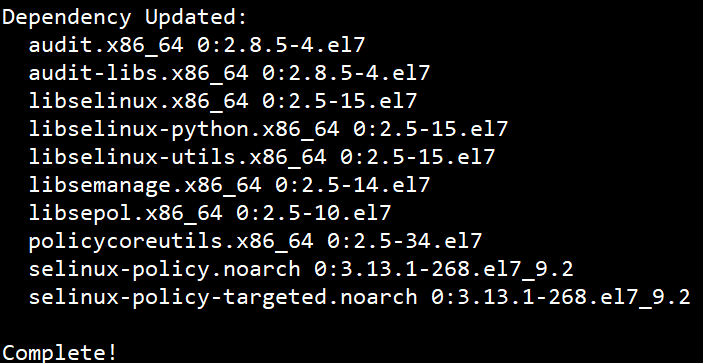
-
To install a specific version of Docker Engine, list the available versions in the repo, then select and install:
a. List and sort the versions available in your repo. This example sorts results by version number, highest to lowest, and is truncated:
yum list docker-ce --showduplicates | sort -rThe list returned depends on which repositories are enabled, and is specific to your version of CentOS (indicated by the
.el7suffix in this example).b. Install a specific version by its fully qualified package name, which is the package name (
docker-ce) plus the version string (2nd column) starting at the first colon (:), up to the first hyphen, separated by a hyphen (-). For example,docker-ce-18.09.1.sudo yum install docker-ce-<VERSION_STRING> docker-ce-cli-<VERSION_STRING> containerd.io docker-compose-pluginThis command installs Docker, but it doesn’t start Docker. It also creates a
dockergroup, however, it doesn’t add any users to the group by default. -
Start Docker.
 sudo systemctl status docker
 sudo systemctl enable docker
 sudo systemctl start docker
Uninstall Docker Engine
-
Uninstall the Docker Engine, CLI, and Containerd packages:
sudo yum remove docker-ce docker-ce-cli containerd.io -
Images, containers, volumes, or customized configuration files on your host are not automatically removed. To delete all images, containers, and volumes:
 #/var/lib/docker docker的默认工作路径!
 sudo rm -rf /var/lib/docker
 sudo rm -rf /var/lib/containerd
Configure mirror acceleration
sudo mkdir -p /etc/docker
sudo tee /etc/docker/daemon.json <<-'EOF'
{
  "registry-mirrors": ["https://yqtin9kc.mirror.aliyuncs.com"]
}
EOF
sudo systemctl daemon-reload
sudo systemctl restart docker
Configure start-spring-io
-
install
start-spring-iodocker pull shizuwei/start-spring-io:1.0 -
run
start-spring-iodocker run -d -p 8090:8090 --restart=always --name start-spring-io shizuwei/start-spring-io:1.0 -
configure start-spring-io boot on start
-
check
CONTAINER IDofstart-spring-iodocker ps --filter "name=start-spring-io"
-
update
docker update --restart=always 9cfcf78c9b08
-
Configure mysql
-
install
mysqldocker pull mysql:5.7 -
run
mysql
-p 3306:3306 将本机3306端口映射到docker的3306端口
-v 磁盘映射
docker run -d -p 3306:3306 --restart=always -v /mydata/mysql/conf:/etc/mysql/conf.d -v /mydata/mysql/data:/var/lib/mysql -e MYSQL_ROOT_PASSWORD=root --name awei-mysql mysql:5.7
3. configure `msyql` boot on start

## Configure redis

1. upload redis.conf to /mydata/redis/conf

2. install redis

```shell
docker run -p 6379:6379 --name myredis --restart=always -v /mydata/redis/conf/redis.conf:/etc/redis/redis.conf -v /mydata/redis/data:/data -d redis:5.0 redis-server /etc/redis/redis.conf --appendonly yes
-
redis.conf
protected-mode no
port 6379
tcp-backlog 511
timeout 0
tcp-keepalive 300
daemonize no
supervised no
pidfile /var/run/redis_6379.pid
loglevel notice
logfile ""
databases 20
always-show-logo yes
save 900 1
save 300 10
save 60 10000
stop-writes-on-bgsave-error yes
rdbcompression yes
rdbchecksum yes
dbfilename dump.rdb
dir ./
replica-serve-stale-data yes
replica-read-only yes
repl-diskless-sync no
repl-diskless-sync-delay 5
repl-disable-tcp-nodelay no
replica-priority 100
lazyfree-lazy-eviction no
lazyfree-lazy-expire no
lazyfree-lazy-server-del no
replica-lazy-flush no
appendonly yes
appendfilename "appendonly.aof"
appendfsync everysec
no-appendfsync-on-rewrite no
auto-aof-rewrite-percentage 100
auto-aof-rewrite-min-size 64mb
aof-load-truncated yes
aof-use-rdb-preamble yes
lua-time-limit 5000
slowlog-log-slower-than 10000
slowlog-max-len 128
latency-monitor-threshold 0
notify-keyspace-events ""
hash-max-ziplist-entries 512
hash-max-ziplist-value 64
list-max-ziplist-size -2
list-compress-depth 0
set-max-intset-entries 512
zset-max-ziplist-entries 128
zset-max-ziplist-value 64
hll-sparse-max-bytes 3000
stream-node-max-bytes 4096
stream-node-max-entries 100
activerehashing yes
client-output-buffer-limit normal 0 0 0
client-output-buffer-limit replica 256mb 64mb 60
client-output-buffer-limit pubsub 32mb 8mb 60
hz 10
dynamic-hz yes
aof-rewrite-incremental-fsync yes
rdb-save-incremental-fsync yes

 浙公网安备 33010602011771号