Synology NAS ActiveBackup for Business 备份 Linux
本文适用于 Synology Active Backup for Business beta 版 与 CentOS 7 之间进行备份。
注意:CentOS 8 的备份操作需要额外安装 bc 依赖包,另外需要将内核从``kerne-4.18.0-240.el8.x86_64升级至 kernel-4.18.0-240.1.1并安装kernel-devel-4.18.0-240.1.1.el8_3.x86_64` 内核开发包以支持备份还原。
一、环境介绍
Synology NAS 型号为:DS716+
Synology OS 版本为:6.2.3-25426 update2
二、环境部署
1. 虚拟机
对虚拟机的创建,此处略过具体步骤。
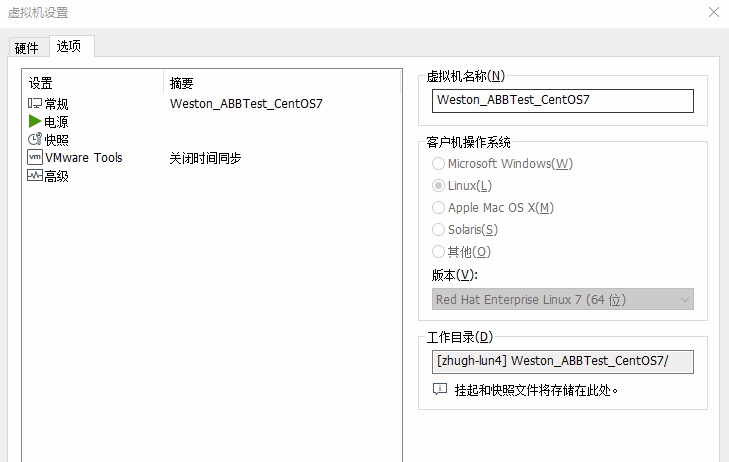
此处需要指出的是对 CentOS 7 镜像的获取:除官网外,推荐使用清华大学镜像站提供的下载链接,有额外的加速效果(2-5MB/s)
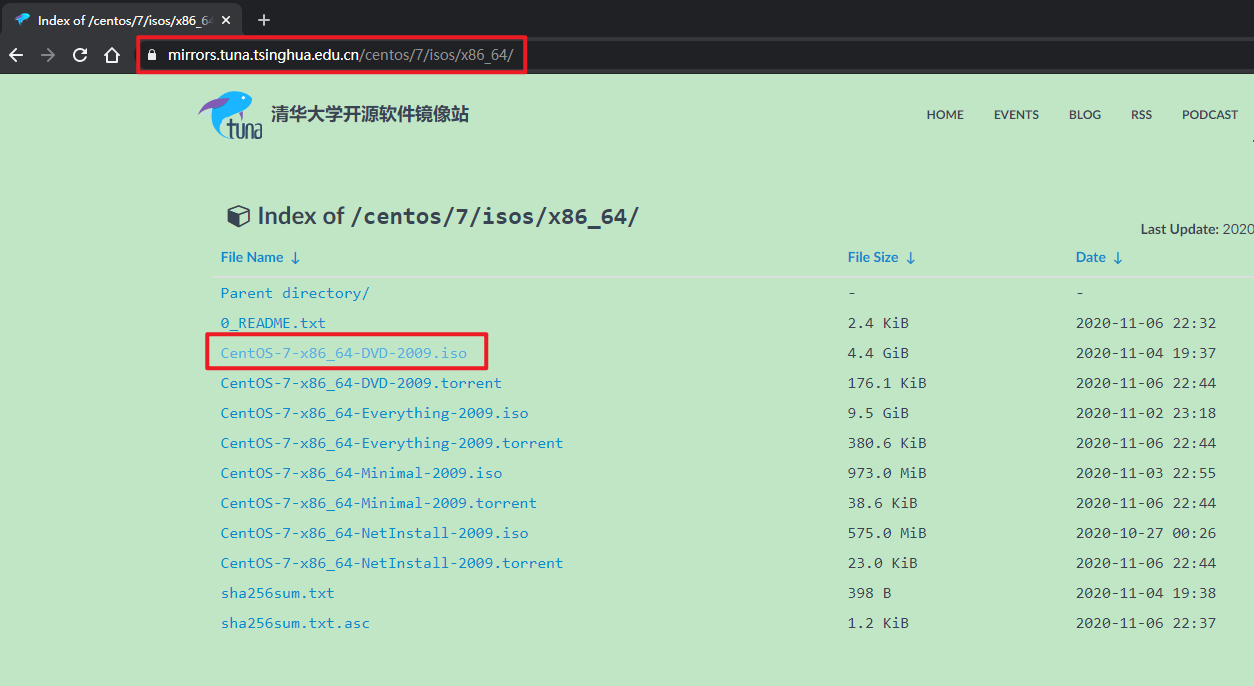
提示:该版本安装完成后为 CentOS Linux release 7.9.2009 (Core),兼容 7.8。
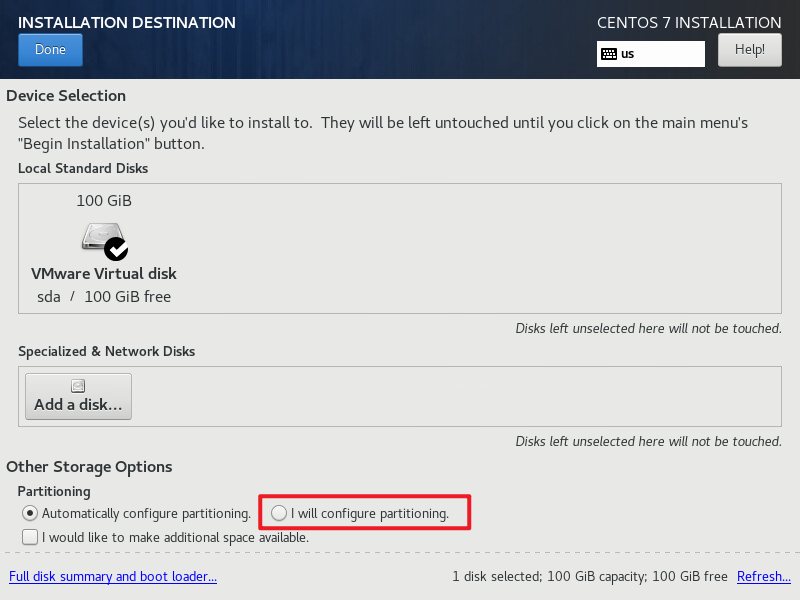
注意:如果不做磁盘调整默认安装使用的 lvm 类型的磁盘,推荐使用 SinglePatition 手动分区。
详细:该磁盘在还原过程会出现问题,具体来说是引导器 grub2 在 grub 界面可读取到 lvm 分区的磁盘内容,但系统在启动过程中识别不了 lvm 磁盘类型。而能读取到 lvm 类型的磁盘类型是 grub2 独有的,这在 grub1 中则没有。具体错误会在文末给出,需要完美还原请使用 SinglePatition 手动分区。
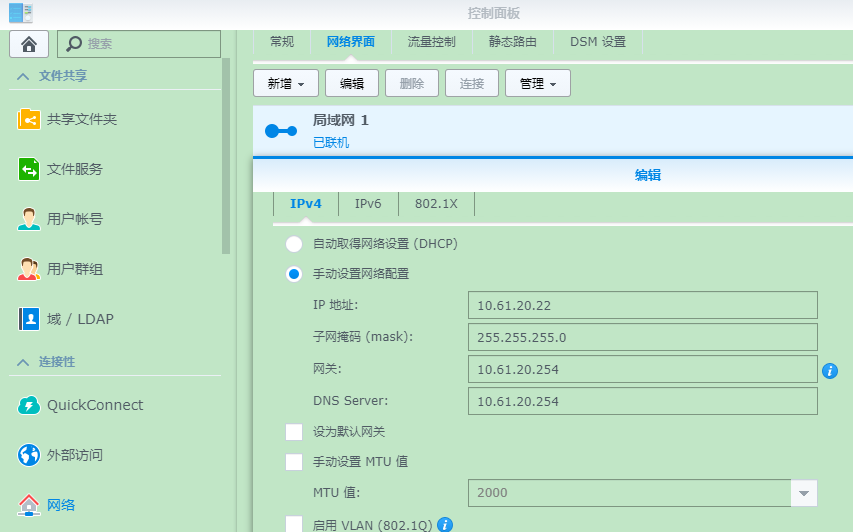
2. 配置网络
为方便后续相关操作,请提前配置好 NAS 端静态 IP 地址。
3. 套件安装
对测试版套件的安装,具体位置如下。
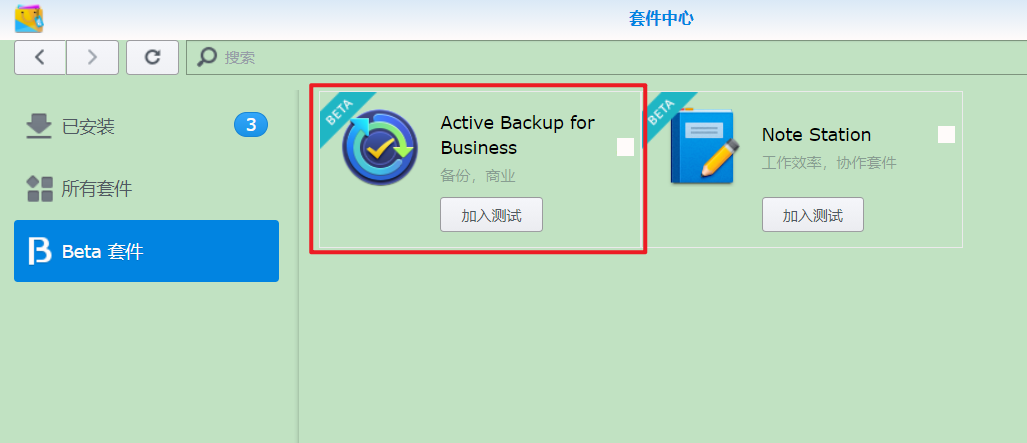
套件中心 - Beta 套件 - 加入测试
提示:
1、测试版前让您在 Synology 套件正式发布之前先体验全新功能,但不建议将其用于商业用途。
2、如果您已安装稳定的 Active Backup for Business版本,则会更新至测试版。
4. 套件配置
在加入测试后需要下载 CentOS 相关服务端配置软件包,具体操作如下。
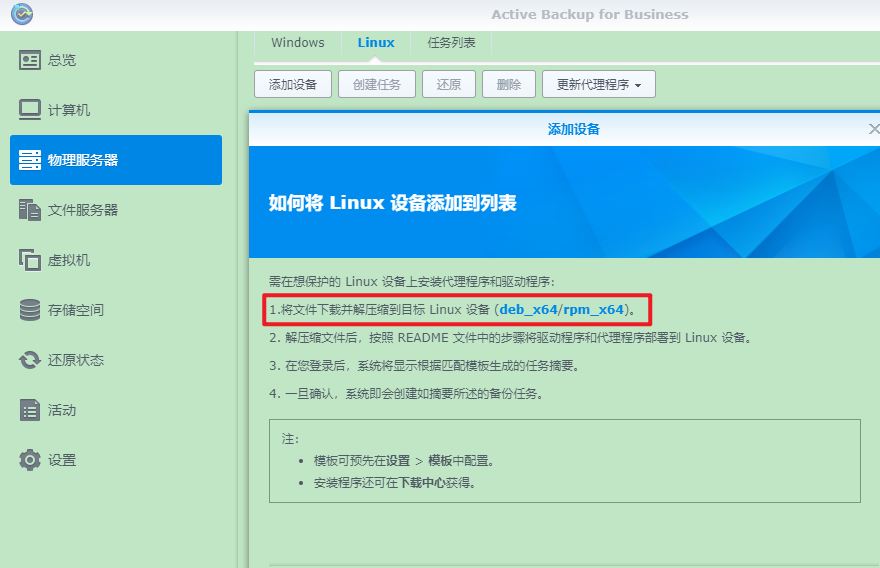
Active Backup for Business - 物理服务器 - Linux - 添加设备
注意:上述截图中已经写明具体操作步骤,教程后续也会参照该步骤。除此之外,额外需要注意到安装包下载位置也在此处。为方便大家的使用,笔者将下载位置置于下方。
CentOS: 6.10, 7.8, 8.1
RHEL: 6.10, 7.8, 8.1
Fedora: 30, 31, 32
Ubuntu: 16.04, 18.04, 20.04
Debian: 8.0 to 10
三、备份之 CentOS 端设置
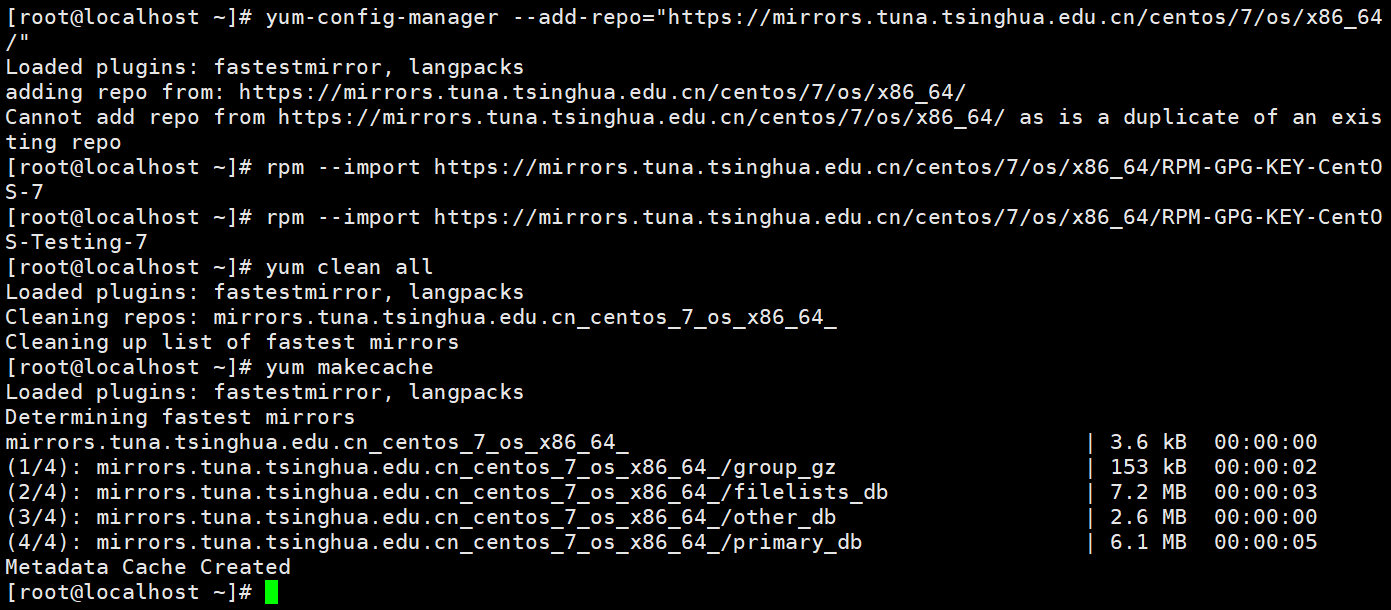
1. 创建 repo
yum-config-manager --add-repo="https://mirrors.tuna.tsinghua.edu.cn/centos/7/os/x86_64/"
rpm --import https://mirrors.tuna.tsinghua.edu.cn/centos/7/os/x86_64/RPM-GPG-KEY-CentOS-7
rpm --import https://mirrors.tuna.tsinghua.edu.cn/centos/7/os/x86_64/RPM-GPG-KEY-CentOS-Testing-7
yum clean all
yum makecache
2. 文件上传(代理程序和驱动程序)
yum -y install lrzsz unzip
rz -E
# 其他的方法接可。比如 sftp scp FileZilla
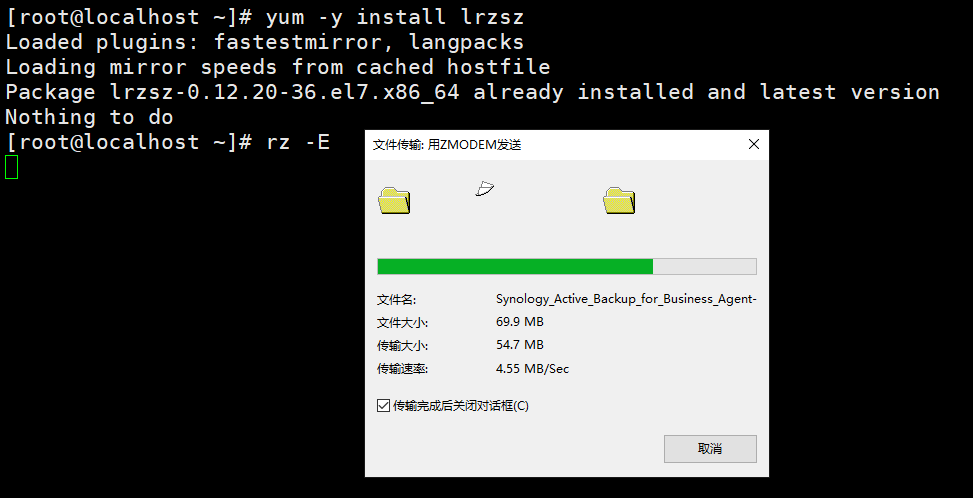
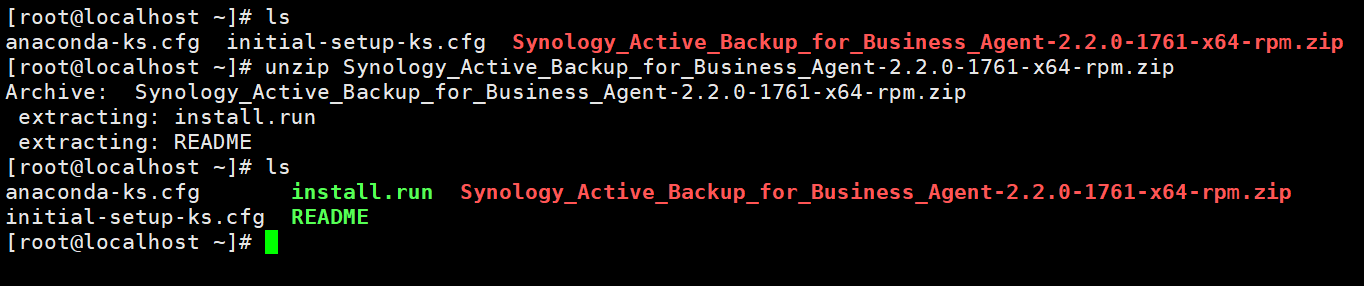
unzip Synology_Active_Backup_for_Business_Agent-2.2.0-1761-x64-rpm.zip
3. 安装依赖包
yum -y install https://dl.fedoraproject.org/pub/epel/epel-release-latest-7.noarch.rpm
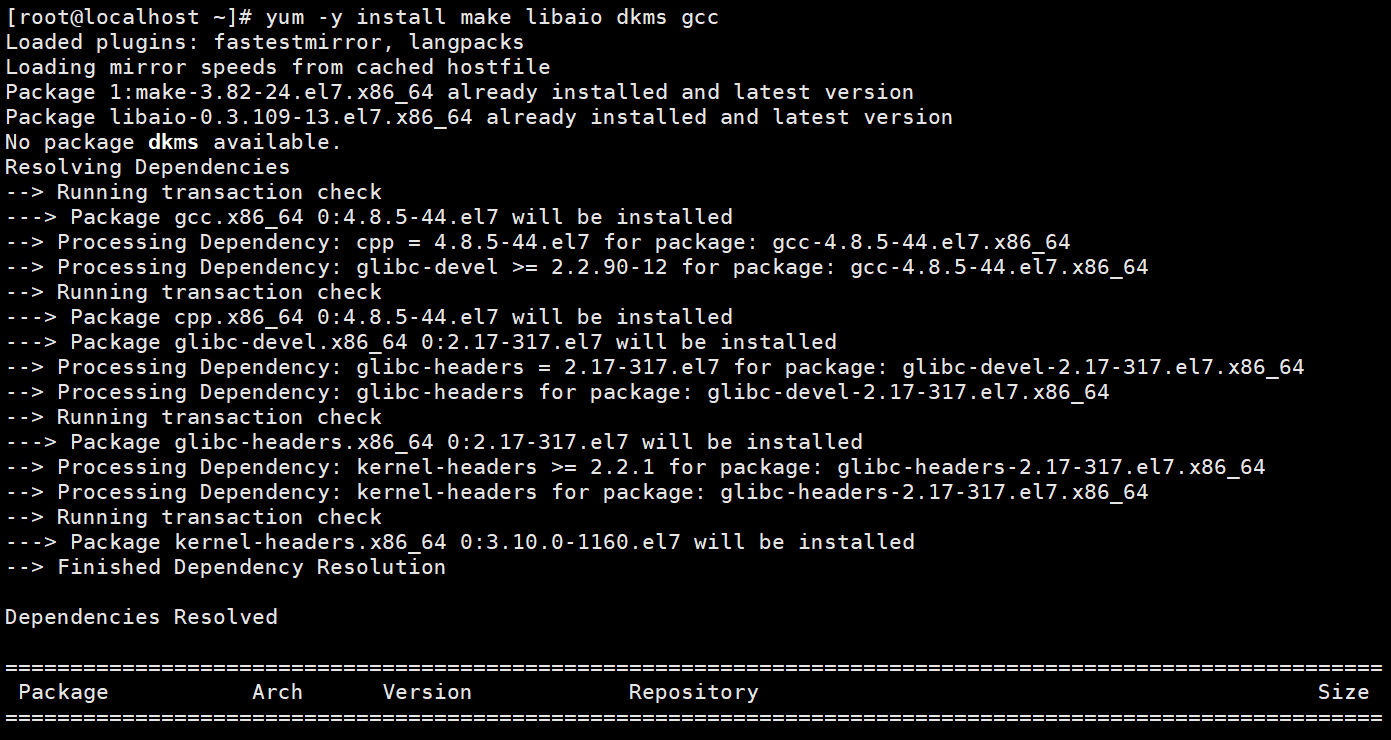
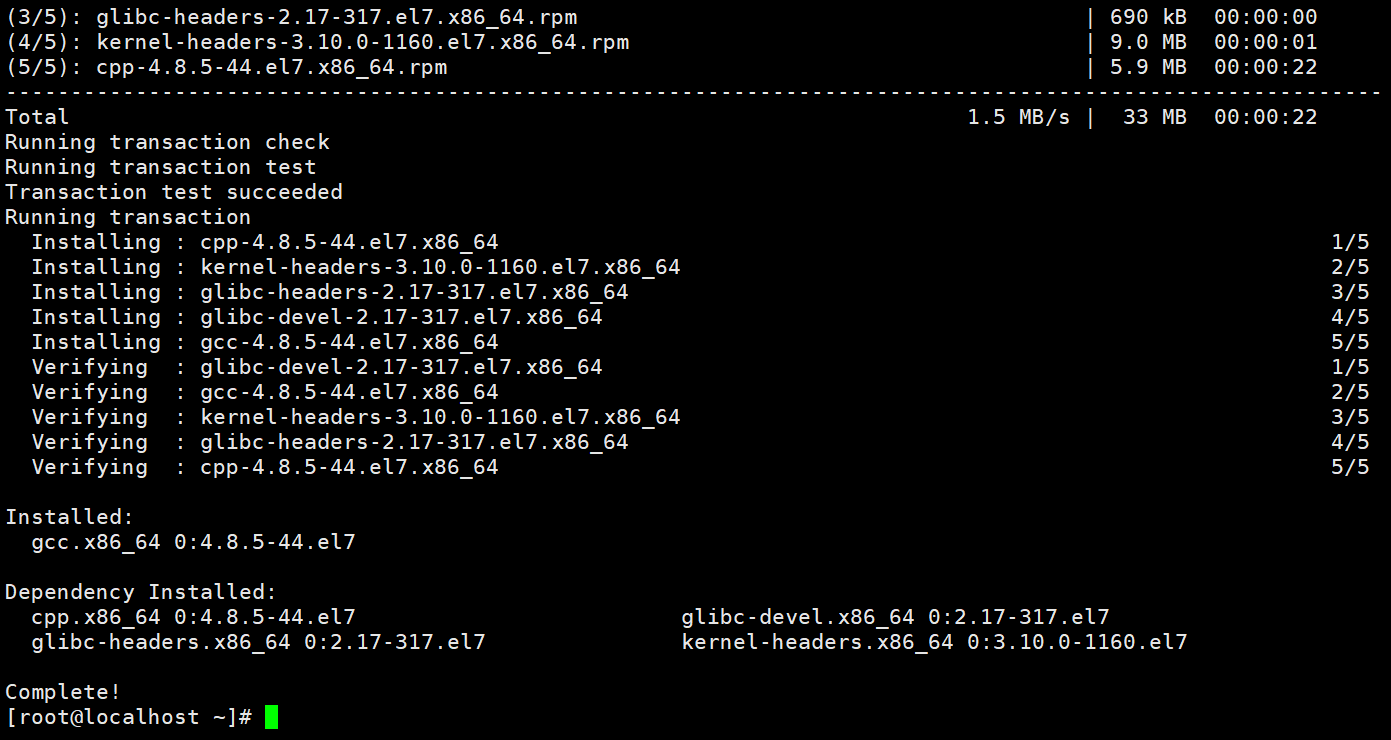
yum -y install make libaio dkms gcc
4. 文件运行(代理程序和驱动程序)
sudo ./install.run
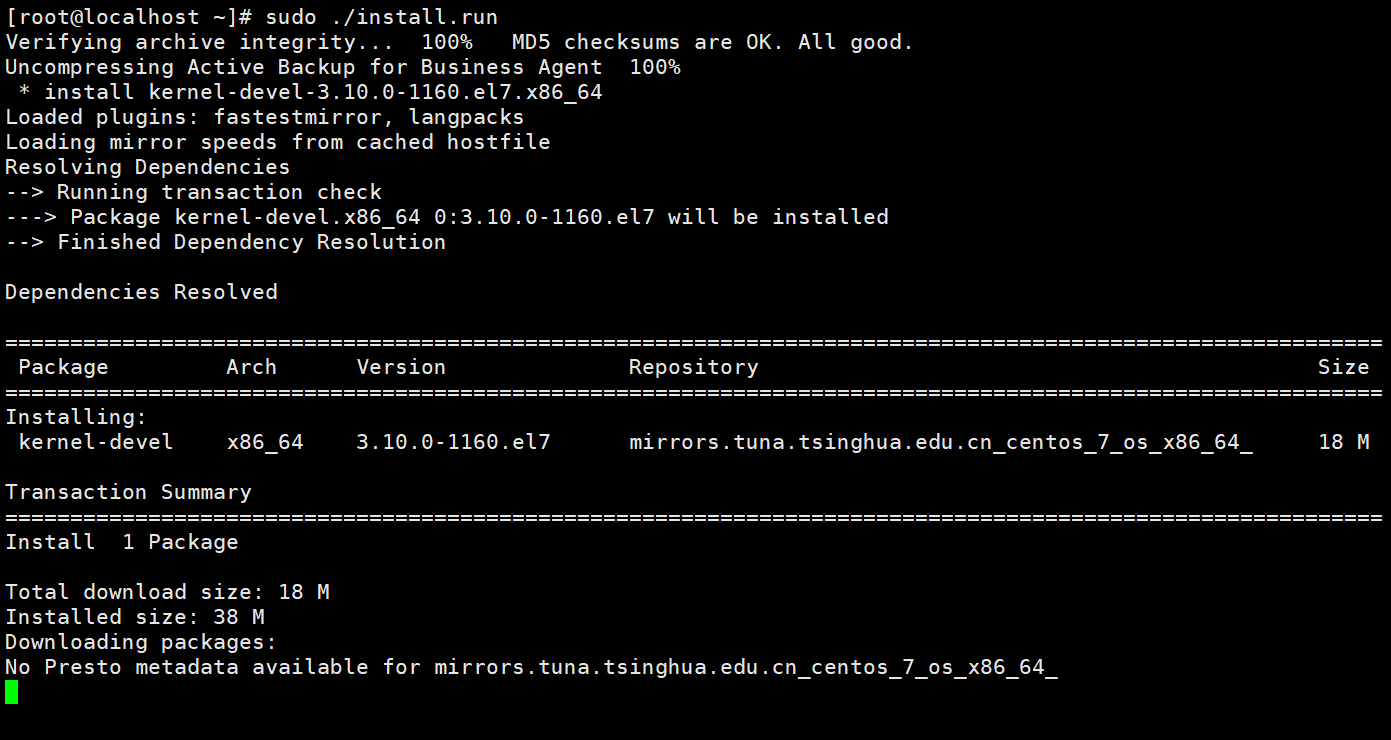
abb-cli -c
四、备份之 ABB 端设置
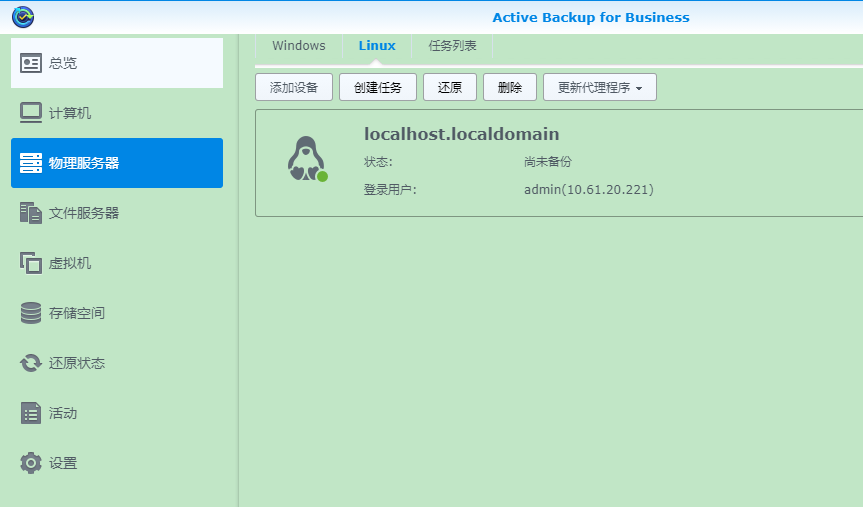
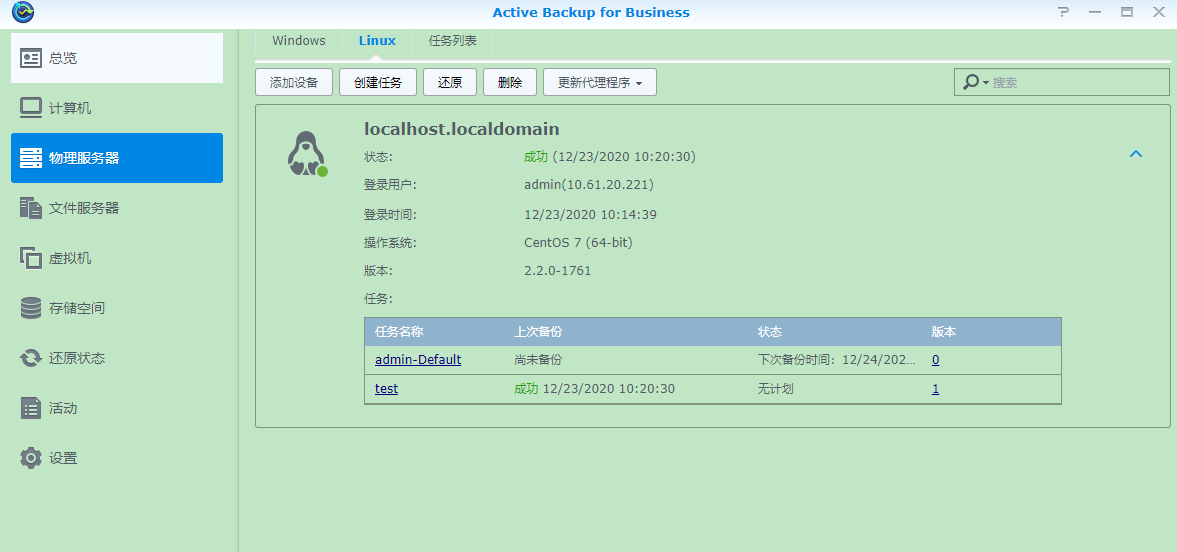
1. 查看设备加入
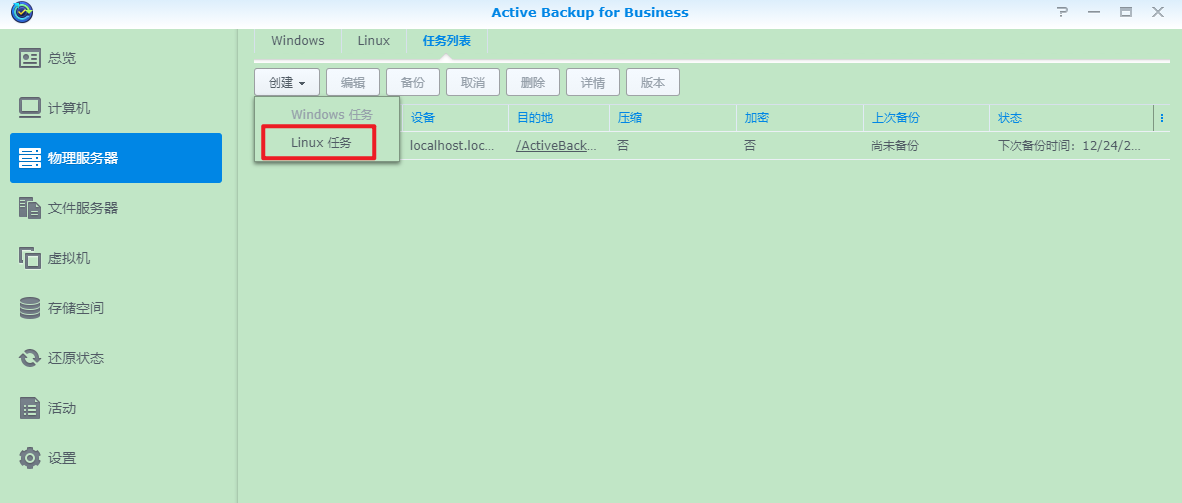
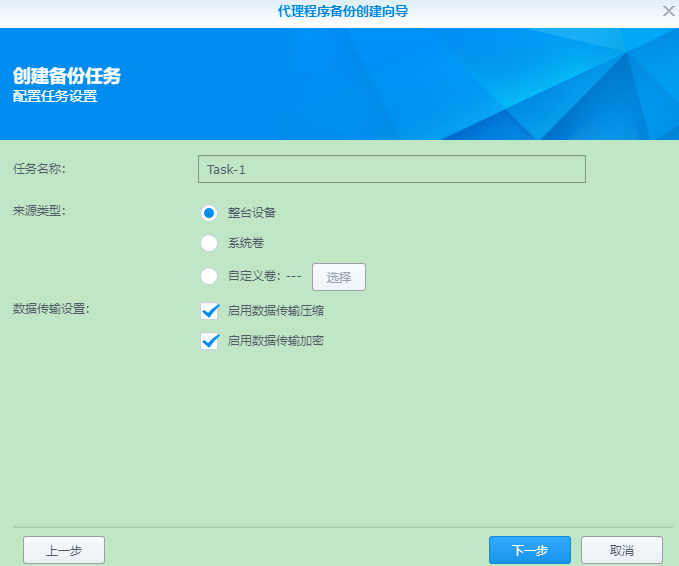
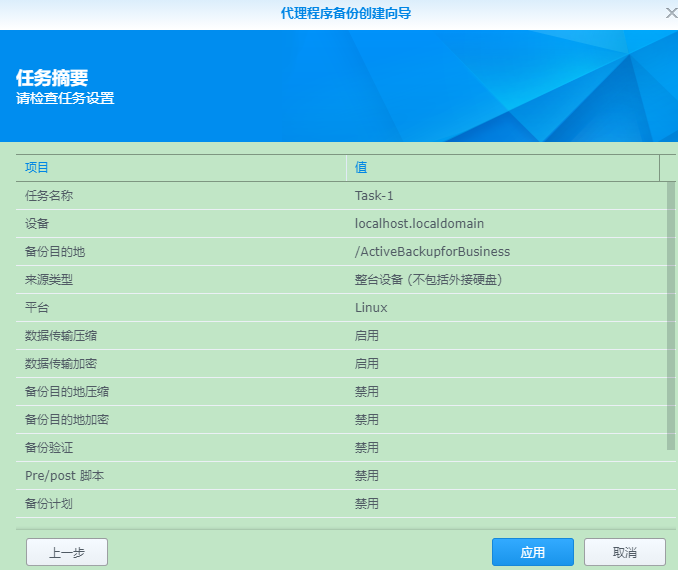
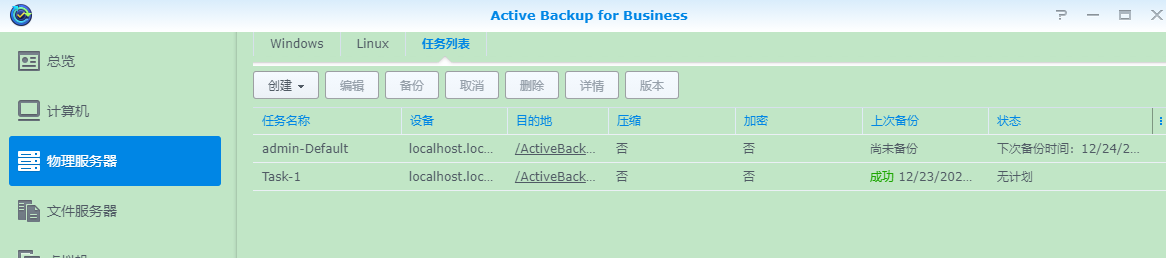
2. 添加任务
3. 效果验证
4. 效果文件(备份文件)
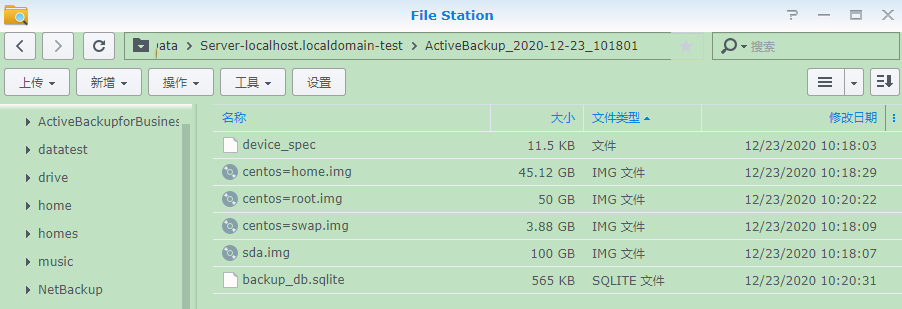
提示:这是通过 LVM 类型的磁盘进行备份的,从这些文件中就可以看到备份文件为 img 后缀名,但奇怪的地方在于已经有 sda.img ,但依然有 centos=home.img 等三个文件。
五、还原之 ABB 端设置
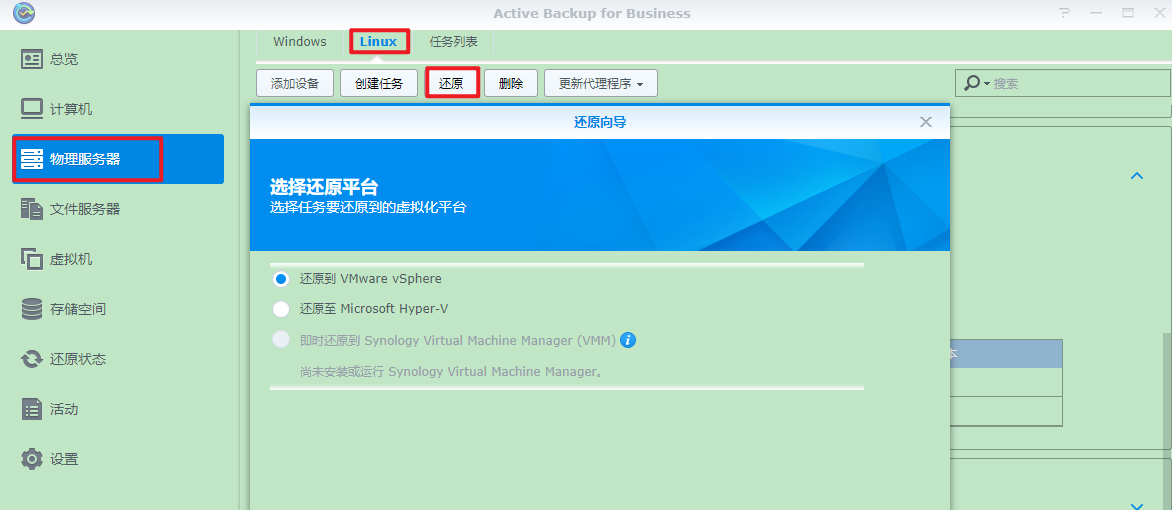
物理服务器 - Linux - 还原
注:
-
对于文件级还原,请进入 Active Backup for Business Portal。
-
对于整台设备或基于存储空间的还原,请下载 Linux 恢复媒体并参阅本文。
为方便大家的使用,笔者将下载位置置于下方。
Linux 恢复媒体:https://global.download.synology.com/download/Utility/ActiveBackupRecoveryMediaCreator/2.2.0-1211/Linux/Synology-Recovery-Media-1211(1761).iso
六、还原之 VM 设置
1、镜像介质启动
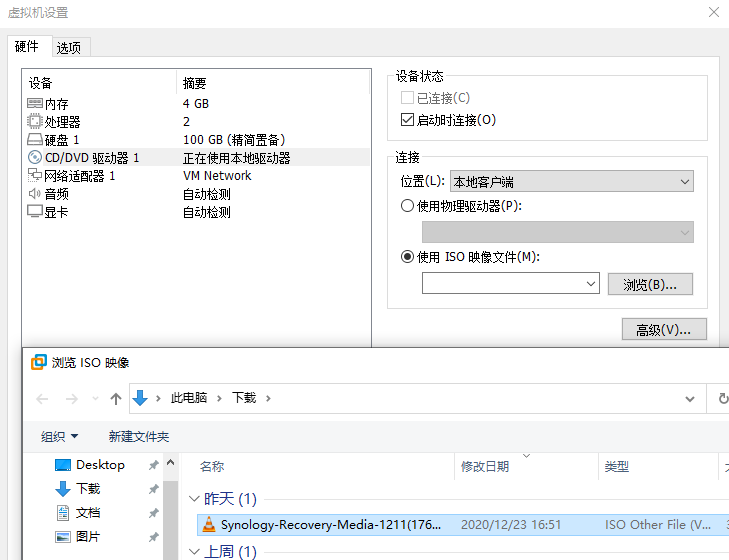
提示:这个文件就是第五节中 ABB 套件内提供的镜像下载,您也可以通过笔者提供的链接直接下载。另外,由于该文件在笔者做实验之前就已经下载完成,故日期上显示为昨天但文件内容一致。
2、完成 NAS 登录

提示:这里输入用户名密码。可能会出现信任问题,保持信任即可。
注意:如果不对 VM 做出自定义调整,默认创建的 VM 是没有网卡的。
3、选择驱动器和磁盘
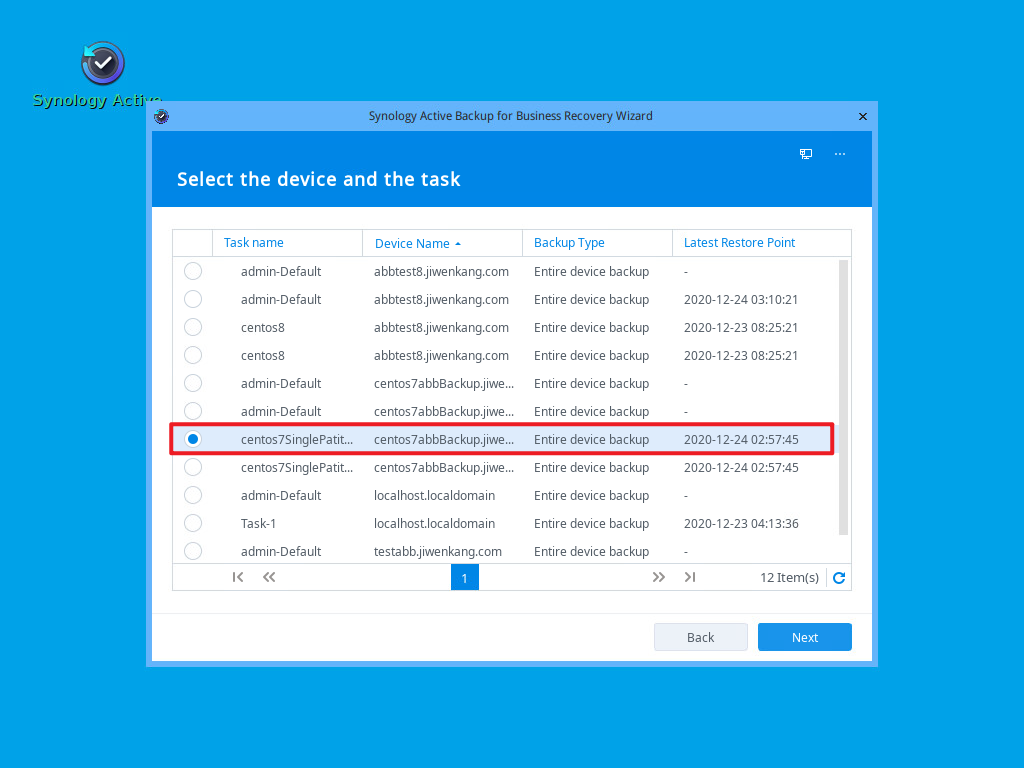
提示:选择需要还原的镜像文件名称。笔者上述截图中显示多个是因为兼顾到系统版本 CentOS7 和 CentOS8 以及系统安装类型 mini 或 Server With GUI 做出的多次实验备份,故读者在实验时仅有一个可选项。
4、选择恢复模式
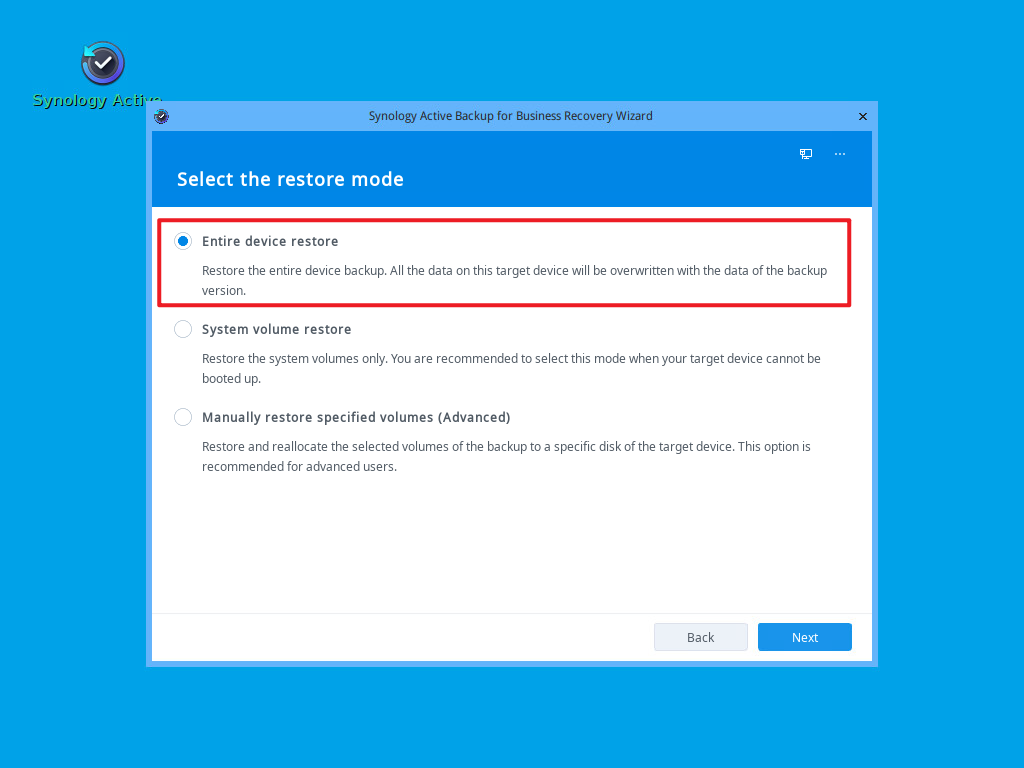
提示:建议选择 Entire device restore ,笔者在使用 Manually restore specified volumes (Advanced) 会有磁盘空间不足的报错(实际配置上是完全一直的)。
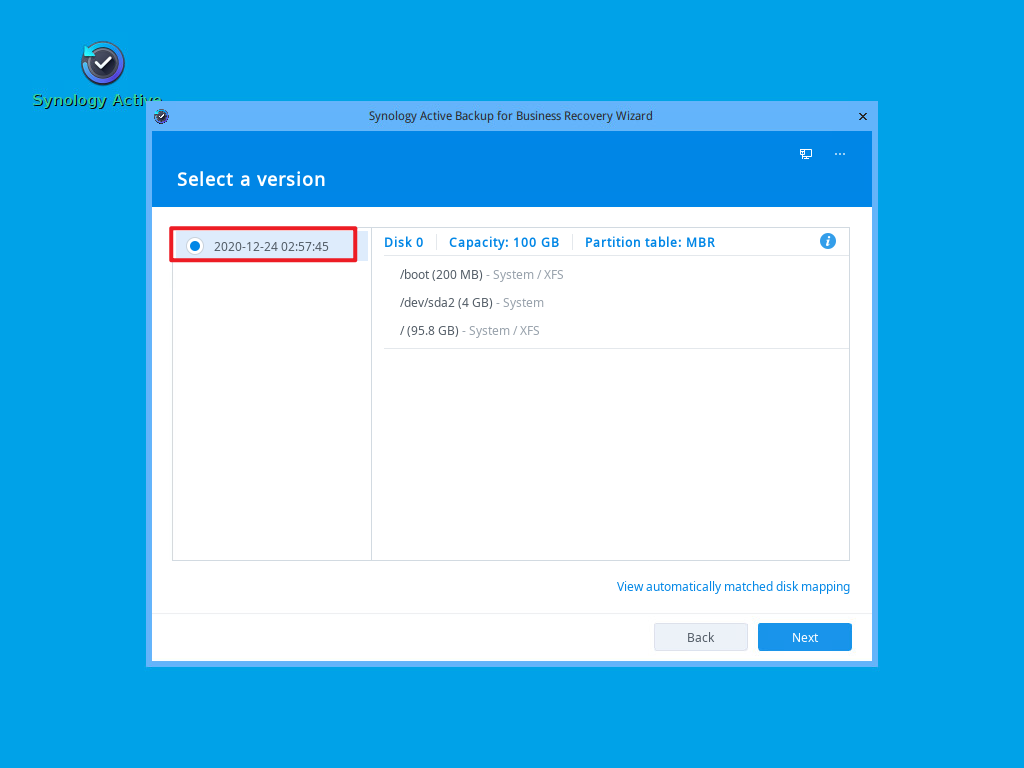
5、 选择备份时间点
6、恢复预览
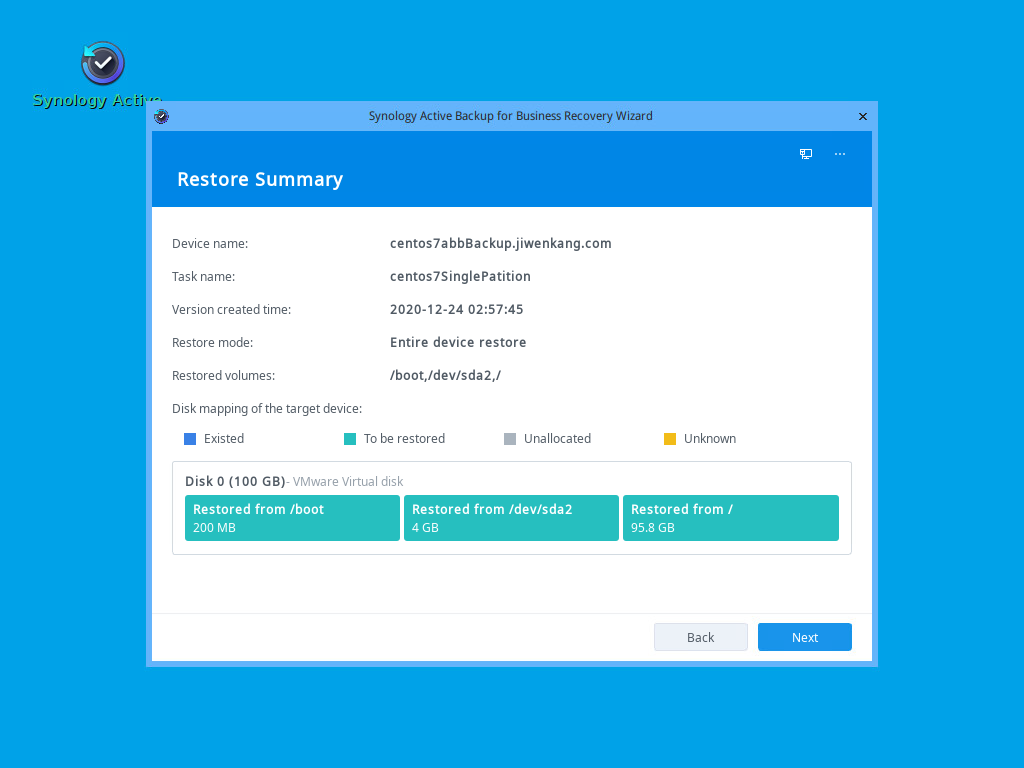
7、预计恢复时间

8、效果图展示

注意:由于备份与还原的机器共用同一个 IP 地址。如果立即启动还原机,会出现还原机占用备份机 IP地址的情况。
七、问题汇总
1. LVM 所出现的问题
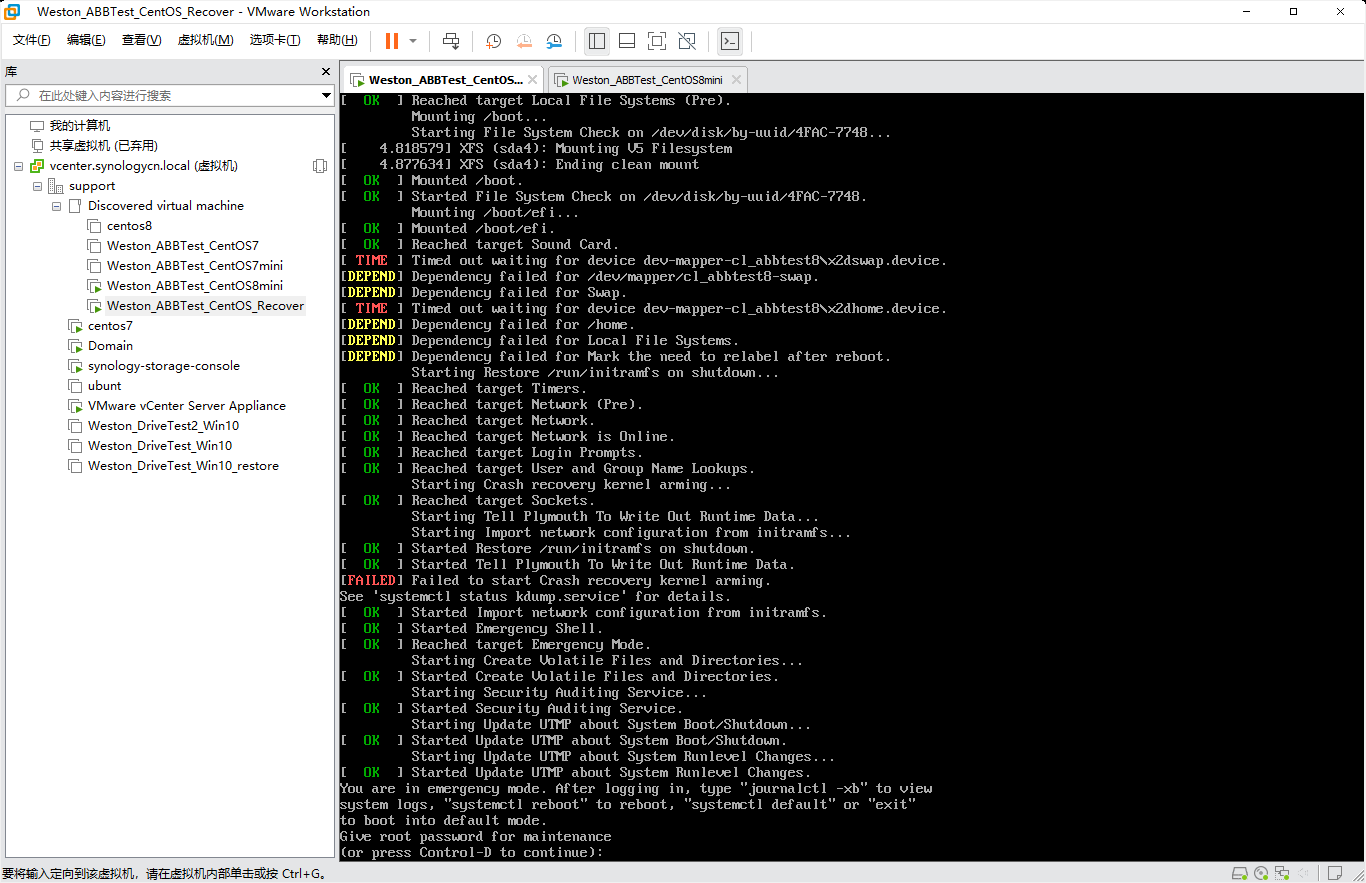
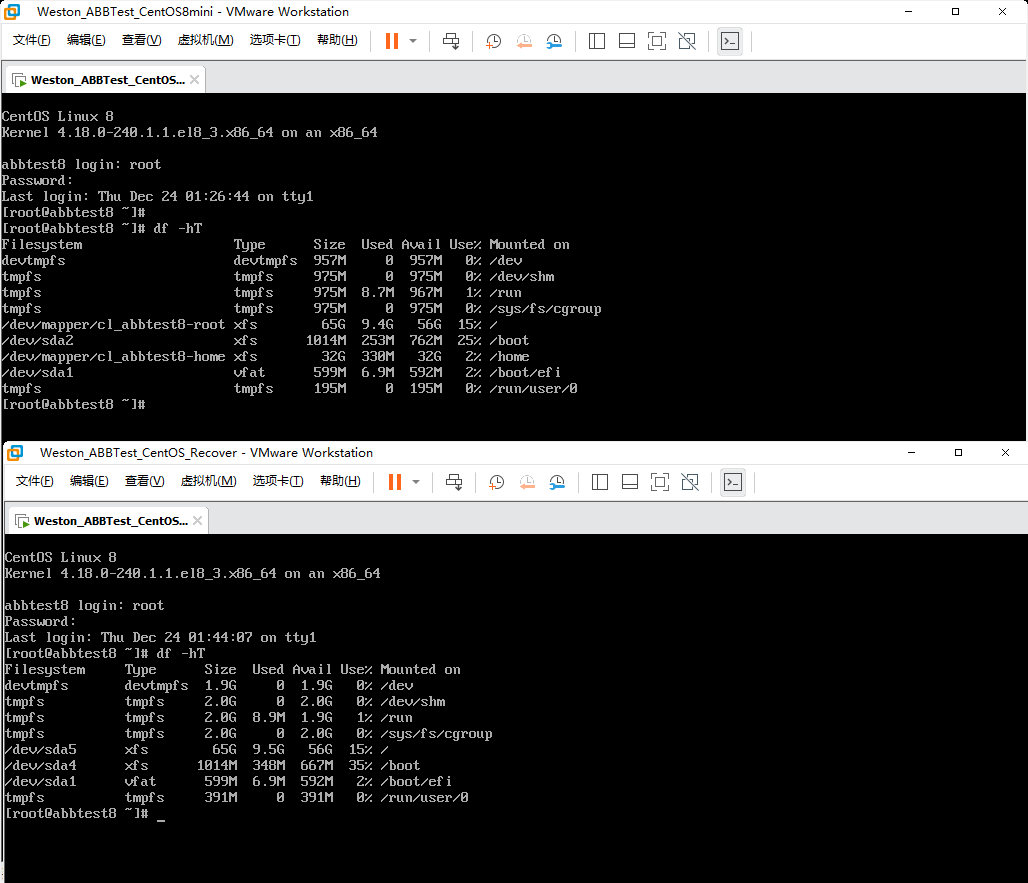
正常启动是这样,但是如果将无法启动的 swap 和 home 取消挂载。
因为根分区是可以正常挂载的,所以系统可以起得来。
附:第 2.2.0-1761 版新增功能
What's new

Supports backing up and restoring Linux physical servers of the following distributions:
CentOS: 6.10, 7.8, 8.1
RHEL: 6.10, 7.8, 8.1
Ubuntu: 16.04, 18.04, 20.04
Fedora: 30, 31, 32
Debian: 8.0 to 10
Added support for VMware vSphere 7.0.0
Added support for compression and encryption settings for personal computers, physical servers, and virtual machines at the backup destination.
Supports migrating instantly restored virtual machines on Virtual Machine Manager to VMware vSphere or Microsoft Hyper-V.
Users can now back up a maximum of 50 devices (personal computers, physical servers, and virtual machines) concurrently. The actual number varies by RAM capacity:
Less than 8 GB: 10
Between 8 GB and 32 GB: 30
More than 32 GB: 50
Supports customizing pre/post scripts for physical server backups.
Supports removing data when the storage is deleted.
Added support for backup reports in PDF format to be attached in emails.
Supports deleting reports.
Supports automatically checking if the required services on VMware vSphere/Microsoft Hyper-V are properly configured when adding a hypervisor or creating a backup task.
Supports skipping duplicated pagefile.sys, hiberfil.sys, and swapfiles.sys files when backing up personal computers and physical servers.
Scheduled backup tasks for physical servers/personal computers will be canceled when the devices are disconnected for over an hour after tasks start.
Displays tasks that have been restored within the last 48 hours in "Restore Status."
Added support for restoring a file's metadata along with the file restoration from Active Backup for Business Portal.
Fixed Issues (General Issue)

Fixed an issue where the schedule of reports might not be editable.
Fixed an issue where manually creating a folder in the "@ActiveBackup" folder might cause the backup data within the manually created folder inaccessible.
Fixed an issue where "Backup now" might fail when the backup task was created during the forbidden backup time of the backup window.
Fixed an issue where the system might not properly display the finish time of backup tasks on the Activities page and the Task List tab
Fixed Issues (Servers and Workstations)

Fixed an issue where the system might incorrectly identify multiple devices with the same UUID when performing entire device restoration.
Fixed Issues (Virtual Machines)

Fixed an issue where Microsoft Hyper-V virtual machine backup tasks might fail if the size of the virtual machine disk was not an integer multiple of 1 KB.
Fixed an issue where Microsoft Hyper-V virtual machine backup tasks might fail when it was connected to Synology NAS via its hostname.
Fixed an issue where Microsoft Hyper-V virtual machine restoration might fail if the virtual machine used Cluster Shared Volumes.
Fixed an issue where Microsoft Hyper-V virtual machine restoration might fail when its Windows guest OS time format was 24-hours.
Fix an issue where the restoration performance might be slow when there were too many files in the destination folder.
Fixed an issue where the restoration might fail if the virtual machine contained a physical disk or a Raw Device Mapping (RDM).
Fixed an issue where instantly restored virtual machines might not display in the Restore Status page if Active Backup for Business had been restarted.
Fixed an issue where the system might not able to perform a backup task and a retention policy at the same time.
Limitations

Backup tasks that have enabled compression or encryption at backup destinations can't apply the following settings:
Instant restore to Synology Virtual Machine Manager
Instant restore to VMware (for virtual machines on VMware vSphere 7.0.1)
Instant restore to Microsoft Hyper-V
Backup verification

 浙公网安备 33010602011771号