Vue-cli 脚手架
Vue-cli 脚手架
目录
1. 环境
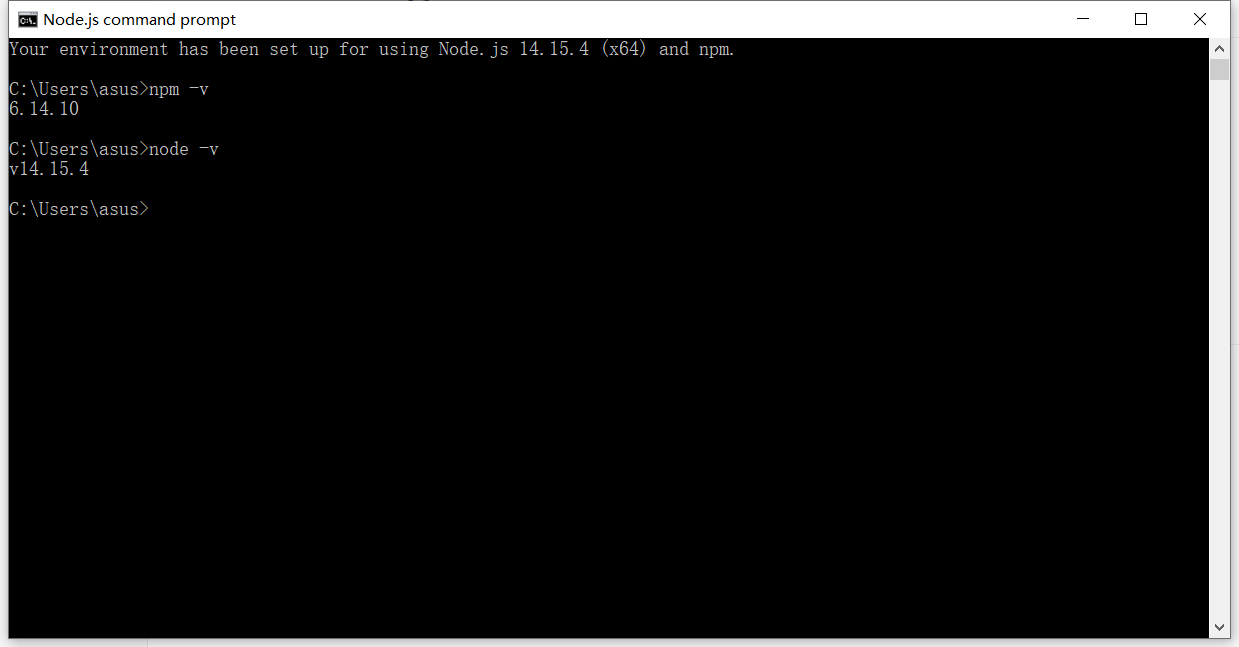
下载node.js https://nodejs.org/zh-cn/
node -v
自带 npm 可以查看一下 npm -v
一般安装的时候会直接添加到环境变量 人性-_- I like
npm
是一个软件包管理工具,跟maven差不多,里面有很多的软件 要什么直接下就行
需要安装一下淘宝镜像加速器
npm install cnpm -g
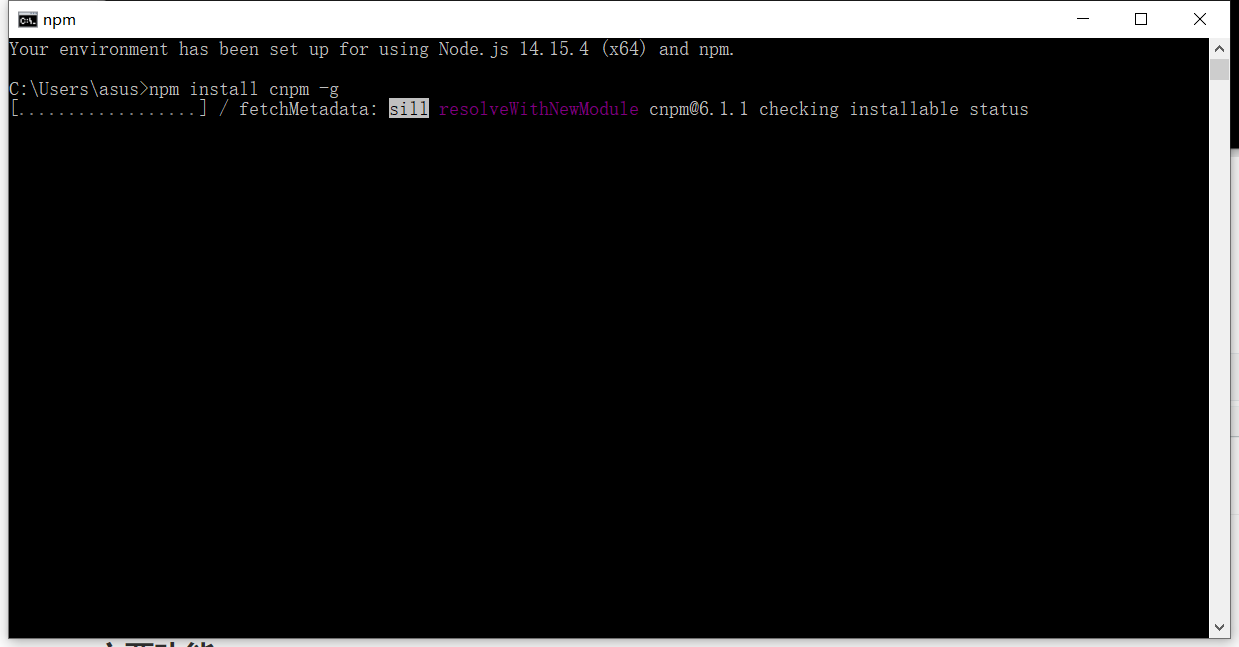
安装可能会很慢。。。。。
C:\Users\asus\AppData\Roaming\npm
会安装到这个目录
安装vue-cli
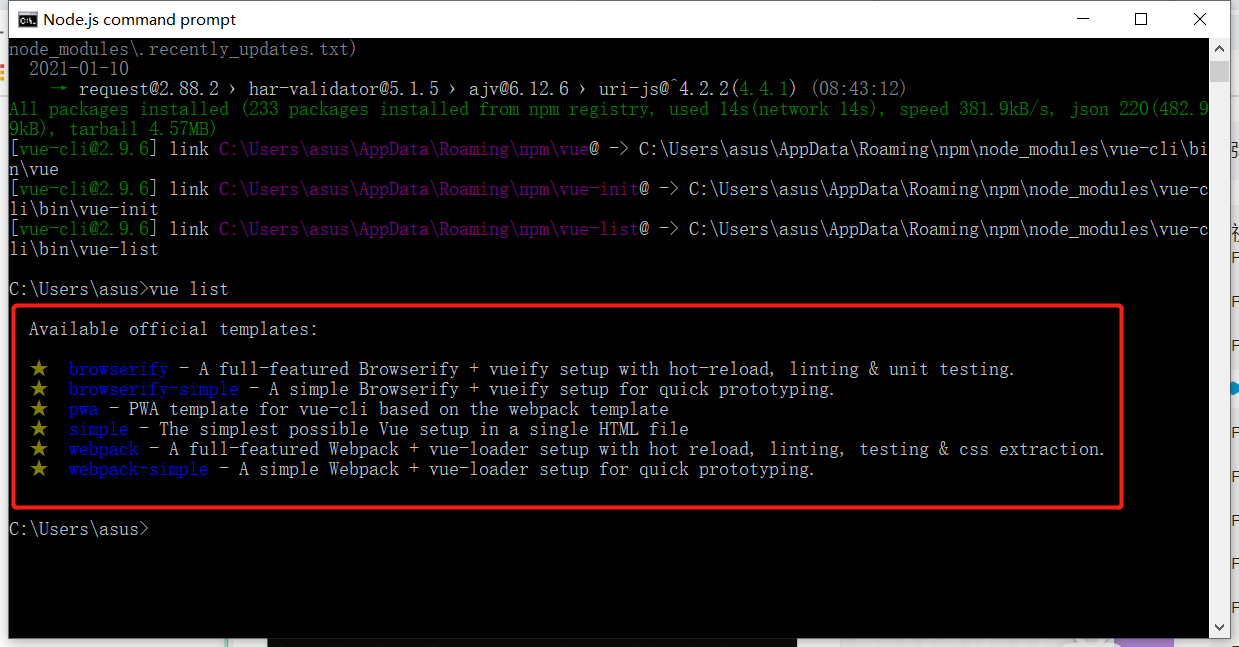
cnpm install vue-cli -g
测试是否安装成功
vue list 我们可以用这些模板创建项目
2. 简介
预先定义好的结构和基础代码,就跟maven自带的模板一个道理
让我们开发更快速
主要功能
- 统一目录结构
- 本地调试
- 热部署
- 单元测试
- 集成打包上线
3. 创建一个项目
vue init webpack myvue
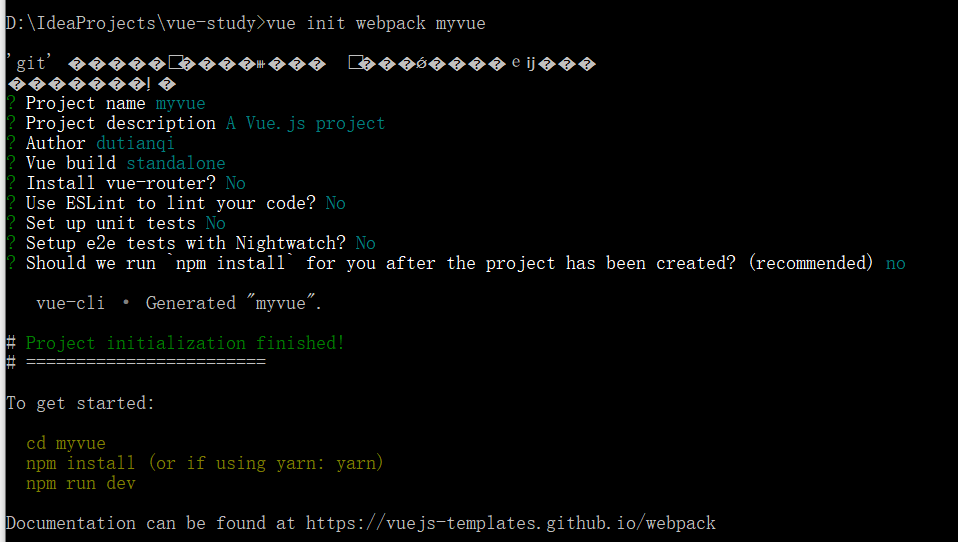
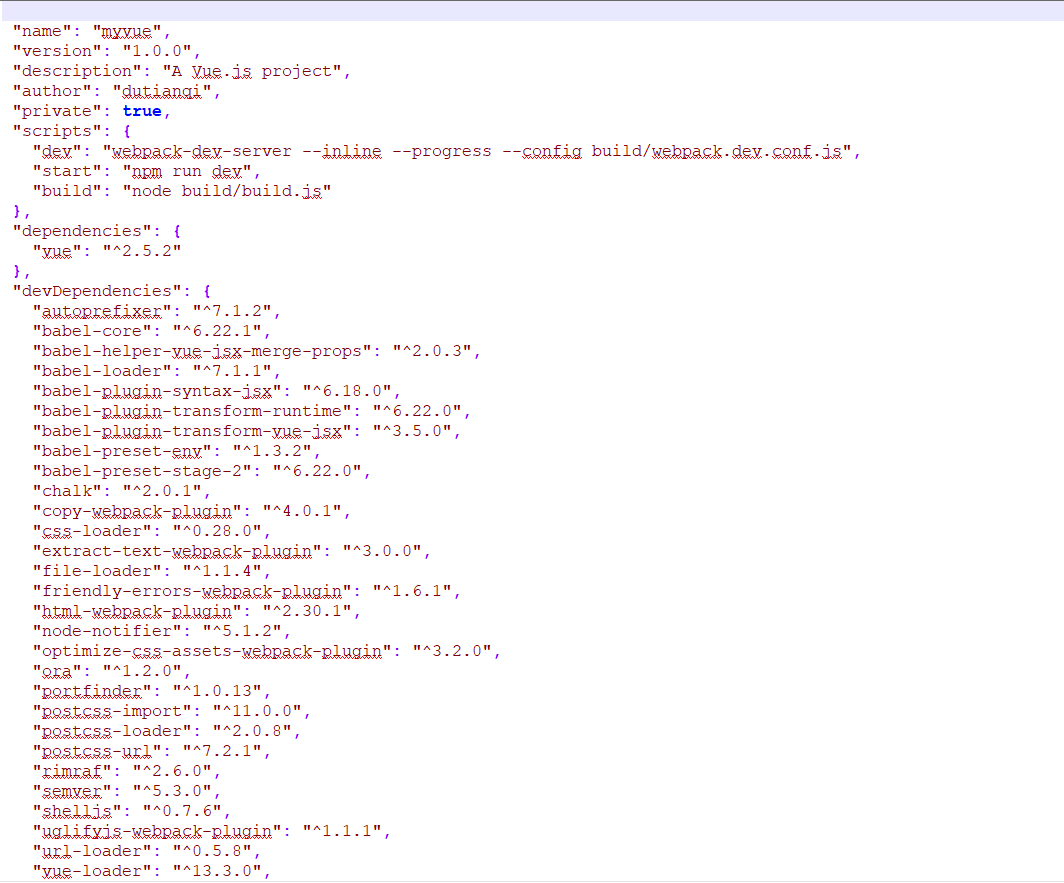
创建后去安装依赖 npm install
会根据package.json 去安装依赖
报错了 npm audit fix 修复一下

初始化并运行
cd myvue
npm install
npm run dev
 DONE  Compiled successfully in 15048ms

 I  Your application is running here: http://localhost:8080
启动访问网站 it’s ok


4. Vue-router路由
安装 router是一个插件包,用命令安装
npm install vue-router --save--dev
router的index.js
import Vue from "vue";
import VueRouter from "vue-router";
import Content from "../components/Content";
//安装路由
Vue.use(VueRouter);
//配置导出路由
export default new VueRouter({
  routes: [
    {
      //路由路径
      path: '/content',
      name: 'content',
      //跳转的组件
      component: Content
    }
  ]
});
在mian.js中导入配置
// The Vue build version to load with the `import` command
// (runtime-only or standalone) has been set in webpack.base.conf with an alias.
import Vue from 'vue'
import App from './App'
//导入路由
import router from './router'

Vue.config.productionTip = false


/* eslint-disable no-new */
new Vue({
  el: '#app',
  //配置路由
  router,
  components: { App },
  template: '<App/>'
})
在app中模板添加路由跳转的标签
<template>
  <div id="app">
      <h1>App.vue</h1>
    <router-link to="/content">内容</router-link>
    <router-link to="/main">首页</router-link>
    <router-view></router-view>
  </div>
</template>

<script>

export default {
  name: 'App'
}
</script>

路由嵌套
//暴露自己
export default new VueRouter({
  routes: [
    {
      //路由路径
      path: '/main',
      name: 'mian',
      //跳转的组件
      component: Main,
      //子模块嵌套
      children: [
        {
          path: '/user/profile',
          component: Profiles
        },
        {
          path: '/user/userList',
          component: UserList
        }
      ]
    },  {
      //路由路径
      path: '/login',
      name: 'login',
      //跳转的组件
      component: Login
    }
  ]
});
5. 与Element UI 整合
重新创建一个工程
//初始化项目
vue init webpack hello-vue
//进入项目
cd 项目名
//安装路由
npm install vue-router --save--dev
//安装element
npm i element-ui -S
//安装依赖
npm install
//安装SASS 加载器
cnpm install sass-loader node-sass --save-dev
//测试
npm run dev
open project
main.js
import Vue from 'vue'
import App from './App'
import router from './router'
//导入element-ui
import ElementUI from 'element-ui';
//导入css  这里根据官网去做就行
import 'element-ui/lib/theme-chalk/index.css';

Vue.use(router);
Vue.use(ElementUI);

Vue.config.productionTip = false

new Vue({
  el: '#app',
  router,
  render: h => h(App)
})
router index.js
import Vue from 'vue'
import VueRouter from "vue-router";

import Login from "../views/Login";
import Main from "../views/Main";

//使用路由
Vue.use(VueRouter);

//暴露自己
export default new VueRouter({
  routes: [
    {
      //路由路径
      path: '/main',
      name: 'mian',
      //跳转的组件
      component: Main
    },  {
      //路由路径
      path: '/login',
      name: 'login',
      //跳转的组件
      component: Login
    }
  ]
});
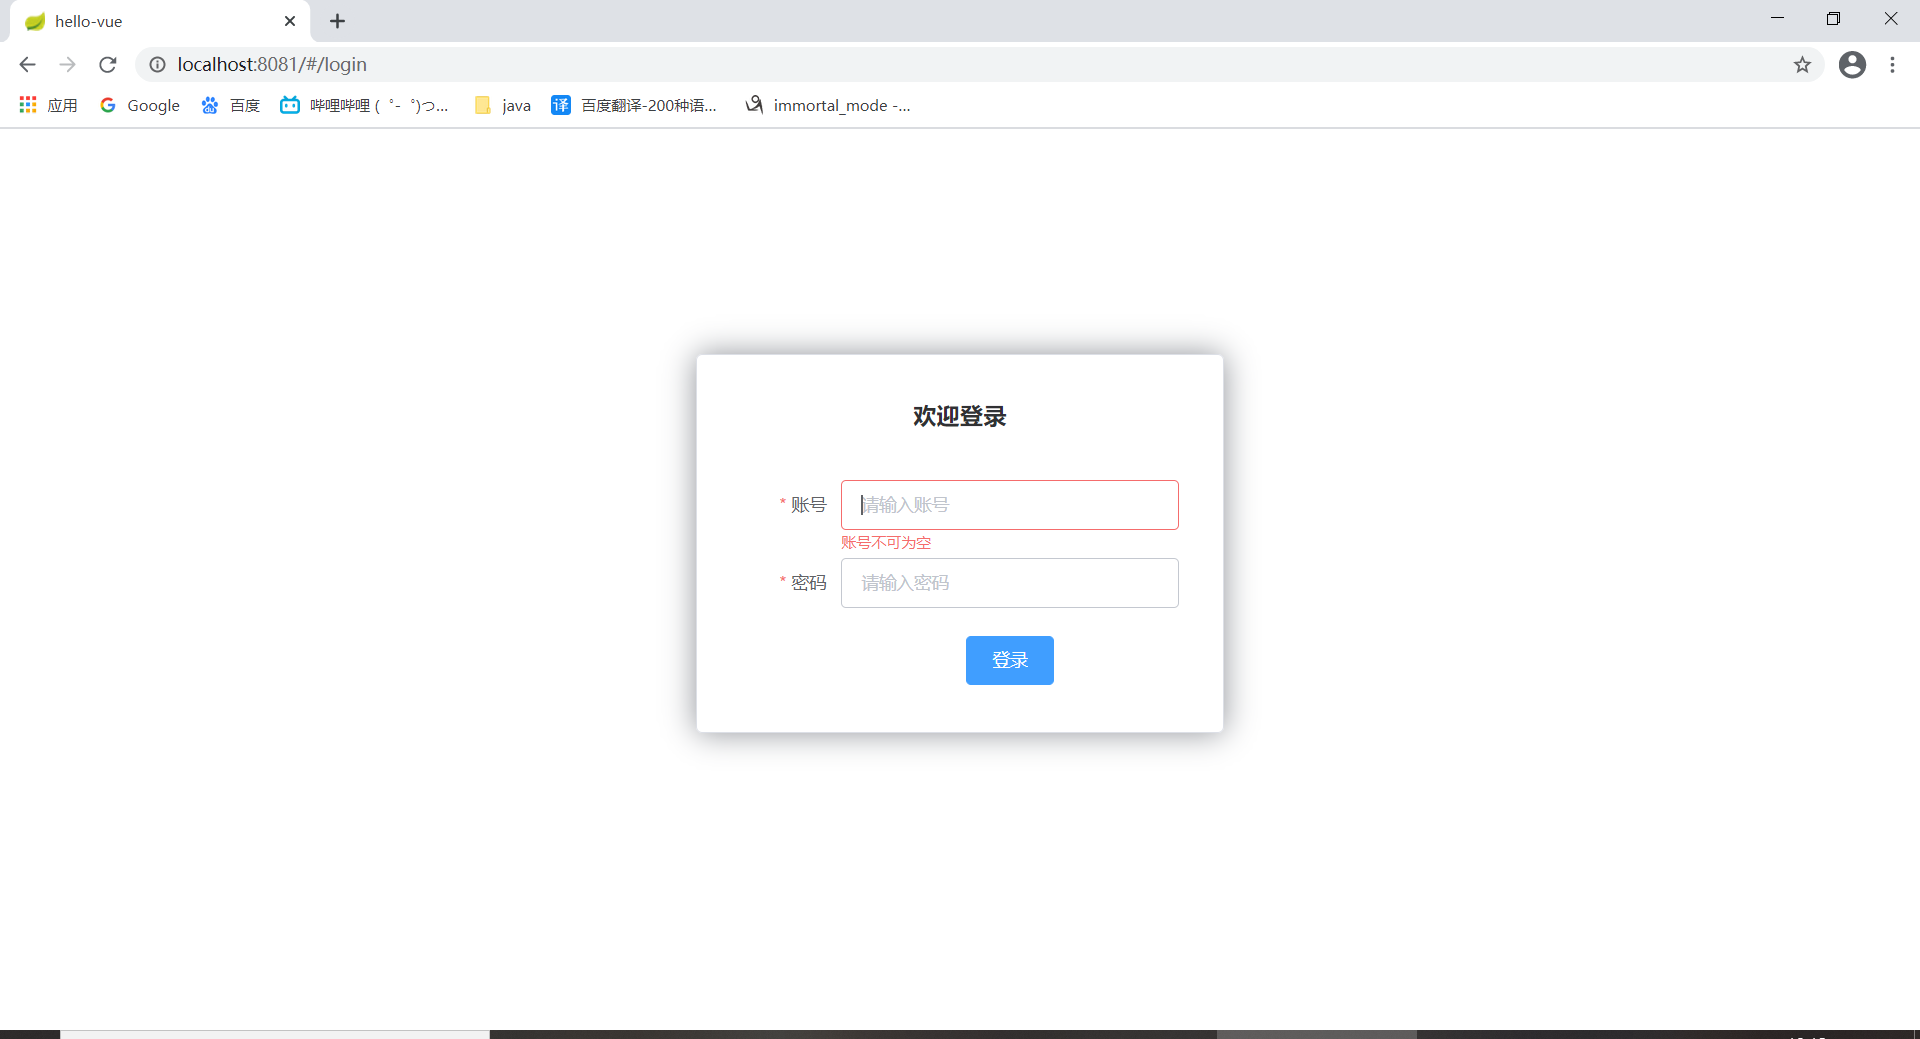
Login.vue
<template>
  <div>
    <el-form ref="loginForm" :model="form" :rules="rules" label-width="80px" class="login-box">
      <h3 class="login-title">欢迎登录</h3>
      <el-form-item label="账号" prop="username">
        <el-input type="text" placeholder="请输入账号" v-model="form.username"/>
      </el-form-item>
      <el-form-item label="密码" prop="password">
        <el-input type="password" placeholder="请输入密码" v-model="form.password"/>
      </el-form-item>
      <el-form-item>
        <el-button type="primary" v-on:click="onSubmit('loginForm')">登录</el-button>
      </el-form-item>
    </el-form>

    <el-dialog
      title="温馨提示"
      :visible.sync="dialogVisible"
      width="30%"
      :before-close="handleClose">
      <span>请输入账号和密码</span>
      <span slot="footer" class="dialog-footer">
        <el-button type="primary" @click="dialogVisible = false">确 定</el-button>
      </span>
    </el-dialog>
  </div>
</template>

<script>
export default {
  name: "Login",
  data() {
    return {
      form: {
        username: '',
        password: ''
      },

      // 表单验证,需要在 el-form-item 元素中增加 prop 属性
      rules: {
        username: [
          {required: true, message: '账号不可为空', trigger: 'blur'}
        ],
        password: [
          {required: true, message: '密码不可为空', trigger: 'blur'}
        ]
      },

      // 对话框显示和隐藏
      dialogVisible: false
    }
  },
  methods: {
    onSubmit(formName) {
      // 为表单绑定验证功能
      this.$refs[formName].validate((valid) => {
        if (valid) {
          // 使用 vue-router 路由到指定页面,该方式称之为编程式导航
          this.$router.push("/main");
        } else {
          this.dialogVisible = true;
          return false;
        }
      });
    }
  }
}
</script>

<style lang="scss" scoped>
.login-box {
  border: 1px solid #DCDFE6;
  width: 350px;
  margin: 180px auto;
  padding: 35px 35px 15px 35px;
  border-radius: 5px;
  -webkit-border-radius: 5px;
  -moz-border-radius: 5px;
  box-shadow: 0 0 25px #909399;
}

.login-title {
  text-align: center;
  margin: 0 auto 40px auto;
  color: #303133;
}
</style>
App.vue
<template>
  <div id="app">
    //在app中定义路由页面的显示
    <router-view></router-view>
  </div>
</template>

<script>

export default {
  name: 'App'
}
</script>

<style>
#app {
  font-family: 'Avenir', Helvetica, Arial, sans-serif;
  -webkit-font-smoothing: antialiased;
  -moz-osx-font-smoothing: grayscale;
  text-align: center;
  color: #2c3e50;
  margin-top: 60px;
}
</style>
遇见的问题
SASS 版本太高 改成 "sass-loader": "^7.3.1"
node-sass版本太高 改成 "node-sass": "^4.14.1"
改完后 重新npm install
启动
npm run dev
6.参数传递
Main.vue
<template>
  <div>
    <h1>Main</h1>
    <br>
<!--    传参格式   需要在router中加上  props: true这个属性 -->
    <router-link :to="{name: 'Profile',params: {id: 1}}">profile</router-link>
    <router-link to="/user/userList">userList</router-link>
    <br>
    <router-view></router-view>
  </div>

</template>

<script>
export default {
  name: "Main",
}
</script>

<style scoped>

</style>
router index.js
import Vue from 'vue'
import VueRouter from "vue-router";

import Login from "../views/Login";
import Main from "../views/Main";
import UserList from "../views/users/UserList";
import Profiles from "../views/users/Profiles";

//使用路由
Vue.use(VueRouter);

//暴露自己
export default new VueRouter({
  routes: [
    {
      //路由路径
      path: '/main',
      name: 'mian',
      //跳转的组件
      component: Main,
      //子模块嵌套
      children: [
        {
	  //在路径上定义参数
          path: '/user/profile/:id',
	  //alias
          name: 'Profile',
          component: Profiles,
	  //开启参数支持
          props: true
        },
        {
          path: '/user/userList',
          component: UserList
        }
      ]
    },  {
      //路由路径
      path: '/login',
      name: 'login',
      //跳转的组件
      component: Login
    },{
    //这里是重定向
      path: '/goHome',
      redirect: Main
    }
  ]
});
Profile.vue
<template>
  <div>
    <h1>Profiles</h1>
    <h1>id = {{id}}</h1>
    <el-button @click="gohome">back</el-button>
  </div>
</template>

<script>
export default {
  //接受传递的参数
  props: ['id'],
  name: "Profiles",
  methods: {
    gohome: function (){
      //调至主页
      this.$router.push("/main");
    }
  }
}
</script>

<style scoped>

</style>
7. 路由模式与404
路由模式由2种
- hash 路径带#符号的 例如http://localhost:8081/#/user/profile/100
- history 不带符号的
- 将 router index中 加上以下代码
 export default new VueRouter({
     //不太#的版本
	mode: 'history',
    routes: [
        {

        }
    ]
}
404 页面
export default new VueRouter({
     //不太#的版本
	mode: 'history',
    routes: [
        {
            path: '*',
     		component: NotFound
        }
    ]
}
8. 路由钩子函数与异步请求
进入路由之前
beforeRouteEnter:(to,from,next)=>{
  console.log("enter router before");
  next();
}
离开路由之前
beforeRouteLeave:(to,from,next)=>{
      console.log("Leave router before");
      next();
}
next()
beforeRouteEnter:(to,from,next)=>{
  console.log("enter router before");
  //因为当钩子执行前,组件实例还没被创建
  // vm 就是当前组件的实例相当于上面的 this,所以在 next 方法里你就可以把 vm 当 this 来用了。
  next(vm => {
    vm.getData();
  });
},
getData();
getData:function (){
  this.axios.get("http://localhost:8081/static/data.json").then((response)=>{
      console.log(response.data);
      this.info = response.data
      console.log(this.info);
  });
9. 整合axios
main.js 加上以上代码
import Vue from 'vue'
import App from './App'
import router from './router'
//导入element-ui
import ElementUI from 'element-ui';
//导入css  这里根据官网去做就行
import 'element-ui/lib/theme-chalk/index.css';
import axios from 'axios'
import VueAxios from 'vue-axios'

Vue.use(VueAxios, axios)
Vue.use(router);
Vue.use(ElementUI);

Vue.config.productionTip = false

new Vue({
  el: '#app',
  router,
  render: h => h(App)
})

 浙公网安备 33010602011771号