
1. https出现的背景:(1)都知道http传输协议是裸漏的,明文传输的,极易被黑客拦截,因此,(2)人们想出的使用加密,也就是 对称加密 例如aes,不过这个由于因为对称加密需要每个客户端和服务器有独立一套,当客户端多的时候维护困难,因此 有了 非对称加密 例如 RSA,RSA,这个是1977年 麻省理工学院三个程序员发明的,很厉害,目前还未被破解,扯远了
RSA是一种公钥密码体制,现在使用得很广泛。如果对RSA本身有兴趣的,后面看我有没有时间写个RSA的具体介绍。
RSA密码体制是一种公钥密码体制,公钥公开,私钥保密,它的加密解密算法是公开的。 由公钥加密的内容可以并且只能由私钥进行解密,并且由私钥加密的内容可以并且只能由公钥进行解密。也就是说,RSA的这一对公钥、私钥都可以用来加密和解密,并且一方加密的内容可以由并且只能由对方进行解密。貌似RSA是很安全,其实有个不足的地方,就是当服务器发送给客户端的时候,被黑客拦截了,用公开的公钥解密,是可以看到里面的内容的,(3)所以就有了 SSL,涉及SSL证书等等。。。内容太多,可以百度看看
2.可以自己生成 SSL证书,但是这个不被官方存档认可的,有钱可以去阿里云买一个,一年也就个把千块哈哈
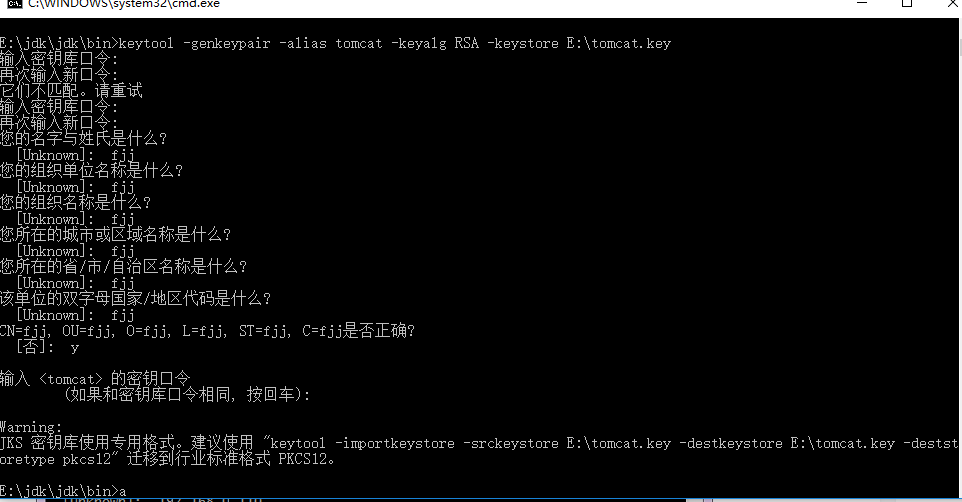
keytool -genkeypair -alias tomcat -keyalg RSA -keystore E:\tomcat.key
//其中-alias是证书的别名,RSA是加密算法,-keystore后是输出证书的路径所在
到此为止我们已经得到SSL证书了,这个是配置https的必要步骤,那么怎么使用进Spring boot 项目呢
(3).spring boot 配置ssl使用https
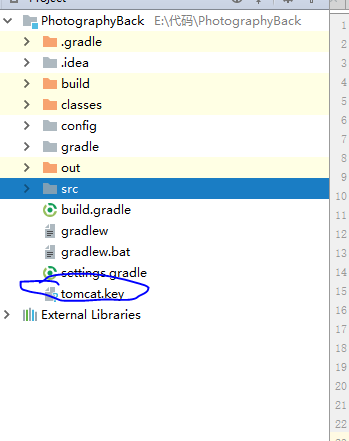
首先,将刚刚获取的证书 放在项目根目录
其次.在application.yml添加
server:
  port: 8443
  tomcat:
    max-threads: 800
    accept-count: 30000
    min-spare-threads: 20
    max-connections: 30000
  servlet-path: /photography
  ssl:
#    证书路径
    key-store: tomcat.key
    key-store-type: JKS
    key-alias: tomcat
#    配置密码,就是在生成证书的时候输入的密码
    key-store-password: imfjj201314
最后,还要在启动类 配置
  /**
     * it's for set http url auto change to https
     */
    @Bean
    public EmbeddedServletContainerFactory servletContainer(){
        TomcatEmbeddedServletContainerFactory tomcat=new TomcatEmbeddedServletContainerFactory(){
            @Override
            protected void postProcessContext(Context context) {
                SecurityConstraint securityConstraint=new SecurityConstraint();
                securityConstraint.setUserConstraint("CONFIDENTIAL");//confidential
                SecurityCollection collection=new SecurityCollection();
                collection.addPattern("/*");
                securityConstraint.addCollection(collection);
                context.addConstraint(securityConstraint);
            }
        };
        tomcat.addAdditionalTomcatConnectors(httpConnector());
        return tomcat;
    }

    @Bean
    public Connector httpConnector(){
        Connector connector=new Connector("org.apache.coyote.http11.Http11NioProtocol");
        connector.setScheme("http");
        connector.setPort(8080);
        connector.setSecure(false);
        connector.setRedirectPort(8443);
        return connector;
    }
访问一下,看看效果
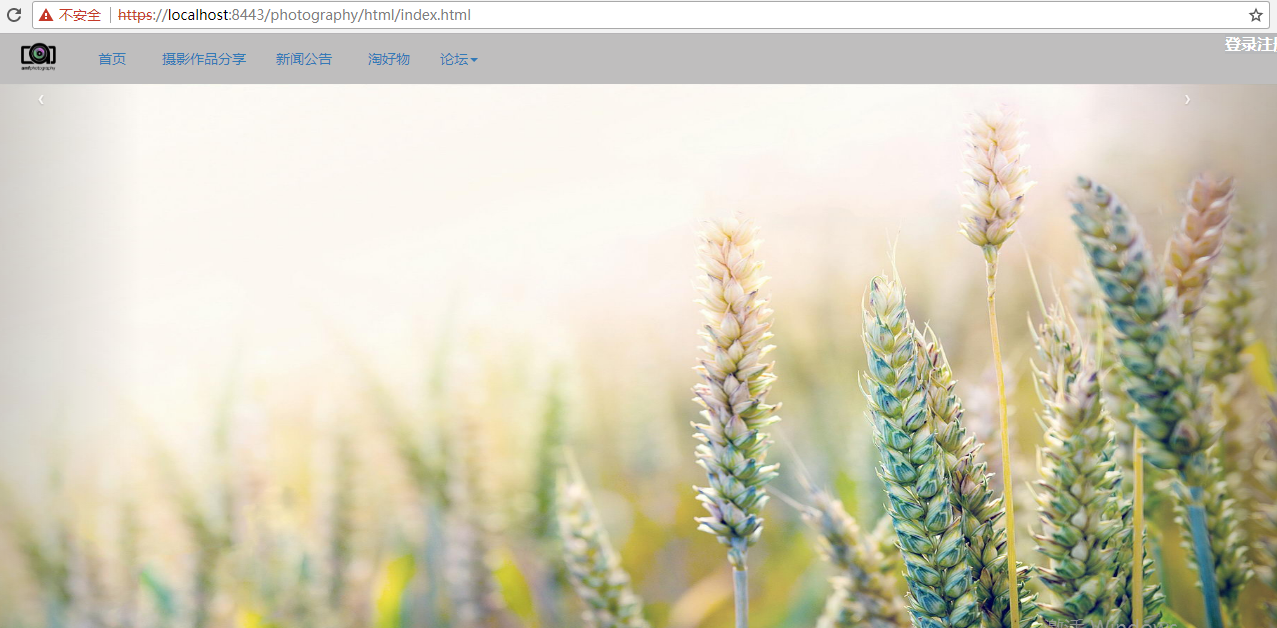
浏览器输入 http://localhost:8080/photography/html/index.html 跳转到 ->https://localhost:8443/photography/html/index.html
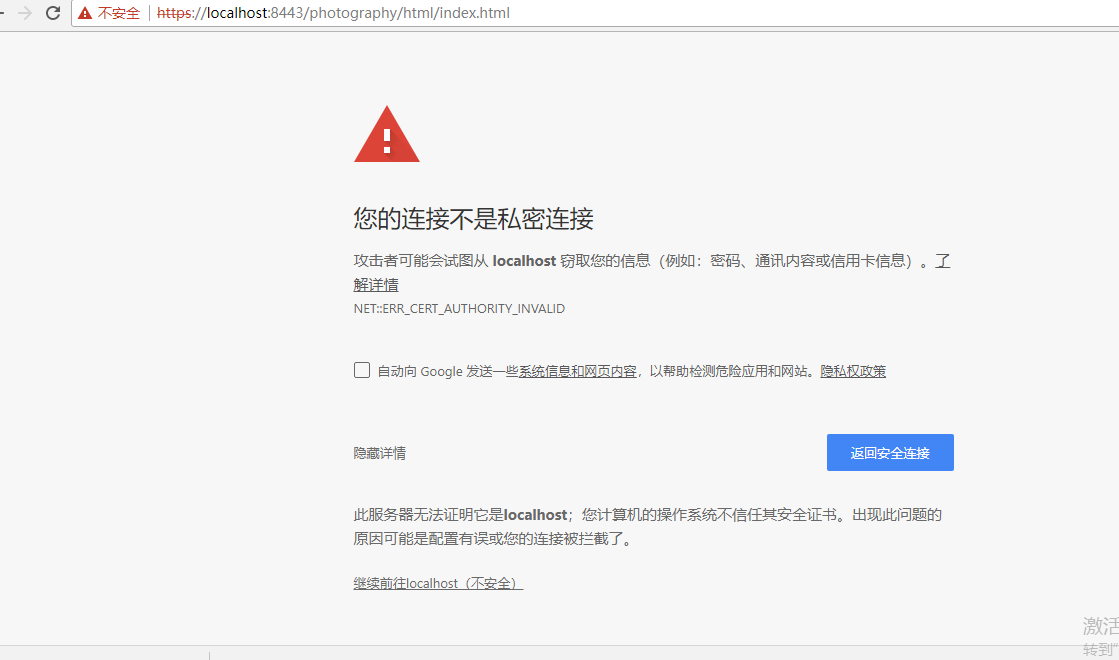
提示不安全,这是正常的,因为浏览器去SSL机构查询,并没有我这个证书信息,所以报错,点击下面 继续前往localhost 就可以访问了
参考了 https://blog.csdn.net/ai15134626825/article/details/78565948/ ,参考了 https://blog.csdn.net/ly131420/article/details/38400583 仅限学习,如果侵权请联系删除
鼓励:觉得写得有帮助就支付宝扫一下吧,对你没有损失,也给我动力


 浙公网安备 33010602011771号