
大数据集群环境搭建之一 Centos基本环境准备
首先需要准备的软件都有:Centos系统、SecureCRT 8.5、VMware Workstation Pro、jdk-8u172-linux-x64.tar.gz基本上这个软件就是今天的战场。
首先安装VMware Workstation 并配置激活SecureCRT,关于这两个软件的安装可以查看这个教程SecureCRT安装、VMware Workstation 14 中文破解版安装,VMware14安装centos7。按照要求可以准备三台虚拟机。
一、 hadoop环境准备(可以先安装一台虚拟机,在复制两个,统一配置)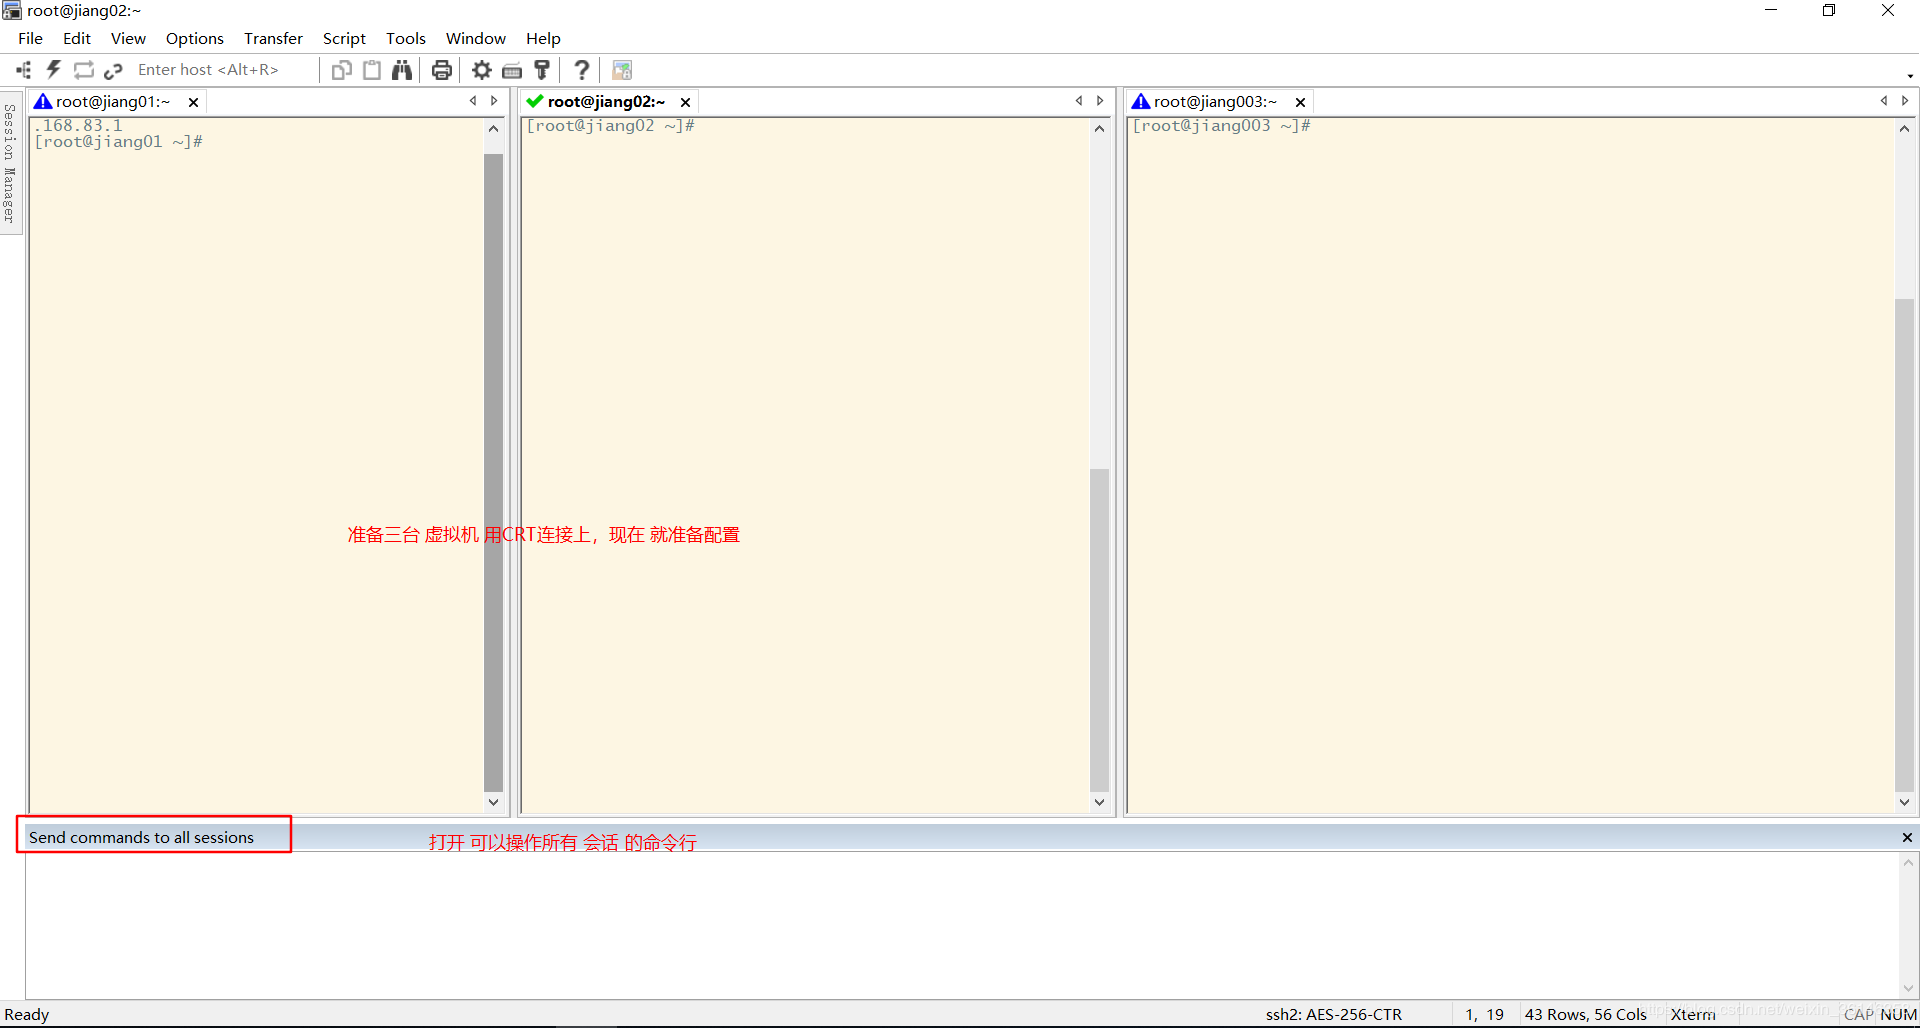
1.1查看当前操作系统环境以及主机映射关系
[root@jiang01 ~]# cat /etc/redhat-release
CentOS Linux release 7.7.1908 (Core)
[root@jiang01 ~]# uname -r
3.10.0-1062.el7.x86_64
[root@jiang01 ~]# free -m
              total        used        free      shared  buff/cache   available
Mem:           2827         196        2323           9         307        2475
Swap:          3071           0        3071
[root@jiang01 ~]# hostname -i
1.2 修改hostname,重启三台机器,主机名称将永久生效
# 1 使用hostnamectl命令
hostnamectl set-hostname xxx
//删除hostname
hostnamectl set-hostname ""

hostnamectl set-hostname 主机名
# 2
 vi /etc/hostname


1.3 关闭防火墙
停止firewall systemctl stop firewalld.service
禁止firewall开机启动 systemctl disable firewalld.service

1.4 hosts文件设置,只是为了不直接使用ip,使用主机名方便好记,
[root@jiang01 ~]# vi /etc/hosts
[root@jiang01 ~]# cat /etc/hosts | grep jiang
192.168.1.16 jiang01
192.168.1.17 jiang02
192.168.1.17 jiang03
1.5 配置三台机器免密登录 ,网上有很多种方式来配置,我选择了其中最简单的那种。命令依次为
生成私钥并配置禹本纪的免密登录:ssh-keygen -t rsa -P '' -f ~/.ssh/id_rsa
拷贝私钥 ssh-copy-id 用户名@主机名
查看免秘是否成功 ssh 主机名 

1.6 配置网络镜像源
下载镜像源
curl -o /etc/yum.repos.d/CentOS-Base.repo http://mirrors.aliyun.com/repo/Centos-7.repo
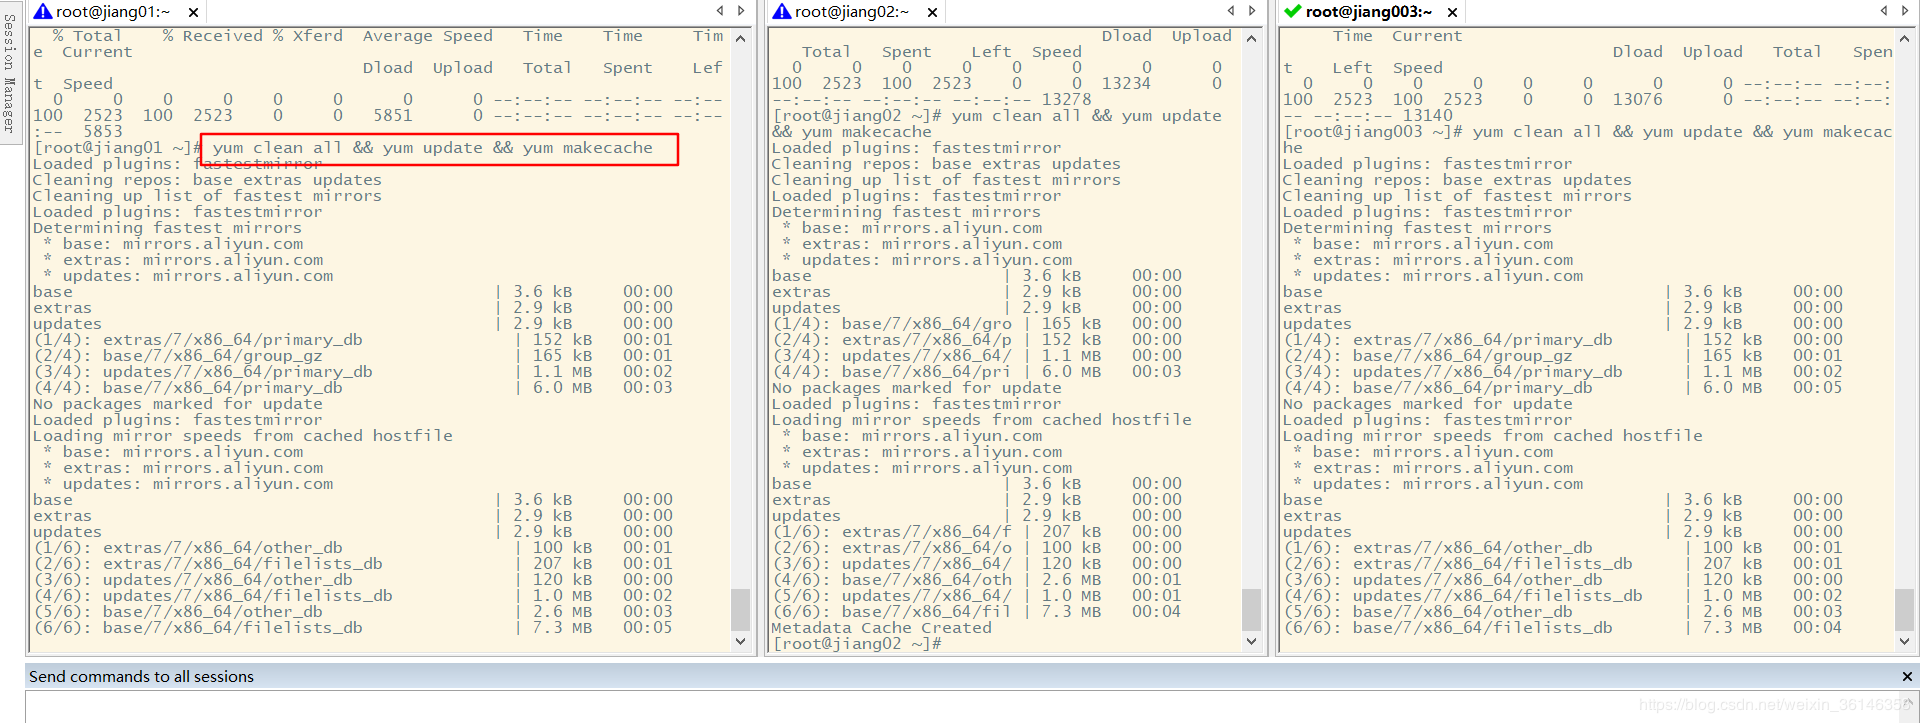
清楚缓存
yum clean all && yum update && yum makecache
1.7 SELINUX关闭
sed -i 's#SELINUX=enforcing#SELINUX=disabled#' /etc/selinux/config
1.8 安装jdk


[root@jiang01 ~]# mkdir app
[root@jiang01 ~]#
[root@jiang01 ~]# cd app/
[root@jiang01 app]#
[root@jiang01 app]# rz
rz waiting to receive.
Starting zmodem transfer.  Press Ctrl+C to cancel.
Transferring installJDK.sh...
  100%     593 bytes  593 bytes/sec 00:00:01       0 Errors
Transferring jdk-8u172-linux-x64.tar.gz...
  100%  186447 KB    1456 KB/sec    00:02:08       0 Errors

[root@jiang01 app]#
[root@jiang01 app]#
[root@jiang01 app]# source ./installJDK.sh
/usr/local/app/jdk1.8.0_172
安装完毕!!!\r下面进行测试
Usage: javac <options> <source files>
where possible options include:
  -g                         Generate all debugging info
  -g:none                    Generate no debugging info
  -g:{lines,vars,source}     Generate only some debugging info
  -nowarn                    Generate no warnings
  -verbose                   Output messages about what the compiler is doing
  -deprecation               Output source locations where deprecated APIs are used
  -classpath <path>          Specify where to find user class files and annotation processors
  -cp <path>                 Specify where to find user class files and annotation processors
  -sourcepath <path>         Specify where to find input source files
  -bootclasspath <path>      Override location of bootstrap class files
  -extdirs <dirs>            Override location of installed extensions
  -endorseddirs <dirs>       Override location of endorsed standards path
  -proc:{none,only}          Control whether annotation processing and/or compilation is done.
  -processor <class1>[,<class2>,<class3>...] Names of the annotation processors to run; bypasses default discovery process
  -processorpath <path>      Specify where to find annotation processors
  -parameters                Generate metadata for reflection on method parameters
  -d <directory>             Specify where to place generated class files
  -s <directory>             Specify where to place generated source files
  -h <directory>             Specify where to place generated native header files
  -implicit:{none,class}     Specify whether or not to generate class files for implicitly referenced files
  -encoding <encoding>       Specify character encoding used by source files
  -source <release>          Provide source compatibility with specified release
  -target <release>          Generate class files for specific VM version
  -profile <profile>         Check that API used is available in the specified profile
  -version                   Version information
  -help                      Print a synopsis of standard options
  -Akey[=value]              Options to pass to annotation processors
  -X                         Print a synopsis of nonstandard options
  -J<flag>                   Pass <flag> directly to the runtime system
  -Werror                    Terminate compilation if warnings occur
  @<filename>                Read options and filenames from file

java版本为:
java version "1.8.0_172"
Java(TM) SE Runtime Environment (build 1.8.0_172-b11)
Java HotSpot(TM) 64-Bit Server VM (build 25.172-b11, mixed mode)
是否删除安装包
1) 是
2) 否
#? 1
脚本执行完毕!!!
[root@jiang01 jdk1.8.0_172]#
java安装脚本
#!/bin/bash
#author :lizhenjiang
#email:idea_zhenjiang@163.com
mkdir /usr/local/app
tar -zxf jdk* -C /usr/local/app
cd /usr/local/app/jdk*
home=`pwd`
echo $home
echo "export JAVA_HOME=${home}" >> /etc/profile
echo "export PATH=\$PATH:\$JAVA_HOME/bin" >> /etc/profile
echo "安装完毕!!!\r下面进行测试"
#配置完成,下面的是测试
source /etc/profile
javac
echo "java版本为:"
java -version
echo "是否删除安装包"
select var in 是 否
do
    break
done
if [ var = 是 ]
then
    rm jdk-*
    echo "安装包已删除"
fi
echo "脚本执行完毕!!!"
1.9 编写集群管理脚本,这些脚本在其它课程上有很多,都可以拿来使用
批量执行服务脚本命令
View Code
运行效果
View Code
[root@jiang01 jdk1.8.0_172]# xcall.sh "yum -y install rsync"
============= jiang01 : yum -y install rsync ============
Loaded plugins: fastestmirror
Loading mirror speeds from cached hostfile
 * base: mirrors.aliyun.com
 * extras: mirrors.aliyun.com
 * updates: mirrors.aliyun.com
Resolving Dependencies
--> Running transaction check
---> Package rsync.x86_64 0:3.1.2-6.el7_6.1 will be installed
--> Finished Dependency Resolution

Dependencies Resolved

================================================================================
 Package        Arch            Version                     Repository     Size
================================================================================
Installing:
 rsync          x86_64          3.1.2-6.el7_6.1             base          404 k

Transaction Summary
================================================================================
Install  1 Package

Total download size: 404 k
Installed size: 815 k
Downloading packages:
Running transaction check
Running transaction test
Transaction test succeeded
Running transaction
  Installing : rsync-3.1.2-6.el7_6.1.x86_64                                 1/1
  Verifying  : rsync-3.1.2-6.el7_6.1.x86_64                                 1/1

Installed:
  rsync.x86_64 0:3.1.2-6.el7_6.1

Complete!
命令执行成功
============= jiang02 : yum -y install rsync ============
Loaded plugins: fastestmirror
Loading mirror speeds from cached hostfile
 * base: mirrors.aliyun.com
 * extras: mirrors.aliyun.com
 * updates: mirrors.aliyun.com
Resolving Dependencies
--> Running transaction check
---> Package rsync.x86_64 0:3.1.2-6.el7_6.1 will be installed
--> Finished Dependency Resolution

Dependencies Resolved

================================================================================
 Package        Arch            Version                     Repository     Size
================================================================================
Installing:
 rsync          x86_64          3.1.2-6.el7_6.1             base          404 k

Transaction Summary
================================================================================
Install  1 Package

Total download size: 404 k
Installed size: 815 k
Downloading packages:
Running transaction check
Running transaction test
Transaction test succeeded
Running transaction
  Installing : rsync-3.1.2-6.el7_6.1.x86_64                                 1/1
  Verifying  : rsync-3.1.2-6.el7_6.1.x86_64                                 1/1

Installed:
  rsync.x86_64 0:3.1.2-6.el7_6.1

Complete!
命令执行成功
============= jiang03 : yum -y install rsync ============
Loaded plugins: fastestmirror
Loading mirror speeds from cached hostfile
 * base: mirrors.aliyun.com
 * extras: mirrors.aliyun.com
 * updates: mirrors.aliyun.com
Resolving Dependencies
--> Running transaction check
---> Package rsync.x86_64 0:3.1.2-6.el7_6.1 will be installed
--> Finished Dependency Resolution

Dependencies Resolved

================================================================================
 Package        Arch            Version                     Repository     Size
================================================================================
Installing:
 rsync          x86_64          3.1.2-6.el7_6.1             base          404 k

Transaction Summary
================================================================================
Install  1 Package

Total download size: 404 k
Installed size: 815 k
Downloading packages:
Running transaction check
Running transaction test
Transaction test succeeded
Running transaction
  Installing : rsync-3.1.2-6.el7_6.1.x86_64                                 1/1
  Verifying  : rsync-3.1.2-6.el7_6.1.x86_64                                 1/1

Installed:
  rsync.x86_64 0:3.1.2-6.el7_6.1

Complete!
命令执行成功
[root@jiang01 jdk1.8.0_172]#
批量同步文件脚本:
#!/bin/bash
#author :lizhenjiang
#email:idea_zhenjiang@163.com

#判断用户是否传参
if [ $# -lt 1 ];then
    echo "请输入参数";
    exit
fi


#获取文件路径
file=$@

#获取子路径
filename=`basename $file`

#获取父路径
dirpath=`dirname $file`

#获取完整路径
cd $dirpath
fullpath=`pwd -P`

#同步文件到DataNode
for (( i=2;i<=3;i++ ))
do
    tput setaf 6
    echo =========== jiang0${i} : $file ===========
    tput setaf 9
    #远程执行命令
    rsync -lr $filename `whoami`@jiang0${i}:$fullpath
    #判断命令是否执行成功
    if [ $? == 0 ];then
        echo "命令执行成功"
    fi
done
[root@jiang01 app]# vi /usr/bin/xrsync.sh
[root@jiang01 app]#
[root@jiang01 app]#
[root@jiang01 app]# chmod +x /usr/bin/xrsync.sh
[root@jiang01 app]#
[root@jiang01 app]#  xcall.sh cat /etc/hosts
============= jiang01 : cat /etc/hosts ============
127.0.0.1   localhost localhost.localdomain localhost4 localhost4.localdomain4
::1         localhost localhost.localdomain localhost6 localhost6.localdomain6
192.168.1.16 jiang01
192.168.1.17 jiang02
192.168.1.18 jiang03
命令执行成功
============= jiang02 : cat /etc/hosts ============
127.0.0.1   localhost localhost.localdomain localhost4 localhost4.localdomain4
::1         localhost localhost.localdomain localhost6 localhost6.localdomain6
192.168.1.16 jiang01
192.168.1.17 jiang02
192.168.1.18 jiang03
命令执行成功
============= jiang03 : cat /etc/hosts ============
127.0.0.1   localhost localhost.localdomain localhost4 localhost4.localdomain4
::1         localhost localhost.localdomain localhost6 localhost6.localdomain6
192.168.1.16 jiang01
192.168.1.17 jiang02
192.168.1.18 jiang03
命令执行成功
[root@jiang01 app]# xcall.sh mkdir /usr/local/app/
============= jiang01 : mkdir /usr/local/app/ ============
mkdir: cannot create directory ‘/usr/local/app/’: File exists
============= jiang02 : mkdir /usr/local/app/ ============
命令执行成功
============= jiang03 : mkdir /usr/local/app/ ============
命令执行成功
[root@jiang01 app]# ll
total 4
drwxr-xr-x. 8 10 143 4096 Sep 26 11:02 jdk1.8.0_172
[root@jiang01 app]# xrsync.sh jdk1.8.0_172/
=========== jiang02 : jdk1.8.0_172/ ===========
命令执行成功
=========== jiang03 : jdk1.8.0_172/ ===========
命令执行成功
[root@jiang01 app]#
[root@jiang01 app]#
[root@jiang01 app]# xrsync.sh /etc/profile
=========== jiang02 : /etc/profile ===========
命令执行成功
=========== jiang03 : /etc/profile ===========
命令执行成功
[root@jiang01 app]#
2.0 同步网络时钟,集群要保证时钟的一致性,以免集群出现问题
yum install ntpdate
ntpdate us.pool.ntp.org
hwclock -w
显示时区:
date -R
#安装ntpdate工具
yum install ntpdate -y
#使用ntpdate校时(后面的是ntp服务器)
ntpdate pool.ntp.org
hwclock -w
定时任务(高可用集群时间同步很重要)
/5 * /usr/sbin/ntpdate pool.ntp.org >/dev/null 2>&1
每五分钟同步一次时间
到现在基础环境已经准备就绪,已经完全准备好了安装大数据相关的集群。

 浙公网安备 33010602011771号