
camunda安装配置mysql以及整合springboot
a.服务安装配置mysql
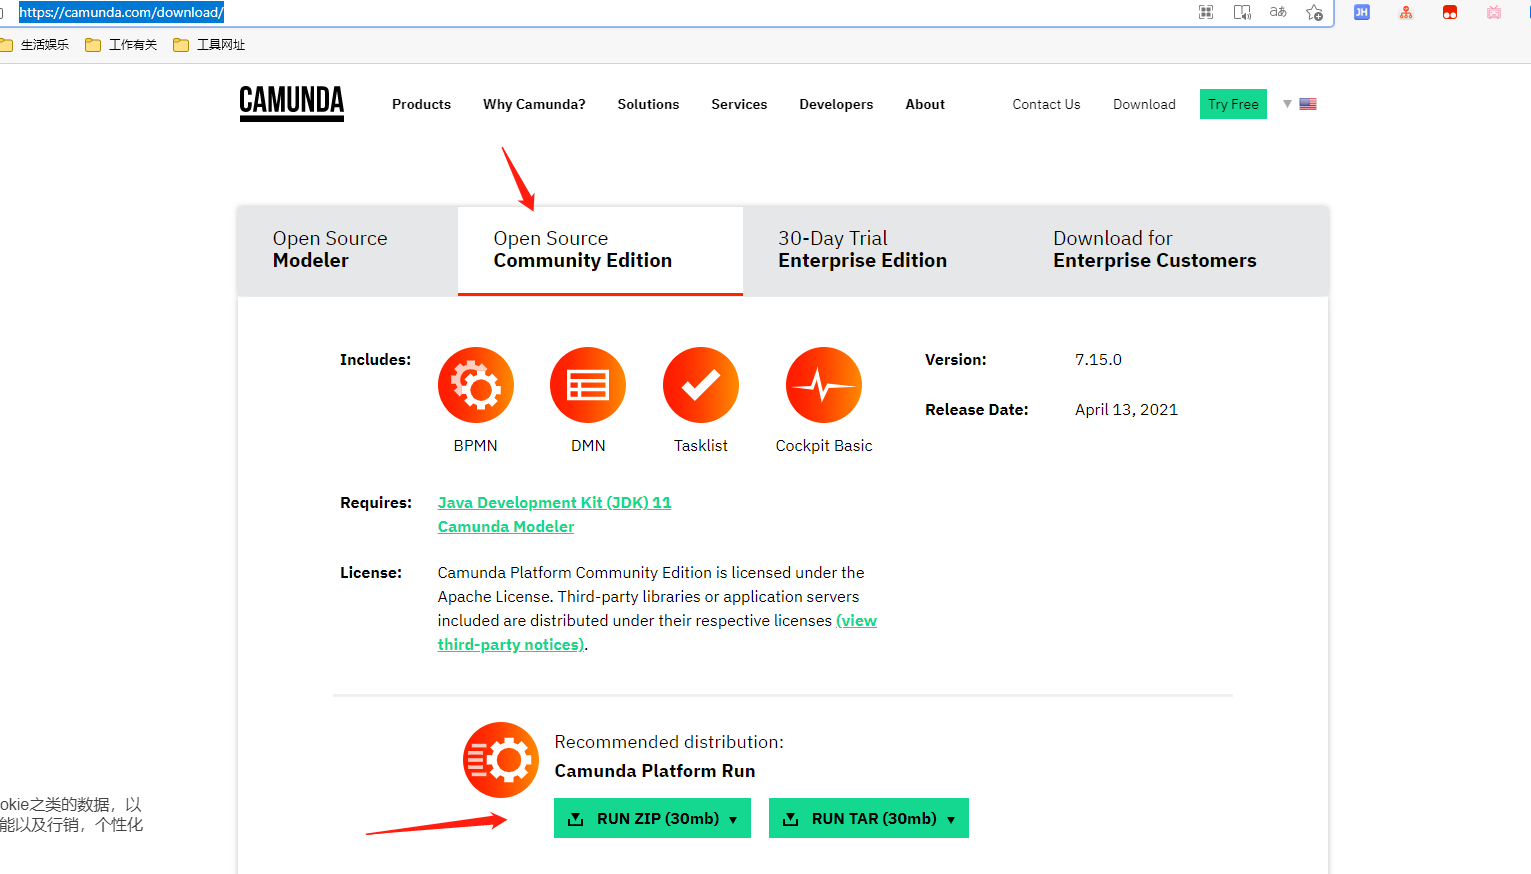
1.下载服务
2.安装服务
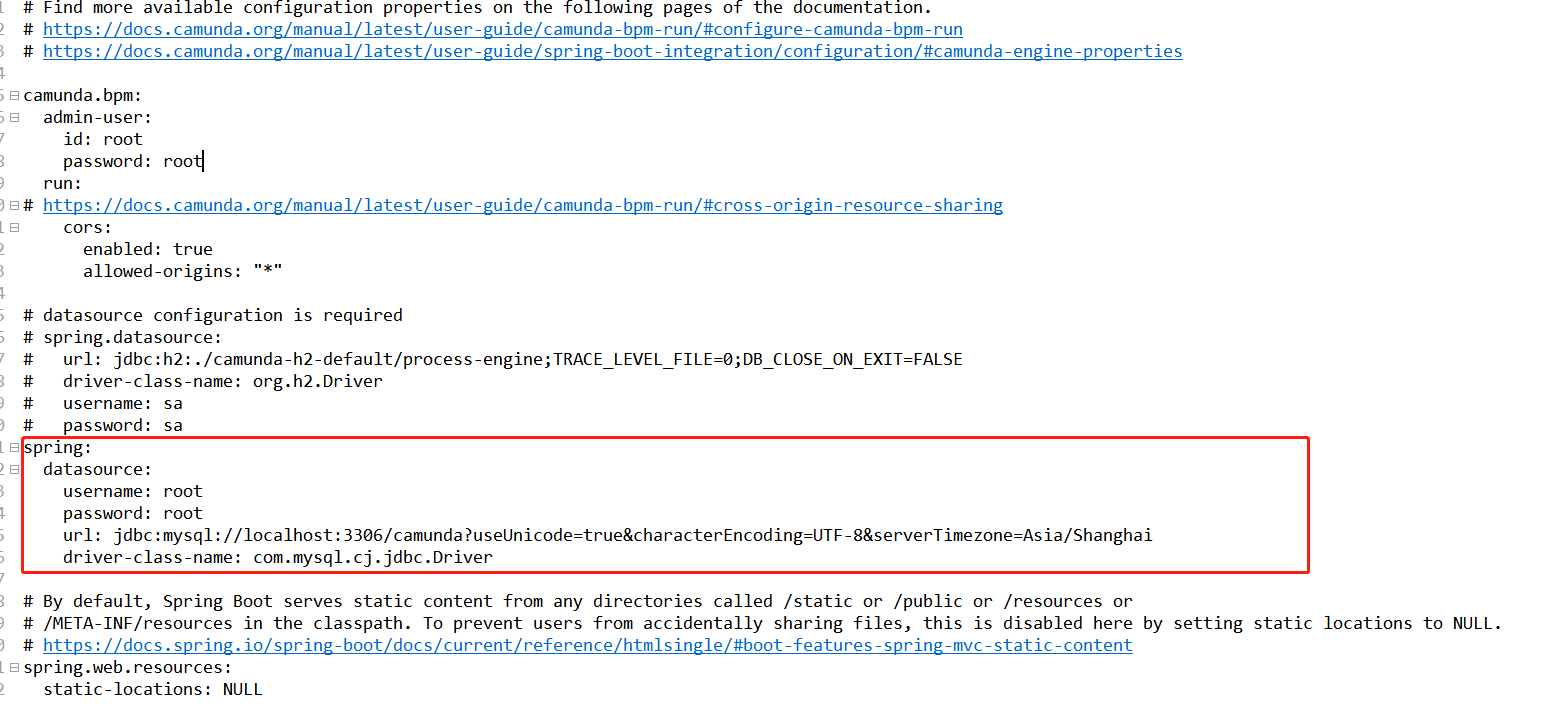
2.1解压后打开default.yml,配置数据源(服务默认是h2数据库,现在改为mysql)

2.2替换h2的驱动包为mysql驱动包

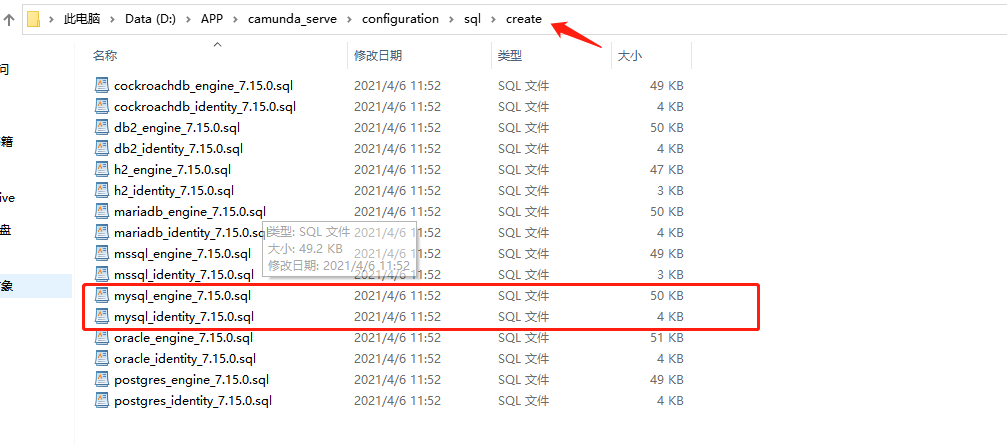
2.3创建数据库导入表,脚本在服务里找
位置:

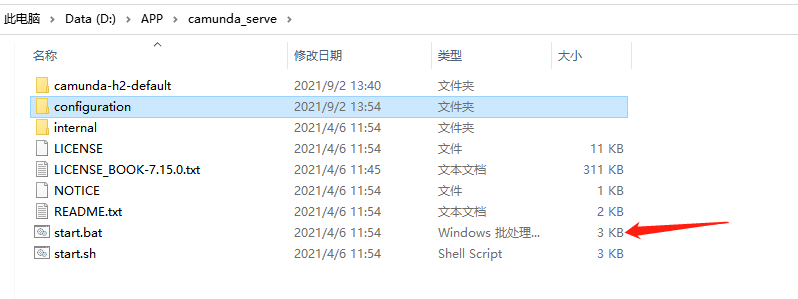
2.4启动bat文件
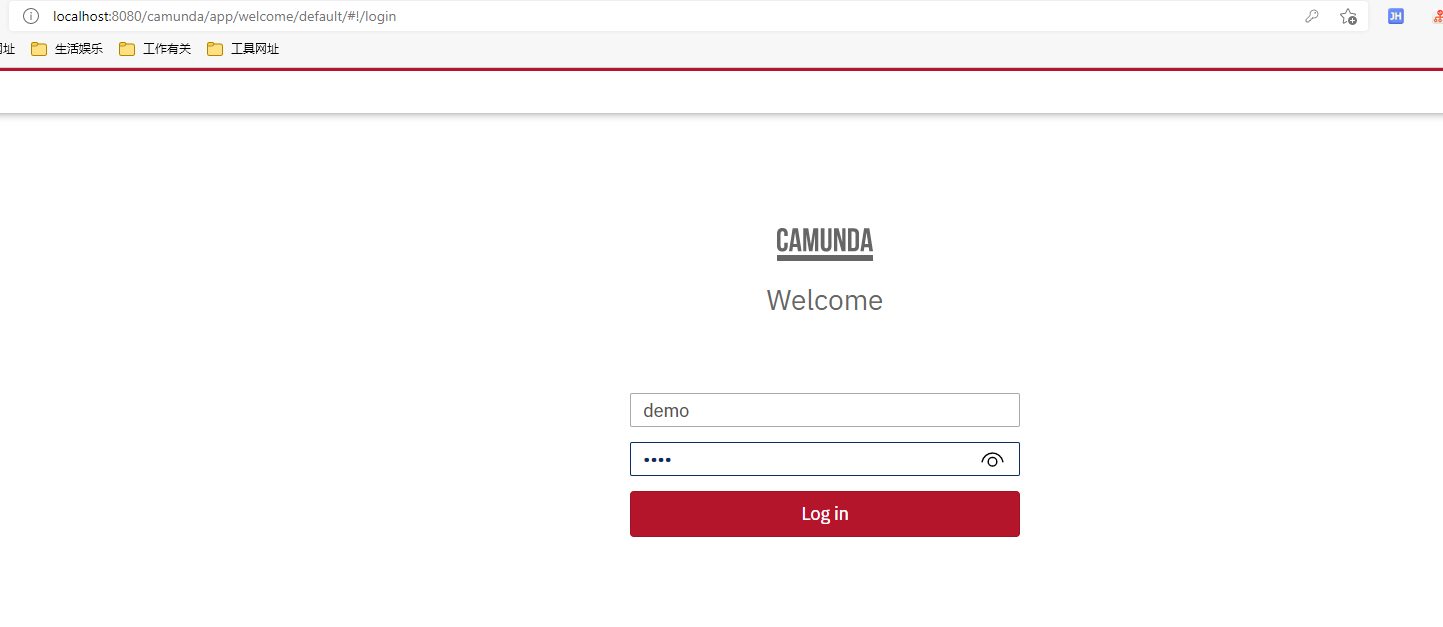
输入网址:localhost:8080 ;账号:demo 密码:demo
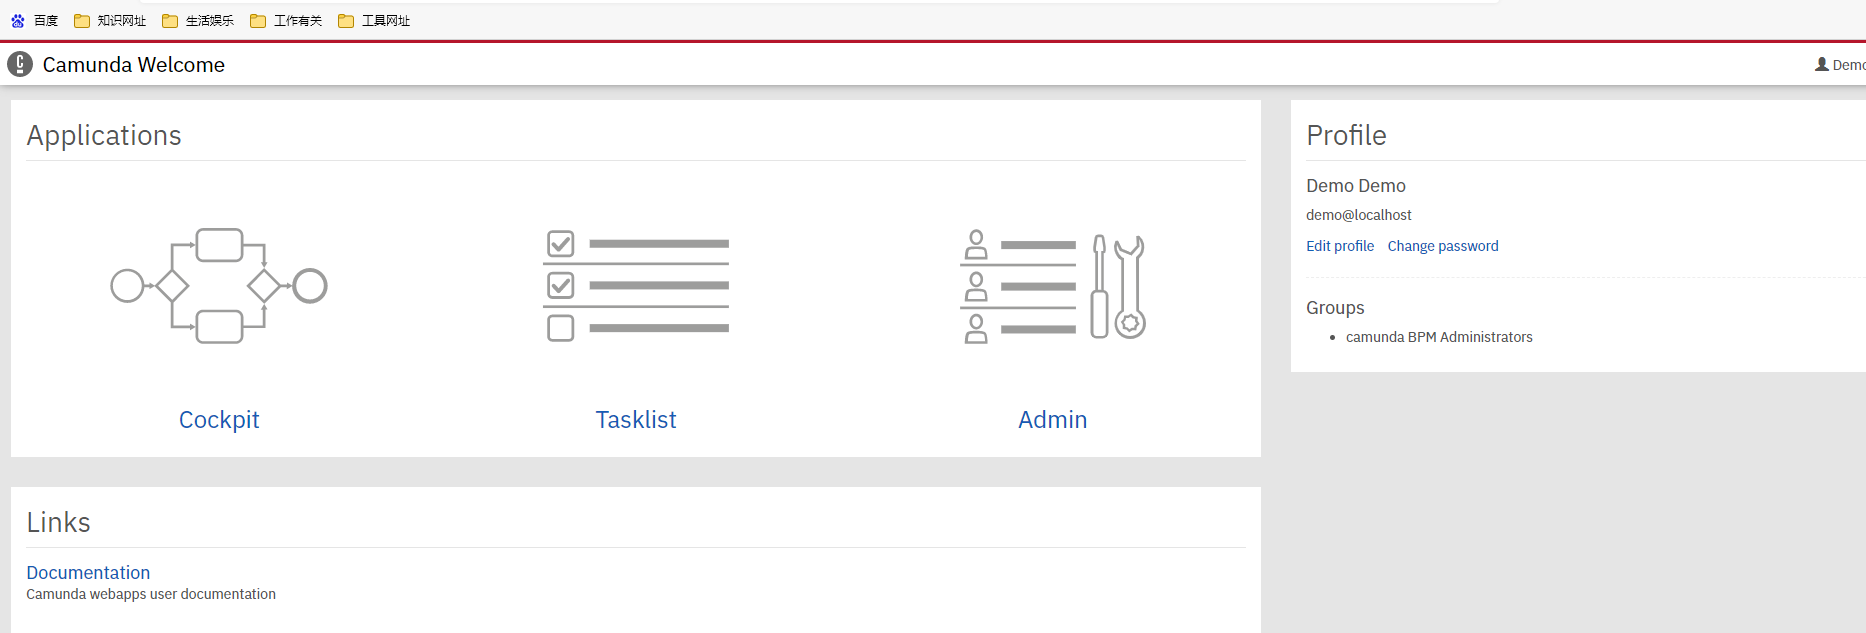
成功后页面:
b.整合springboot
1.pom依赖
   <dependency>
            <groupId>org.springframework.boot</groupId>
            <artifactId>spring-boot-starter-jdbc</artifactId>
        </dependency>

        <dependency>
            <groupId>org.springframework.boot</groupId>
            <artifactId>spring-boot-starter-web</artifactId>
        </dependency>

        <dependency>
            <groupId>mysql</groupId>
            <artifactId>mysql-connector-java</artifactId>
            <scope>runtime</scope>
        </dependency>
        <dependency>
            <groupId>org.springframework.boot</groupId>
            <artifactId>spring-boot-starter-test</artifactId>
            <scope>test</scope>
        </dependency>
        <dependency>
            <groupId>org.camunda.bpm.springboot</groupId>
            <artifactId>camunda-bpm-spring-boot-starter</artifactId>
            <version>7.15.0</version>
        </dependency>
        <dependency>
            <groupId>org.camunda.bpm.springboot</groupId>
            <artifactId>camunda-bpm-spring-boot-starter-rest</artifactId>
            <version>7.15.0</version>
        </dependency>
        <dependency>
            <groupId>org.camunda.bpm.springboot</groupId>
            <artifactId>camunda-bpm-spring-boot-starter-webapp</artifactId>
            <version>7.15.0</version>
        </dependency>
2.yml配置(数据库要和配置服务里面的一致,主要需要那些表)
spring:
  datasource:
    username: root
    password: root
    url: jdbc:mysql://localhost:3306/camunda?useUnicode=true&characterEncoding=UTF-8&serverTimezone=Asia/Shanghai
    driver-class-name: com.mysql.cj.jdbc.Driver
camunda.bpm:
  generic-properties.properties:
    javaSerializationFormatEnabled: true
  admin-user:
    id: demo
    password: demo
  run:
    cors:
      enabled: true
      allowed-origins: "*"
server:
  port: 13579
3.页面 :http://localhost:13579

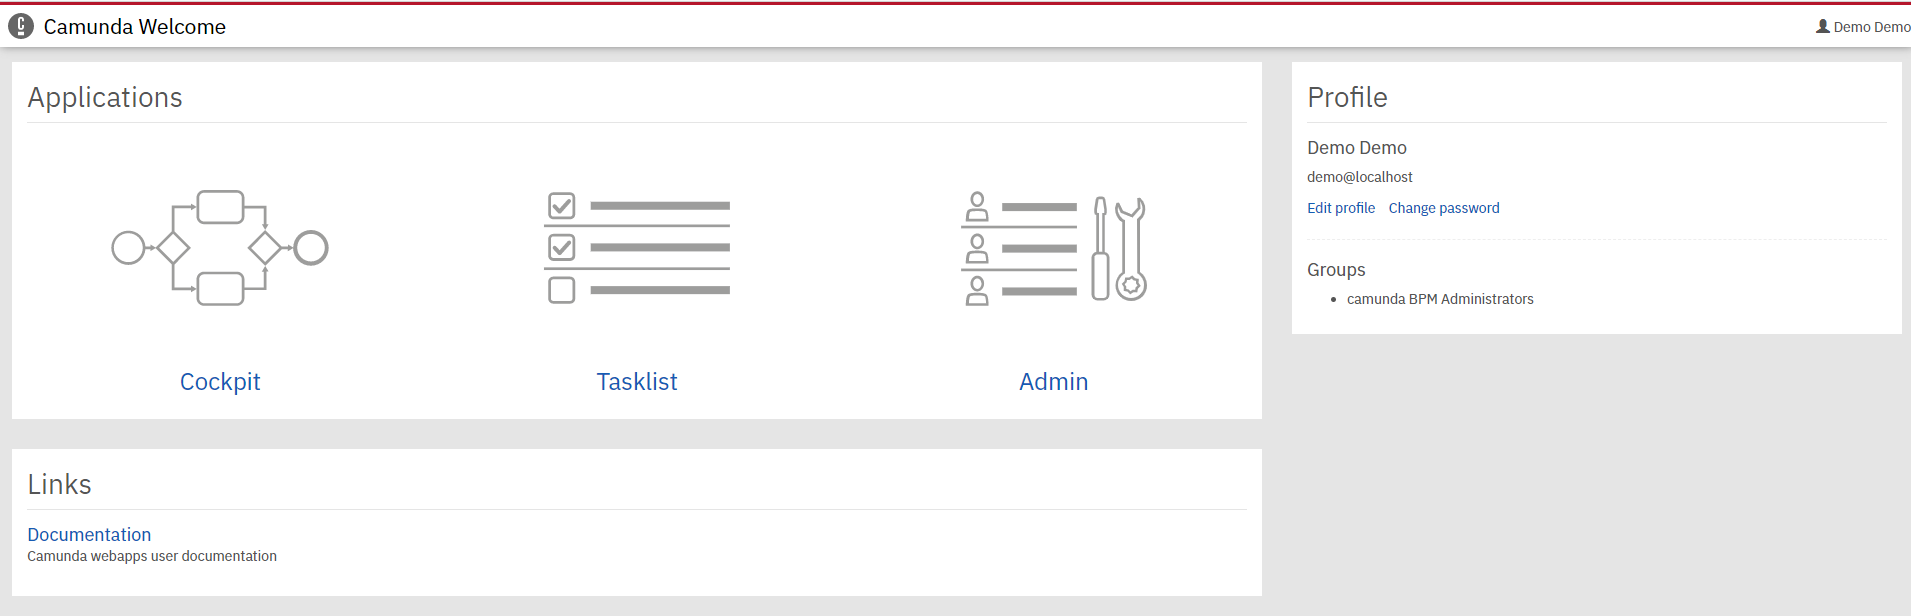
成功后的页面:

 浙公网安备 33010602011771号