identityserver4 密码模式
继上一篇的客户授权模式,这篇会继续实现密码授权模式以及刷新AccessToken的方式
密码授权模式
与客户授权模式的差异在参数增加了username以及password,在取得token时一并验证username及password,并且在JWT中添加自定义Claim,比如说Roles
修改Config.cs 添加一个Client
 new Client
                {
                    ClientId = "ResourceOwnerPassword_Client",
                    ClientName = "Client ResourceOwnerPassword_Client",
                    ClientSecrets = { new Secret("resourceownerpasswordclient".Sha256()) },
                    AllowedGrantTypes = GrantTypes.ResourceOwnerPassword,
                    AllowedScopes = {"invoice_read"}
                }
添加文件夹Validator并添加ResourceOwnerPasswordValidator.cs
实现IResourceOwnerPasswordValidator
public async Task ValidateAsync(ResourceOwnerPasswordValidationContext context)
        {
            try
            {
                var userName = context.UserName;
                var password = context.Password;
                //验证用户,这么可以到数据库里面验证用户名和密码是否正确
                var claimList = await ValidateUserAsync(userName, password);
                // 验证账号
                context.Result = new GrantValidationResult
                (
                    subject: "111",
                    authenticationMethod: "custom",
                    claims: claimList.ToArray()
                );
            }
            catch (Exception ex)
            {
                //验证异常结果
                context.Result = new GrantValidationResult()
                {
                    IsError = true,
                    Error = ex.Message
                };
            }
        }

        #region Private Method
        /// <summary>
        /// 验证用户
        /// </summary>
        /// <param name="loginName"></param>
        /// <param name="password"></param>
        /// <returns></returns>
        private async Task<List<Claim>> ValidateUserAsync(string loginName, string password)
        {
            if (loginName != null)
            {
                return new List<Claim>()
                {
                    new Claim(ClaimTypes.Name, $"hyq"),
                    new Claim(ClaimTypes.Country,"CHN"),
                    new Claim(ClaimTypes.Email,"hyq@hyq.com"),

                };
            }
            throw new Exception("登录失败,用户名和密码不正确");
        }
        #endregion
在JWT加入自定义的内容
添加ProfileService文件夹并且添加CProfileService.cs继承IProfileService
实现IProfileService
public Task GetProfileDataAsync(ProfileDataRequestContext context)
        {
            var claims = context.Subject.Claims.ToList();
            context.IssuedClaims = claims.ToList();
            return Task.CompletedTask;
        }

        public Task IsActiveAsync(IsActiveContext context)
        {
            context.IsActive = true;
            return Task.CompletedTask;
        }
注册服务
在startup.cs中ConfigureServices方法添加如下代码:
builder.AddResourceOwnerValidator<ResourceOwnerPasswordValidator>(); //密码模式登录
builder.AddProfileService<CProfileService>();//自定义Claim
启动
Postmant
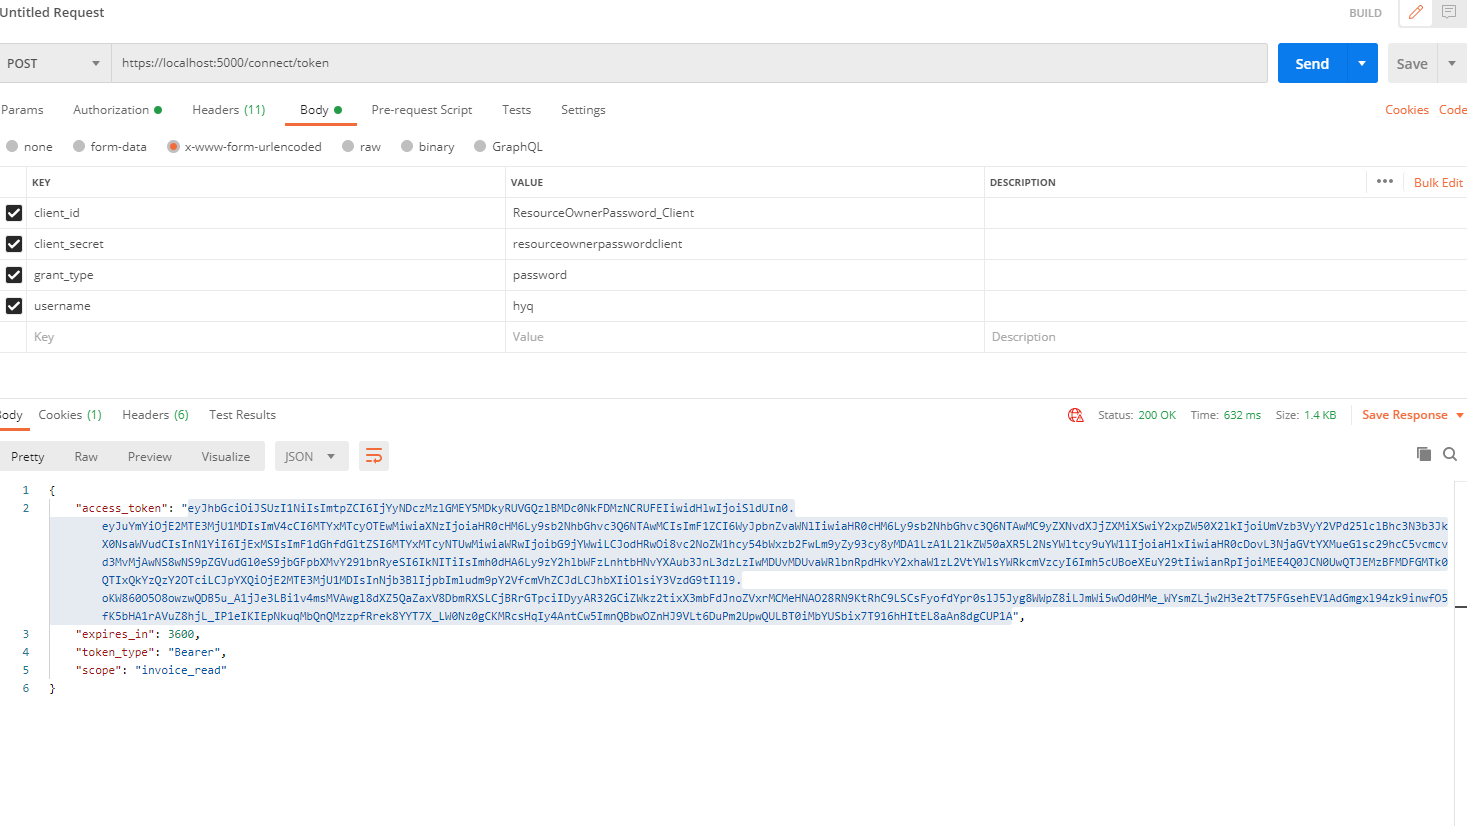
拿access_token到 https://jwt.io/ 解析可以看到我们自定义的Claim

Refresh AccessToken
调整授权中心的Config
调整Client
在Scope加上IdentityServerConstants.StandardScopes.OfflineAccess
加上token 相关的参数(有效时间、使用RefreshToken、过期方式…等等)
new Client
                {
                    ClientId = "ResourceOwnerPassword_Client",
                    ClientName = "Client ResourceOwnerPassword_Client",
                    ClientSecrets = { new Secret("resourceownerpasswordclient".Sha256()) },
                    AllowedGrantTypes = GrantTypes.ResourceOwnerPassword,
                    AllowedScopes = {
                        "invoice_read",
                        IdentityServerConstants.StandardScopes.OfflineAccess
                    },
                    AllowOfflineAccess = true,
                    RefreshTokenUsage = TokenUsage.ReUse,
                    AccessTokenLifetime = 60*5,
                    RefreshTokenExpiration = TokenExpiration.Absolute,
                    AbsoluteRefreshTokenLifetime = 300,
                }
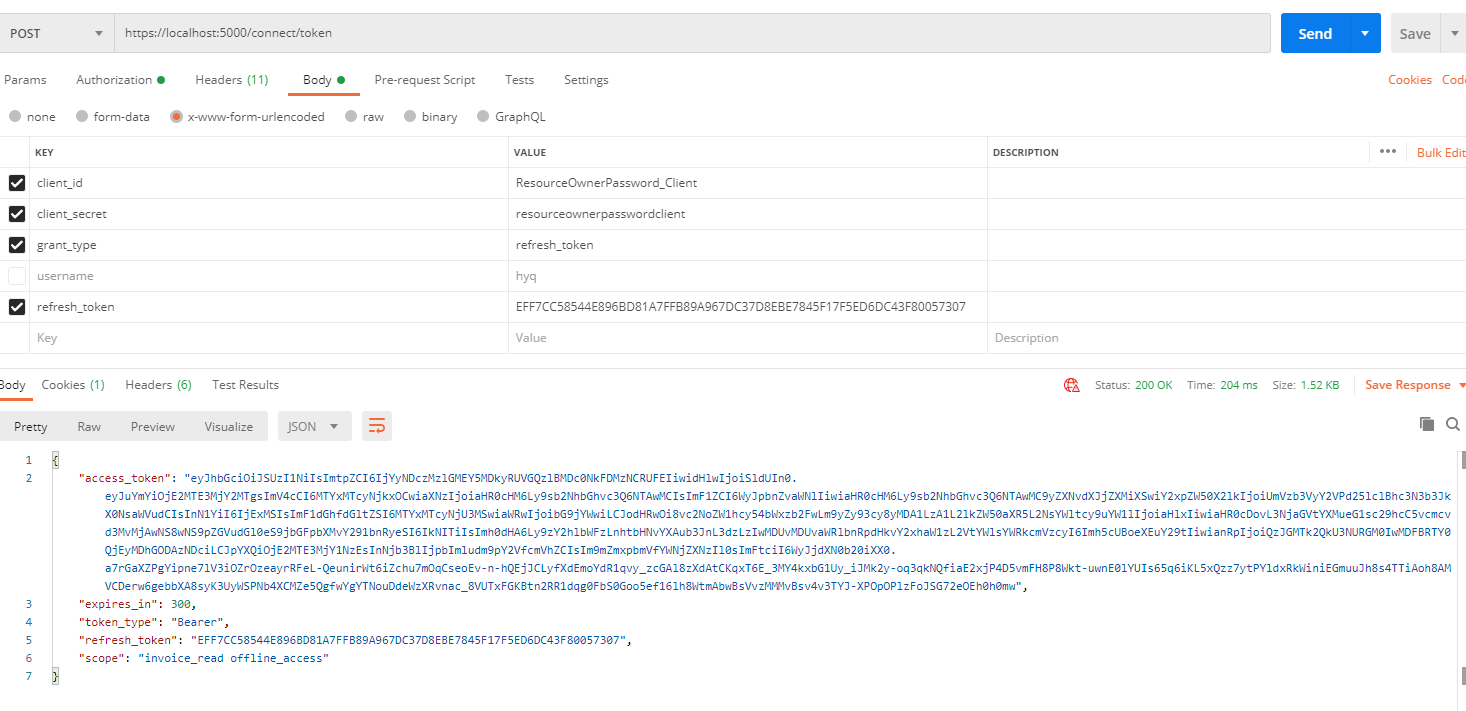
启动
拿refreshToken 可以取的新的AccessToken(注意这边用的是不同的grant_type)

 浙公网安备 33010602011771号