

gitlab
一、安装gitlab
添加NAT网卡保证能上网:
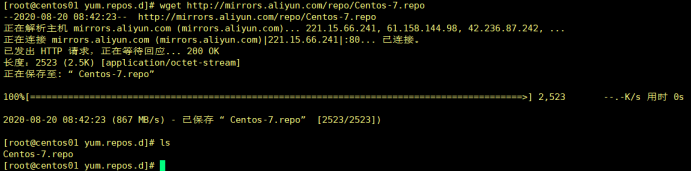
使用centos7yum源:
[root@centos01 yum.repos.d]# wget http://mirrors.aliyun.com/repo/Centos-7.repo
(1)安装gitlab依赖程序
[root@centos01 ~]# yum install -y curl policycoreutils-python openssh-server
(2)安装gitlab
[root@centos01 ~]# rpm -ivh gitlab-ce-10.2.2-ce.0.el7.x86_64.rpm
(3)配置gitlab主配置文件修改监听IP地址
[root@centos01 ~]# vim /etc/gitlab/gitlab.rb
13 external_url 'http://192.168.100.10'
(4)重新加载gitlab配置文件
[root@centos01 ~]# gitlab-ctl reconfigure
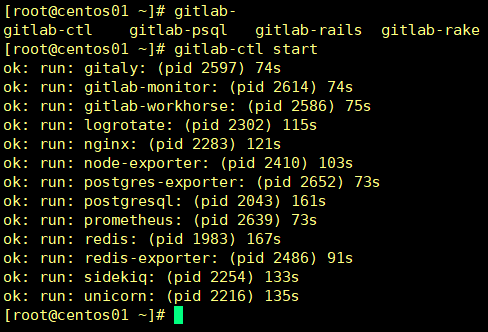
(5)启动gitlab服务
[root@centos01 ~]# gitlab-ctl start
停止gitlab服务:
[root@centos01 ~]# gitlab-ctl stop
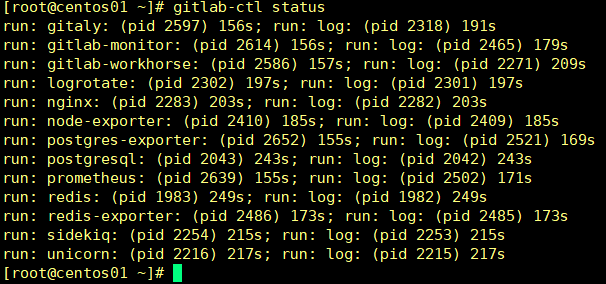
(6)查看gitlab服务的状态
[root@centos01 ~]# gitlab-ctl status
(7)查看日志
[root@centos01 ~]# gitlab-ctl tail
(8)gitlab目录
/opt/gitlab/ gitlab程序安装目录
/var/opt/gitlab/ gitlab数据目录
/var/opt/gitlab/git-data/ 仓库数据
(9)访问gitlab
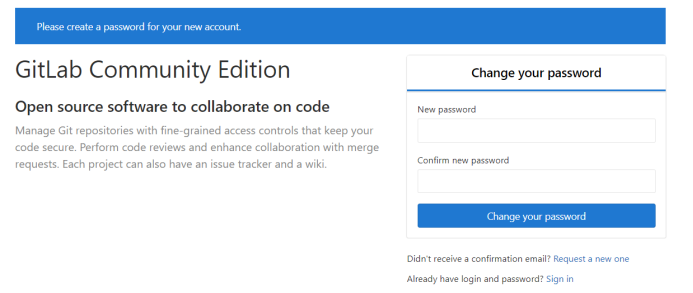
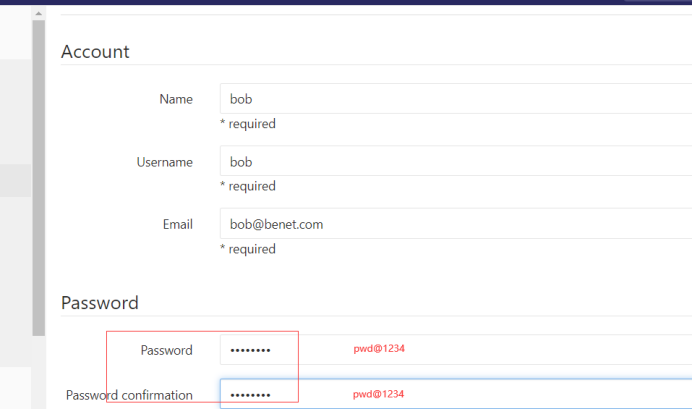
设置密码为:pwd@1234
在使用root登录:
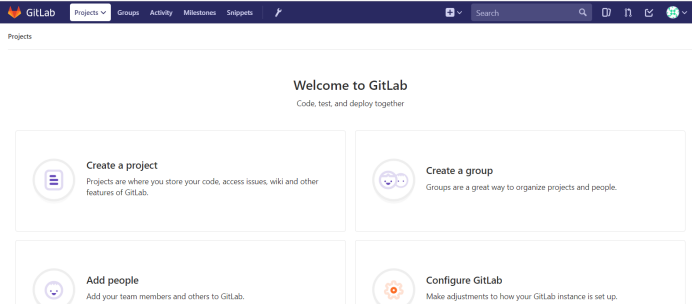
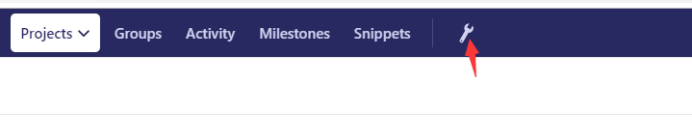
开始配置:
注意!!!:(先创建组,再创建用户,再把用户加入到组里面,在创建仓库)
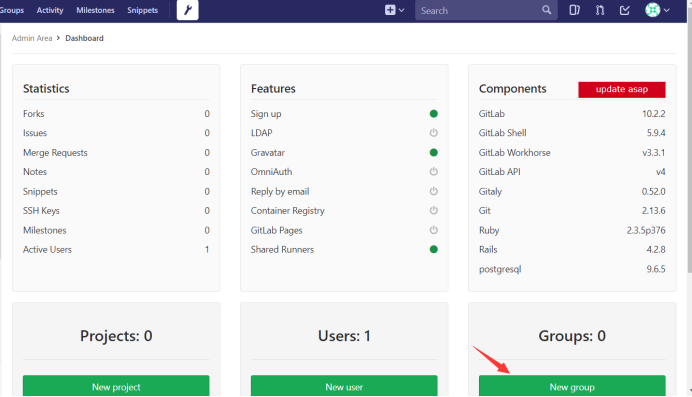
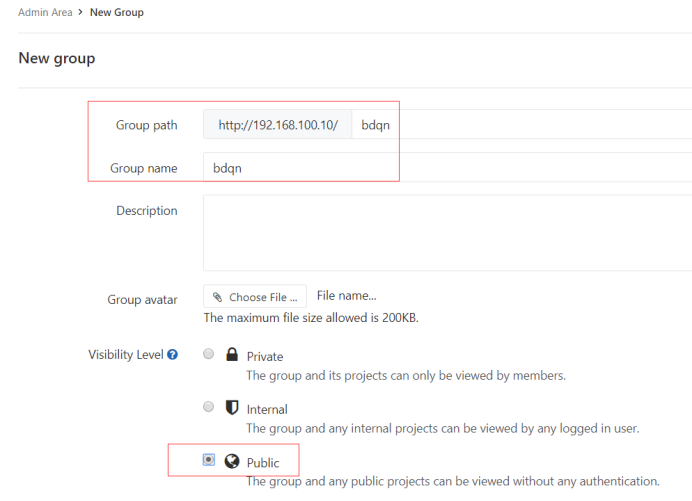
创建组:
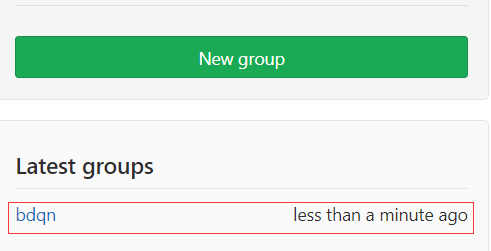
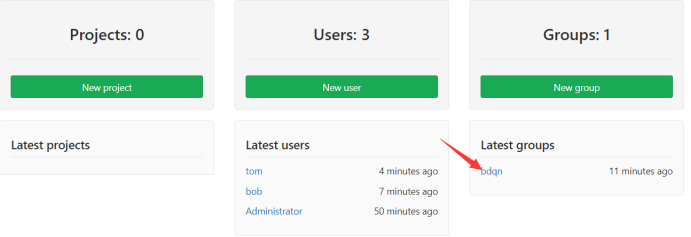
创建完成之后会出现bdqn组:
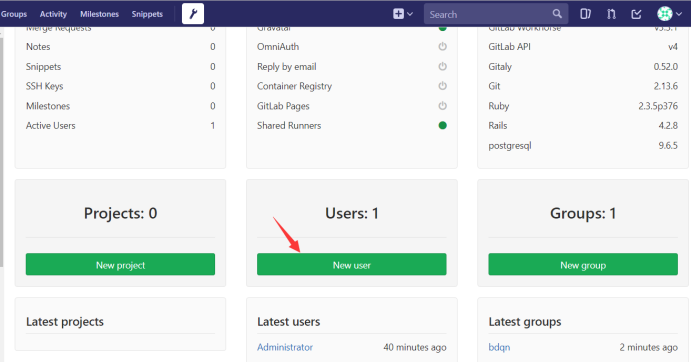
创建用户:(模拟有两个程序员)
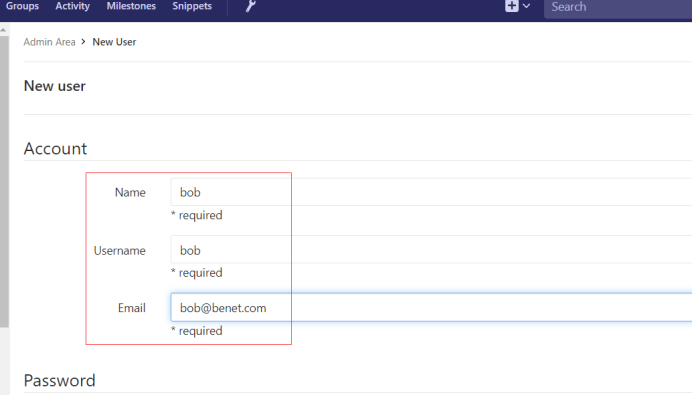
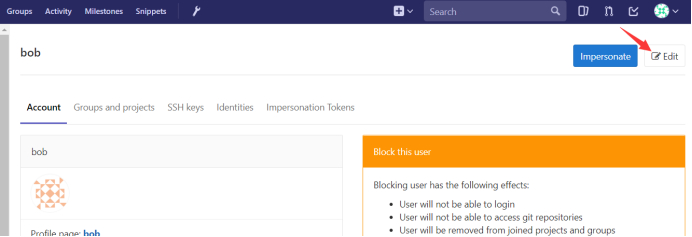
创建完bob之后改密码:
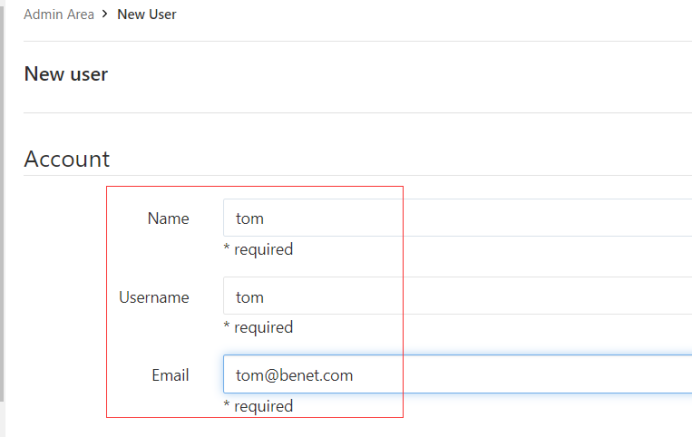
在创建一个tom用户:

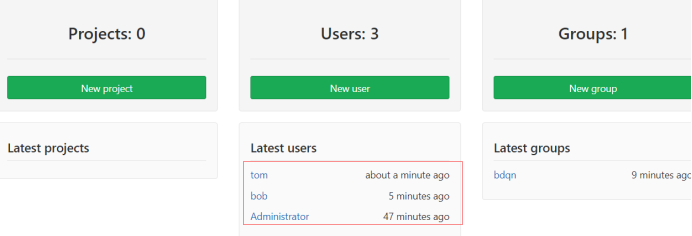
创建完之后,会出来bob和tom两个用户:
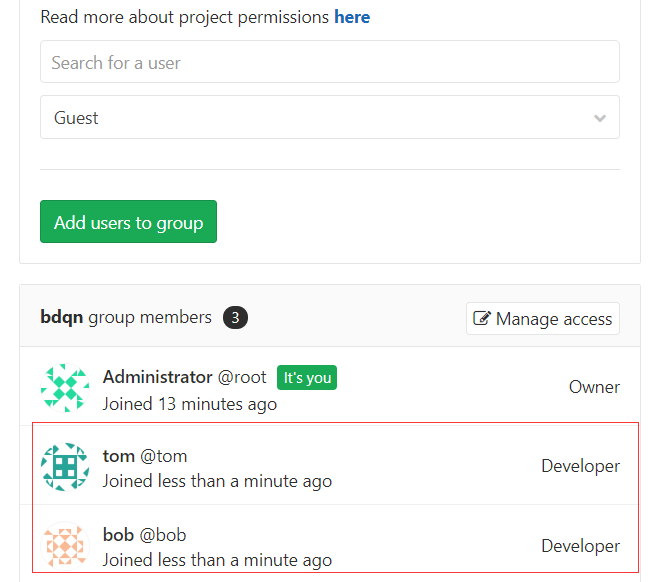
将用户加入到bdqn组里:
给bob和tom两个用户(开发权限):
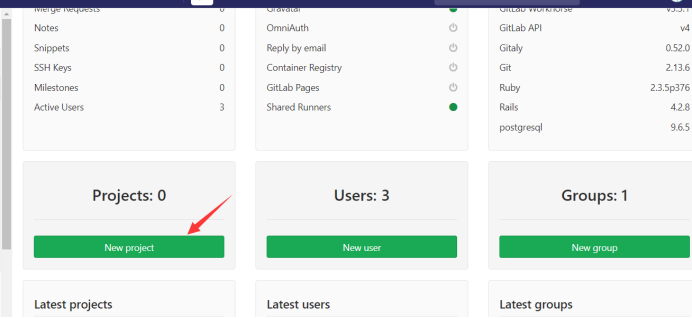
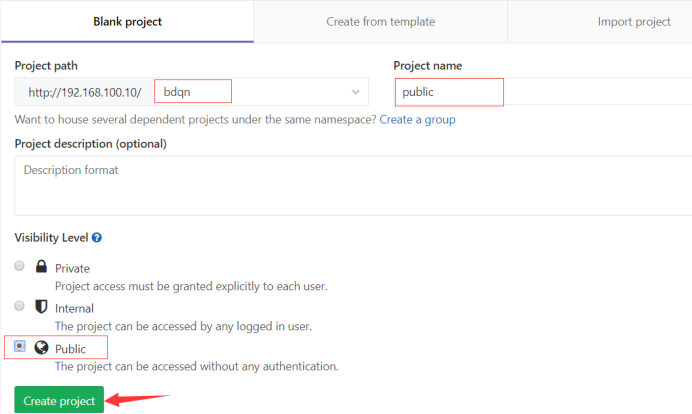
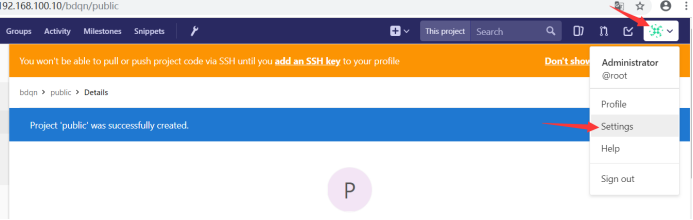
创建仓库:
模拟两个客户端(100.20和100.30)
(1)生成密钥
[root@centos02 ~]# ssh-keygen
[root@centos02 ~]# cat .ssh/id_rsa.pub
把刚刚生成的密钥给添加上去:

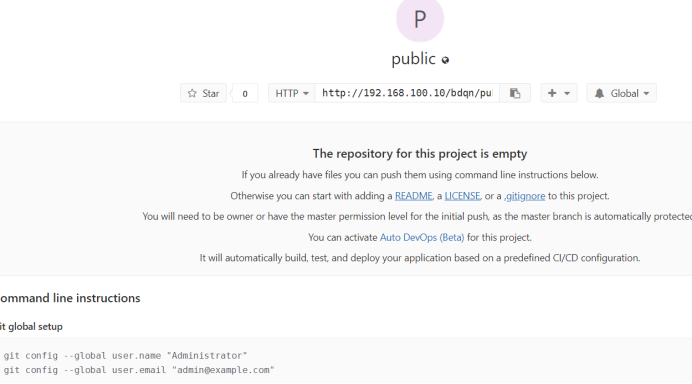
(2)克隆仓库
[root@centos02 ~]# git clone http://192.168.100.10/bdqn/public.git

(3)创建README.md文件提交到暂存区
[root@centos02 public]# touch README.md
[root@centos02 public]# git add README.md
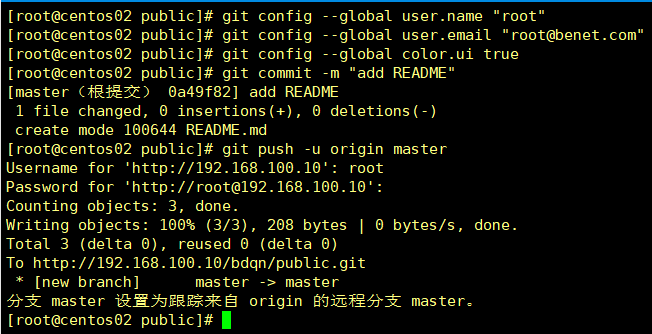
(4)创建管理git用户root,设置root账户邮箱
[root@centos02 public]# git config --global user.name "root"
[root@centos02 public]# git config --global user.email "root@benet.com"
[root@centos02 public]# git config --global color.ui true
(5)提交到本地仓库
[root@centos02 public]# git commit -m "add README"
(6)提交到远程仓库
[root@centos02 public]# git push -u origin master
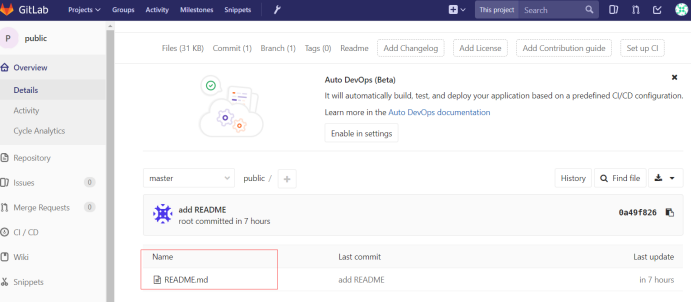
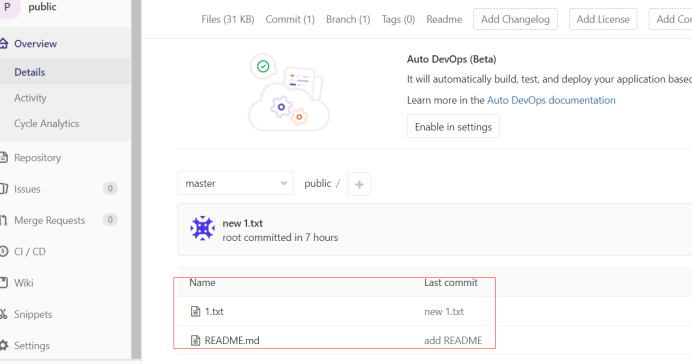
(7)去远程仓库进行查看
如何把1.txt提交到远程仓库上呢?(一样的套路)
(1)创建1.txt文件
[root@centos02 public]# touch 1.txt
(2)提交到暂存区
[root@centos02 public]# git add 1.txt
(3)提交到本地仓库
[root@centos02 public]# git commit 1.txt -m 'new 1.txt'
(4)提交到远程仓库
[root@centos02 public]# git push -u origin master
(5)去远程仓库进行查看
创建bob分支(给后面的程序员提交数据使用):
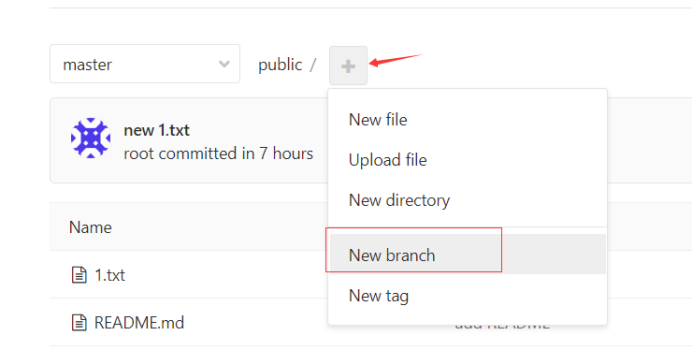
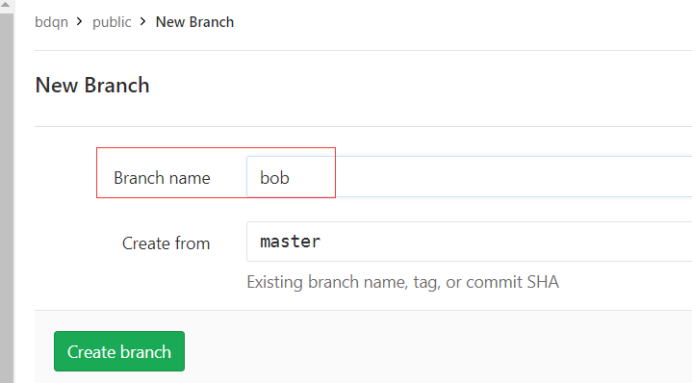
模拟来了一个bob程序员:
(1)生成密钥
[root@centos03 ~]# ssh-keygen
[root@centos03 ~]# cat .ssh/id_rsa.pub
(2)添加SSH密钥

(3)克隆仓库
[root@centos03 ~]# git clone http://192.168.100.10/bdqn/public.git
(4)创建管理git用户bob,设置bob邮箱
[root@centos03 public]# git config --global user.name "bob"
[root@centos03 public]# git config --global user.email "bob@benet.com"
[root@centos03 public]# git config --global color.ui true
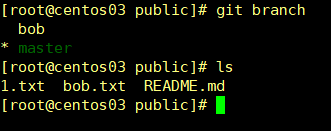
(5)切换分支(bob)
[root@centos03 public]# git checkout bob

(6)创建文件,提交到暂存区
[root@centos03 public]# touch bob.txt
[root@centos03 public]# git add bob.txt
(7)提交到本地仓库
[root@centos03 public]# git commit bob.txt -m 'new bob.txt'
(8)提交到远程仓库
[root@centos03 public]# git push -u origin bob
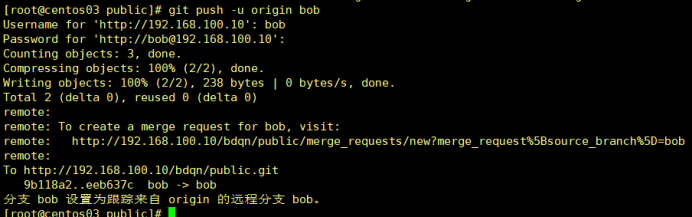
(8)去远程仓库进行查看
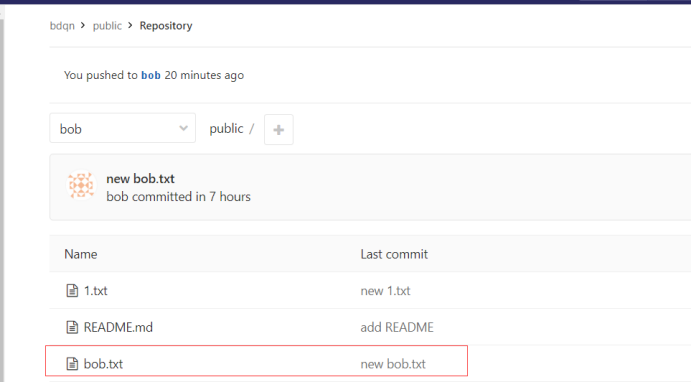
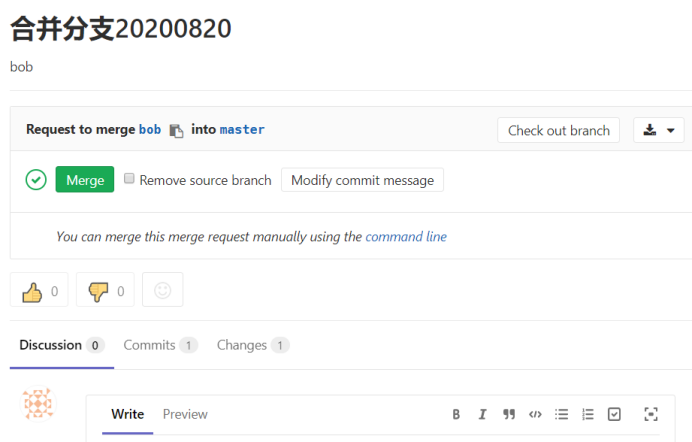
合并分支:
注意:首先要登录bob(程序员)账户,进行向root账户(管理员)请求合并!然后在登录root(管理员)账户进行同意即可。
操作如下:
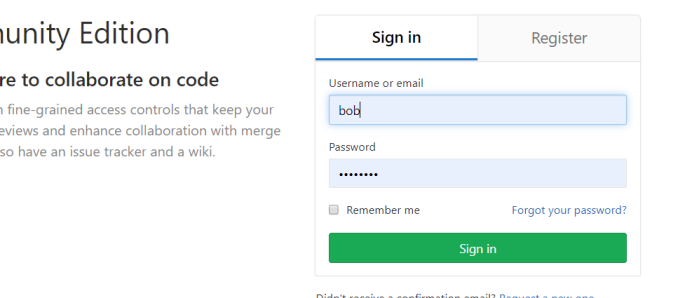
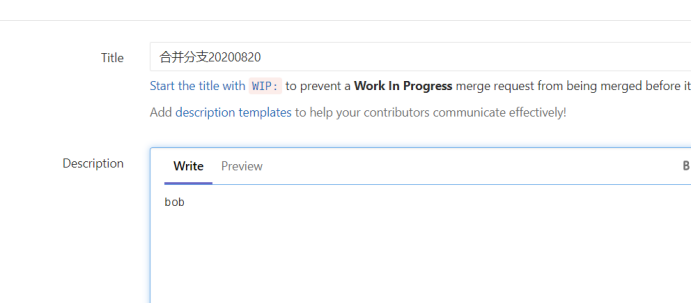
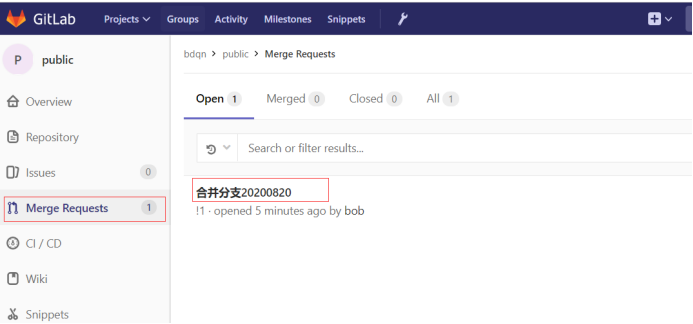
登录bob账户上:
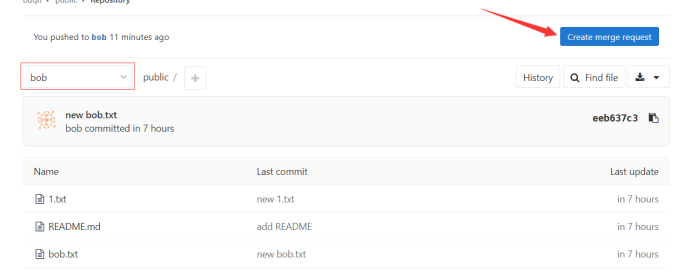
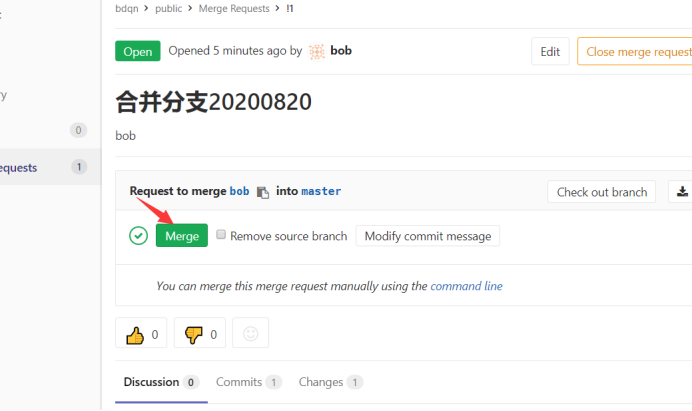
登录root(管理员)账户进行同意合并:
同意合并:
合并成功!:
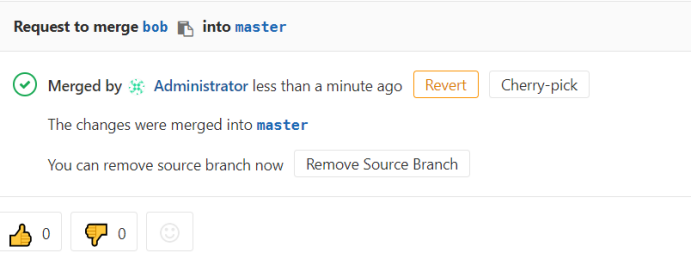
去客户端进行查看:
模拟一个tom(程序员):
开机一台客户端(tom)
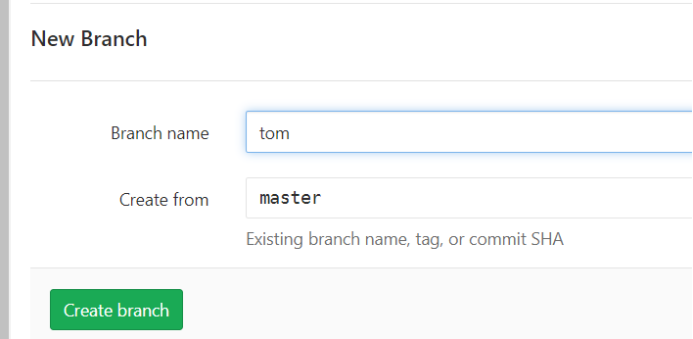
注意:创建分支要在root(管理员)进行创建
(1)创建分支(tom)
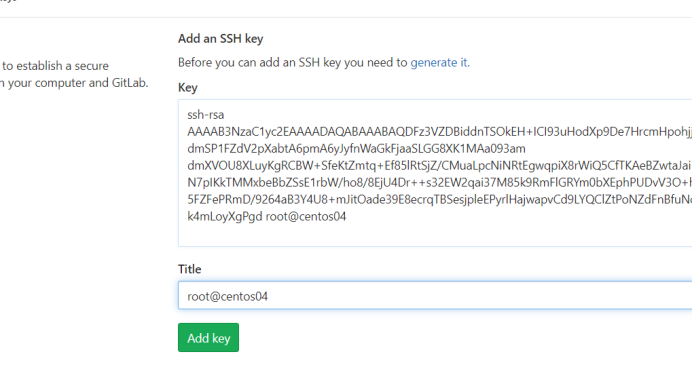
(2)生成密钥
[root@centos04 ~]# ssh-keygen
[root@centos04 ~]# cat .ssh/id_rsa.pub
(3)添加SSH密钥
(4)克隆仓库
[root@centos04 ~]# git clone http://192.168.100.10/bdqn/public.git
(5)创建管理git用户tom,设置tom邮件
[root@centos04 ~]# git config --global user.name "tom"
[root@centos04 ~]# git config --global user.email "tom@benet.com"
[root@centos04 ~]# git config --global color.ui true
(6)创建分支tom
[root@centos04 public]# git checkout tom
(7)添加tom.txt文件,并提交到暂存区
[root@centos04 public]# touch tom.txt
[root@centos04 public]# git add tom.txt
(8)提交到本地仓库
[root@centos04 public]# git commit tom.txt -m 'new tom.txt'
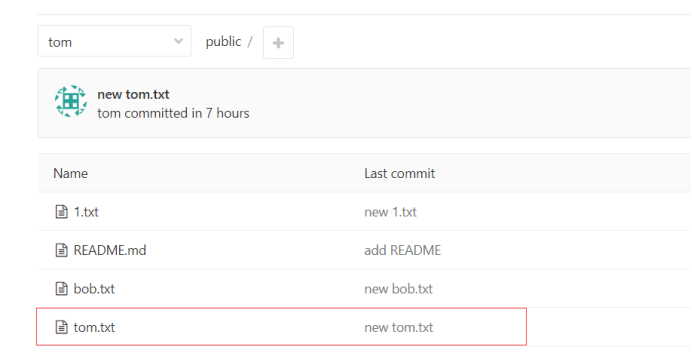
(9)提交到远程仓库
[root@centos04 public]# git push -u origin tom
(9)进入到远程仓库进行查看
(10)登录tom账户进行请求合并
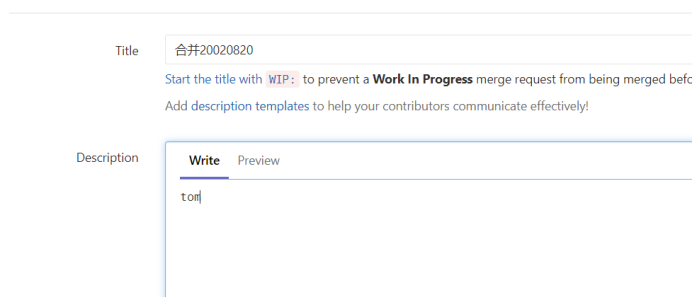
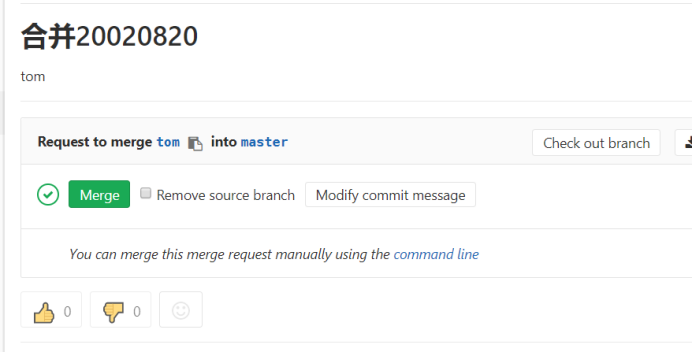
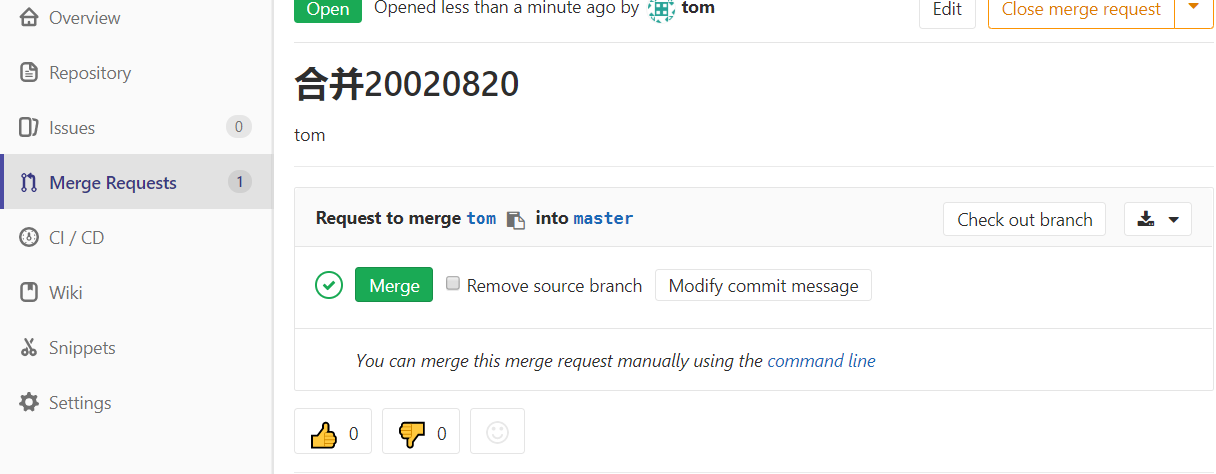
(11)登录root账户进行同意合并
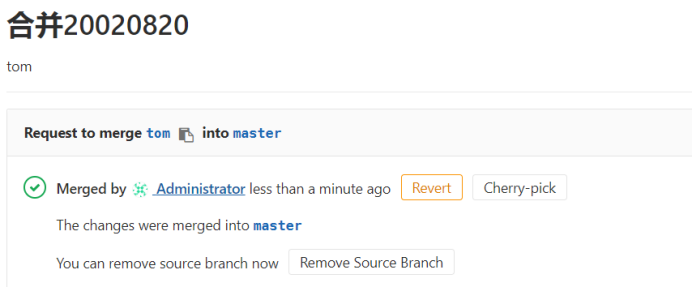
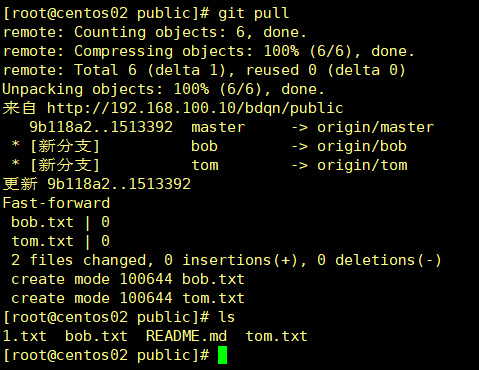
(12)合并完之后,进行下载(pull)
Master(分支):
[root@centos02 public]# git pull
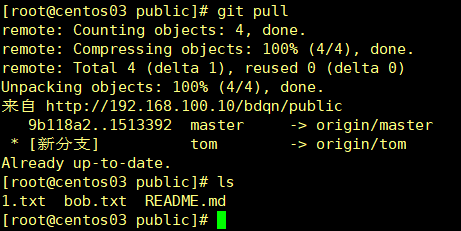
Bob(分支):
[root@centos03 public]# git pull
Tom(分支):


 浙公网安备 33010602011771号