

docker容器跨宿主机通信_镜像生成
一、配置网桥实现docker容器跨docker宿主机实现容器之间通信
(1)配置docker宿主机生成网桥网卡br0
[root@centos01 ~]# cd /etc/sysconfig/network-scripts/
[root@centos01 network-scripts]# cp ifcfg-ens32 ifcfg-br0
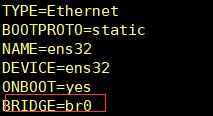
(2)修改ifcfg-ens32网卡配置文件桥接到br0网卡上
[root@centos01 network-scripts]# vim ifcfg-ens32
BRIDGE=br0
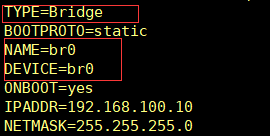
(3)修改网桥br0
[root@centos01 network-scripts]# vim ifcfg-br0
TYPE=Bridge
NAME=br0
DEVICE=br0
(4)重新启动网卡
[root@centos01 ~]# systemctl restart network
(5)docker宿主机安装git
前提要能上网:
ping www.baidu.com
[root@centos01 ~]# yum -y install git
(6)使用git下载网络工具
[root@centos01 ~]# git clone https://github.com/jpetazzo/pipework
添加执行权限:
[root@centos01 ~]# cp pipework/pipework /usr/local/bin/
[root@centos01 ~]# chmod +x /usr/local/bin/pipework
(7)创建容器
[root@centos01 ~]# docker run --name centos01 --net=none -d hub.c.163.com/public/centos:6.7-tools
(8)给创建的容器配置IP地址
[root@centos01 ~]# pipework br0 centos01 192.168.100.20/24
[root@centos01 ~]# docker exec -it centos01 /bin/bash 登录centos01容器
(9)使用100.30机器
添加NAT网卡,保证能上网:
ping www.baidu.com
使用网络源:
[root@centos03 yum.repos.d]# wget http://mirrors.aliyun.com/repo/Centos-7.repo
安装docker,设置开机自动启动:
[root@centos03 ~]# yum -y install docker
[root@centos03 ~]# systemctl start docker
[root@centos03 ~]# systemctl enable docker
查看一下docker版本:
[root@centos03 ~]# docker version
(10)把100.10上的镜像导出到本地
[root@centos01 ~]# docker save -o ./centos6.7 hub.c.163.com/public/centos:6.7-tools
通过scp把镜像传输给100.30上:
[root@centos01 ~]# scp centos6.7 root@192.168.100.30:/root/
(11)备份恢复(100.30)
[root@centos03 ~]# docker load --input ./centos6.7
(12)生成网桥网卡br0
[root@centos03 ~]# cp /etc/sysconfig/network-scripts/ifcfg-ens32 /etc/sysconfig/network-scripts/ifcfg-br0
修改ifcfg-ens32网卡配置文件桥接到br0网卡上
[root@centos03 ~]# vim /etc/sysconfig/network-scripts/ifcfg-ens32
BRIDGE=br0
修改网桥br0
[root@centos03 ~]# vim /etc/sysconfig/network-scripts/ifcfg-br0
TYPE=Bridge
NAME=br0
DEVICE=br0
(13)重新启动网卡
[root@centos03 ~]# systemctl restart network
(14)docker宿主机安装git
[root@centos03 ~]# yum -y install git
使用git下载网络工具:
[root@centos03 ~]# git clone https://github.com/jpetazzo/pipework
添加执行权限:
[root@centos03 ~]# cp pipework/pipework /usr/local/bin/
[root@centos03 ~]# chmod +x /usr/local/bin/pipework
(15)创建容器centos02
[root@centos03 ~]# docker run --name centos02 --net=none -d hub.c.163.com/public/centos:6.7-tools
给centos02容器配置IP地址:
[root@centos03 ~]# pipework br0 centos02 192.168.100.40/24
[root@centos03 ~]# docker exec -it centos02 /bin/bash 登录centos02容器
(16)使用100.30上的docker容器(centos02)ping 100.10上的docker容器(centos01)
[root@d79c6040d629 /]# ping 192.168.100.20
二、docker镜像的生成和dockerfile自动配置容器
1、配置生成docker镜像
(1)生成镜像常见的选项
-m:说明
-a:作者
-p:生成镜像停止运行的容器
(2)配置基于运行的容器生成镜像
开启宿主机路由功能(100.10和100.30):
[root@centos01 ~]# vim /etc/sysctl.conf
net.ipv4.ip_forward = 1
[root@centos01 ~]# sysctl -p
生成容器(httpd):
[root@centos03 ~]# docker run -it -d --name httpd hub.c.163.com/public/centos:6.7-tools
登录容器(httpd):
[root@centos03 ~]# docker exec -it httpd /bin/bash
安装apache服务:
[root@2829310a8704 /]# yum -y install httpd
启动apache服务:
[root@f2f7c9a08485 /]# service httpd start
设置开机自动启动:
[root@f2f7c9a08485 /]# chkconfig --level 35 httpd on
容器生成镜像:
[root@centos03 ~]# docker commit -m "install apache" -a "bob" httpd httpd:v2.0
镜像生成容器:
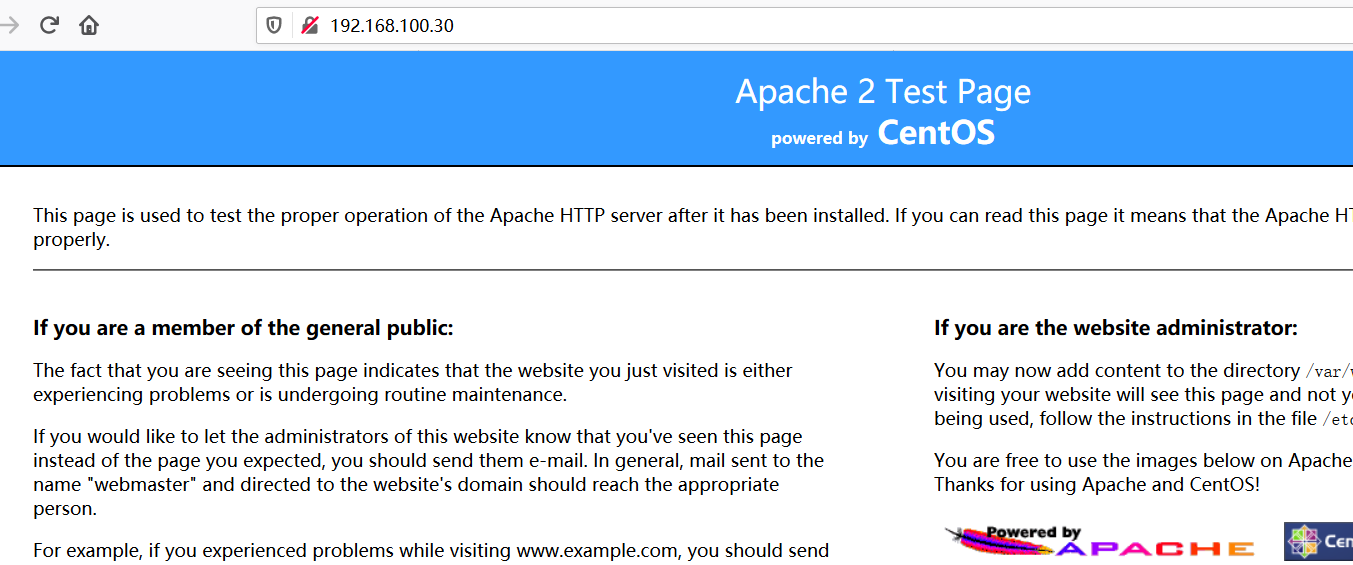
[root@centos03 ~]# docker run -it -d --name httpd01 -p 192.168.100.30:80:80/tcp httpd:v2.0
[root@centos03 ~]# docker exec -it httpd01 /bin/bash 登录httpd01容器
[root@f93761d4f752 /]# service httpd start 启动apache服务
访问容器里的80端口:
2、通过已有镜像生成容器

(1)导入镜像
[root@centos03 ~]# cat centos-7-x86_64.tar.gz | docker import - centos7:v1.0
(2)通过镜像生成容器
[root@centos03 ~]# docker run -it -d --name centos701 centos7:v1.0 /bin/bash
(3)下载docker镜像的位置

 浙公网安备 33010602011771号