springboot整合mybatis
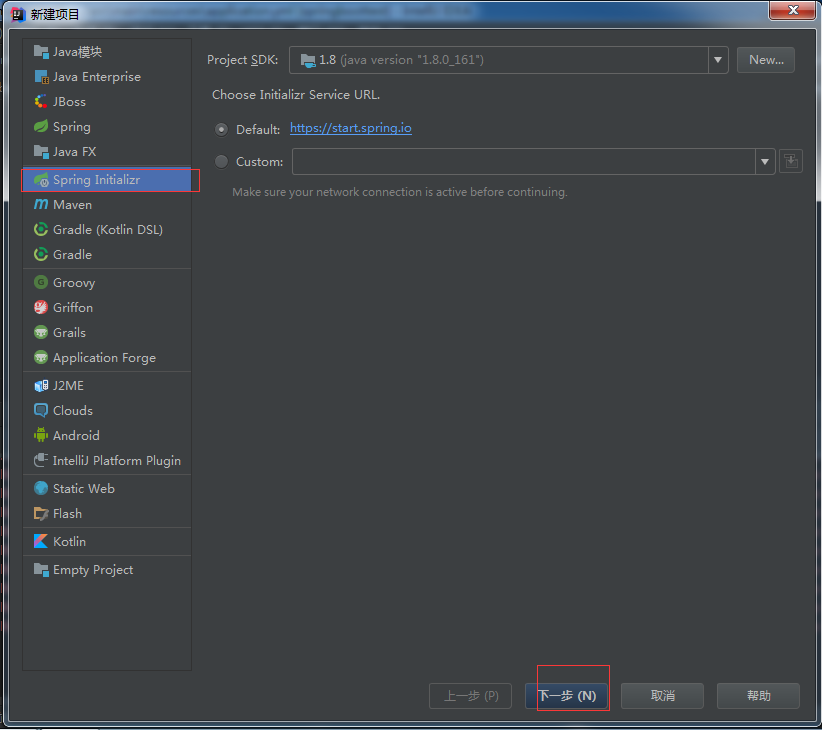
一:使用IDEA创建springboot项目

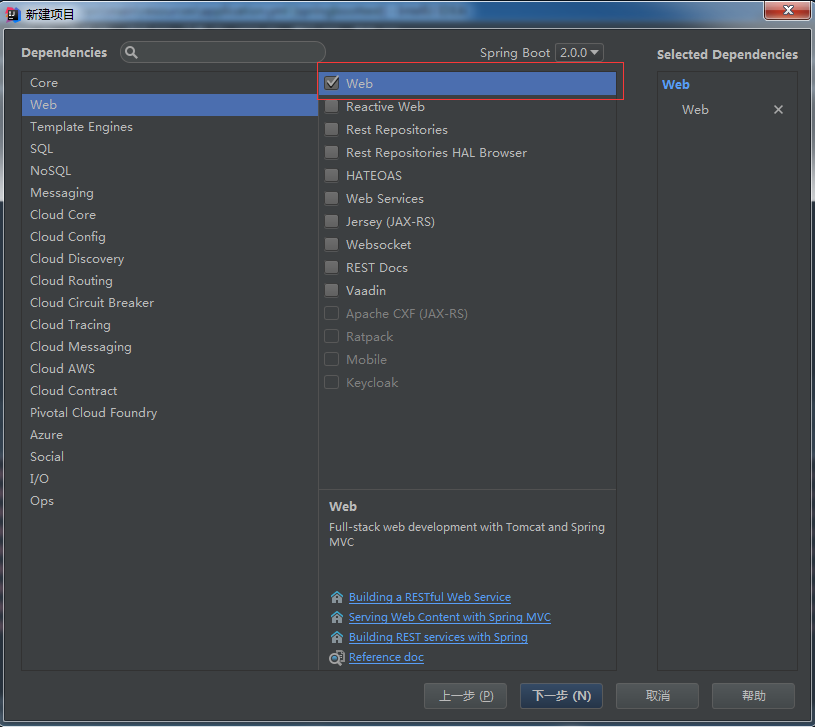
只点击web的web项目
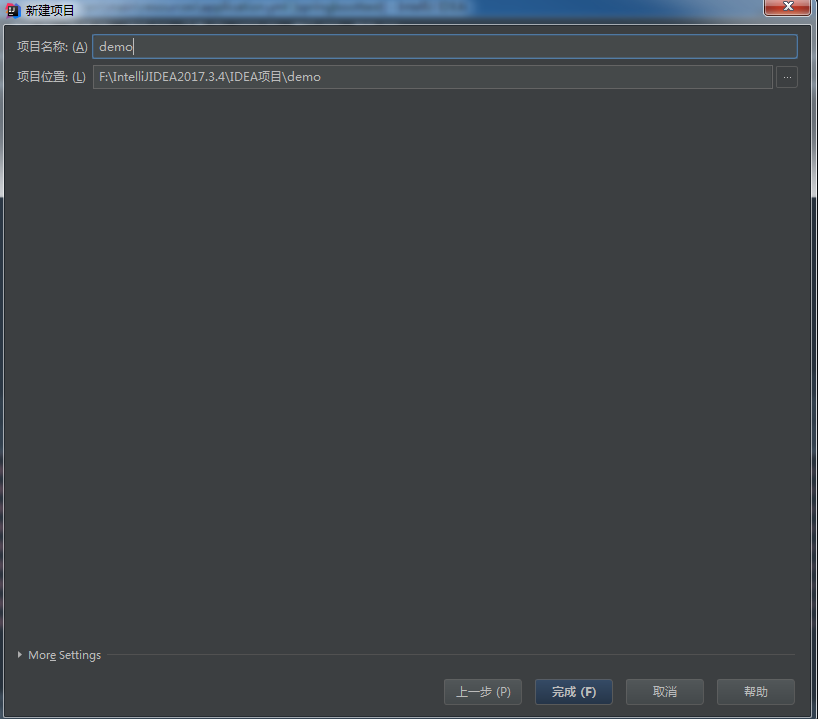
完成
二:在项目目录下pom.xml中添加额外mybatis的依赖
<dependency>
			<groupId>org.mybatis.spring.boot</groupId>
			<artifactId>mybatis-spring-boot-starter</artifactId>
			<version>1.2.0</version>
		</dependency>
		<dependency>
			<groupId>mysql</groupId>
			<artifactId>mysql-connector-java</artifactId>
			<version>5.1.39</version>
		</dependency>
三:配置数据库信息,springboot支持properties格式和yml格式,这里使用yml做示例。把resource下的application.properties改成application.yml
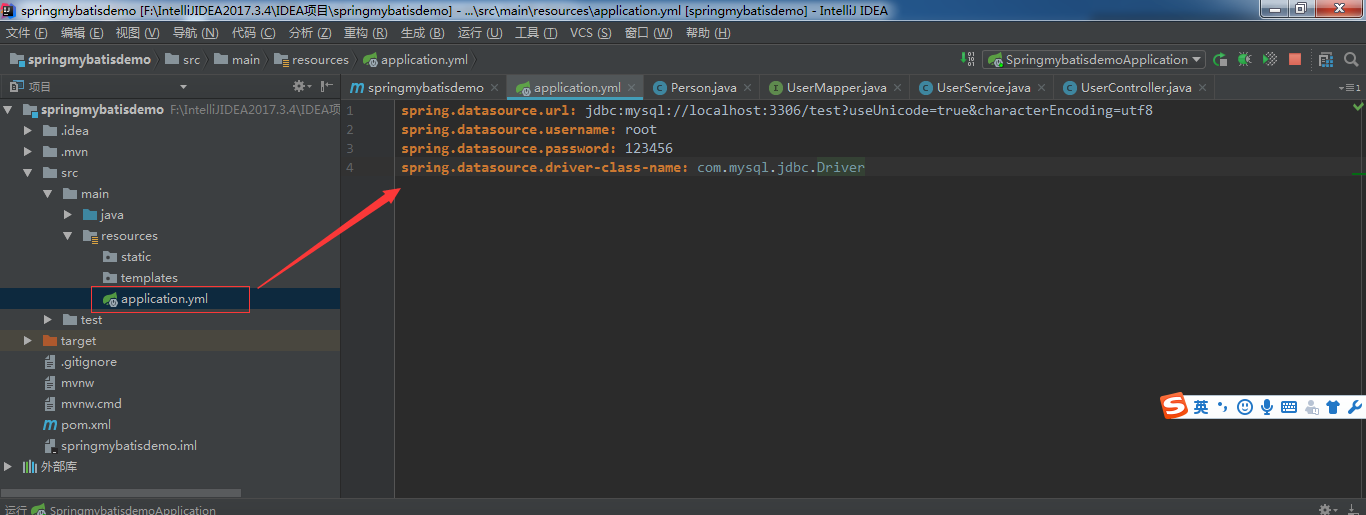
spring.datasource.url: jdbc:mysql://localhost:3306/test?useUnicode=true&characterEncoding=utf8
spring.datasource.username: root
spring.datasource.password: 123456
spring.datasource.driver-class-name: com.mysql.jdbc.Driver
四:编写测试代码,结构如下
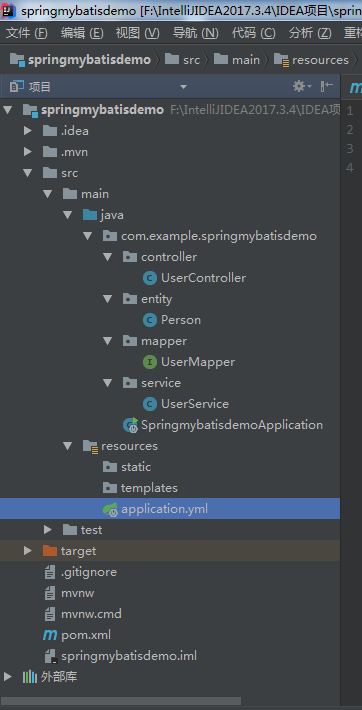
①:首先创建entity(与数据库字段映射)在entity下创建Persion类实体
package com.example.springmybatisdemo.entity;

public class Person {

    private Integer id;
    private String name;
    private Integer age;

    public Integer getId() {
        return id;
    }

    public void setId(Integer id) {
        this.id = id;
    }

    public String getName() {
        return name;
    }

    public void setName(String name) {
        this.name = name;
    }

    public Integer getAge() {
        return age;
    }

    public void setAge(Integer age) {
        this.age = age;
    }

    @Override
    public String toString() {
        return
                "id=" + id +
                        ", name='" + name + '\'' +
                        ", age=" + age
                ;
    }
}
②:创建mapper(数据库操作语句)在mapper下创建UserMapper
package com.example.springmybatisdemo.mapper;


import com.example.springmybatisdemo.entity.Person;
import org.apache.ibatis.annotations.Select;
import org.springframework.stereotype.Repository;

@Repository
public interface UserMapper {

    @Select("SELECT * FROM Person WHERE id = #{id}")
    Person selectUser(int id);
}
③:创建服务,在service下创建UserService
package com.example.springmybatisdemo.service;

import com.example.springmybatisdemo.entity.Person;
import com.example.springmybatisdemo.mapper.UserMapper;
import org.springframework.beans.factory.annotation.Autowired;
import org.springframework.stereotype.Service;

@Service
public class UserService {

        @Autowired
        UserMapper userMapper;
        public Person selectUser(int id) {
            return userMapper.selectUser(id);
        }

}
④:创建controller,在controller包下创建UserController
package com.example.springmybatisdemo.controller;

import com.example.springmybatisdemo.service.UserService;
import org.springframework.beans.factory.annotation.Autowired;
import org.springframework.web.bind.annotation.PathVariable;
import org.springframework.web.bind.annotation.RequestMapping;
import org.springframework.web.bind.annotation.RestController;

@RestController
public class UserController {
    @Autowired
    private UserService userService;

    @RequestMapping("/helloUser/{id}")
    public String selectUser (@PathVariable int id){
        return userService.selectUser(id).toString();

    }
}
⑤:配置Mapper扫描,在启动类中添加MapperScan("")
package com.example.springmybatisdemo;

import org.mybatis.spring.annotation.MapperScan;
import org.springframework.boot.SpringApplication;
import org.springframework.boot.autoconfigure.SpringBootApplication;

@MapperScan("com.example.springmybatisdemo.mapper") //扫描的mapper
@SpringBootApplication
public class SpringmybatisdemoApplication {

	public static void main(String[] args) {
		SpringApplication.run(SpringmybatisdemoApplication.class, args);
	}
}
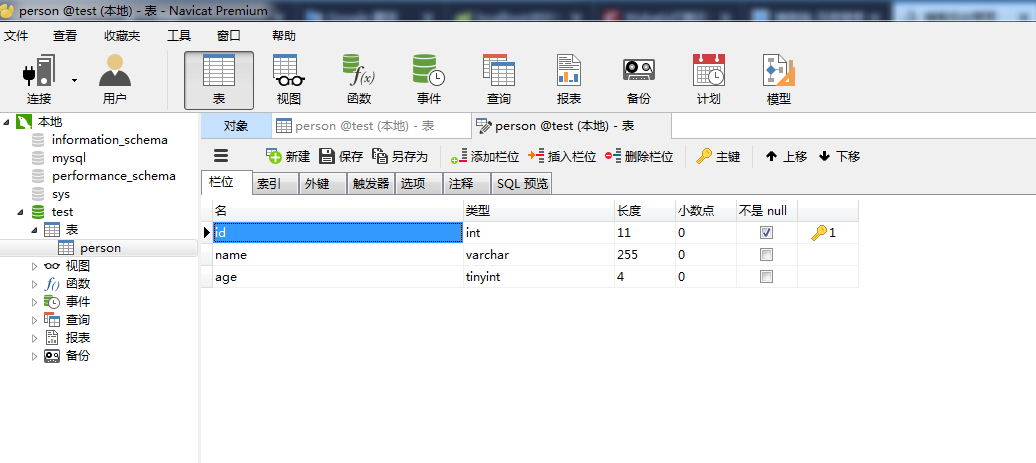
五:数据库表结构:(与entity的Persion对应)
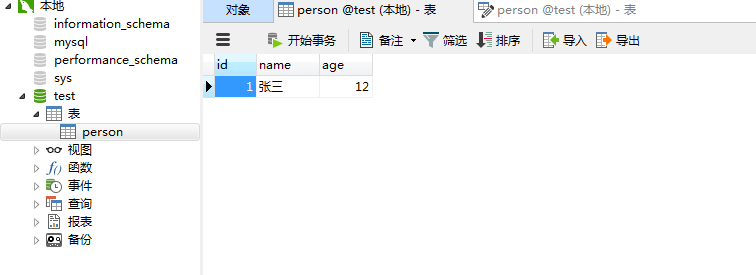
测试数据:
六:访问请求


 浙公网安备 33010602011771号