基于Ubuntu2310修改OpenStack-Horizon前端样式
本实验基于VMware17,使用Ubuntu2310搭建openstack-B版
Ubuntu主题
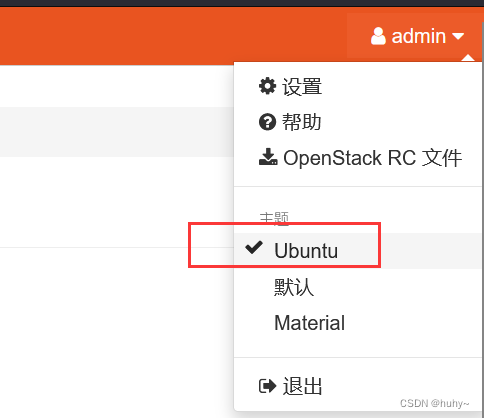
以下配置只对Ubuntu主题生效
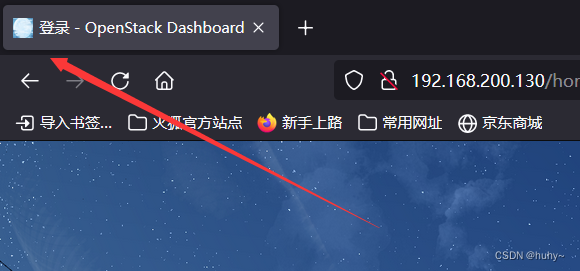
登录界面修改
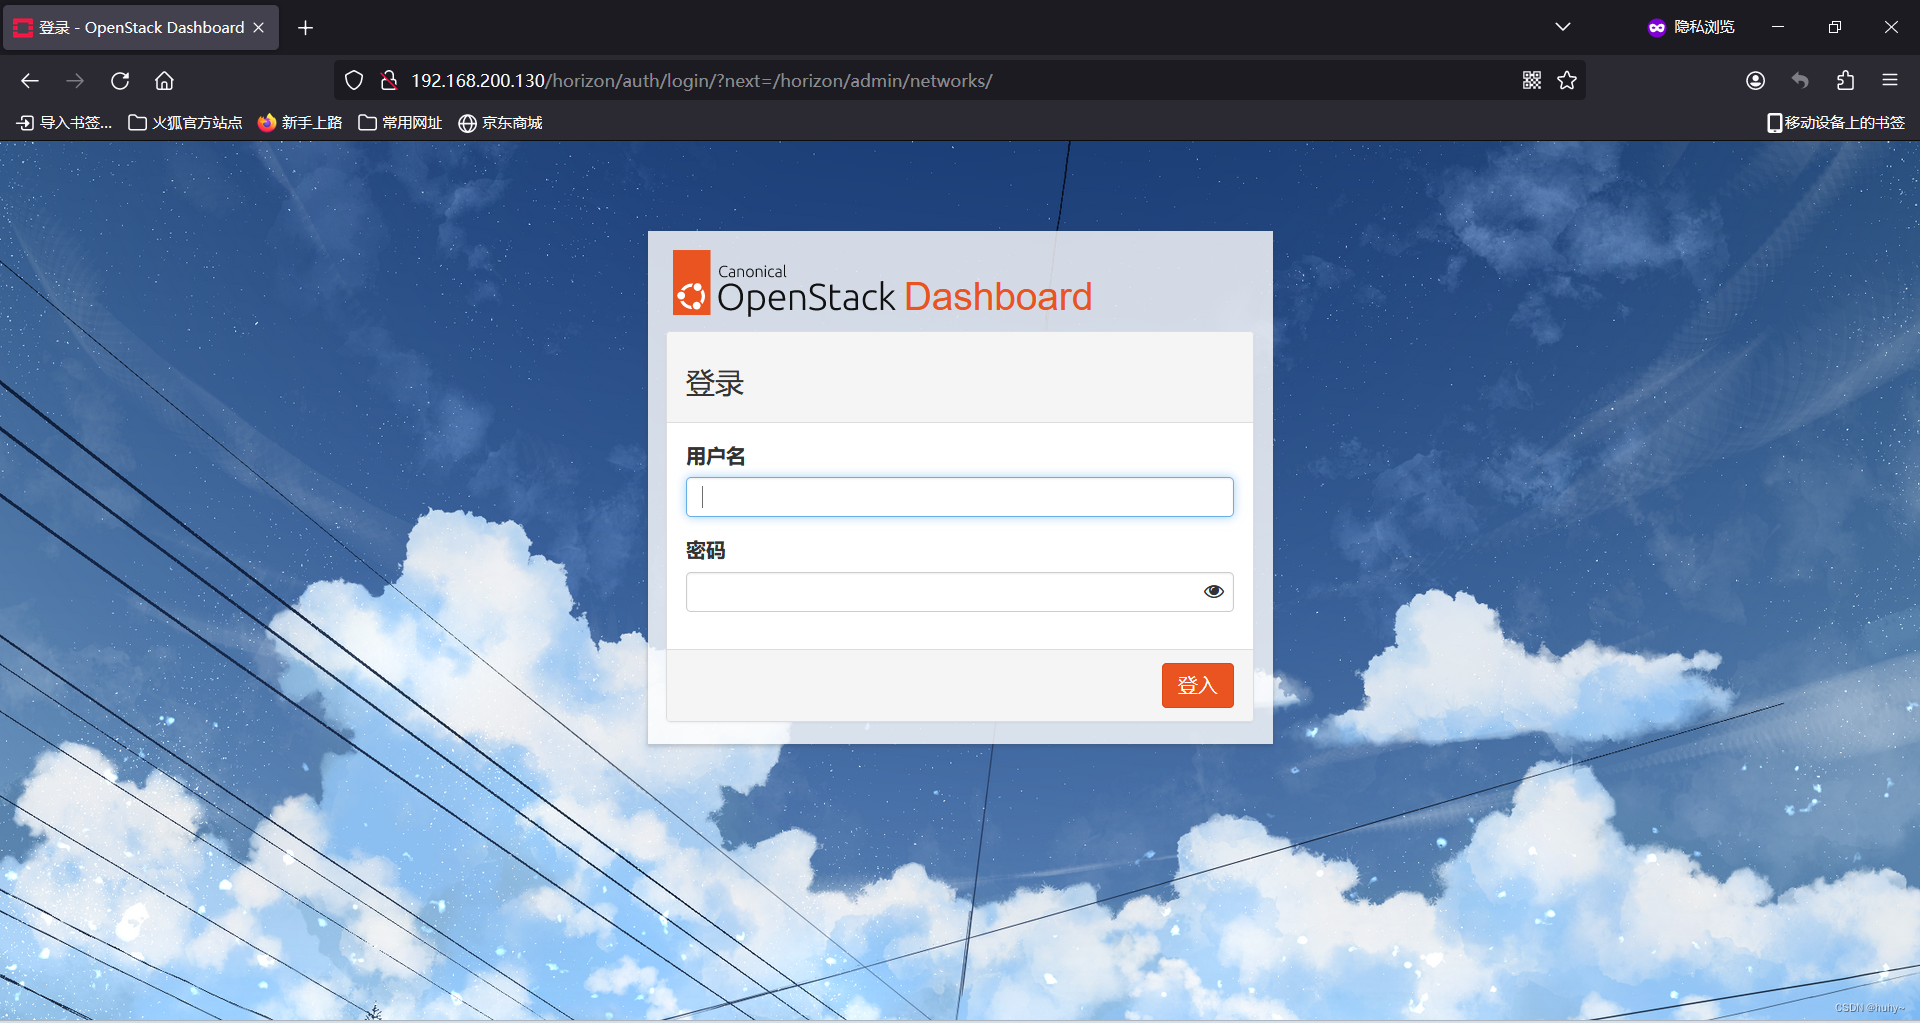
原界面
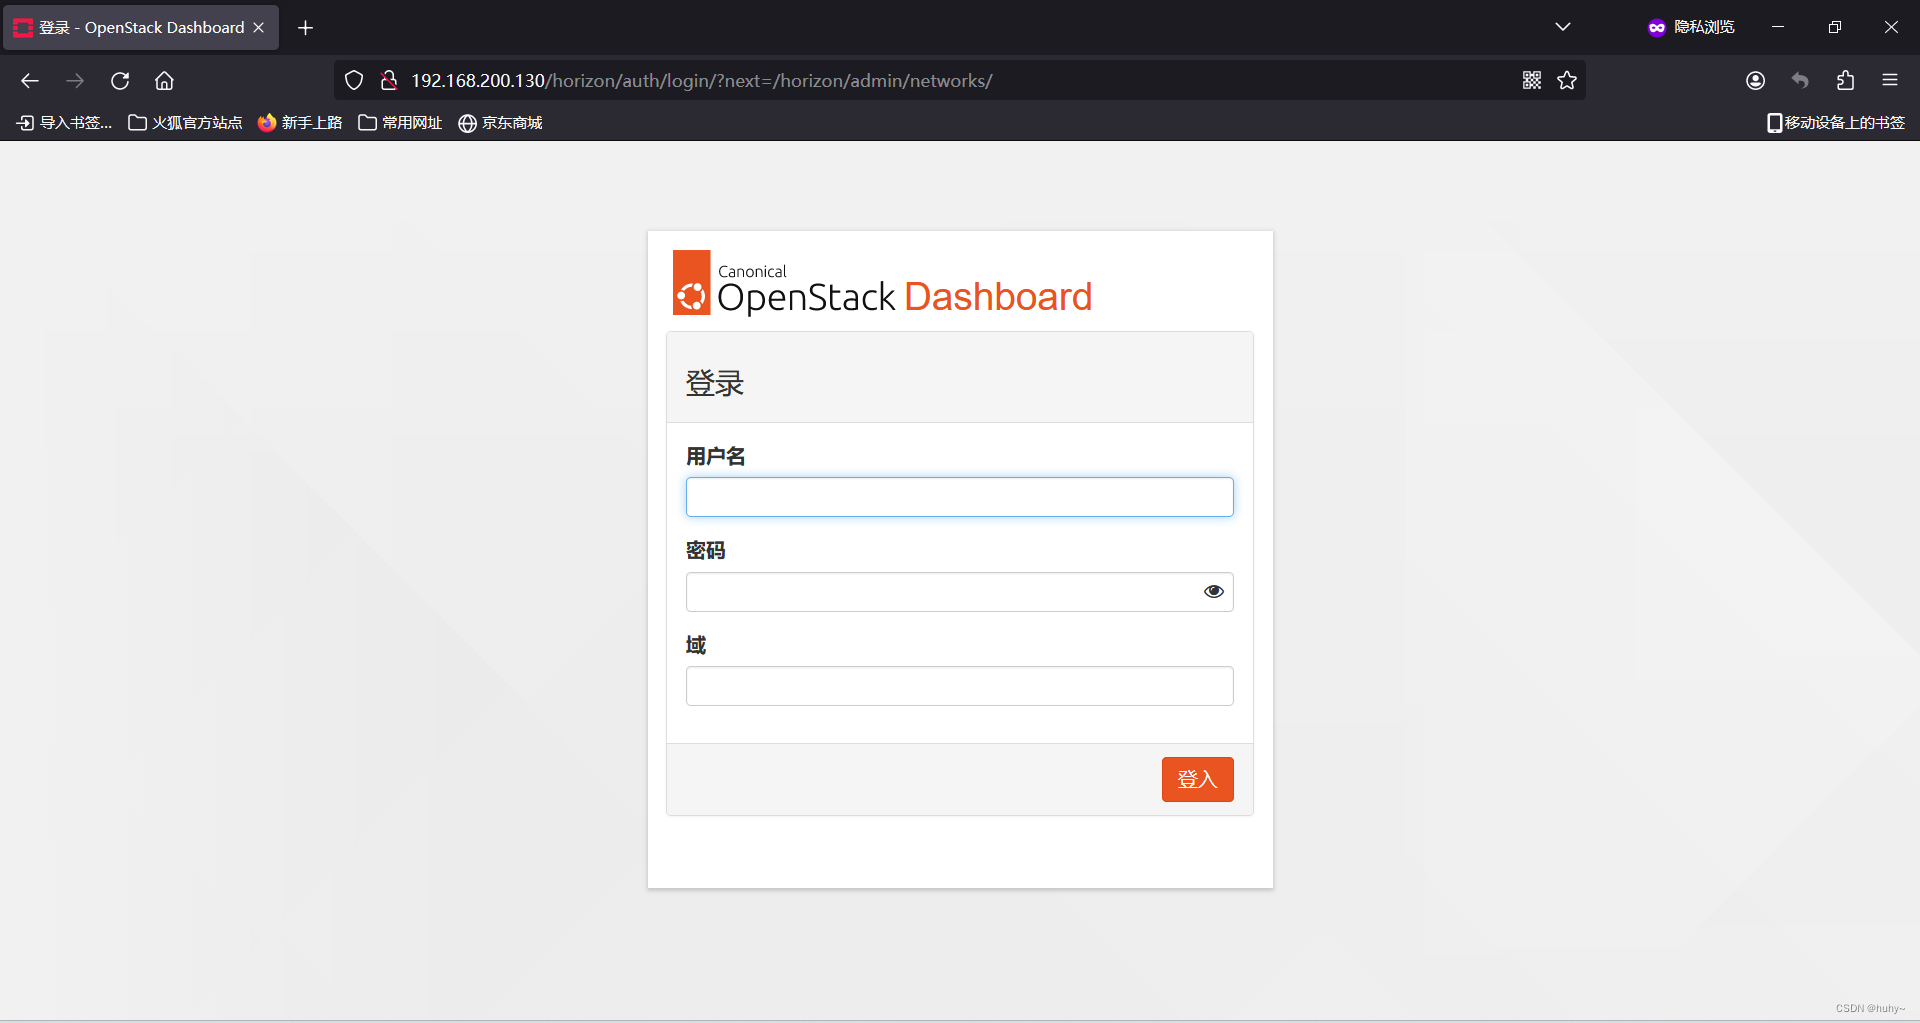
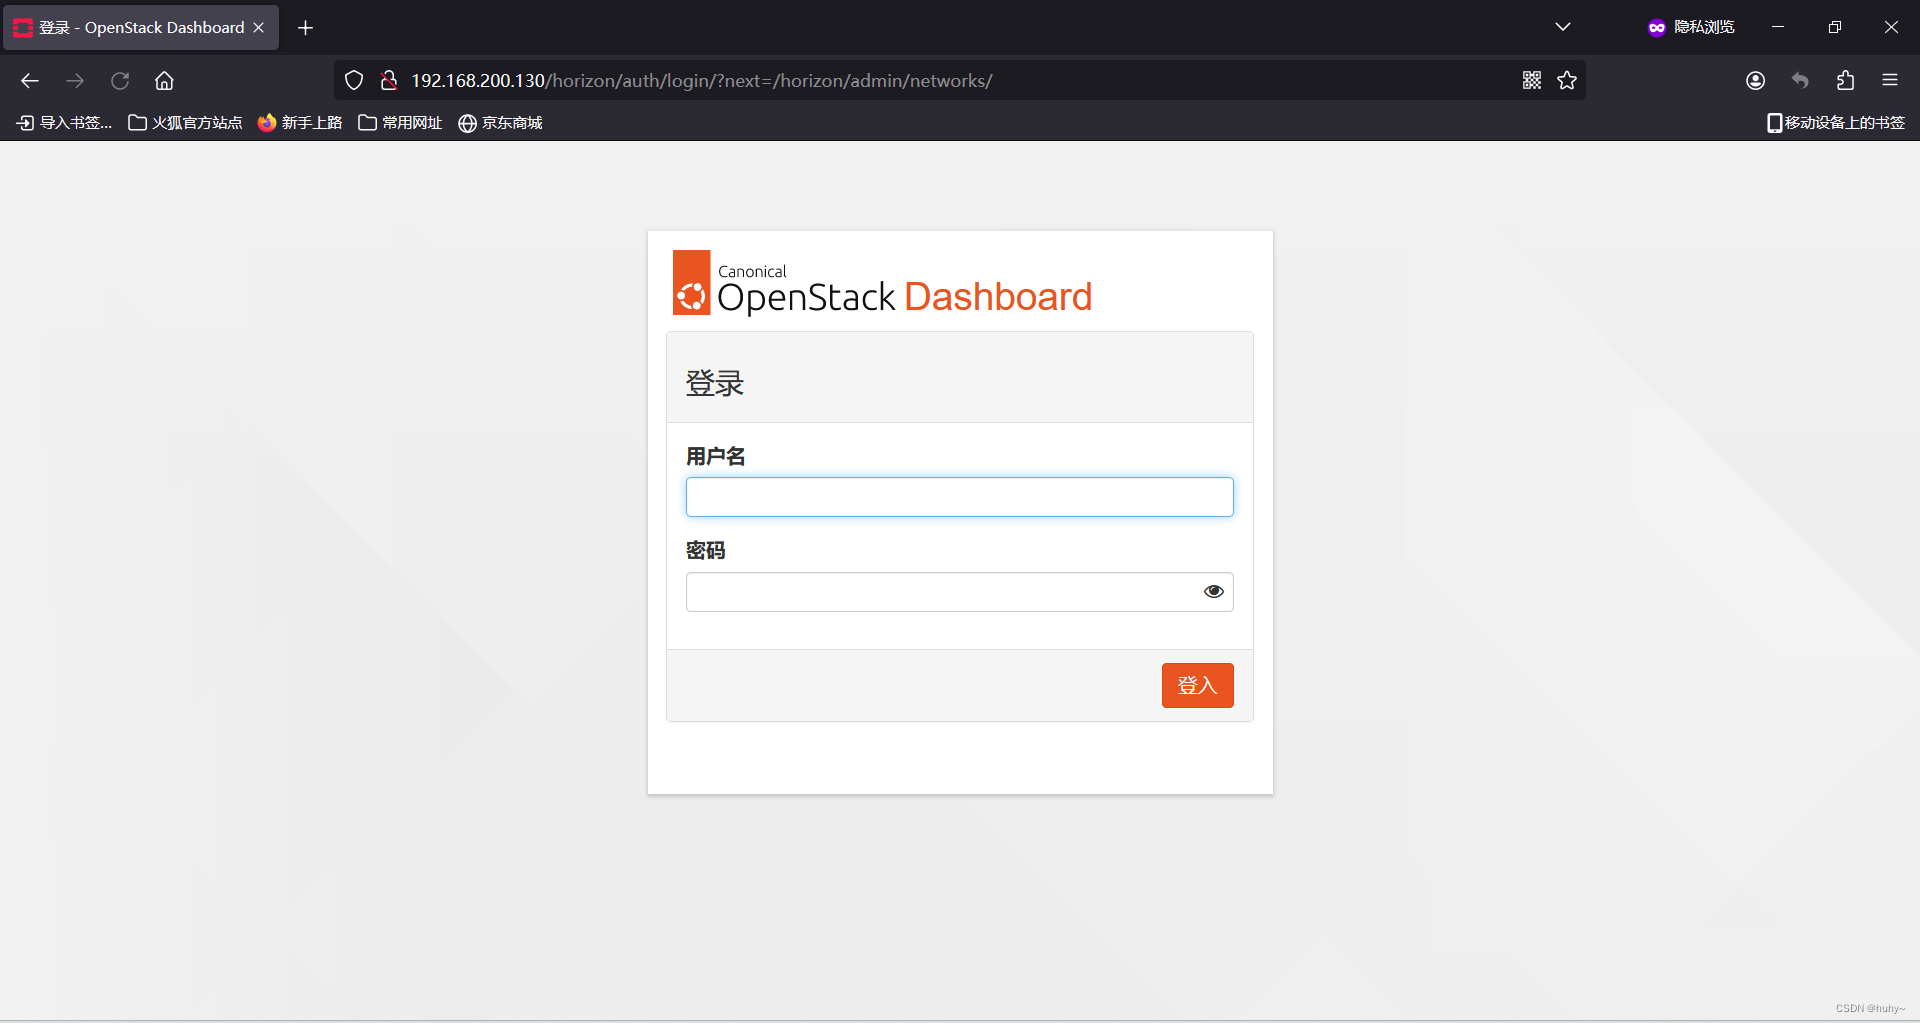
关闭登录界面域名输入
sed -i 's/OPENSTACK_KEYSTONE_MULTIDOMAIN_SUPPORT = True/OPENSTACK_KEYSTONE_MULTIDOMAIN_SUPPORT = False/' /etc/openstack-dashboard/local_settings.py
systemctl restart memcached;systemctl restart apache2
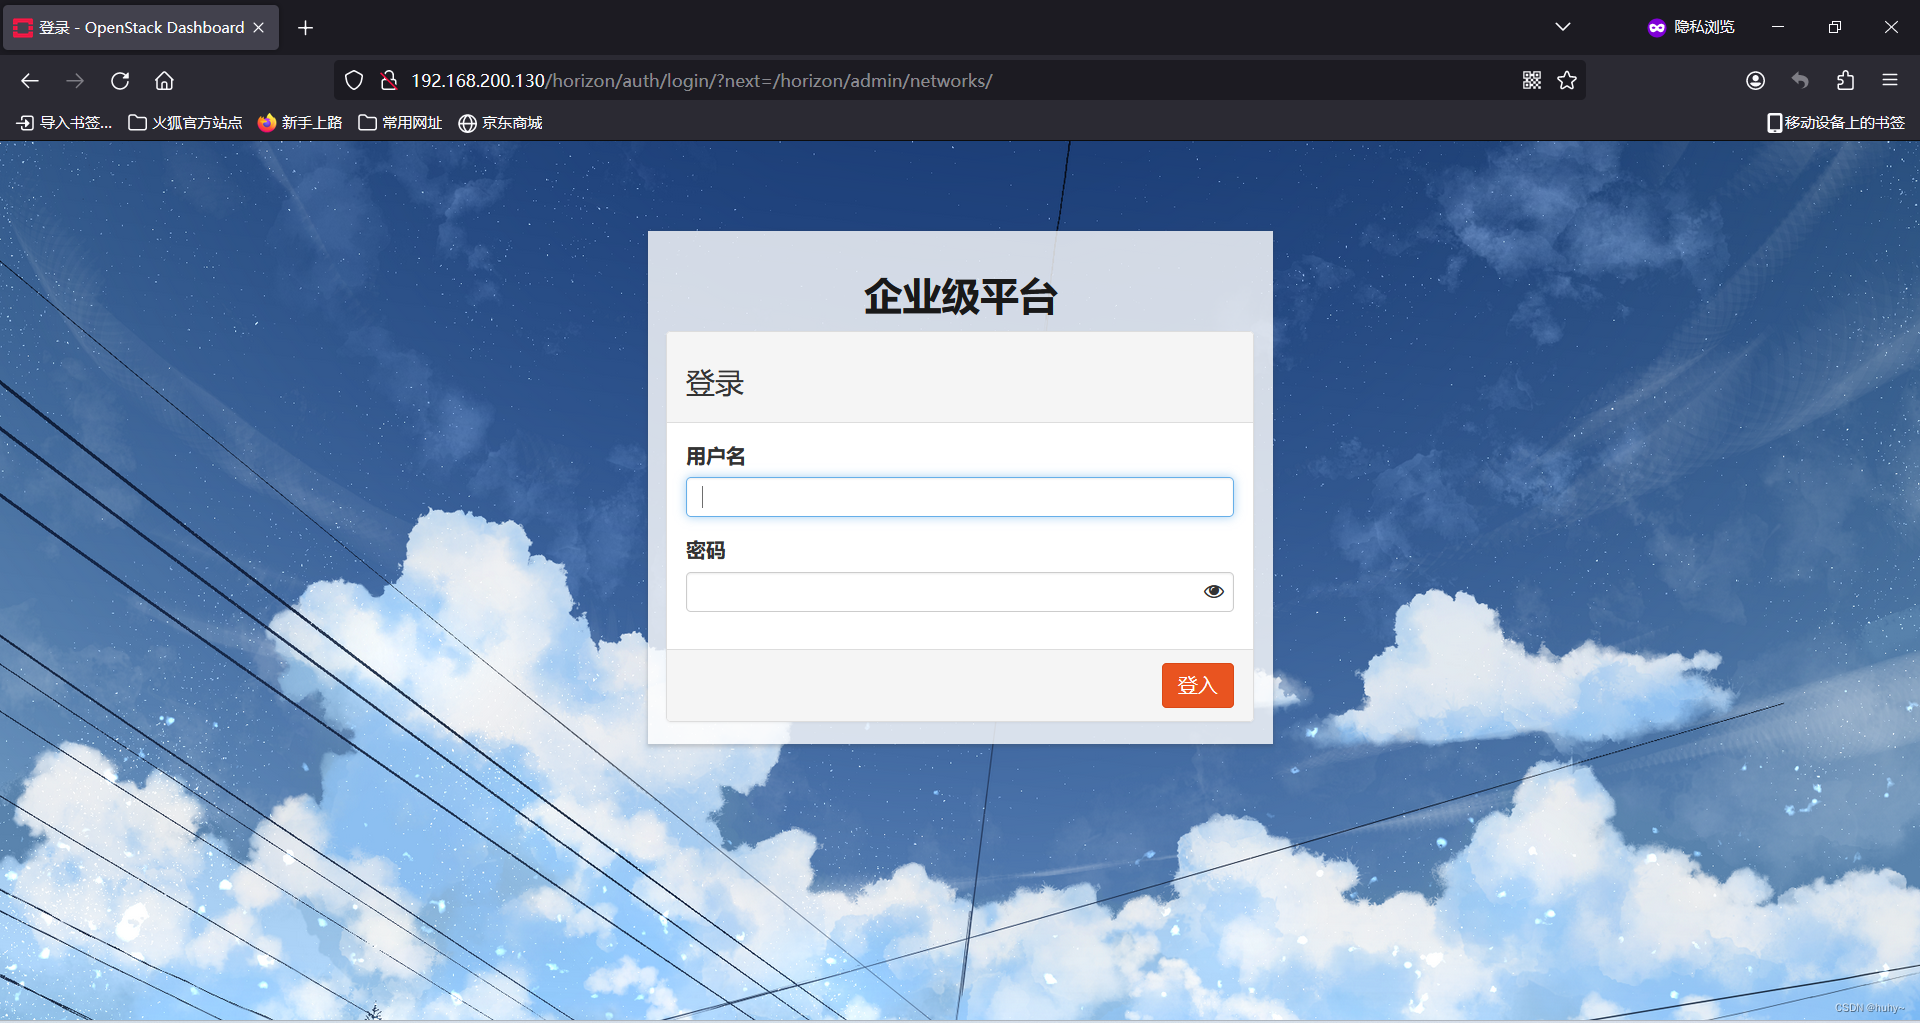
修改后
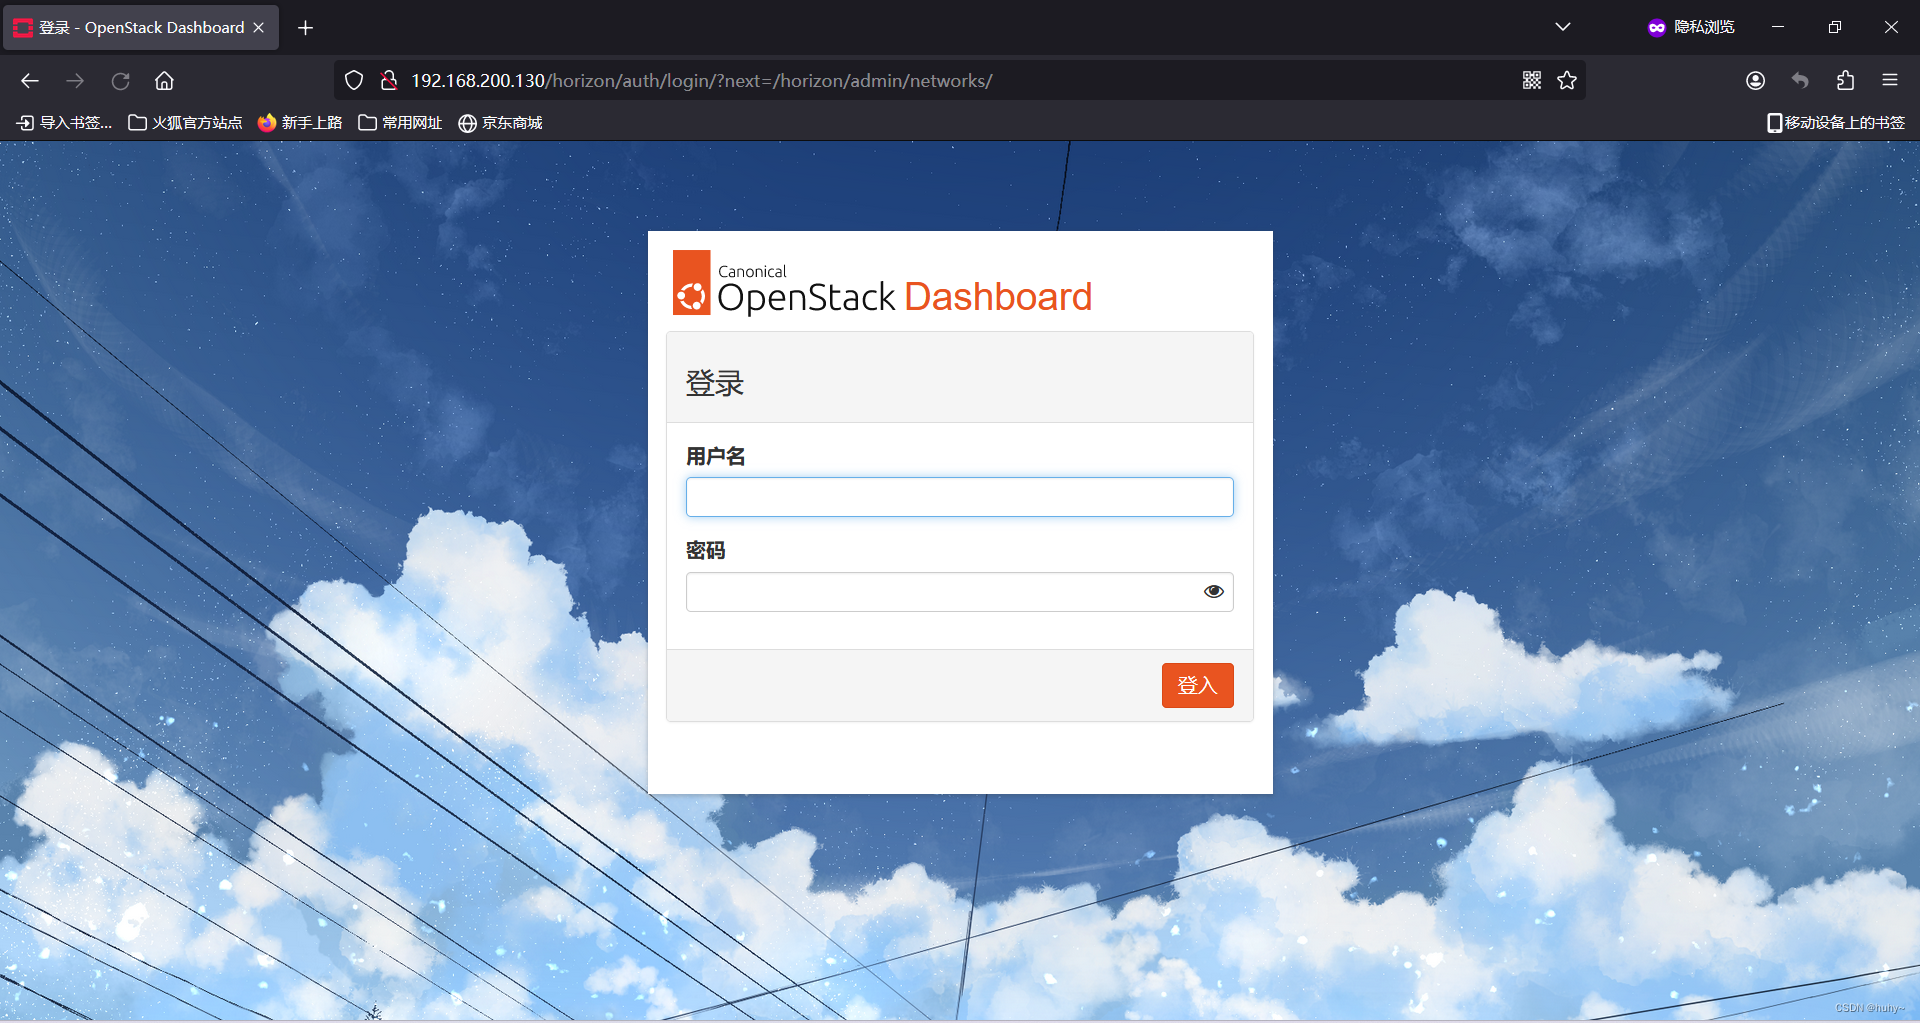
修改登陆界面背景
上传背景图片到root目录,并修改名称为image-background-pattern.png
cp image-background-pattern.png /var/lib/openstack-dashboard/static/themes/ubuntu/img/image-background-pattern.png
设置该图片自动适应屏幕大小
vim /var/lib/openstack-dashboard/static/dashboard/css/output.01639c955d87.css
搜索image-background-pattern.png定位,并替换该整行内容
#splash {
  background: url("/static/themes/ubuntu/img/image-background-pattern.png");
  position: absolute;
  width: 100%; /* 将宽度设置为100%,让图片自动适应浏览器窗口宽度 */
  height: 100vh; /* 设置高度为视窗高度,确保图片完全填充屏幕 */
  background-size: cover; /* 使用 cover 属性确保背景图片完全覆盖容器 */
  background-position: center; /* 居中对齐背景图片 */
  background-repeat: no-repeat; /* 禁止背景图片重复 */
}
systemctl restart memcached ;systemctl restart apache2
修改后
登录框边缘添加透明效果
vim /var/lib/openstack-dashboard/static/dashboard/css/output.01639c955d87.css
注释#splash .login改行后添加
#splash .login {
  background-color: rgba(255, 255, 255, 0.8); /* 设置白色背景,并且透明度为80% */
  box-shadow: 0px 1px 3px 1px rgba(51, 51, 51, 0.2); /* 设置阴影效果 */
  -moz-box-shadow: 0px 1px 3px 1px rgba(51, 51, 51, 0.2); /* Firefox浏览器阴影效果 */
  -webkit-box-shadow: 0px 1px 3px 1px rgba(51, 51, 51, 0.2); /* Webkit内核浏览器阴影效果 */
  max-width: 500px; /* 最大宽度限制为500px */
  /* padding-bottom: 20px; /* 底部内边距为20px */
  padding-top: 60px; /* 顶部内边距为60px */
  position: relative; /* 相对定位 */
}
systemctl restart memcached ;systemctl restart apache2
修改后
修改登录界面logo
这里去掉登录界面中央logo,需要更换则直接替换即可(原图尺寸:1402x428),并设置文字样式
vim /var/lib/openstack-dashboard/static/dashboard/css/output.01639c955d87.css
注释或删除该行 #splash .login:after,添加以下内容
#splash .login:after {
  background-image: none; /* 移除背景图片 */
  background-repeat: no-repeat;
  background-size: 180px;
  color: #000000; /* 将字体颜色设置为黑色 */
  content: "企业级平台"; /* 伪元素的内容 */
  display: block;
  font-size: 31px;
  font-weight: bold; /* 将文字设置为加粗 */
  text-align: center; /* 文字水平居中 */
  left: 50%; /* 相对于父元素左边界的距离 */
  line-height: 2.4em;
  position: absolute; /* 绝对定位 */
  top: 15px; /* 相对于父元素上边界的距离 */
  width: 100%;
  transform: translateX(-50%); /* 水平居中 */
  animation: colorChange 6s infinite; /* 使用动画效果,持续时间为6秒,无限循环 */
}


/* 定义逐渐变化颜色的动画,有点花哨,如不需要可不使用 */
@keyframes colorChange {
  0% {
    color: #000000; /* 初始颜色为黑色 */
  }
  100% {
    color: #ffffff; /* 结束位置的颜色为白色 */
  }
}
systemctl restart memcached ;systemctl restart apache2
修改后
更换站点图片
上传并更换此路径图片,(原图片尺寸大小:48x48)
cp favicon.ico /var/lib/openstack-dashboard/static/dashboard/img/favicon.ico
systemctl restart memcached ;systemctl restart apache2
修改后
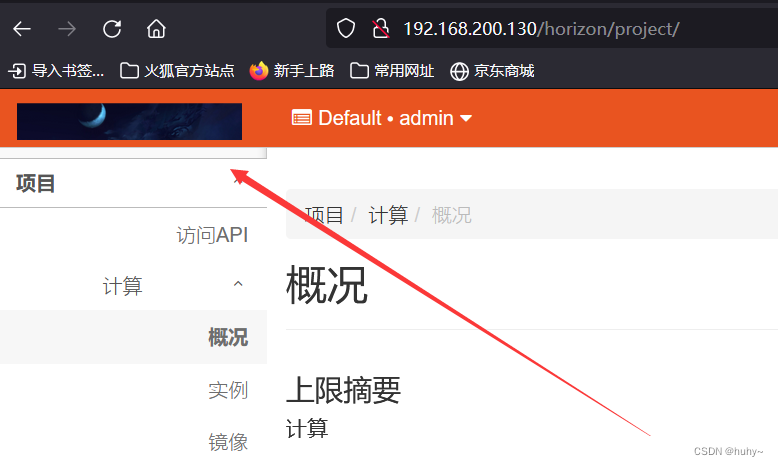
更换项目logo图片
上传并更换此路径图片,为左上角项目旁边,(原图尺寸大小:601x107)
cp logo-canonical-openstack-linear.svg /var/lib/openstack-dashboard/static/themes/ubuntu/img
systemctl restart memcached ;systemctl restart apache2
如果使用默认主题,则替换以下路径
cp logo.svg /var/lib/openstack-dashboard/static/dashboard/img/logo.svg
systemctl restart memcached ;systemctl restart apache2
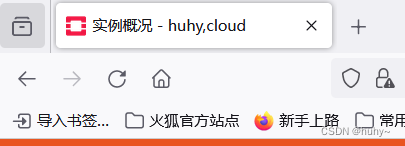
修改HTML标题
echo "SITE_BRANDING = "huhy,cloud" /etc/openstack-dashboard/local_settings.py
systemctl restart apache2;systemctl restart memcached.service
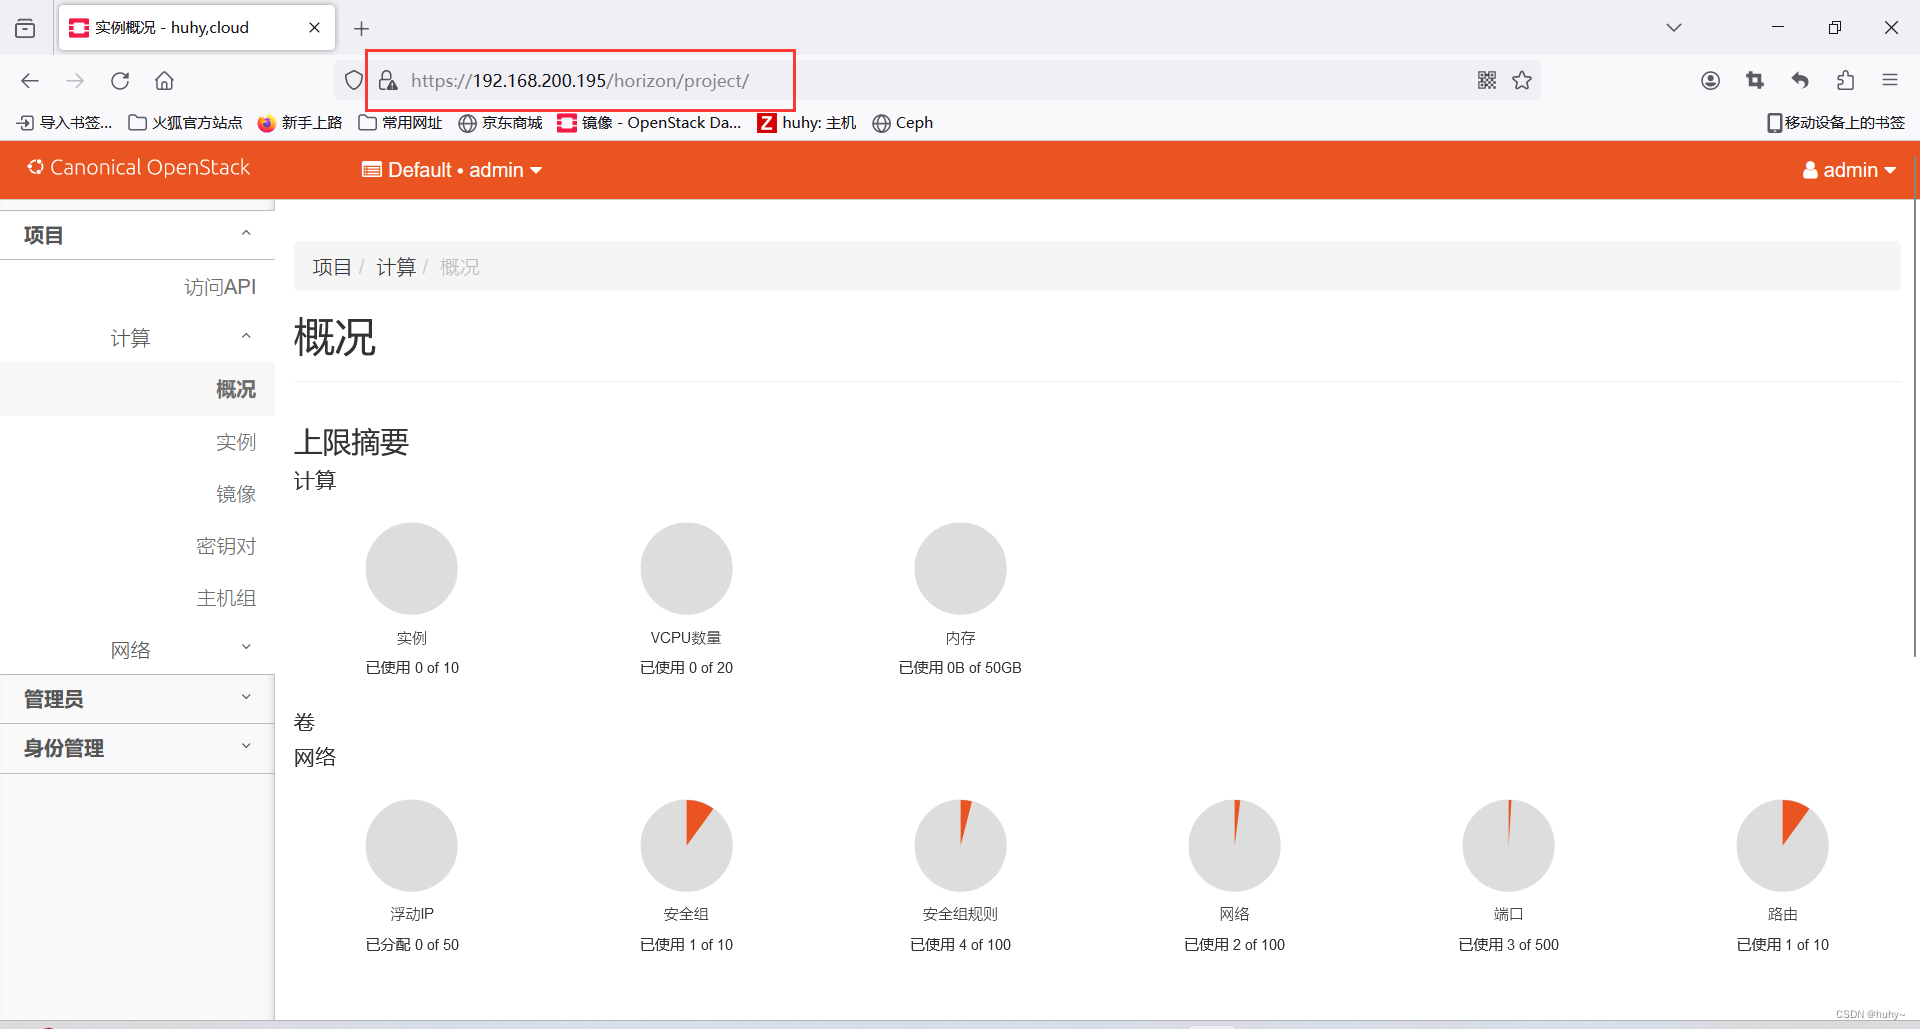
配置使用https访问
在local_settings.py文件中,添加以下选项:
cat >> /etc/openstack-dashboard/local_settings.py << eof
CSRF_COOKIE_SECURE = True
SESSION_COOKIE_SECURE = True
SESSION_COOKIE_HTTPONLY = True
eof
注意替换为本地IP
cat >> /etc/apache2/conf-enabled/openstack-dashboard.conf << eof
<VirtualHost *:80>
  ServerName 192.168.200.195
  <IfModule mod_rewrite.c>
    RewriteEngine On
    RewriteCond %{HTTPS} off
    RewriteRule (.*) https://%{HTTP_HOST}%{REQUEST_URI}
  </IfModule>
  <IfModule !mod_rewrite.c>
    RedirectPermanent / https://192.168.200.195
  </IfModule>
</VirtualHost>

<VirtualHost *:443>
  ServerName 192.168.200.195

  SSLEngine On
  SSLCertificateFile /etc/apache2/SSL/192.168.200.195.crt
  SSLCertificateKeyFile /etc/apache2/SSL/192.168.200.195.key
  SetEnvIf User-Agent ".*MSIE.*" nokeepalive ssl-unclean-shutdown

  Header add Strict-Transport-Security "max-age=15768000"
</VirtualHost>
eof
a2enmod headers
生成本地密钥证书
mkdir /etc/apache2/SSL/
会要求填写一些地区信息,可随意填写,重要的是此行应该填写本地IP
Common Name (e.g. server FQDN or YOUR name) []:192.168.200.195
openssl req -new -newkey rsa:2048 -nodes -keyout /etc/apache2/SSL/192.168.200.195.key -out /etc/apache2/SSL/192.168.200.195.csr
openssl x509 -req -days 365 -in /etc/apache2/SSL/192.168.200.195.csr -signkey /etc/apache2/SSL/192.168.200.195.key -out /etc/apache2/SSL/192.168.200.195.crt
systemctl restart apache2
界面访问:https://192.168.200.195/horizon/

 浙公网安备 33010602011771号