第二十周作业—虚怀若谷
一、编译安装LNMP,并安装wordpress
主机: 一台(192.168.27.7),系统为CentOS7.6
软件包:nginx-1.16.1.tar.gz,mariadb-10.2.25.tar.gz,php-7.3.12.tar.bz2,wordpress-5.2.2.tar.gz
1、Ngnix的编译安装
(1) 准备所需软件包
[root@centos7 ~]# cd /data
[root@centos7 data]# ll
total 96856
-rw-r--r-- 1 root root 71997847 Nov 29 10:52 mariadb-10.2.25.tar.gz
-rw-r--r-- 1 root root  1032630 Mar 24 18:17 nginx-1.16.1.tar.gz
-rw-r--r-- 1 root root 15006275 Nov 19 18:20 php-7.3.12.tar.bz2
-rw-r--r-- 1 root root 11133665 Dec 13 17:57 wordpress-5.2.2.tar.gz
(2) 安装相关依赖包
[root@centos7 data]# yum install -y gcc pcre-devel openssl-devel zlib-devel
(3) 解压源码包,创建nginx用户,开始编译安装
[root@centos7 data]# tar -zxvf nginx-1.16.1.tar.gz
[root@centos7 data]# useradd -r -s /sbin/nologin nginx
[root@centos7 data]# cd nginx-1.16.1/
[root@centos7 nginx-1.16.1]# ./configure --prefix=/apps/nginx \
> --user=nginx \
> --group=nginx \
> --with-http_ssl_module \
> --with-http_v2_module \
> --with-http_realip_module \
> --with-http_stub_status_module \
> --with-http_gzip_static_module \
> --with-pcre \
> --with-stream \
> --with-stream_ssl_module \
> --with-stream_realip_module
[root@centos7 nginx-1.16.1]# make && make install


./configure --prefix=/apps/nginx \
--user=nginx \
--group=nginx \
--with-http_ssl_module \
--with-http_v2_module \
--with-http_realip_module \
--with-http_stub_status_module \
--with-http_gzip_static_module \
--with-pcre \
--with-stream \
--with-stream_ssl_module \
--with-stream_realip_module
(4) 启动nginx服务即可
[root@centos7 nginx-1.16.1]# /apps/nginx/sbin/nginx
[root@centos7 nginx-1.16.1]# ss -nlt | grep 80
LISTEN     0      128          *:80                       *:*
2、Mariadb的编译安装
(1) 解压源码包,创建mysql用户和数据目录
[root@centos7 ~]# cd /data
[root@centos7 data]# tar -zxvf mariadb-10.2.25.tar.gz
[root@centos7 data]# useradd -r -s /sbin/nologin -d /data/mysql mysql
[root@centos7 data]# mkdir /data/mysql
[root@centos7 data]# chown root:mysql /data/mysql
(2) 安装相关依赖包
[root@centos7 data]# yum install -y bison bison-devel zlib-devel libcurl-devel libarchive-devel boost-devel gcc gcc-c++ cmake ncurses-devel gnutls-devel libxml2-devel openssl-devel libevent-devel libaio-devel
(3) 编译安装mariadb
[root@centos7 data]# cd mariadb-10.2.25/
[root@centos7 mariadb-10.2.25]# cmake . \
> -DCMAKE_INSTALL_PREFIX=/apps/mysql \
> -DMYSQL_DATADIR=/data/mysql/ \
> -DSYSCONFDIR=/etc/ \
> -DMYSQL_USER=mysql \
> -DWITH_INNOBASE_STORAGE_ENGINE=1 \
> -DWITH_ARCHIVE_STORAGE_ENGINE=1 \
> -DWITH_BLACKHOLE_STORAGE_ENGINE=1 \
> -DWITH_PARTITION_STORAGE_ENGINE=1 \
> -DWITHOUT_MROONGA_STORAGE_ENGINE=1 \
> -DWITH_DEBUG=0 \
> -DWITH_READLINE=1 \
> -DWITH_SSL=system \
> -DWITH_ZLIB=system \
> -DWITH_LIBWRAP=0 \
> -DENABLED_LOCAL_INFILE=1 \
> -DMYSQL_UNIX_ADDR=/data/mysql/mysql.sock \
> -DDEFAULT_CHARSET=utf8 \
> -DDEFAULT_COLLATION=utf8_general_ci
[root@centos7 mariadb-10.2.25]# make && make install
cmake . \
-DCMAKE_INSTALL_PREFIX=/apps/mysql \
-DMYSQL_DATADIR=/data/mysql/ \
-DSYSCONFDIR=/etc/ \
-DMYSQL_USER=mysql \
-DWITH_INNOBASE_STORAGE_ENGINE=1 \
-DWITH_ARCHIVE_STORAGE_ENGINE=1 \
-DWITH_BLACKHOLE_STORAGE_ENGINE=1 \
-DWITH_PARTITION_STORAGE_ENGINE=1 \
-DWITHOUT_MROONGA_STORAGE_ENGINE=1 \
-DWITH_DEBUG=0 \
-DWITH_READLINE=1 \
-DWITH_SSL=system \
-DWITH_ZLIB=system \
-DWITH_LIBWRAP=0 \
-DENABLED_LOCAL_INFILE=1 \
-DMYSQL_UNIX_ADDR=/data/mysql/mysql.sock \
-DDEFAULT_CHARSET=utf8 \
-DDEFAULT_COLLATION=utf8_general_ci
(4) 配置环境变量,初始化数据库,生成数据库文件
[root@centos7 mariadb-10.2.25]# echo 'PATH=/apps/mysql/bin:$PATH' > /etc/profile.d/mysql.sh
[root@centos7 mariadb-10.2.25]# . /etc/profile.d/mysql.sh
[root@centos7 mariadb-10.2.25]# cd /apps/mysql/
[root@centos7 mysql]# scripts/mysql_install_db --datadir=/data/mysql --user=mysql
(5) 准备配置文件与启动脚本
[root@centos7 mysql]# cp /apps/mysql/support-files/my-huge.cnf /etc/my.cnf
[root@centos7 mysql]# cp /apps/mysql/support-files/mysql.server /etc/init.d/mysqld
(6) 启动服务
[root@centos7 mysql]# chkconfig --add mysqld
[root@centos7 mysql]# service mysqld start
Starting mysqld (via systemctl):                           [  OK  ]
[root@centos7 mysql]# ss -ntlp | grep 3306
LISTEN     0      80          :::3306                    :::*                   users:(("mysqld",pid=22869,fd=21))
3、php-fpm的编译安装
(1) 安装相关依赖包,其中 libmcrypt 相关包依赖epel源,所以需要配置epel 源,这里用的阿里云的epel源
[root@centos7 mysql]# cat /etc/yum.repos.d/base.repo
[development]
name=dvdbase repo
baseurl=file:///mnt/cdrom/
enabled=1
gpgcheck=1
gpgkey=file:///mnt/cdrom/RPM-GPG-KEY-CentOS-7

[aliyunEpel]
name=aliyun epel
baseurl=https://mirrors.aliyun.com/epel/$releasever/$basearch
enabled=1
gpgcheck=1
gpgkey=https://mirrors.aliyun.com/epel/RPM-GPG-KEY-EPEL-$releasever
[root@centos7 mysql]# yum install -y libxml2-devel bzip2-devel libmcrypt-devel
(2) 解压源码包,然后进行编译安装
[root@centos7 data]# tar -jxvf php-7.3.12.tar.bz2
[root@centos7 php-7.3.12]# ./configure --prefix=/apps/php \
> --enable-mysqlnd \
> --with-mysqli=mysqlnd \
> --with-pdo-mysql=mysqlnd \
> --with-openssl \
> --with-freetype-dir \
> --with-jpeg-dir \
> --with-png-dir \
> --with-zlib \
> --with-libxml-dir=/usr \
> --with-config-file-path=/etc \
> --with-config-file-scan-dir=/etc/php.d \
> --enable-mbstring \
> --enable-xml \
> --enable-sockets \
> --enable-fpm \
> --enable-maintainer-zts \
> --disable-fileinfo

[root@centos7 php-7.3.12]# make && make install
./configure --prefix=/apps/php \
--enable-mysqlnd \
--with-mysqli=mysqlnd \
--with-pdo-mysql=mysqlnd \
--with-openssl \
--with-freetype-dir \
--with-jpeg-dir \
--with-png-dir \
--with-zlib \
--with-libxml-dir=/usr \
--with-config-file-path=/etc \
--with-config-file-scan-dir=/etc/php.d \
--enable-mbstring \
--enable-xml \
--enable-sockets \
--enable-fpm \
--enable-maintainer-zts \
--disable-fileinfo
(3) 准备配置文件,并修改 www.conf 配置文件中启动用户与组为 nginx,默认用户与组为 nobody
[root@centos7 php-7.3.12]# cp php.ini-production /etc/php.ini
[root@centos7 php-7.3.12]# cd /apps/php/etc/
[root@centos7 etc]# cp php-fpm.conf.default php-fpm.conf
[root@centos7 etc]# cd php-fpm.d/
[root@centos7 php-fpm.d]# cp www.conf.default www.conf
[root@centos7 php-fpm.d]# vim www.conf
#找到以下两项,将nobody改为nginx
user = nginx
group = nginx
(4) 准备服务启动脚本,并启动 php-fpm 服务
[root@centos7 php-fpm.d]# cd /data/php-7.3.12/
[root@centos7 php-7.3.12]# cp sapi/fpm/init.d.php-fpm /etc/init.d/php-fpm
[root@centos7 php-7.3.12]# chmod +x /etc/init.d/php-fpm
[root@centos7 php-7.3.12]# chkconfig --add php-fpm
[root@centos7 php-7.3.12]# service php-fpm start
Starting php-fpm  done
[root@centos7 php-7.3.12]# ss -nlt | grep 9000
LISTEN     0      128    127.0.0.1:9000                     *:*
4、wordpress的安装
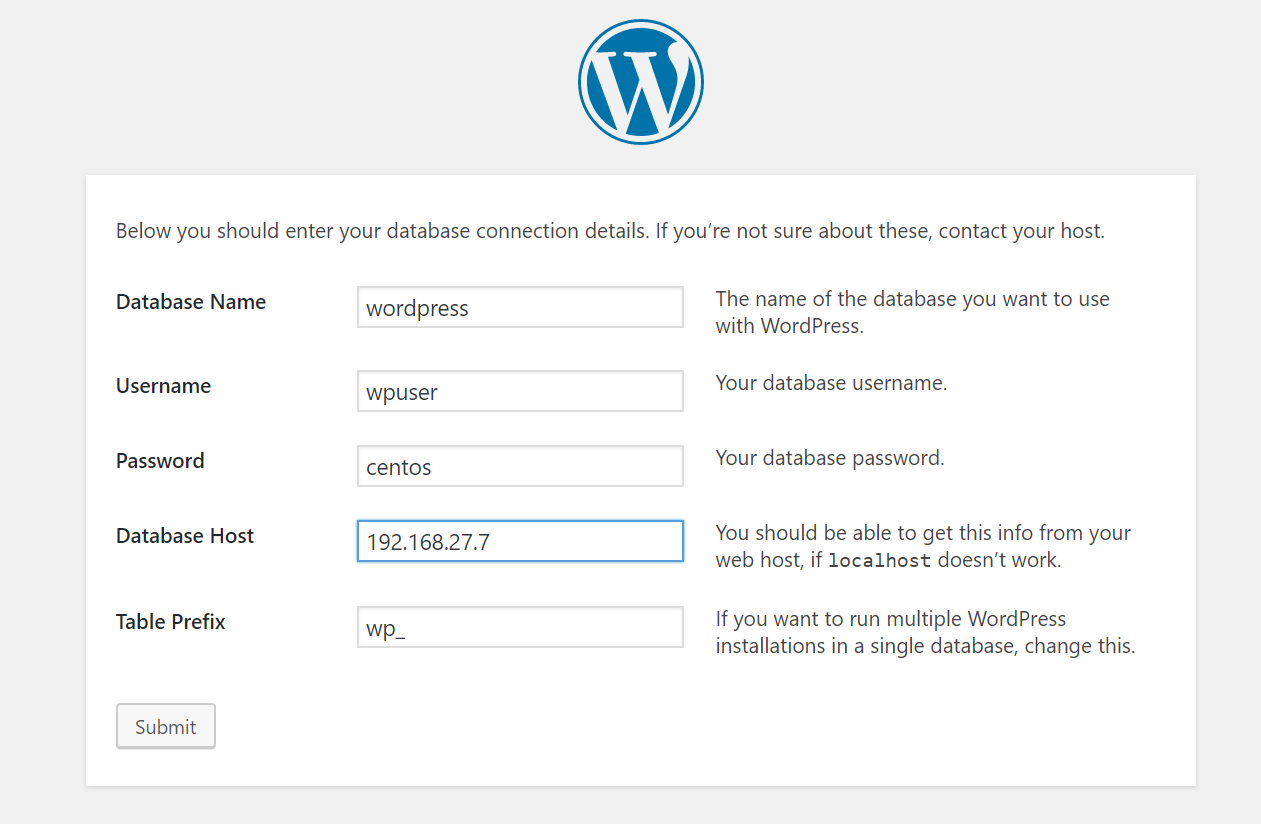
(1) 在数据库中创建库和授权用户
[root@centos7 ~]# mysql
Welcome to the MariaDB monitor.  Commands end with ; or \g.
Your MariaDB connection id is 11
Server version: 10.2.25-MariaDB-log Source distribution

Copyright (c) 2000, 2018, Oracle, MariaDB Corporation Ab and others.

Type 'help;' or '\h' for help. Type '\c' to clear the current input statement.

MariaDB [(none)]> CREATE DATABASE wordpress charset 'utf8';
Query OK, 1 row affected (0.00 sec)

MariaDB [(none)]> GRANT ALL ON wordpress.* to 'wpuser'@'192.168.27.%' IDENTIFIED BY 'centos';
Query OK, 0 rows affected (0.00 sec)
(2) 解压wordpress程序包到 /apps/nginx/html/ 目录,并在源码目录给 nginx 用户设置访问控制权限
[root@centos7 ~]# cd /
[root@centos7 data]# tar -xf wordpress-5.2.2.tar.gz -C /apps/nginx/html
[root@centos7 data]# setfacl -Rm u:nginx:rwx /apps/nginx/html/wordpress
(3) 修改nginx的虚拟主机配置文件,并重启nginx服务
[root@centos7 ~]# vim /apps/nginx/conf/nginx.conf
#在http{}段中添加以下内容
    server {
        listen 80;
        server_name blog.wordpress.com;

        location / {
            root html/wordpress;
            index index.php index.html index.htm;
        }

        location ~ \.php$ {
            root html/wordpress;
            fastcgi_pass 127.0.0.1:9000;
            fastcgi_index index.php;
            fastcgi_param SCRIPT_FILENAME $document_root$fastcgi_script_name;
            include fastcgi_params;
        }
    }
[root@centos7 ~]# /apps/nginx/sbin/nginx -t
nginx: the configuration file /apps/nginx/conf/nginx.conf syntax is ok
nginx: configuration file /apps/nginx/conf/nginx.conf test is successful
[root@centos7 ~]# /apps/nginx/sbin/nginx -s reload
(4) 设置 hosts 文件,使域名可以解析到主机,在 hosts 文件中添加一行(如果利用Linux图形桌面上的浏览器进行网站安装,hosts文件为 /etc/hosts,如果是用windows安装,则host文件 路径为 C:\Windows\System32\drivers\etc)
192.168.27.7 blog.wordpress.com
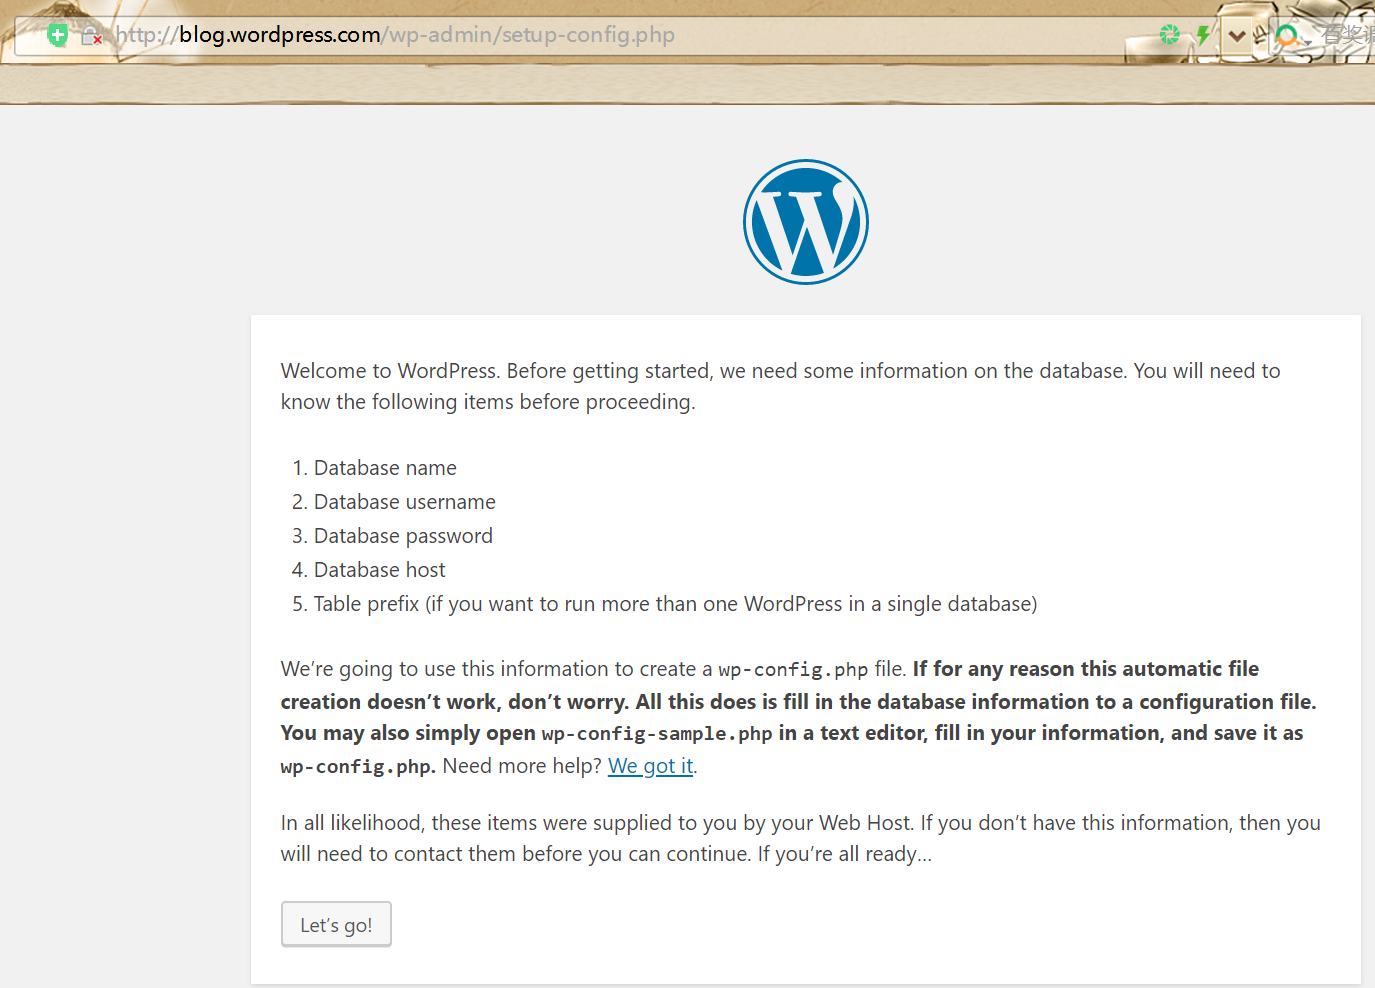
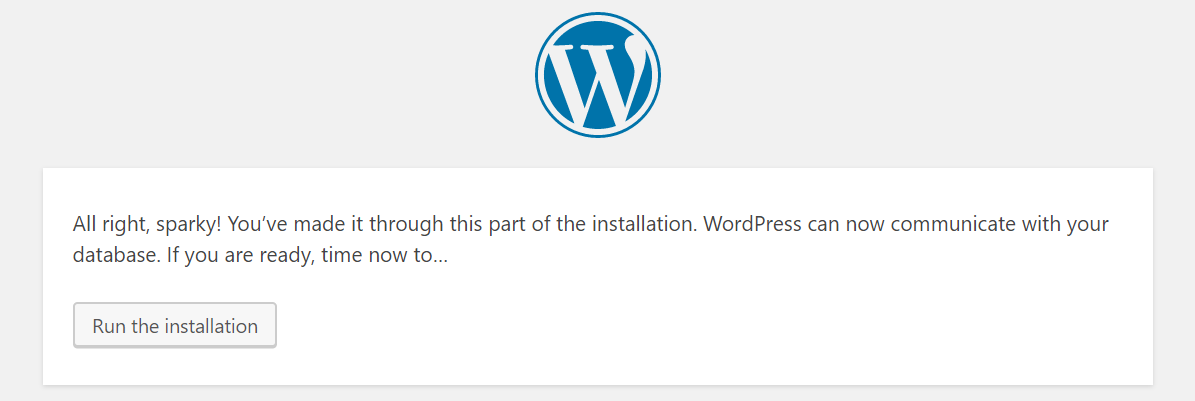
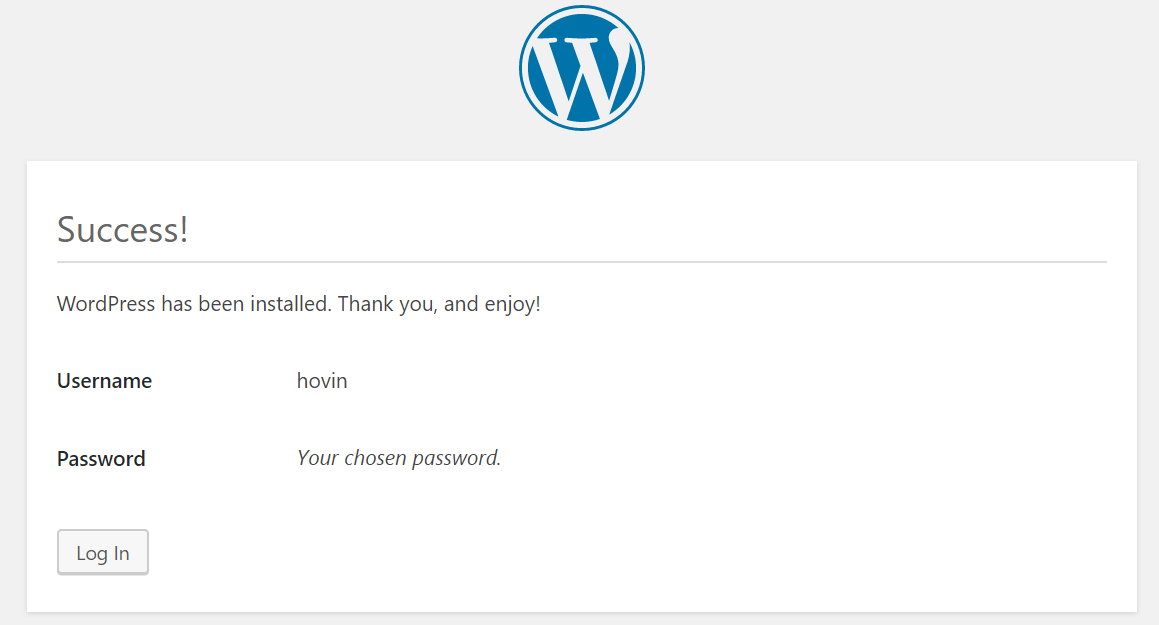
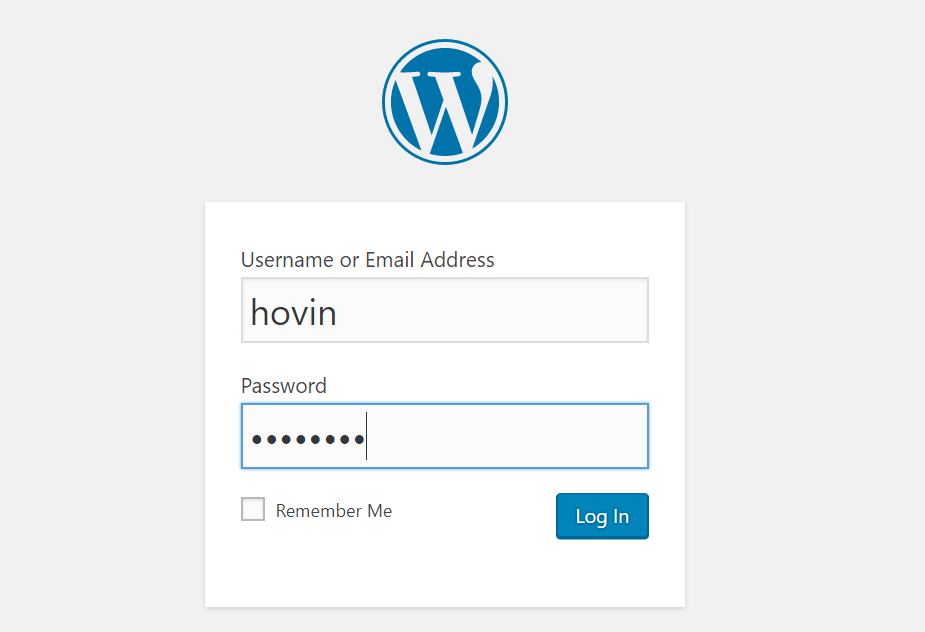
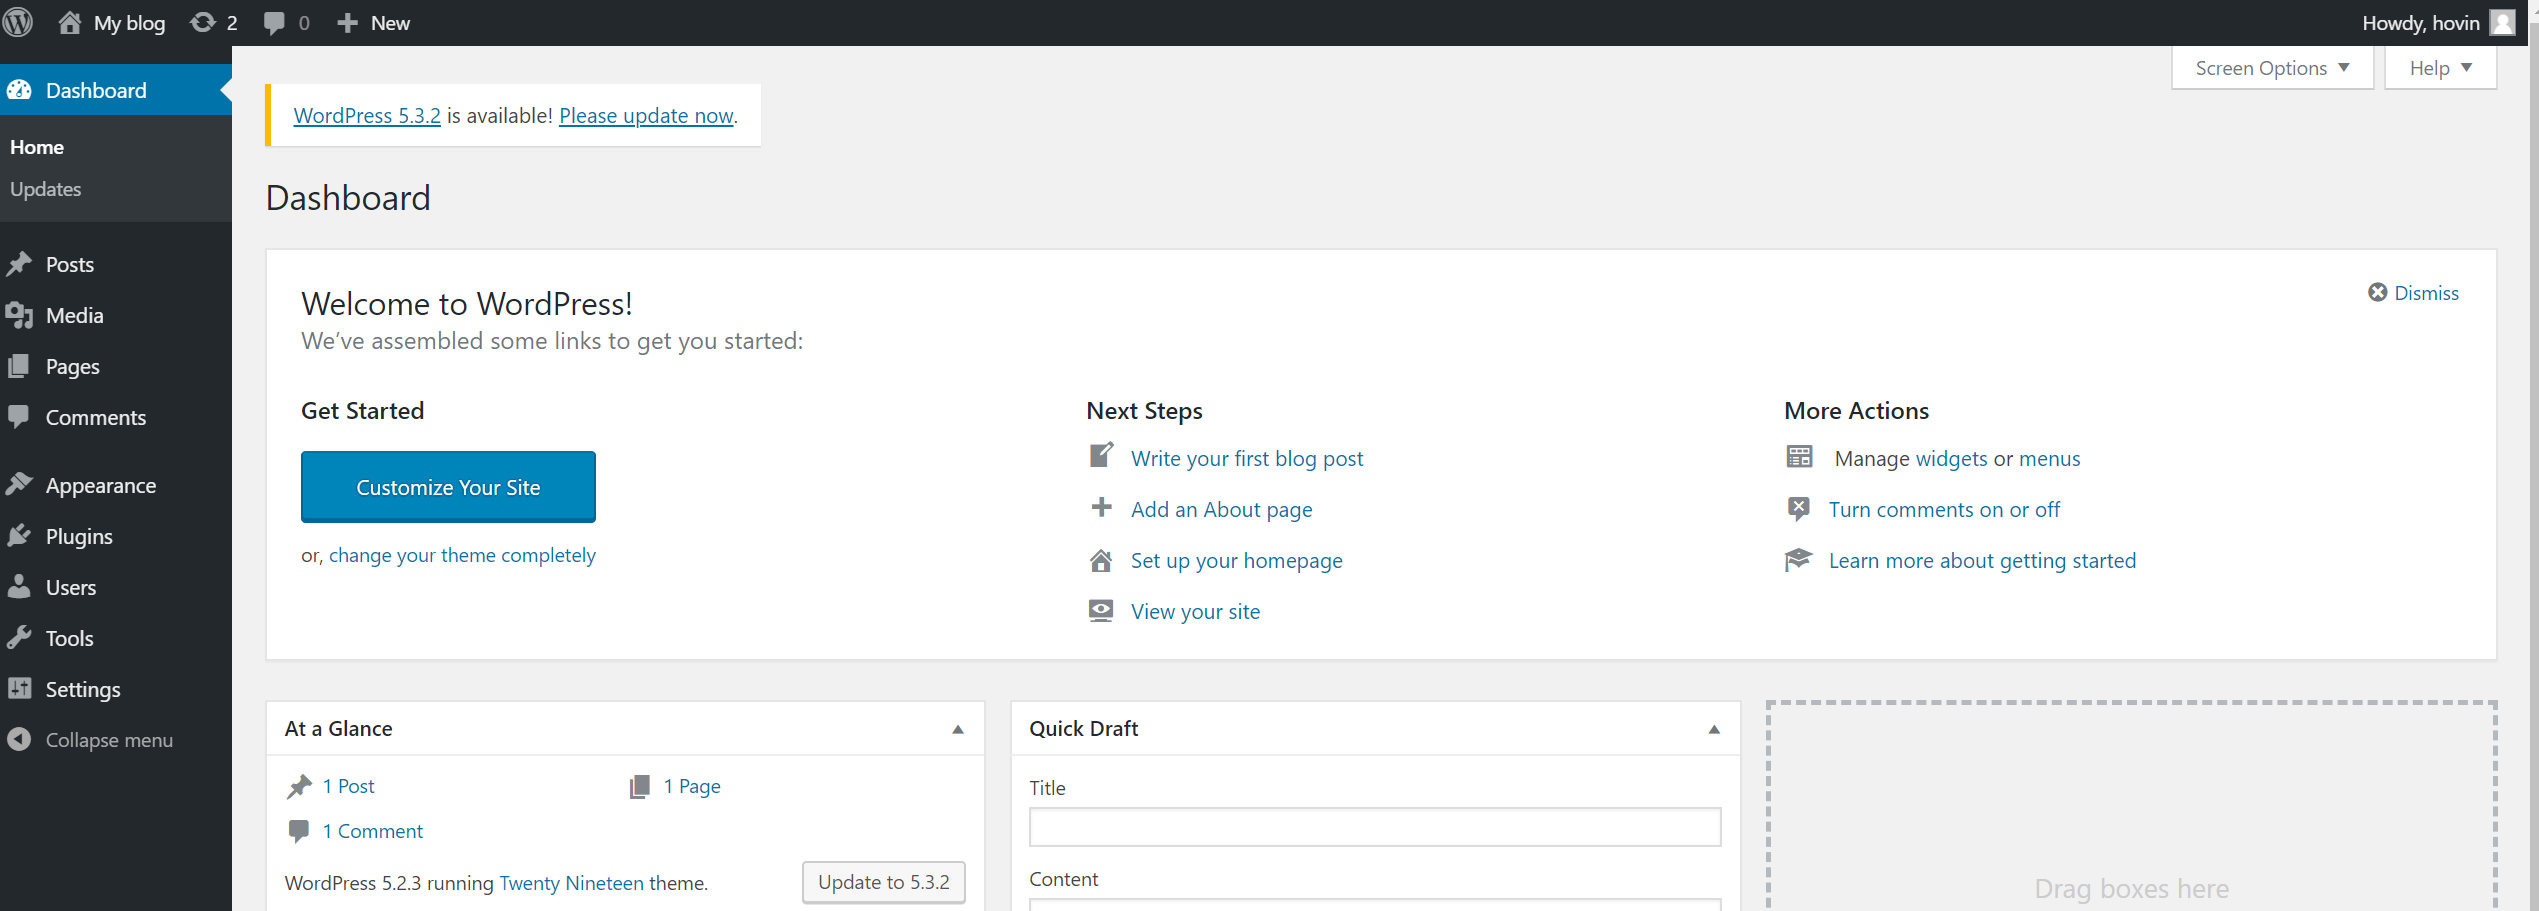
(5) 利用浏览器进行安装,输出域名blog.wordpress.com,根据安装向导安装

二、配置虚拟主机,www.x.com域名实现首页访问,admin.x.com域名实现wordpress的后台访问
(1) 将 www.x.com 与 admin.x.com 域名配置在hosts 文件中
192.168.27.7 www.x.com admin.x.com
(2) 登录wordpress后台,在Settings --》General Settings 中,将 admin.x.com,

(3) 修改nginx的配置文件,在http{}中添加以下内容
    server {
    listen 80;
    server_name www.x.com;

    location / {
        root html/wordpress;
        index index.php index.html index.htm;
    }

    #添加重写规则,用前台域名访问后台时,跳转到后台域名访问
    location ~ /(wp-admin|wp-login.php) {
        rewrite / http://admin.x.com/wp-login.php;
    }

    location ~ \.php$ {
        root html/wordpress;
        fastcgi_pass 127.0.0.1:9000;
        fastcgi_index index.php;
        fastcgi_param SCRIPT_FILENAME $document_root$fastcgi_script_name;
        include fastcgi_params;
    }
    }

    server {
        listen 80;
        server_name admin.x.com;

        location / {
            root html/wordpress;
            index wp-login.php index.php;
     }

        location ~ \.php$ {
            root html/wordpress;
            fastcgi_pass 127.0.0.1:9000;
            fastcgi_index index.php;
            fastcgi_param SCRIPT_FILENAME $document_root$fastcgi_script_name;
            include fastcgi_params;
        }
    }

 浙公网安备 33010602011771号