

Jenkins+Ansible+Gitlab自动化部署三剑客
一、gitlab安装
环境:centos 7 x64
1、关闭防火墙
systemctl stop firewalld
systemctl disable firewalld
2、禁用selinux
vim /etc/selinux/config

# This file controls the state of SELinux on the system.
# SELINUX= can take one of these three values:
#     enforcing - SELinux security policy is enforced.
#     permissive - SELinux prints warnings instead of enforcing.
#     disabled - No SELinux policy is loaded.
SELINUX=enforcing
# SELINUXTYPE= can take one of three values:
#     targeted - Targeted processes are protected,
#     minimum - Modification of targeted policy. Only selected processes are protected.
#     mls - Multi Level Security protection.
SELINUXTYPE=targeted

改为SELINUX=disabled,然后重启服务器,使用getenforce进行验证
3、安装环境依赖
yum install curl policycoreutils openssh-server openssh-clients postfix
4、下载仓库文件
curl -sS https://packages.gitlab.com/install/repositories/gitlab/gitlab-ce/script.rpm.sh | sudo bash
5、启动邮件服务
systemctl start postfix
systemctl enable postfix
6、安装gitlab-ce
yum install -y gitlab-ce
7、配置ssl
mkdir /etc/gitlab/ssl
cd /etc/gitlab/ssl
openssl genrsa -out /etc/gitlab/ssl/gitlab.example.com.key 2048
openssl req -new -key "gitlab.example.com.key" -out "gitlab.example.com.csr"
openssl x509 -req -days 3650 -in "gitlab.example.com.csr" -signkey "gitlab.example.com.key" -out "gitlab.example.com.crt"
openssl dhparam -out dhparams.pem 2048
chmod 600 *
8、配置gitlab.rb
vim /etc/gitlab/gitlab.rb

external_url 'https://gitlab.example.com'
//external_url 'https://192.168.71.128'
nginx['redirect_http_to_https'] = true nginx['ssl_certificate'] = "/etc/gitlab/ssl/gitlab.example.com.crt" nginx['ssl_certificate_key'] = "/etc/gitlab/ssl/gitlab.example.com.key" nginx['ssl_dhparam'] = "/etc/gitlab/ssl/dhparams.pem" # Path to dhparams.pem, eg. /etc/gitlab/ssl/dhparams.pem

gitlab-ctl reconfigure
9、配置nginx
server {
  listen *:80;
  server_name gitlab.example.com;
  //server_name 192.168.71.128;

  rewrite ^(.*)$ https://$host$1 permanent;

  server_tokens off; ## Don't show the nginx version number, a security best practice
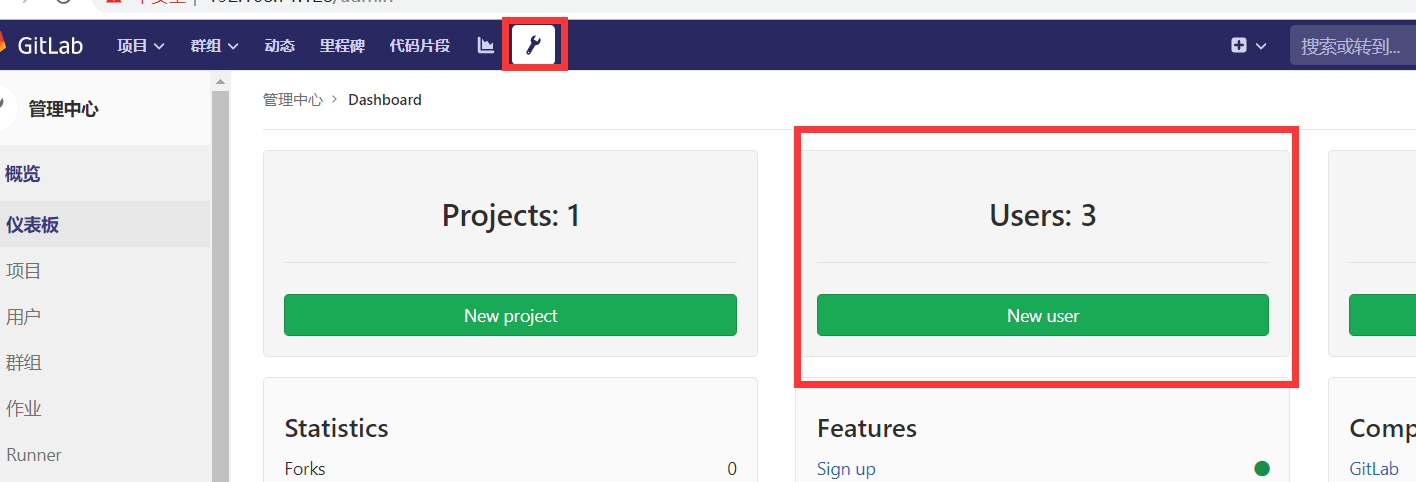
10、运维工程师使用
a、新建项目

b、用户维护,创建regular用户
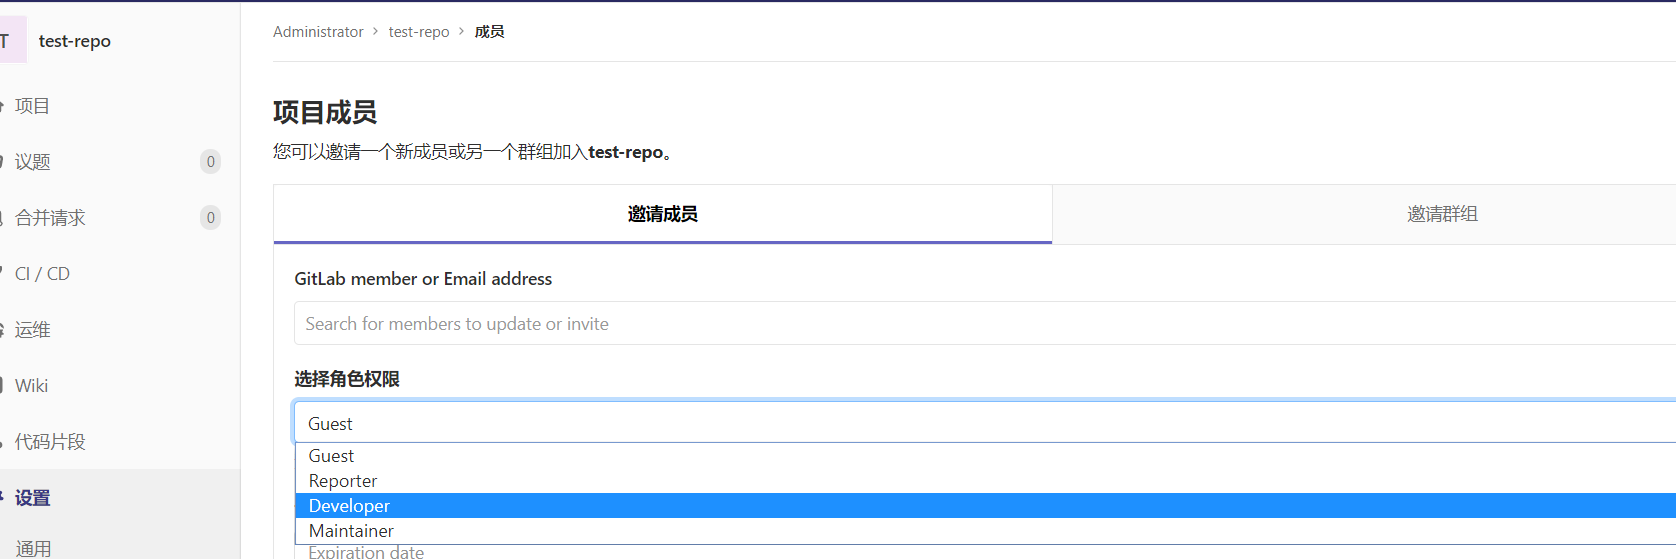
c、给项目分配用户及权限,分配dev用户和maintainer用户

11、开发组长使用
//克隆仓库
git -c http.sslverify=false clone https://192.168.71.128/root/test-repo.git
处理合并申请
12、开发人员使用
git -c http.sslverify=false clone https://192.168.71.128/root/test-repo.git
创建分支合并申请

二、ansible安装
1、环境准备(python3.6.5安装及virtualenvwrapper管理虚拟环境)
详见:https://www.cnblogs.com/hougang/p/11423083.html
2、pip安装
mkvirtualenv -p python3 env36
pip install ansible
3、git安装


root用户安装git
yum -y install git nss curl

切换到普通用户
su deploy
cd ~

git clone ansible(可以将github源导入码云,然后再clone码云上的ansible,不然下载会很慢或失败)
git clone https://github.com/ansible/ansible.git

进入env36环境
workon env36

安装ansible依赖包
pip install paramiko PyYAML jinja2

将ansible移动到虚环境目录下
mv ansible ~/.virtualenvs/env36.ansible/
cd ~/.virtualenvs/env36.ansible/ansible

切换分支
git checkout stable-2.5

安装
source ~/.virtualenvs/env36.ansible/ansible/hacking/env-setup -q

验证
ansible --version
3、ansible使用
ansible主机:192.168.71.132
ssh-keygen -t rsa
ssh-copy-id -i id_rsa.pub root@192.168.71.133
测试机:192.168.71.133

 浙公网安备 33010602011771号