zabbix3.4安转
其实很简单 在官网上有安装文档,我只不过是将官网上的拿了下来
安装apache和php 数据库mariadb(我的系统是centos7的所以安装mariadb)
开始zabbix的安装
本次实验 系统是CentOS7 zabbix版本是最新的3.4.2 数据库是MySQL数据库
官方地址 https://www.zabbix.com/
安装官方源
rpm -i http://repo.zabbix.com/zabbix/3.4/rhel/7/x86_64/zabbix-release-3.4-2.el7.noarch.rpm
(这里会有警报没有关系,不要管)
用yum安装zabbix zabbix-agnet mysql
yum install zabbix-server-mysql zabbix-web-mysql zabbix-agent -y
安装并且启动数据库
yum install -y mariadb-server
systemctl start mariadb.service
systemctl enable mariadb.service
进入mysql配置
create database zabbix character set utf8 collate utf8_bin;
grant all privileges on zabbix.* to zabbix@localhost identified by 'password';
退出导入zabbix的数据
zcat /usr/share/doc/zabbix-server-mysql*/create.sql.gz | mysql -uzabbix -p zabbix
输入密码password
开启zabbix (先要关掉警报)
setenforce 0
systemctl stop firewalld.service
systemctl start zabbix-server zabbix-agent httpd
systemctl status zabbix-server zabbix-agent httpd
systemctl enable zabbix-server zabbix-agent httpd
zabbix设置时区,如果不设置后面会报错
vi /etc/httpd/conf.d/zabbix.conf
php_value date.timezone Asia/Shanghai
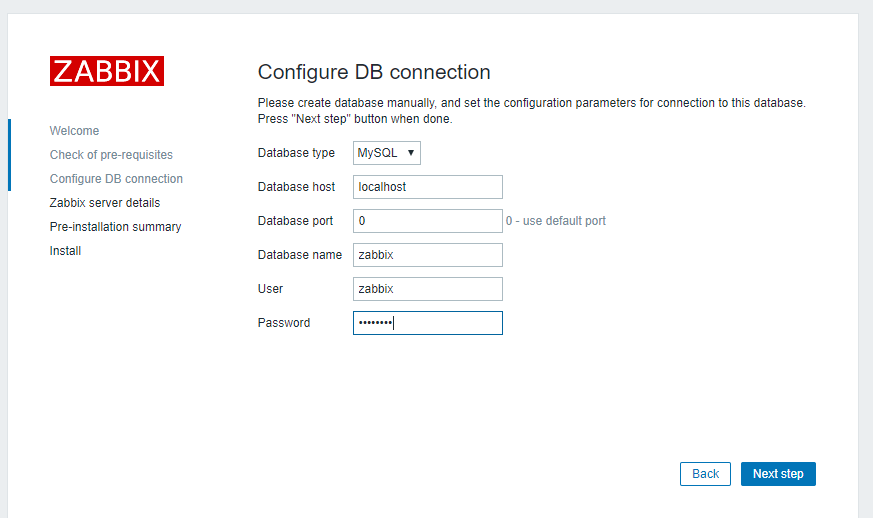
zabbix服务端设置链接数据库密码(密码一定要与数据库的一样)
vi /etc/zabbix/zabbix_server.conf
DBPassword=password
在php里设置时区
vi /etc/php.ini
date.timezone = Asia/Shanghai
重启httpd
systemctl restart httpd
systemctl stop firewalld.service
重启zabbix
systemctl restart zabbix-server zabbix-agent httpd
如果启动zabbix-server 启动不了解决办法
下载gnutls-3.1.18-8.el7.x86_64.rpm
降级gnutls
rpm -Uvh --force gnutls-3.1.18-8.el7.x86_64.rpm-
备注:
如果遇到其他库依赖gnutls 3.3.8 卸载即可[root@localhost ~]# rpm -Uvh --force gnutls-3.1.18-8.el7.x86_64.rpm warning: gnutls-3.1.18-8.el7.x86_64.rpm: Header V4 DSA/SHA1 Signature, key ID 192a7d7d: NOKEY error: Failed dependencies: gnutls(x86-64) = 3.3.8-12.el7 is needed by (installed) gnutls-dane-3.3.8-12.el7.x86_64 gnutls(x86-64) = 3.3.8-12.el7 is needed by (installed) gnutls-utils-3.3.8-12.el7.x86_64 [root@localhost ~]# yum -y remove gnutls-dane-3.3.8-12.el7.x86_64
升级 trousers
yum update trousers
删除zabbix_server的pid (rm -rf /var/run/zabbix/zabbix_server.pid)
在cd /sbin 下启动zabbix_server
./zabbix_server
然后杀死 pkill zabbix_server
最后启动就可以了
systemctl start zabbix-server
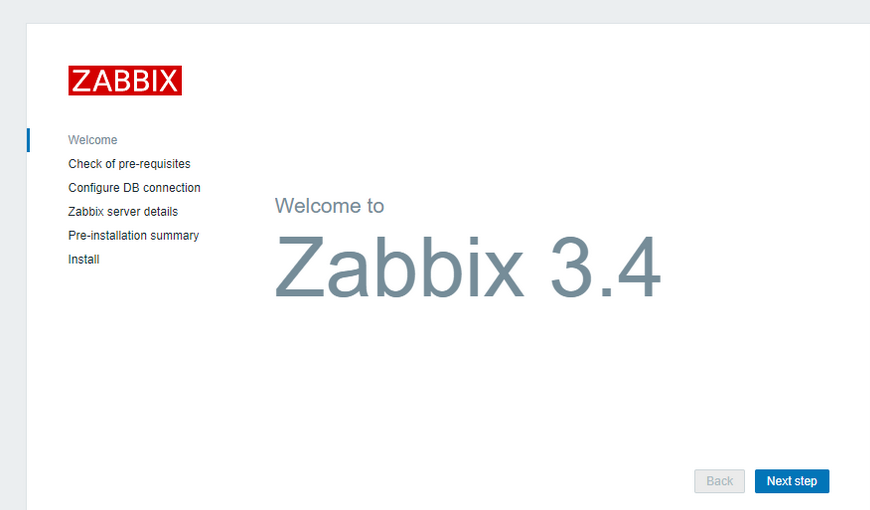
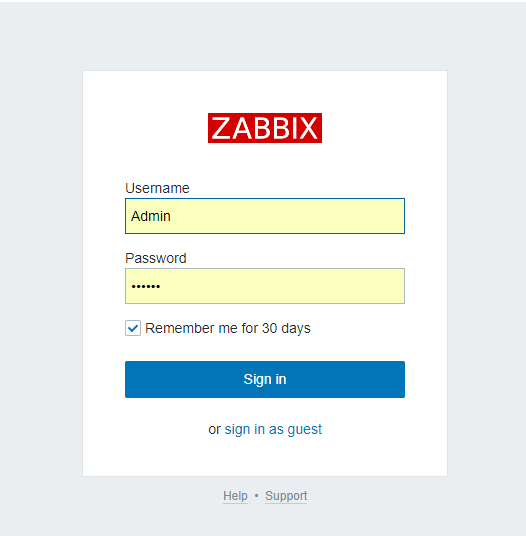
打开控制界面
Ip/zabbix
点击下一步
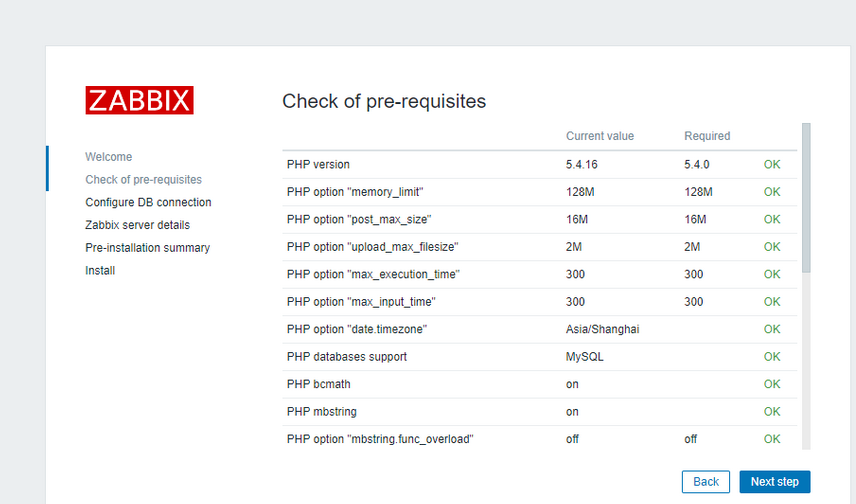
都显示ok
账号zabbix 密码password(密码是上面在zabbix-server.conf里设置的密码)
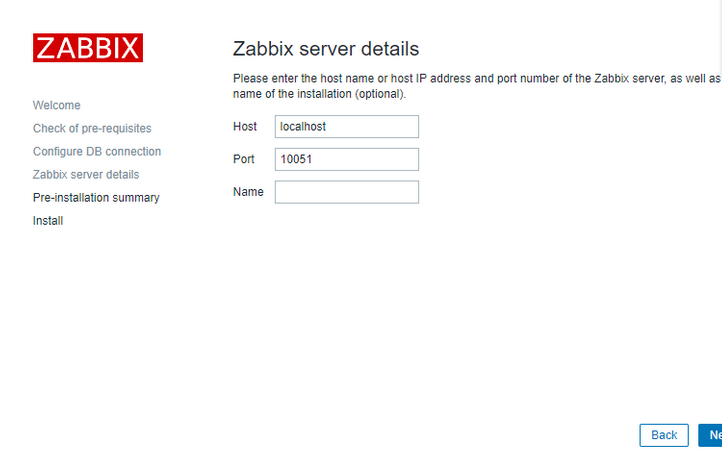
下一步
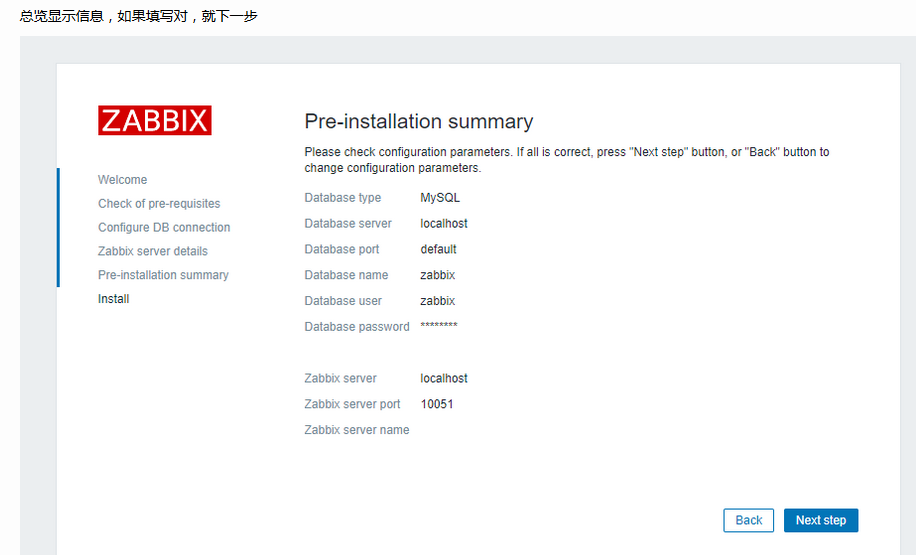
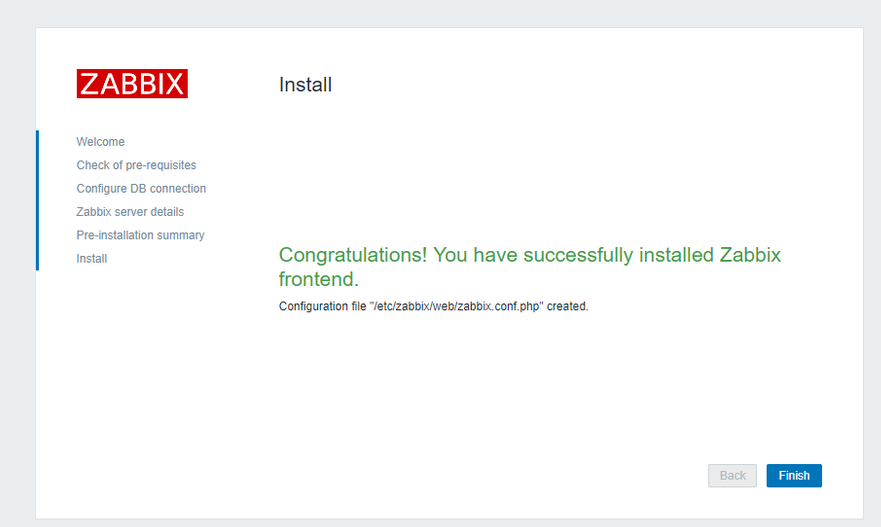
开始安装
账号admin 密码 zabbix 都是磨人的
接下来部署Zabbix的被监控端
关闭防火墙
systemctl stop firewalld.service
setenforce 0
下载源
rpm -i http://repo.zabbix.com/zabbix/3.4/rhel/7/x86_64/zabbix-release-3.4-2.el7.noarch.rpm
用Yum 安装
yum install l zabbix-agent -y
配置文件
vi /etc/zabbix/zabbix_agentd.conf
Server=zabbix服务端ip
开启Zabbix-agent
启动zabbix的agent服务
systemctl start zabbix-agent
systemctl enable zabbix-agent
systemctl status zabbix-agent
配置完成
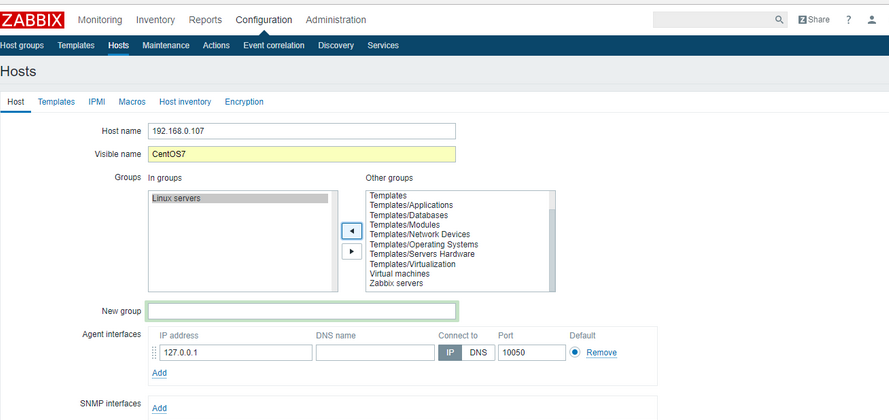
在zabbix服务端的开始添加一个linux主机

添加要监控主机的信息
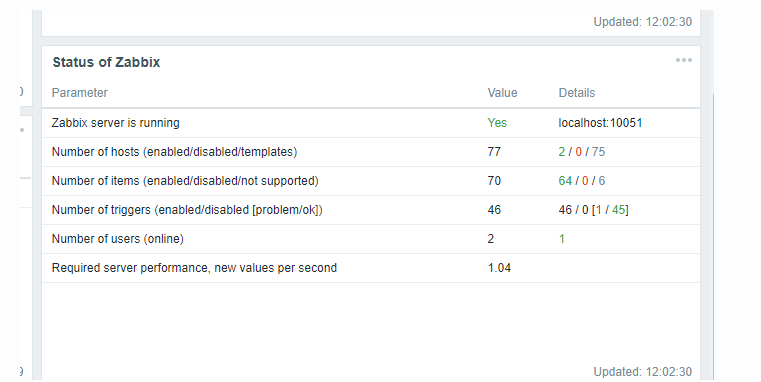
查看 添加主机的信息


 浙公网安备 33010602011771号