微信好友分析
一.环境要求
Windows 10;python 3.7;
第三方库
wxpy 0.3.9.8——登录微信
openpyxl 2.6.2——可对 excel 表格进行操作
pyecharts 0.5.11——百度的开源可视化库,
wordcloud 1.5.0——词云制作库
matplotlib 3.1.0——生成词云图
pandas 0.24.2——读取 excel 表格的数据
pyecharts-snapshot 0.2.0——是 pyecharts 的依赖库之一
echarts-countries-pypkg——pyecharts 的世界地图包
echarts-china-provinces-pypkg——pyecharts 的中国省份地图包
第三方库的安装
(2019年6月10号)除了 pyecharts 其它都可以直接使用 pip 安装,而安装 pycharts 需要特殊些(因为最新版已出为 1.X版,不向下兼容),如下:
|
1
2
3
4
5
6
7
8
9
10
|
pip install wxpypip install openpyxlpip install PILpip install pandaspip install wordcloudpip install pyecharts==0.5.11pip install echarts-countries-pypkgpip install echarts-china-provinces-pypkgpip install pyecharts-snapshot |
二.分析思路
1.登录微信,获取好友的基本信息
使用 wxpy 的 Bot() 模块,登录微信

from wxpy import *

bot = Bot(cache_path = True)

#获取全部好友的信息
friend_all = bot.friends()

#输出 friend_all 看一下
print(friend_all)

#输出好友数量
#print(len(friend_all))
输出结果为
2.把好友信息存为更易处理的二维列表
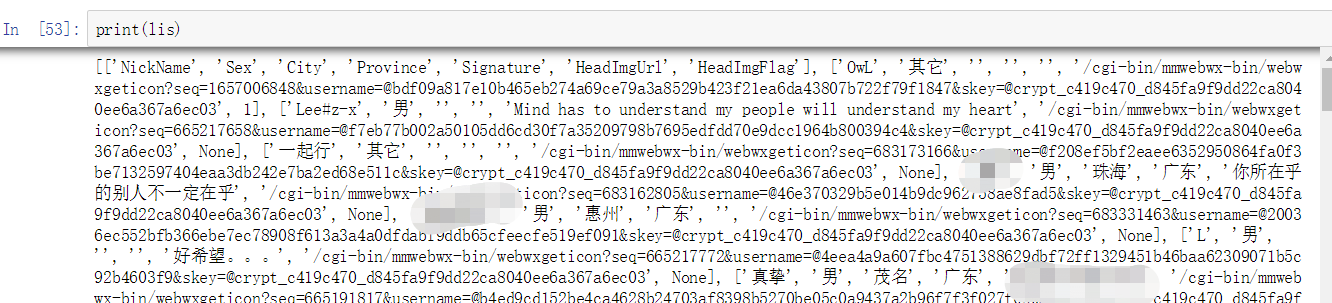
#建立一个二维列表,存储基本好友信息
lis = [['NickName','Sex','City','Province','Signature','HeadImgUrl','HeadImgFlag']]
#把好有特征数据保存为列表
for a_friend in friend_all:
    #遍历 friend_all, 并使用 raw.get(' ', None), 来获取每一各朋友的基本信息
    NickName = a_friend.raw.get('NickName', None)
    Sex = {1:"男", 2:"女", 0:"其它"}.get(a_friend.raw.get('Sex', None), None)
    City = a_friend.raw.get('City', None)
    Province = a_friend.raw.get('Province', None)
    Signature = a_friend.raw.get('Signature', None)
    HeadImgUrl = a_friend.raw.get('HeadImgUrl', None)
    HeadImgFlag = a_friend.raw.get('HeadImgFlag', None)
    list_0 = [NickName, Sex, City, Province, Signature, HeadImgUrl, HeadImgFlag]
    lis.append(list_0)
输出 lis
3.把列表存为 excel 表格,方便本地查看
#把列表转换为 xlsx 表格
def list_to_xlsx(filename, list):

    import openpyxl
  #新建一个表格
    wb = openpyxl.Workbook()
    sheet = wb.active
    sheet.title = 'Friends'
    file_name = filename + '.xlsx'
    for i in range(0, len(list)):
        for j in range(0, len(list[i])):
            sheet.cell(row = i+1, column = j+1, value = str(list[i][j]))

    wb.save(file_name)
    print("读写数据成功")

#把列表生成表格
list_to_xlsx('wechat_friend', lis)
生成的表格为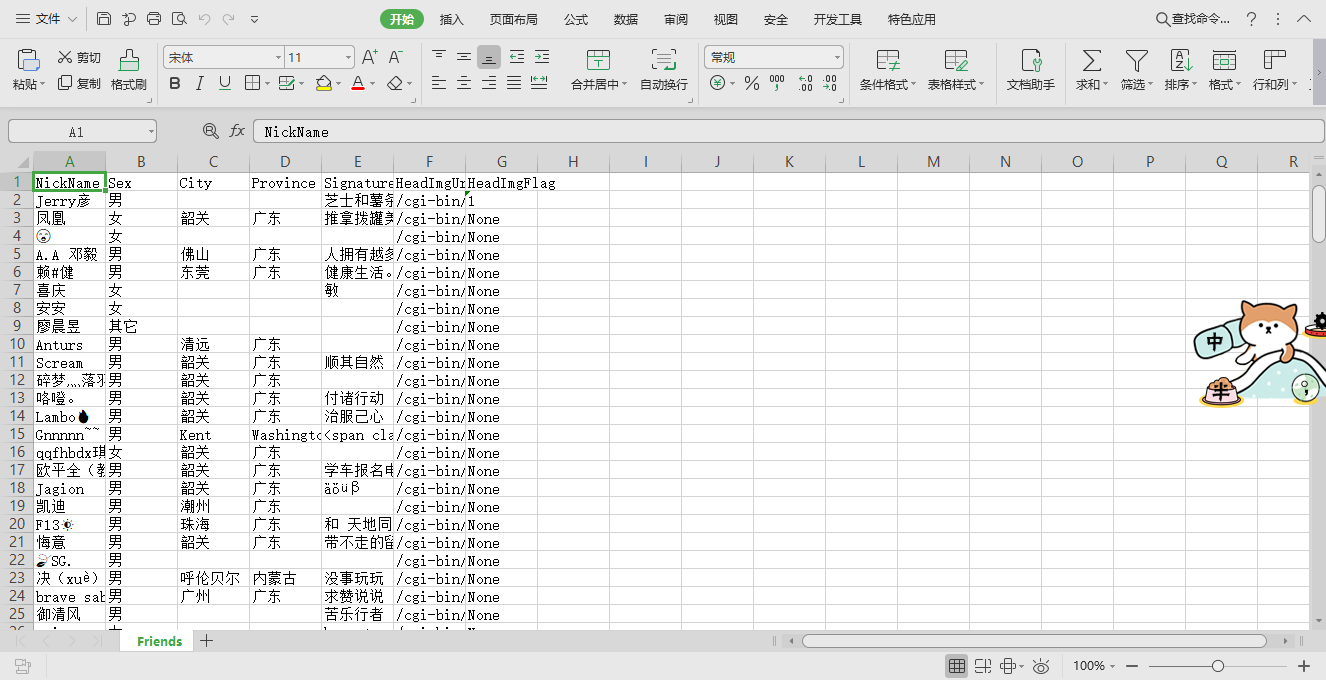
4.对 execl 表格进行处理,利用表格信息生成词云
from wordcloud import WordCloud
import matplotlib.pyplot as plt
import pandas as pd
from pandas import read_excel

df = read_excel('wechat_friend.xlsx')

#使用 WordCloud 生成词云
word_list = df['City'].fillna('').tolist()
new_text = ' '.join(word_list)
wordcloud = WordCloud(font_path='msyh.ttc', background_color = 'white').generate(new_text)
plt.imshow(wordcloud)
plt.axis("off")
plt.show()
plt.savefig("WordCloud.png")
print("保存词云图")
词云图展示
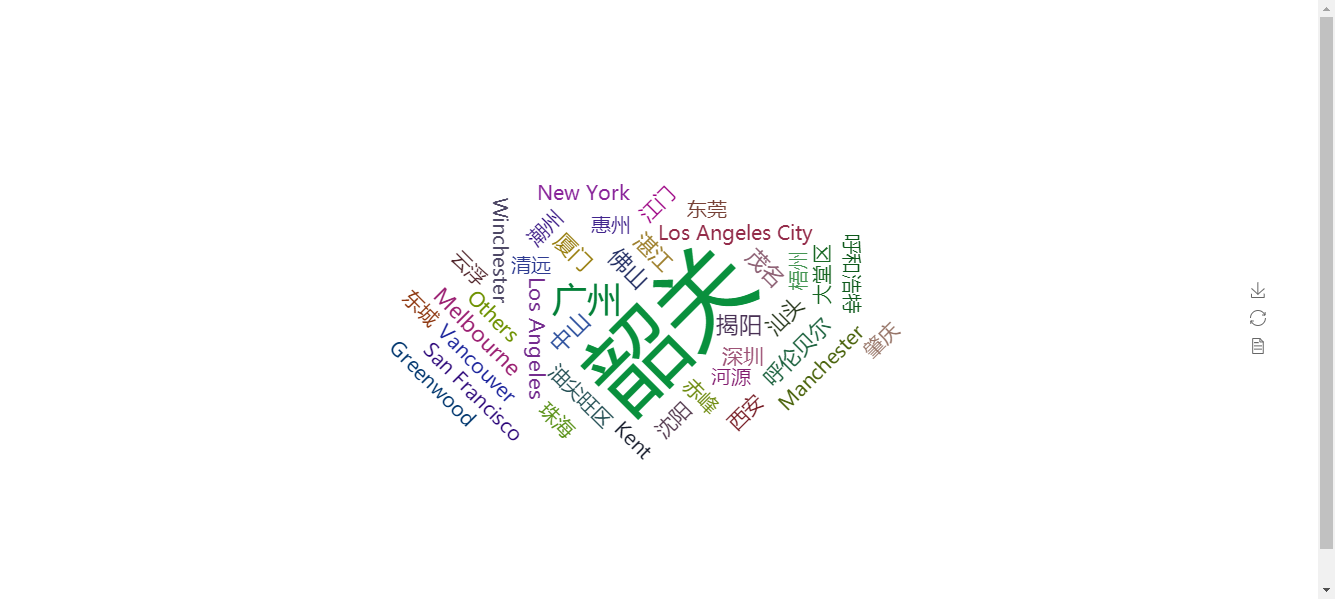
5.利用表格信息生成网页词云图(即HTML)
#使用 pyecharts 生成词云
from pyecharts import WordCloud

city_list = df['City'].fillna('').tolist()
count_city = pd.value_counts(city_list)
name = count_city.index.tolist()
value = count_city.tolist()

wordcloud = WordCloud(width=1300,height=620)
wordcloud.add("",name,value,word_size_range=[20,100])
#wordcloud.show_config()
#wordcloud.render(r'D:\wc.html')
wordcloud.render('wordcloud.html')
print("网页词云图已生成")
词云图展示

6.利用表格信息生成好友地图分布图
#将好友展示在地图上
from pyecharts import Map

province_list = df['Province'].fillna('').tolist()
count_province = pd.value_counts(province_list)
attr = count_province.index.tolist()
value1 = count_province.tolist()
map = Map("各省微信好友分布", width=1200,height=600)
map.add("",attr, value1, maptype='china',is_visualmap=True,visualmap_text_color='#000',is_label_show=True)
#map.show_config()
map.render('map.html')
print("map已生成")
微信好友分布图展示
三.最后代码汇总
把上面的代码,规范一下,可得——
# -*- coding: utf-8 -*-
"""
Created on Mon Jun  3 10:01:35 2019

@author: haiwe
"""
#获取微信接口
from wxpy import *

#把获取的微信好友信息存为列表
def wx_friend_information(friend_all):

    #先生成一个二维列表,用来储存好友信息
    lis = [['NickName','Sex','City','Province','Signature','HeadImgUrl','HeadImgFlag']]
    #遍历 friend_all, 并使用 raw.get(' ', None), 来获取每一各朋友的基本信息
    for a_friend in friend_all:
        NickName = a_friend.raw.get('NickName', None)
        Sex = {1:"男", 2:"女", 0:"其它"}.get(a_friend.raw.get('Sex', None), None)
        City = a_friend.raw.get('City', None)
        Province = a_friend.raw.get('Province', None)
        Signature = a_friend.raw.get('Signature', None)
        HeadImgUrl = a_friend.raw.get('HeadImgUrl', None)
        HeadImgFlag = a_friend.raw.get('HeadImgFlag', None)
        list_0 = [NickName, Sex, City, Province, Signature, HeadImgUrl, HeadImgFlag]
        lis.append(list_0)

    return lis

#把列表转换为 xlsx 表格,并保存表格
def list_to_xlsx(filename, list):

    #使用 openpyxl 创建空表格
    import openpyxl
    wb = openpyxl.Workbook()
    #获得当前正在显示的 sheet, 或 wb.get_active_sheet()
    sheet = wb.active
    #表格的 sheet 页命名为 Friends
    sheet.title = 'Friends'
    # execl 文件命名
    file_name = filename + '.xlsx'
    #遍历 excel 表格,并读入数据
    for i in range(0, len(list)):
        for j in range(0, len(list[i])):
            #为什么 i+1,j+1 不懂
            sheet.cell(row = i+1, column = j+1, value = str(list[i][j]))
    #保存表格
    wb.save(file_name)
    print("读写数据成功")

from wordcloud import WordCloud
import matplotlib.pyplot as plt
import pandas as pd
#使用 pandas 的 read_excel 模块读取execl 表格
from pandas import read_excel
#import numpy as np

#生成词云图
def create_wordcloud(df):

    #把 df(dataframe) 中城市那列中 为空的 替换为 空字符,并把替换后的城市列存在 city_list中
    word_list = df['City'].fillna('').tolist()
    #把 city_list 列表中的 各项 用空格隔开,并变为字符串
    new_text = ' '.join(word_list)
    #设置词云图的字体为 ‘msyh.ttc', 背景为白色(默认为黑色),并用 generate() 生成词云图
    wordcloud = WordCloud(font_path='msyh.ttc', background_color = 'white').generate(new_text)
    #展示生成的词云图
    plt.imshow(wordcloud)
    #plt.axis("off")
    #plt.show()
    plt.savefig("WordCloud.png")
    print("保存词云图")

#使用 pyecharts 生成词云
def create_wordcloud_html(df):

    #调用 pyecharts 中 wordcloud 模块
    from pyecharts import WordCloud

    #把 df(dataframe) 中城市那列中 为空的 替换为 空字符,并把替换后的城市列存在 city_list中
    city_list = df['City'].fillna('').tolist()

    #使用 pandas.value_count() 返回 city_list 中各项和其对应的频数(两者一一对应),并存在 count_city 中
    count_city = pd.value_counts(city_list)
    #把 count_city 中的项提取出来,并存在 name 中
    name = count_city.index.tolist()
    #把 count_city 中的频数提取出来
    value = count_city.tolist()
    #生成词云图
    wordcloud = WordCloud(width=1300,height=620)
    #往词云图中添加信息,
    wordcloud.add("",name,value,word_size_range=[20,100])
    #输出词云图的配置
    #wordcloud.show_config()
    #wordcloud.render(r'D:\wc.html')
    #保存词云图
    wordcloud.render('wordcloud.html')
    print("网页词云图已生成")


#将好友展示在地图上
def create_map(df):

    #使用 pyechart 的 Map 模块,生成网页词云图
    from pyecharts import Map

    #把 df(dataframe) 中省份那列中 为空的 替换为 空字符,并把替换后的城市列存在 province_list中
    province_list = df['Province'].fillna('').tolist()
    #使用 pandas.value_count() 返回 province_list 中各项和其对应的频数(两者一一对应),并存在 count_province 中
    count_province = pd.value_counts(province_list)
    #把 count_province 中的项提取出来,并存在 name 中
    attr = count_province.index.tolist()
    #把 count_province 中的频数提取出来
    value1 = count_province.tolist()
    #生成一个标题为 “ ”的空白 HTML
    map = Map("各省微信好友分布", width=1200,height=600)
    #向空白 HTML 中添加 信息,设置地图为 中国地图,并显示地图,设置地图上文字颜色,并显示标签
    map.add("",attr, value1, maptype='china',is_visualmap=True,visualmap_text_color='#000',is_label_show=True)
    #map.show_config()
    #保存词云网页
    map.render('map.html')
    print("map已生成")


if __name__ == "__main__":

    #获取登录二维码
    bot = Bot(cache_path = True)

    #获取微信朋友的基本数据
    friend_all = bot.friends()
    list = wx_friend_information(friend_all)
    list_to_xlsx('wechat_friend', list)

    df = read_excel('wechat_friend.xlsx')
    create_wordcloud(df)
    create_wordcloud_html(df)
    create_map(df)

 浙公网安备 33010602011771号