harbor搭建镜像仓库

harbor搭建镜像仓库(v2.7.2+docker v19.03.0+docker-composr v2.17.2)
考虑到镜像下载可能因为网络问题出现下载失败和之后需要部署的项目镜像下载,这边通过服务器搭建一个harbor镜像储存仓库,之后可以通过push和pull命令对镜像进行上传和下载。
首先是创建虚拟机,这里参考k8s搭建的文章,虚拟机的ip设置为:172.31.0.66。
docker安装
这里选择docker的版本为19.03.0,与k8s集群中的docker版本一致,因为之后是和集群一起使用的,这里的版本一致可以避免一些问题。
移除系统自带的docker
yum remove docker \
                  docker-client \
                  docker-client-latest \
                  docker-common \
                  docker-latest \
                  docker-latest-logrotate \
                  docker-logrotate \
                  docker-engine
配置yum源,镜像用的是阿里云
sudo yum install -y yum-utils
sudo yum-config-manager \
--add-repo \
http://mirrors.aliyun.com/docker-ce/linux/centos/docker-ce.repo
安装指定版本的docker并启动
yum install -y docker-ce-19.03.0 docker-ce-cli-19.03.0  containerd.io-1.4.6
systemctl enable docker --now
配置加速
sudo mkdir -p /etc/docker       # 创建文件夹
sudo tee /etc/docker/daemon.json <<-'EOF'
{
  "registry-mirrors": [
        "https://dockerproxy.com",
        "https://hub-mirror.c.163.com",
        "https://mirror.baidubce.com",
        "https://ccr.ccs.tencentyun.com"
    ],
    "insecure-registries": ["172.31.0.66:8088"]
}
EOF
sudo systemctl daemon-reload
sudo systemctl restart docker
至此docker就安装成功
docker version
查看docker版本。
docker-compose安装
因为网络问题,这里选择手动下载安装。
到官网上下载,导入centos中/usr/local/bin
https://github.com/docker/compose/releases
之后给文件加上可执行权限即可。
# 添加可执行权限
chmod +x /usr/local/bin/docker-compose

# 查看版本
docker-compose --version
harbor安装
到官方发布页面下载harbor离线安装包。
https://github.com/goharbor/harbor/releases
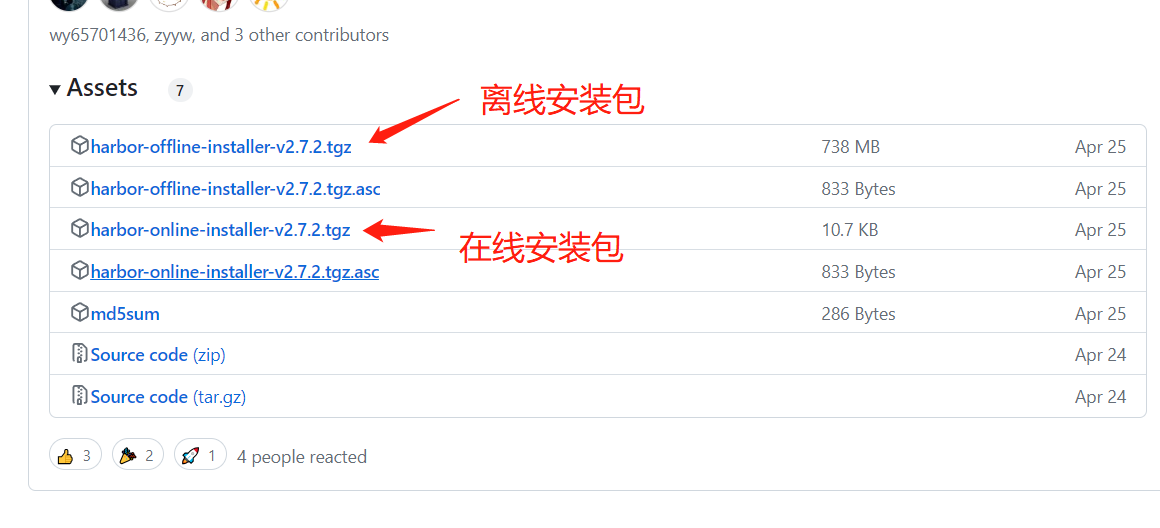
下载完成之后上传到服务器,我这边上传的是用户目录(~),用命令解压文件。
tar -zxf harbor-offline-installer-v2.7.2.tgz
# 进入harbor路径下
cd harbor
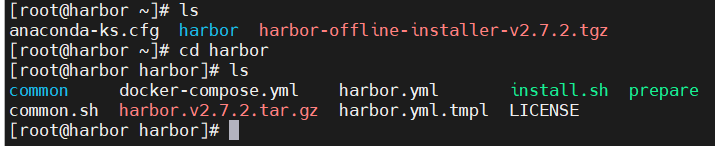
可以看到一些文件,复制harbor.yml.tmpl文件为harbor.yml,即创建一份配置文件。install.sh是安装文件,设置好配置文件之后直接运行就可以了。
# 复制并重命名一份新的配置文件
cp harbor.yml.tmpl harbor.yml
vim harbor.yml
下面是需要修改的一些配置的解释

harbor.yml示例模板(直接复制替换即可,需要修改hostname和端口号):
# Configuration file of Harbor

# The IP address or hostname to access admin UI and registry service.
# DO NOT use localhost or 127.0.0.1, because Harbor needs to be accessed by external clients.
hostname: 172.31.0.66

# http related config
http:
  # port for http, default is 80. If https enabled, this port will redirect to https port
  port: 8088

# 不使用HTTPS
# https related config
# https:
  # https port for harbor, default is 443
  # port: 443
  # The path of cert and key files for nginx
  # certificate: /your/certificate/path
  # private_key: /your/private/key/path

# # Uncomment following will enable tls communication between all harbor components
# internal_tls:
#   # set enabled to true means internal tls is enabled
#   enabled: true
#   # put your cert and key files on dir
#   dir: /etc/harbor/tls/internal

# Uncomment external_url if you want to enable external proxy
# And when it enabled the hostname will no longer used
# external_url: https://reg.mydomain.com:8433

# The initial password of Harbor admin
# It only works in first time to install harbor
# Remember Change the admin password from UI after launching Harbor.
harbor_admin_password: admin

# Harbor DB configuration
database:
  # The password for the root user of Harbor DB. Change this before any production use.
  password: 123456
  # The maximum number of connections in the idle connection pool. If it <=0, no idle connections are retained.
  max_idle_conns: 100
  # The maximum number of open connections to the database. If it <= 0, then there is no limit on the number of open connections.
  # Note: the default number of connections is 1024 for postgres of harbor.
  max_open_conns: 900

# The default data volume
data_volume: /mnt/harbor/data

# Harbor Storage settings by default is using /data dir on local filesystem
# Uncomment storage_service setting If you want to using external storage
# storage_service:
#   # ca_bundle is the path to the custom root ca certificate, which will be injected into the truststore
#   # of registry's and chart repository's containers.  This is usually needed when the user hosts a internal storage with self signed certificate.
#   ca_bundle:

#   # storage backend, default is filesystem, options include filesystem, azure, gcs, s3, swift and oss
#   # for more info about this configuration please refer https://docs.docker.com/registry/configuration/
#   filesystem:
#     maxthreads: 100
#   # set disable to true when you want to disable registry redirect
#   redirect:
#     disabled: false

# Trivy configuration
#
# Trivy DB contains vulnerability information from NVD, Red Hat, and many other upstream vulnerability databases.
# It is downloaded by Trivy from the GitHub release page https://github.com/aquasecurity/trivy-db/releases and cached
# in the local file system. In addition, the database contains the update timestamp so Trivy can detect whether it
# should download a newer version from the Internet or use the cached one. Currently, the database is updated every
# 12 hours and published as a new release to GitHub.
trivy:
  # ignoreUnfixed The flag to display only fixed vulnerabilities
  ignore_unfixed: false
  # skipUpdate The flag to enable or disable Trivy DB downloads from GitHub
  #
  # You might want to enable this flag in test or CI/CD environments to avoid GitHub rate limiting issues.
  # If the flag is enabled you have to download the `trivy-offline.tar.gz` archive manually, extract `trivy.db` and
  # `metadata.json` files and mount them in the `/home/scanner/.cache/trivy/db` path.
  skip_update: false
  #
  # The offline_scan option prevents Trivy from sending API requests to identify dependencies.
  # Scanning JAR files and pom.xml may require Internet access for better detection, but this option tries to avoid it.
  # For example, the offline mode will not try to resolve transitive dependencies in pom.xml when the dependency doesn't
  # exist in the local repositories. It means a number of detected vulnerabilities might be fewer in offline mode.
  # It would work if all the dependencies are in local.
  # This option doesn’t affect DB download. You need to specify "skip-update" as well as "offline-scan" in an air-gapped environment.
  offline_scan: false
  #
  # insecure The flag to skip verifying registry certificate
  insecure: false
  # github_token The GitHub access token to download Trivy DB
  #
  # Anonymous downloads from GitHub are subject to the limit of 60 requests per hour. Normally such rate limit is enough
  # for production operations. If, for any reason, it's not enough, you could increase the rate limit to 5000
  # requests per hour by specifying the GitHub access token. For more details on GitHub rate limiting please consult
  # https://developer.github.com/v3/#rate-limiting
  #
  # You can create a GitHub token by following the instructions in
  # https://help.github.com/en/github/authenticating-to-github/creating-a-personal-access-token-for-the-command-line
  #
  # github_token: xxx

jobservice:
  # Maximum number of job workers in job service
  max_job_workers: 10

notification:
  # Maximum retry count for webhook job
  webhook_job_max_retry: 10

chart:
  # Change the value of absolute_url to enabled can enable absolute url in chart
  absolute_url: disabled

# Log configurations
log:
  # options are debug, info, warning, error, fatal
  level: info
  # configs for logs in local storage
  local:
    # Log files are rotated log_rotate_count times before being removed. If count is 0, old versions are removed rather than rotated.
    rotate_count: 50
    # Log files are rotated only if they grow bigger than log_rotate_size bytes. If size is followed by k, the size is assumed to be in kilobytes.
    # If the M is used, the size is in megabytes, and if G is used, the size is in gigabytes. So size 100, size 100k, size 100M and size 100G
    # are all valid.
    rotate_size: 200M
    # The directory on your host that store log
    location: /var/log/harbor

  # Uncomment following lines to enable external syslog endpoint.
  # external_endpoint:
  #   # protocol used to transmit log to external endpoint, options is tcp or udp
  #   protocol: tcp
  #   # The host of external endpoint
  #   host: localhost
  #   # Port of external endpoint
  #   port: 5140

#This attribute is for migrator to detect the version of the .cfg file, DO NOT MODIFY!
_version: 2.5.0

# Uncomment external_database if using external database.
# external_database:
#   harbor:
#     host: harbor_db_host
#     port: harbor_db_port
#     db_name: harbor_db_name
#     username: harbor_db_username
#     password: harbor_db_password
#     ssl_mode: disable
#     max_idle_conns: 2
#     max_open_conns: 0
#   notary_signer:
#     host: notary_signer_db_host
#     port: notary_signer_db_port
#     db_name: notary_signer_db_name
#     username: notary_signer_db_username
#     password: notary_signer_db_password
#     ssl_mode: disable
#   notary_server:
#     host: notary_server_db_host
#     port: notary_server_db_port
#     db_name: notary_server_db_name
#     username: notary_server_db_username
#     password: notary_server_db_password
#     ssl_mode: disable

# Uncomment external_redis if using external Redis server
# external_redis:
#   # support redis, redis+sentinel
#   # host for redis: <host_redis>:<port_redis>
#   # host for redis+sentinel:
#   #  <host_sentinel1>:<port_sentinel1>,<host_sentinel2>:<port_sentinel2>,<host_sentinel3>:<port_sentinel3>
#   host: redis:6379
#   password:
#   # sentinel_master_set must be set to support redis+sentinel
#   #sentinel_master_set:
#   # db_index 0 is for core, it's unchangeable
#   registry_db_index: 1
#   jobservice_db_index: 2
#   chartmuseum_db_index: 3
#   trivy_db_index: 5
#   idle_timeout_seconds: 30

# Uncomment uaa for trusting the certificate of uaa instance that is hosted via self-signed cert.
# uaa:
#   ca_file: /path/to/ca

# Global proxy
# Config http proxy for components, e.g. http://my.proxy.com:3128
# Components doesn't need to connect to each others via http proxy.
# Remove component from `components` array if want disable proxy
# for it. If you want use proxy for replication, MUST enable proxy
# for core and jobservice, and set `http_proxy` and `https_proxy`.
# Add domain to the `no_proxy` field, when you want disable proxy
# for some special registry.
proxy:
  http_proxy:
  https_proxy:
  no_proxy:
  components:
    - core
    - jobservice
    - trivy

# metric:
#   enabled: false
#   port: 9090
#   path: /metrics

# Trace related config
# only can enable one trace provider(jaeger or otel) at the same time,
# and when using jaeger as provider, can only enable it with agent mode or collector mode.
# if using jaeger collector mode, uncomment endpoint and uncomment username, password if needed
# if using jaeger agetn mode uncomment agent_host and agent_port
# trace:
#   enabled: true
#   # set sample_rate to 1 if you wanna sampling 100% of trace data; set 0.5 if you wanna sampling 50% of trace data, and so forth
#   sample_rate: 1
#   # # namespace used to differenciate different harbor services
#   # namespace:
#   # # attributes is a key value dict contains user defined attributes used to initialize trace provider
#   # attributes:
#   #   application: harbor
#   # # jaeger should be 1.26 or newer.
#   # jaeger:
#   #   endpoint: http://hostname:14268/api/traces
#   #   username:
#   #   password:
#   #   agent_host: hostname
#   #   # export trace data by jaeger.thrift in compact mode
#   #   agent_port: 6831
#   # otel:
#   #   endpoint: hostname:4318
#   #   url_path: /v1/traces
#   #   compression: false
#   #   insecure: true
#   #   timeout: 10s

# enable purge _upload directories
upload_purging:
  enabled: true
  # remove files in _upload directories which exist for a period of time, default is one week.
  age: 168h
  # the interval of the purge operations
  interval: 24h
  dryrun: false
修改完成之后运行安装文件即可
# 安装
./install.sh
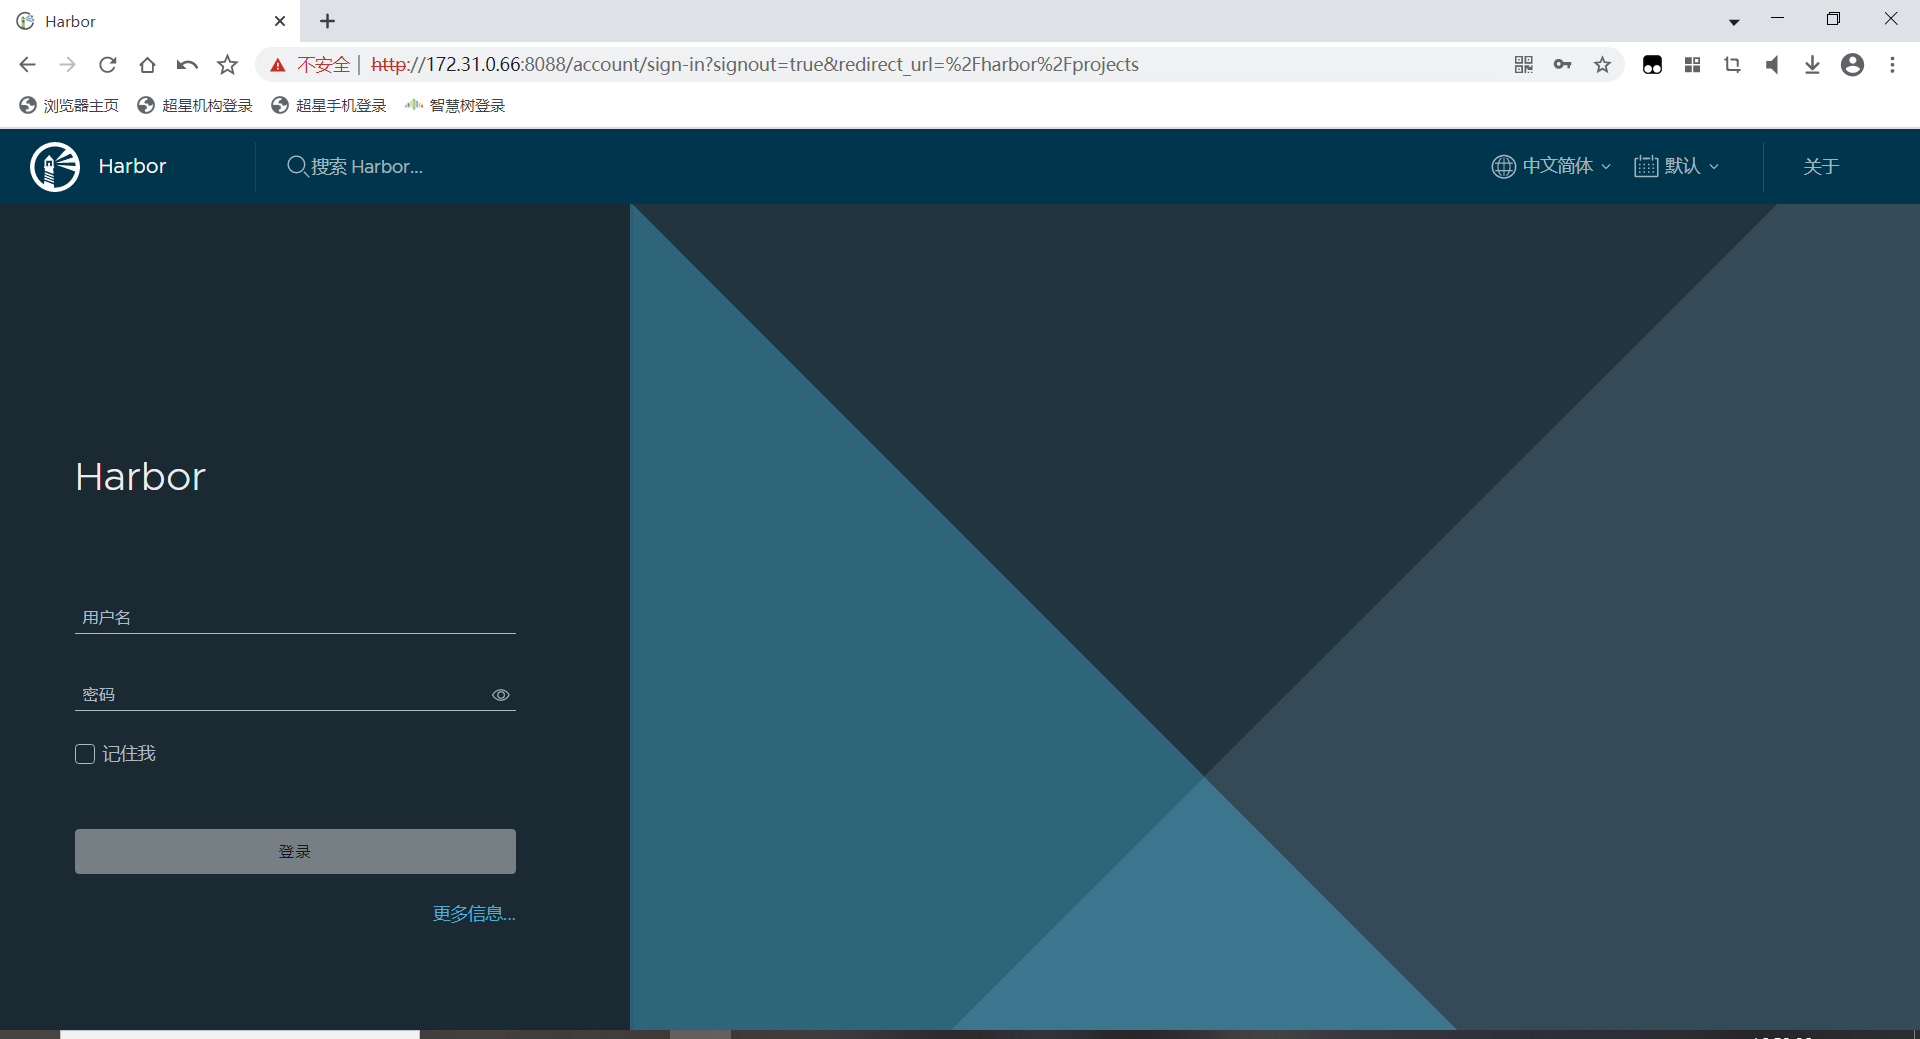
当看见successfully时表示安装完成
之后就可以通过yml文件中的ip和端口号访问了
配置docker通过harbor下载
找到docker 的 daemon.json 配置文件,CentOS 7 的路径:/etc/docker/daemon.json,如果路径下没有这个文件自己创建即可。然后再配置文件里加上:
sudo mkdir -p /etc/docker       # 创建文件夹
sudo tee /etc/docker/daemon.json <<-'EOF'
{
  "registry-mirrors": [
        "https://dockerproxy.com",
        "https://hub-mirror.c.163.com",
        "https://mirror.baidubce.com",
        "https://ccr.ccs.tencentyun.com"
    ],
    "insecure-registries": ["172.31.0.66:8088"]
}
EOF
sudo systemctl daemon-reload
sudo systemctl restart docker
在命令行窗口用docker登录harbor
登录harbor
docker login -u admin -p admin 172.3.0.66:8088
harbor的启动和停止
//切换到harbor安装包目录
docker-compose stop   //停止Harbor
docker-compose start  //启动Harbor
重启服务器后会启动失败,下面是启动harbor的命令
1、进入harbor路径
cd harbor
2、启动
docker-compose up -d

 浙公网安备 33010602011771号