Elasticsearch(ES)安装
参考:http://www.ruanyifeng.com/blog/2017/08/elasticsearch.html
https://blog.csdn.net/hemin1003/article/details/73295303
安装ES遇到的问题:
1,启动内存不足
$./bin/elasticsearch
Java HotSpot(TM) 64-Bit Server VM warning: INFO: os::commit_memory(0x0000000085330000, 2060255232, 0) failed; error='Cannot allocate memory' (errno=12)
#
# There is insufficient memory for the Java Runtime Environment to continue.
# Native memory allocation (mmap) failed to map 2060255232 bytes for committing reserved memory.
# An error report file with more information is saved as:
# /data/elasticsearch-5.2.2/hs_err_pid26945.log
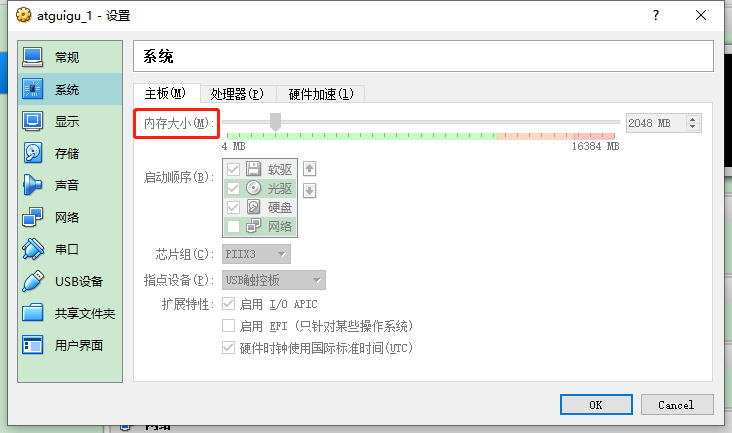
解决方案:调小启动内存 或者增大虚拟机内存
# 调小启动内存
# vi ${elasticsearch_HOME}/config/jvm.options

#-Xms2g
#-Xmx2g
-Xms512m
-Xmx512m
# 增大虚拟机内存 ,free -h 查看空闲内存
2,不能以root账号来运行elasticsearch,创建一个单独的用户用来运行ElasticSearch
a.创建用户组和用户:
    groupadd esgroup
    useradd esuser -g esgroup -p espassword

b.更改elasticsearch文件夹及内部文件的所属用户及组:
    cd /opt
    chown -R esuser:esgroup elasticsearch-5.1.1

c.切换用户并运行:
    su esuser
    ./bin/elasticsearch

d.后台运行,连接测试
    ./bin/elasticsearch -d
    curl 127.0.0.1:9200
3 错误提示:max virtual memory areas vm.maxmapcount [65530] is too low
a.运行命令
   sudo sysctl -w vm.max_map_count=262144
    或者
    vi /etc/sysctl.conf
    添加:vm.max_map_count=655360

b.切换到root用户,修改配置limits.conf
    vi /etc/security/limits.conf

    添加如下内容:
    * soft nofile 65536
    * hard nofile 131072
    * soft nproc 2048
    * hard nproc 4096

c.使更新文件生效
    sysctl -p
4,让本地主机可以访问,对config/elasticsearch.yml进行配置IP
network.host: 192.168.111.131 (服务器的IP)
5.启动多次,提示错误:org.elasticsearch.bootstrap.StartupException: java.lang.IllegalStateException: failed to obtain node
kill -9 PID
安装好ES 和 Kibana 后,安装 ik ,
命令为:
./bin/elasticsearch-plugin install https://github.com/medcl/elasticsearch-analysis-ik/releases/download/v5.5.1/elasticsearch-analysis-ik-5.5.1.zip

或者下载zip包,解压到 ES/plugin/ik/中(新建ik文件夹)


安装ES head插件:参考文章  参考文章  参考文章
yum -y install wget
wget https://nodejs.org/dist/v10.16.0/node-v10.16.0-linux-x64.tar.xz // 下载
tar xf node-v10.16.0-linux-x64.tar.xz // 解压
cd node-v10.16.0-linux-x64 // 进入解压目录


安装时,提示certificate is not yet valid,解决方案:
npm config set strict-ssl false
所有内容皆为个人总结或转载别人的文章,只为学习技术。
若您觉得文章有用,欢迎点赞分享!
若无意对您的文章造成侵权,请您留言,博主看到后会及时处理,谢谢。

 浙公网安备 33010602011771号