


centos搭建gitlab
查看linux内核版本:
cat /proc/version
#或者
uname -a
查看Linux系统版本的命令:
lsb_release -a
如果出现虚拟机不能上网的情况,参考:https://www.cnblogs.com/gdxu6434/p/7799327.html
更改yum源、repo源,参考:https://www.cnblogs.com/lyz108/p/10293430.html
我这里使用的是centos 7 64bit系统,我试过centos 64bit系统也是可以的。
1. 安装依赖软件
sudo yum -y install policycoreutils-python openssh-server postfix
2.设置postfix开机自启,并启动,postfix支持gitlab发信功能
sudo systemctl enable postfix && systemctl start postfix
开启sshd:
sudo systemctl enable sshd && systemctl start sshd
将http服务加入到防火墙:
sudo firewall-cmd --permanent --add-service=http
sudo systemctl reload firewalld
3.
方式一:下载gitlab安装包,然后安装
centos 6系统的下载地址:https://mirrors.tuna.tsinghua.edu.cn/gitlab-ce/yum/el6
centos 7系统的下载地址:https://mirrors.tuna.tsinghua.edu.cn/gitlab-ce/yum/el7
我的是centos7,所以我在https://mirrors.tuna.tsinghua.edu.cn/gitlab-ce/yum/el7中找了个gitlab8.0.0版本,建议下载一个比较新的版本,我这里选了一个比较旧的版本仅仅是实验记录。
下载rpm包并安装:
sudo wget https://mirrors.tuna.tsinghua.edu.cn/gitlab-ce/yum/el7/gitlab-ce-8.0.0-ce.0.el7.x86_64.rpm
sudo rpm -i gitlab-ce-8.0.0-ce.0.el7.x86_64.rpm
方式二:参考---https://about.gitlab.com/install/#centos-7
Add the GitLab package repository:
curl https://packages.gitlab.com/install/repositories/gitlab/gitlab-ee/script.rpm.sh | sudo bash
https://gitlab.example.com是你的gitlab服务器url地址
sudo EXTERNAL_URL="https://gitlab.example.com" yum install -y gitlab-ee
这里也可以不指定url:sudo yum install -y gitlab-ee,然后再到/etc/gitlab/gitlab.rb去配置,就和方式一一样了。
https://blog.csdn.net/musuny/article/details/78548868
4.修改gitlab配置文件指定服务器ip和自定义端口
gitlab 默认会开启80和8080端口。
安装完成以后修改文件
/etc/gitlab/gitlab.rb,设置访问url
external_url 'http://10.10.10.10:80/gitlab'
重启配置:
sudo gitlab-ctl reconfigure
重新启动gitlab
sudo gitlab-ctl restart
如果这两个端口被占用,则需要按以下修改,示例:使用10000端口访问,同时gitlab服务还要使用10001端口
# sudo vim  /etc/gitlab/gitlab.rb
external_url 'http://localhost:10000'
unicorn[‘port’] = 10001
nginx[‘listen_port’] = 10001
# sudo vim /var/opt/gitlab/gitlab-rails/etc/unicorn.rb
listen “127.0.0.1:10001”, :tcp_nopush => true
# 修改默认的gitlab nginx的web服务80端
sudo vim /var/opt/gitlab/nginx/conf/gitlab-http.conf
listen *:10000;
# 重启配置:
sudo gitlab-ctl reconfigure
# 重新启动gitlab
sudo gitlab-ctl restart
提示“ok: run:”表示启动成功。
6.访问 GitLab页面
如果没有域名,直接输入服务器ip和指定端口进行访问,初始账户: root 密码: 5iveL!fe
第一次登录修改密码

6.设置gitlab发信功能,需要注意一点
发信系统用的默认的postfix,smtp是默认开启的,两个都启用了,两个都不会工作。
我这里设置关闭smtp,开启postfix
关闭smtp方法:vim /etc/gitlab/gitlab.rb
找到#gitlab_rails['smtp_enable'] = true 改为 gitlab_rails['smtp_enable'] = false
修改后执行gitlab-ctl reconfigure
另一种是关闭postfix,设置开启smtp,相关教程请参考官网https://doc.gitlab.cc/omnibus/settings/smtp.html
测试是否可以邮件通知:
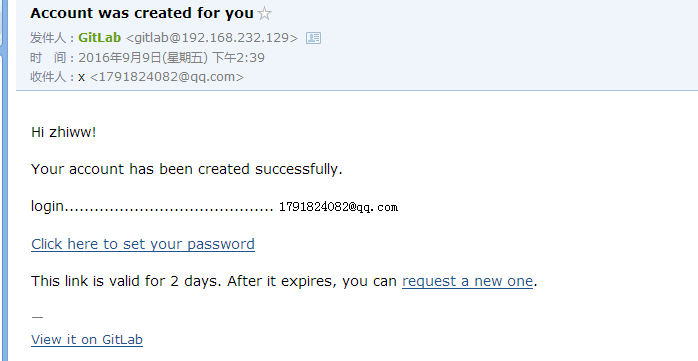
登录并添加一个用户,我这里使用qq邮箱添加一个用户
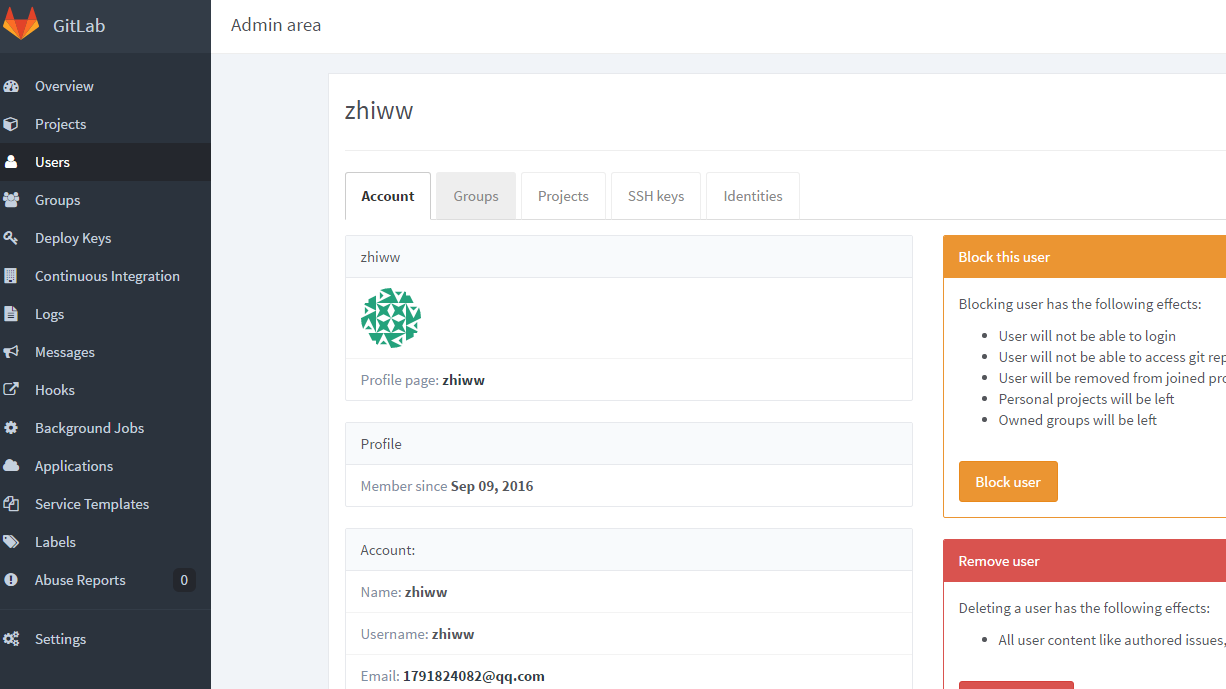
登录qq邮箱,可以收到邮件通知(如果收不到,请查看垃圾邮箱或者检查邮件是否被拦截并删除,如果有请添加到白名单并删除用户再重新添加用户就可以收到了,否则请检查邮件日志并做好相关设置)
安装过程出现的报错处理
(1)登录502报错
一般是权限问题,解决方法:chmod -R 755 /var/log/gitlab
如果还不行,请检查你的内存,安装使用GitLab需要至少4GB可用内存(RAM + Swap)! 由于操作系统和其他正在运行的应用也会使用内存, 所以安装GitLab前一定要注意当前服务器至少有4GB的可用内存. 少于4GB内存会出现各种诡异的问题, 而且在使用过程中也经常会出现500错误.
(2)执行gitlab-ctl reconfigure命令出现账户权限报错
n itdb: could not obtain information about current user: Permission denied
Error executing action `run` on resource 'execute[/opt/gitlab/embedded/bin/initdb -D /var/opt/gitlab/postgresql/data -E UTF8]'
根据报错信息大概锁定用户的权限问题,安装gitlab-ce会自动添加用户四个用户:
gitlab-www:x:497:498::/var/opt/gitlab/nginx:/bin/false
git:x:496:497::/var/opt/gitlab:/bin/sh
gitlab-redis:x:495:496::/var/opt/gitlab/redis:/bin/nologin
gitlab-psql:x:494:495::/var/opt/gitlab/postgresql:/bin/sh
google和百度都搜索不到解决方法,既然出错提示到权限问题,那么按照账户权限这个方向去查就不会有问题,后来查了文件/etc/passwd的权限是600,给予644权限后,成功解决报错问题
posted on 2017-03-10 22:41 myworldworld 阅读(92) 评论(0) 收藏 举报


 浙公网安备 33010602011771号