苍穹外卖-day06
HttpClient
httpClient:是javaEE的子项目,他可以使用java代码去发送http请求

入门案例:
注意⚠️:这是后端使用httpclient模拟前端发送请求,需要先启动项目,然后在进行测试
test/httpclientTest
package com.sky.test;

import com.alibaba.fastjson.JSONObject;
import org.apache.http.HttpEntity;
import org.apache.http.client.methods.CloseableHttpResponse;
import org.apache.http.client.methods.HttpGet;
import org.apache.http.client.methods.HttpPost;
import org.apache.http.entity.StringEntity;
import org.apache.http.impl.client.CloseableHttpClient;
import org.apache.http.impl.client.HttpClients;
import org.apache.http.util.EntityUtils;
import org.junit.jupiter.api.Test;
import org.springframework.boot.test.context.SpringBootTest;

import java.io.IOException;

/**
 * @author Han
 * @since
 */
@SpringBootTest
public class HttpClientTest {
    @Test
    public void testGET() throws IOException {
        //创建HttpClient对象
        CloseableHttpClient httpClient = HttpClients.createDefault();//CloseableHttpClient是HttpClient的一个实现类,HttpClients是HttpClient的工具类,用于生成HttpClient对象
        //创建请求对象
        HttpGet httpGet = new HttpGet("http://localhost:8080/user/shop/status");
        //发送请求,并接受响应
        CloseableHttpResponse response = httpClient.execute(httpGet);
        //获取响应状态码
        int statusCode = response.getStatusLine().getStatusCode();
        System.out.println("服务端响应状态码"+statusCode);
        //获取响应对象
        HttpEntity entity = response.getEntity();
        String body = EntityUtils.toString(entity);
        System.out.println("服务端响应数据为:"+body);

        //关闭资源
        response.close();
        httpClient.close();
    }


    @Test
    public void testPOST() throws IOException {
        //创建HttpClient对象
        CloseableHttpClient httpClient = HttpClients.createDefault();
        //创建请求对象
        HttpPost httpPost = new HttpPost("http://localhost:8080/admin/employee/login");
        StringEntity entity = new StringEntity(
                JSONObject.toJSONString(new JSONObject()
                        .fluentPut("username", "admin")
                        .fluentPut("password", "123456")));
        //设置请求格式和编码
        entity.setContentType("application/json");
        entity.setContentEncoding("utf-8");
        httpPost.setEntity(entity);

        //发送请求,并接受响应
        CloseableHttpResponse response = httpClient.execute(httpPost);
        //获取响应状态码
        int statusCode = response.getStatusLine().getStatusCode();
        System.out.println("服务端响应状态码"+statusCode);
        //获取响应对象
        HttpEntity responseEntity = response.getEntity();
        String body = EntityUtils.toString(responseEntity);
        System.out.println("服务端响应数据为:"+body);
        //关闭资源
        response.close();
        httpClient.close();
    }
}
⚠️:在junit测试的时候遇到的错误
junit 报错1:找不到junit,但是已经添加了依赖,可能是项目模块将src目录表格为了源代码目录
解决:将src取消标记为源代码目录
报错2: 找不到测试类
java.lang.IllegalStateException: Unable to find a @SpringBootConfiguration, you need to use @ContextConfiguration or @SpringBootTest(classes=...) with your test
解决:测试类的包名要和源代码包名一致
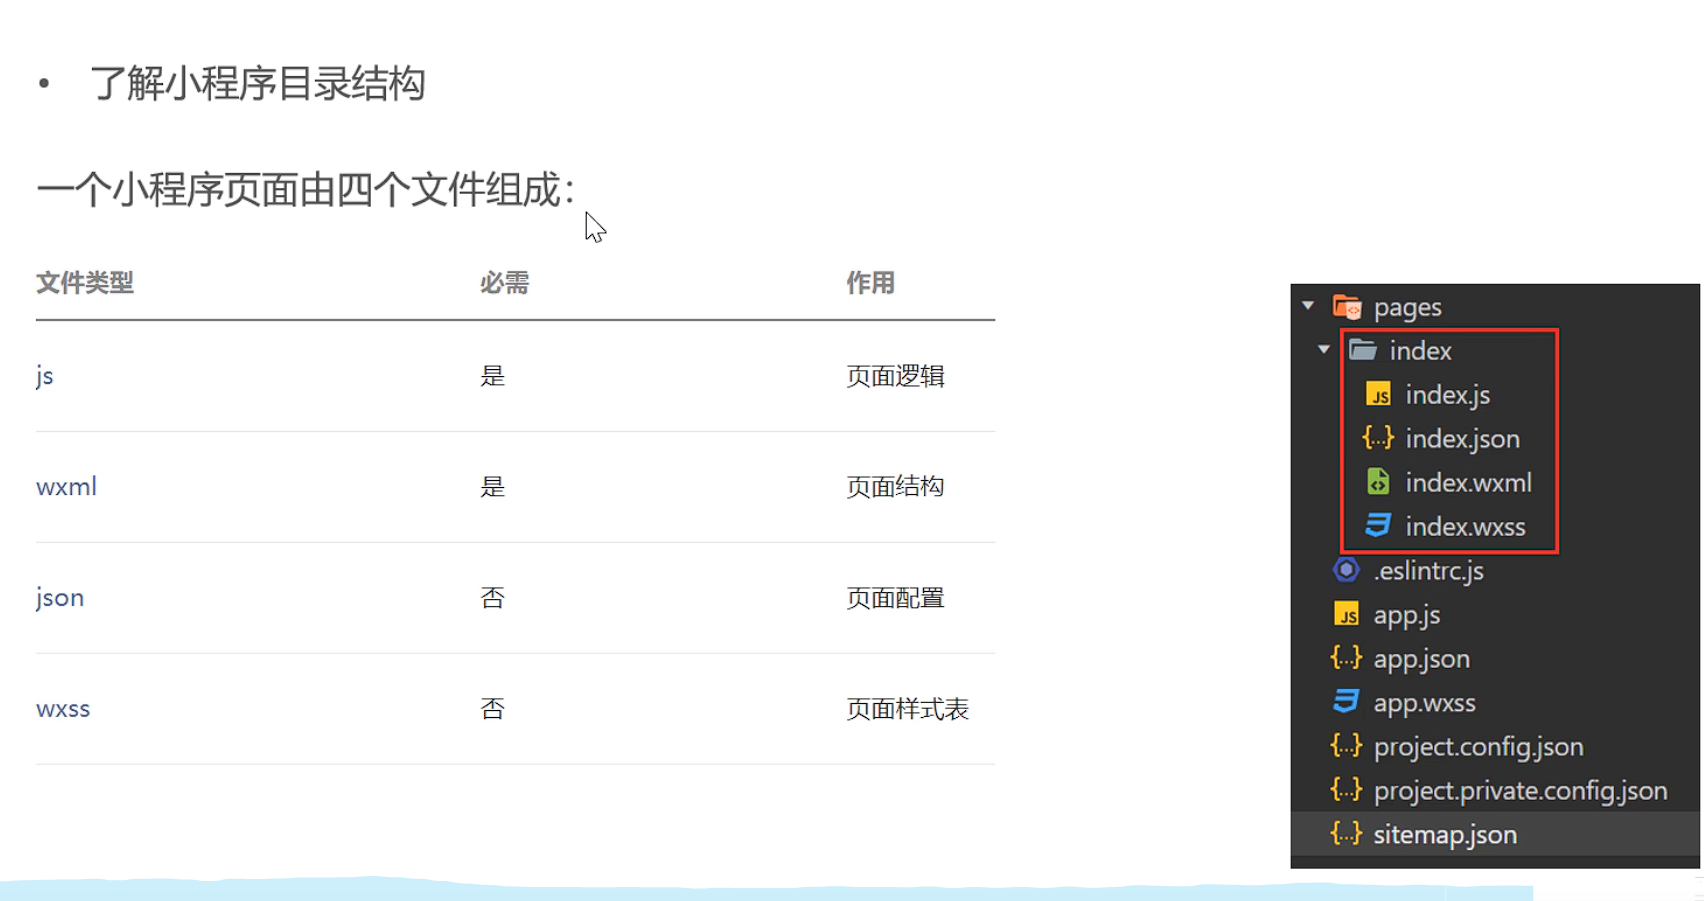
微信小程序开发
官网介绍:https://mp.weixin.qq.com/cgi-bin/wx?token=&lang=zh_CN
不同范围,对开发者提供的权限也不同,个人无法开发支付功能
开发流程:
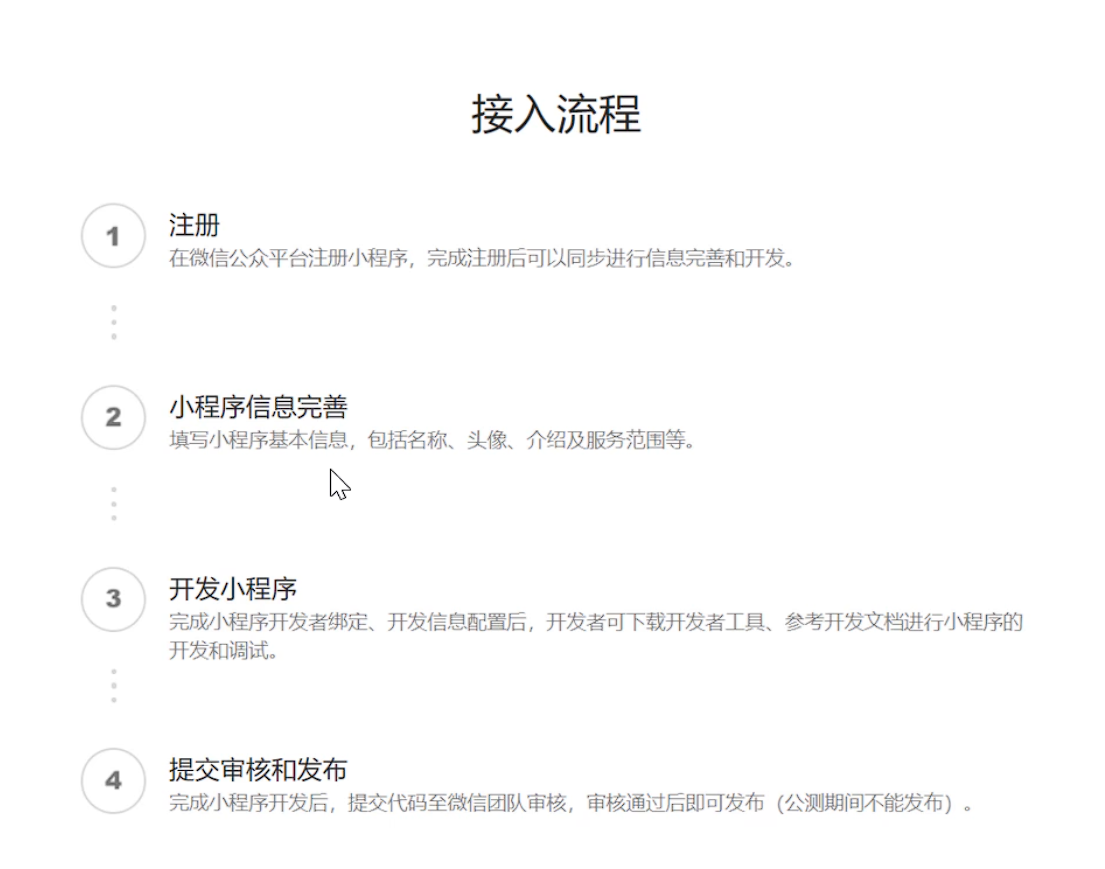
准备工作:
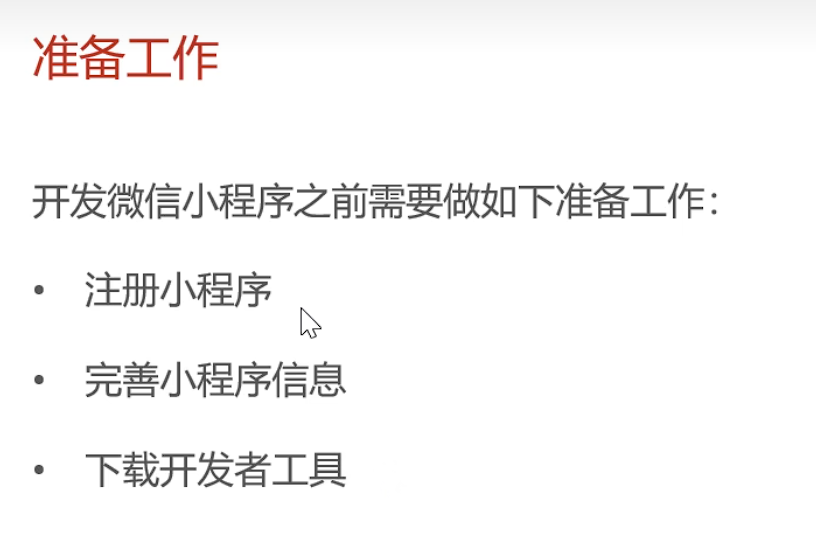
1.注册小程序获取appid和密钥
AppID:wx2b7e364a16f8d1c6
密钥: 7bcd808a5fe8b674783e8942429cc555
2.安装开发者工具
3.创建项目
- 不使用模板
- 不使用云服务
4.进入项目后勾选不校验合法域名
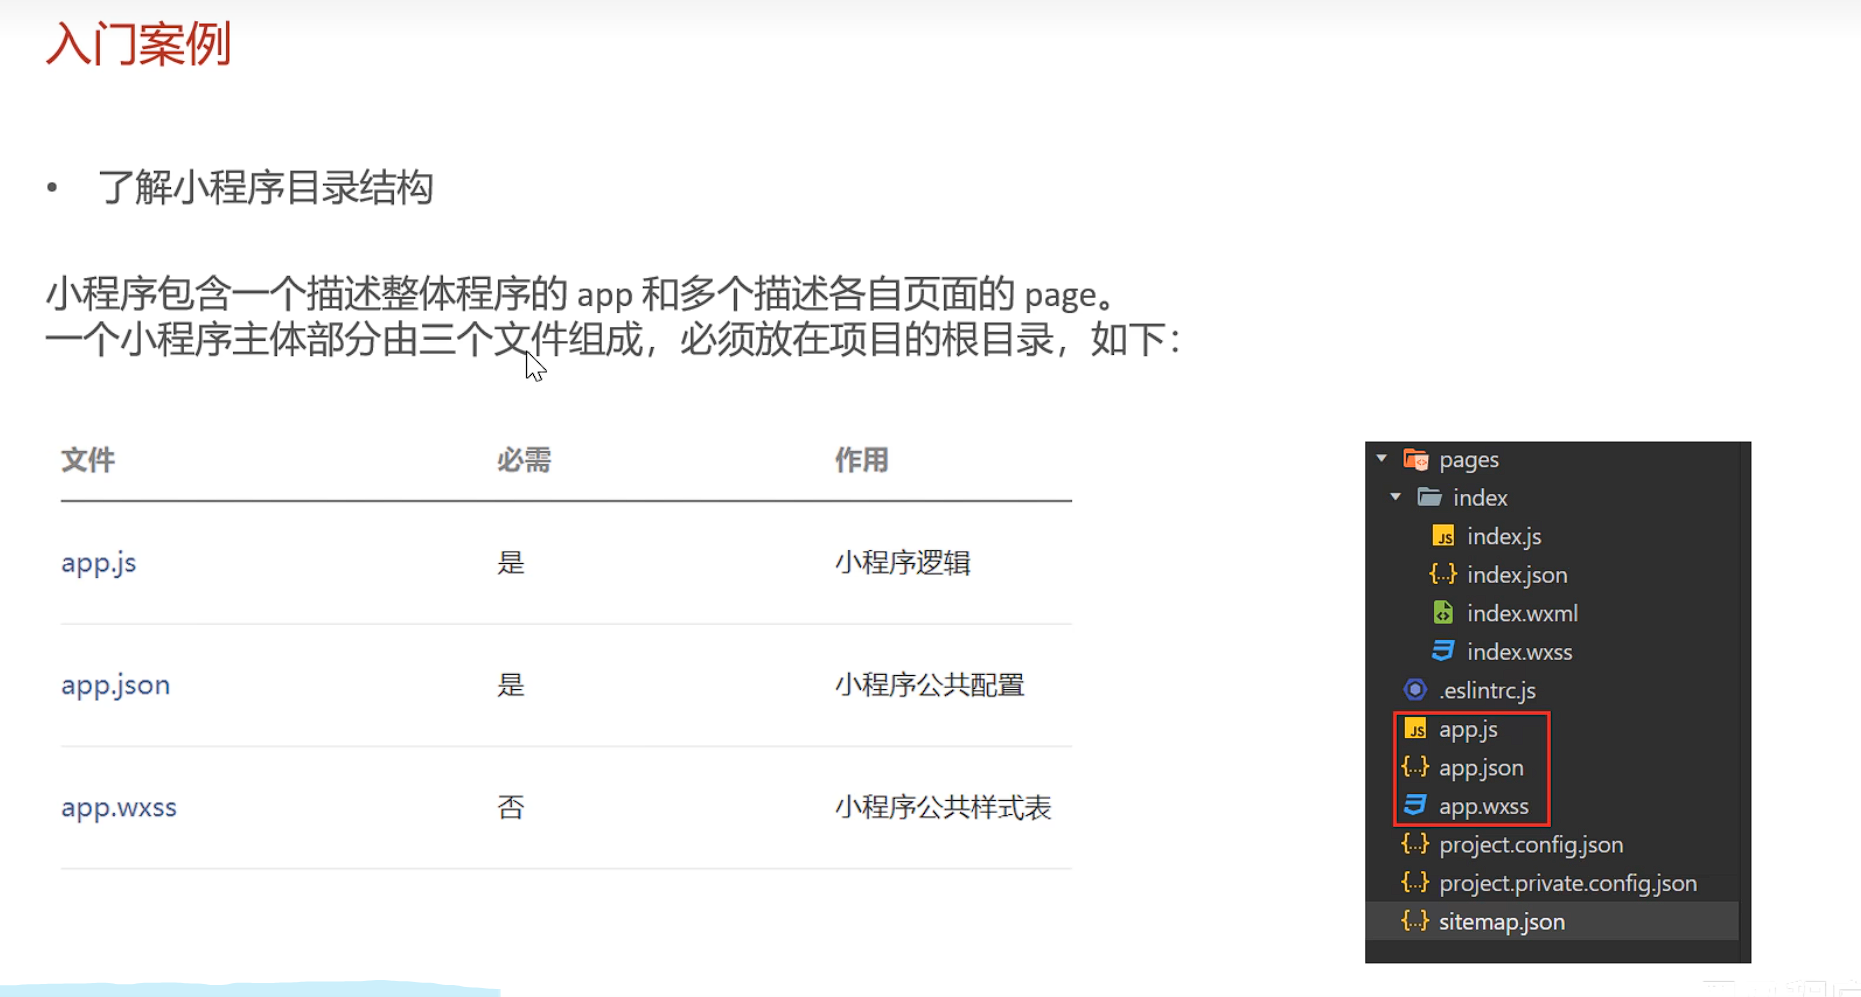
入门案例
微信登录
1.看视频自行导入day06准备好的项目即可
⚠️: 导入项目后在 common/vendor.js 文件中修改localhost ,为后端端口
- 小程序登录流程
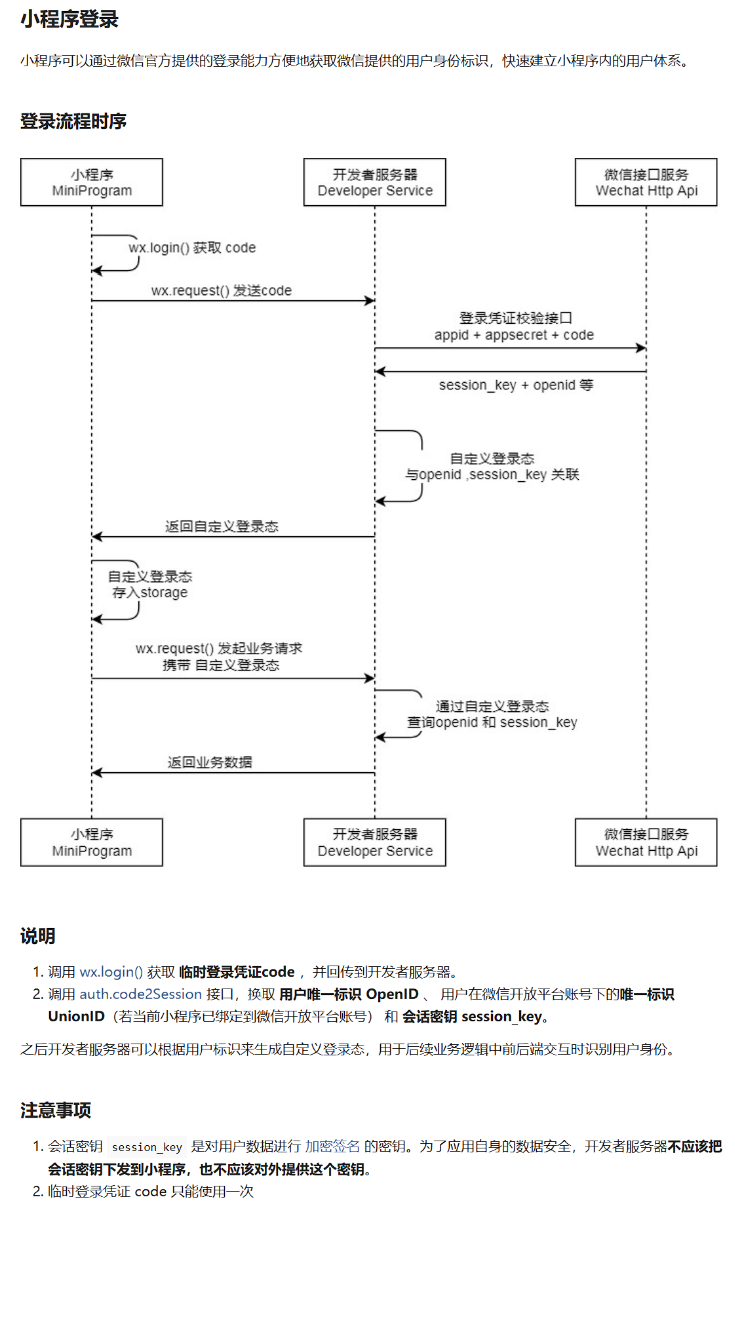
自我解析:小程序通过wx.login()获取 code 然后在把code发送给后端服务器,
后端服务器调用微信接口服务
auto.code2Session发送请求,携带 appid + appsecret +code ,微信接口返回 session_key + openid 等信息 ,
最后返回登录状态,以后每次发起业务请求都会携带登录状态
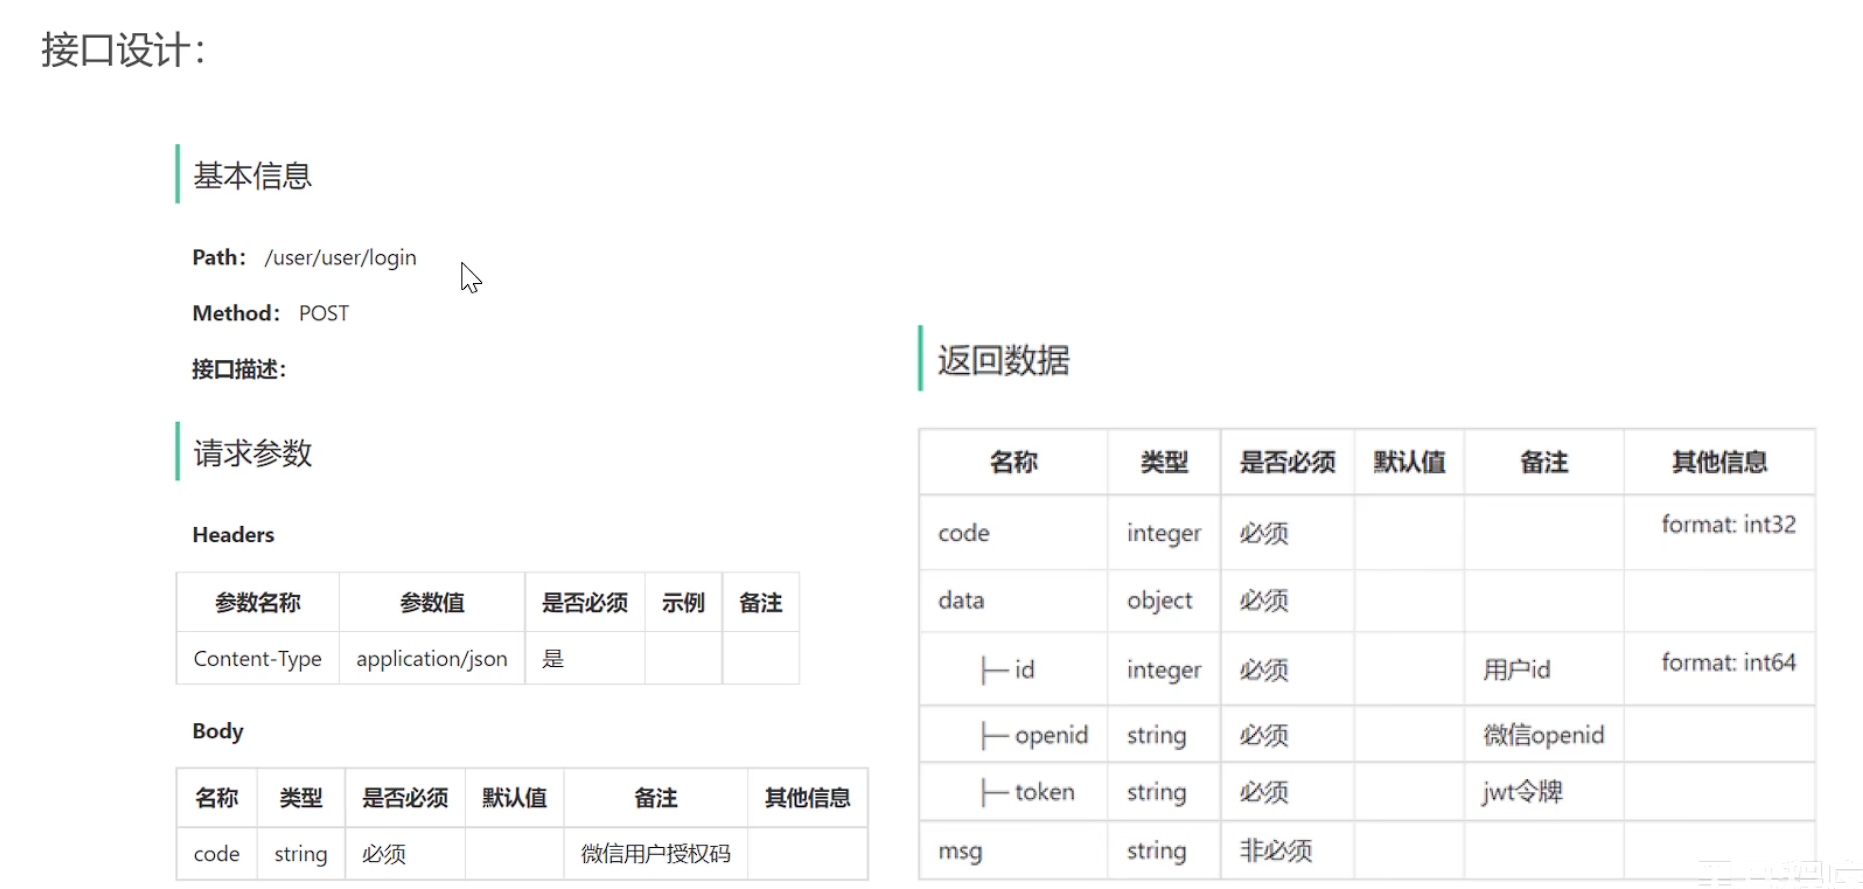
接口设计
-
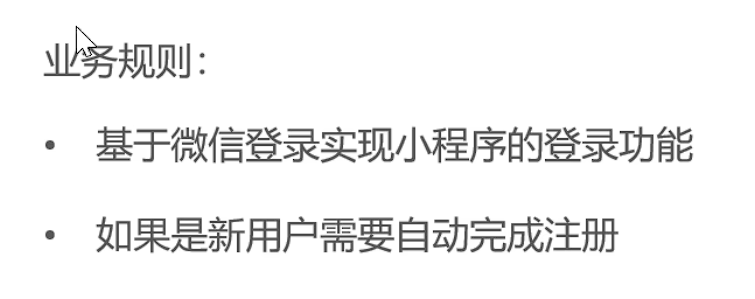
业务规则
- 如果是新用户,那么将用户绑定在后端数据库中
-
微信小程序开发基本流程
代码实现
- 配置微信登录所需配置项
# application.yaml
sky:
  wechat:
    appid: ${sky.wechat.appid}
    secret: ${sky.wechat.secret}


#application-dev.yaml
sky:
  wechat:
    appid: wx***e36****f8d1c6
    secret: 7bcd808a****b6747*******429cc555
- 配置为微信用户生成jwt令牌时使用的配置项
sky:
  jwt:
    # 设置jwt签名加密时使用的秘钥
    user-secret-key: itheima
    # 设置jwt过期时间
    user-ttl: 7200000
    # 设置前端传递过来的令牌名称
    user-token-name: authentication
-
修改jwtTokenUserInerceptor
-
UserController
@RestController
@RequestMapping("/user/user")
@Api(tags = "Client用户管理接口")
@Slf4j
public class UserController {

    @Autowired
    public UserService userService;
    @Autowired
    private JwtProperties jwtProperties;

    @PostMapping("/login")
    @ApiOperation("微信用户登录")
    public Result<UserLoginVO> login(@RequestBody UserLoginDTO userLoginDTO) {
        System.out.println("login----------");
        log.info("微信用户登录:{}", userLoginDTO.getCode());

        //微信登录
        User user = userService.login(userLoginDTO);

        //为微信用户生成jwt令牌
        HashMap<String,Object> claims = new HashMap<>();
        claims.put(JwtClaimsConstant.USER_ID,user.getId());
        String token = JwtUtil.createJWT(jwtProperties.getUserSecretKey(), jwtProperties.getUserTtl(), claims);

        UserLoginVO userLoginVO = UserLoginVO.builder()
                .id(user.getId())
                .openid(user.getOpenid())
                .token(token)
                .build();
        return Result.success(userLoginVO);
    }
}
service层
  /**
     * 用户登陆
     *
     * @param userLoginDTO
     * @return
     */
    User login(UserLoginDTO userLoginDTO);

//impl
    /**
     * 微信用户登录
     *
     * @param userLoginDTO
     * @return
     */
    @Override
    public User login(UserLoginDTO userLoginDTO) {
        //1.调用wx接口服务,获取微信用户的openid
        String openid = getOpenid(userLoginDTO.getCode());

        //2.判断openid是否为空,如果为空那么登录失败,抛出异常
        if (openid == null){
            log.info("登录失败,code无效");
            throw new LoginFailedException(MessageConstant.LOGIN_FAILED);
        }

        //3.判断当前用户是否是新用户(没有在后端数据库中那就是新用户)
        User user = userMapper.getByOpenid(openid);
        //,如果是新用户那么自动完成注册
        if (user == null){
            //如果后端数据库中没有此用户,那么就新建一个
           user = User.builder()
                    .openid(openid)
                    .createTime(LocalDateTime.now())
                    .build();
            userMapper.insert(user);
        }

        return user;
    }


    /**
     * 调用微信接口获取openid
     * @param code
     * @return
     */
    private String getOpenid(String code){
        Map<String,String> params = new HashMap<>();
        params.put("appid",weChatProperties.getAppid());
        params.put("secret",weChatProperties.getSecret());
        params.put("js_code",code);
        params.put("grant_type",GRANT_TYPE);
        String json = HttpClientUtil.doGet(URL, params);
        JSONObject jsonObject = JSON.parseObject(json);
        String openid = jsonObject.getString("openid");

        return openid;
    }
mapper
  /**
     * 根据openid查询用户
     * @param openid
     * @return
     */
    @Select("select * from user where openid = #{openid}")
     User getByOpenid(String openid);


    /**
     * 如果是新用户那么给他自动注册
     *
     * @param user
     */
    void insert(User user);

    <!--这里Controller需要获取User的id,因此要进行主键回显的设置 useGeneratedKeys="true"-->
    <insert id="insert" useGeneratedKeys="true" keyProperty="id">
    insert into user (id, openid, name, phone, sex, id_number, avatar, create_time)
    values
    (#{id},#{openid},#{name},#{phone},#{sex},#{idNumber},#{avatar},#{createTime})
    </insert>
这里出现个错误,由于是dishMapper.xml复制过来的,在复制字段时出了错误将插入数据库的字段和,实体类字段全部当成一样的进行了,复制,导致出错

- 设置用户端jwt校验拦截器
以后用户端发送的请求,都会 携带我们建的token
package com.sky.interceptor;

import com.sky.constant.JwtClaimsConstant;
import com.sky.context.BaseContext;
import com.sky.properties.JwtProperties;
import com.sky.utils.JwtUtil;
import io.jsonwebtoken.Claims;
import lombok.extern.slf4j.Slf4j;
import org.springframework.beans.factory.annotation.Autowired;
import org.springframework.stereotype.Component;
import org.springframework.web.method.HandlerMethod;
import org.springframework.web.servlet.HandlerInterceptor;

import javax.servlet.http.HttpServletRequest;
import javax.servlet.http.HttpServletResponse;

/**
 * jwt令牌校验的拦截器
 */
@Component
@Slf4j
public class JwtTokenUserInterceptor implements HandlerInterceptor {

    @Autowired
    private JwtProperties jwtProperties;

    /*
     * 校验jwt
     *
     * @param request
     * @param response
     * @param handler
     * @return
     * @throws Exception
     */
    public boolean preHandle(HttpServletRequest request, HttpServletResponse response, Object handler) throws Exception {

        //判断当前拦截到的是Controller的方法还是其他资源
        if (!(handler instanceof HandlerMethod)) {
            //当前拦截到的不是动态方法,直接放行
            return true;
        }

        //1、从请求头中获取令牌
        String token = request.getHeader(jwtProperties.getUserTokenName());

        //2、校验令牌
        try {
            log.info("jwt校验:{}", token);
            Claims claims = JwtUtil.parseJWT(jwtProperties.getUserSecretKey(), token);
            //获取当前登录用户的id
            Long userId = Long.valueOf(claims.get(JwtClaimsConstant.USER_ID).toString());

            //在ThreadLocal保存当前登陆用户id
            BaseContext.setCurrentId(userId);

            log.info("当前员工id: {}", userId);
            //3、通过,放行
            return true;
        } catch (Exception ex) {
            //4、不通过,响应401状态码
            response.setStatus(401);
            return false;
        }
    }
}
- 配置类进行拦截器注册
    /**
     * 注册自定义拦截器
     *
     * @param registry
     */
    protected void addInterceptors(InterceptorRegistry registry) {
        log.info("开始注册自定义拦截器...");
        registry.addInterceptor(jwtTokenAdminInterceptor)
                .addPathPatterns("/admin/**")
                .excludePathPatterns("/admin/employee/login");

        log.info("开始注册自定义拦截器...");
        registry.addInterceptor(jwtTokenUserInterceptor).addPathPatterns("/user/**")
                .excludePathPatterns("/user/user/login")
                .excludePathPatterns("/user/shop/status");
    }
报错:

没有启动redis服务,
每一次启动项目都要先启动redis服务,如果不能正常启动先进任务管理器——>服务里搜索redis关闭停止服务然后再启动
// TODO 想把redis设置为开机自启动,尝试出错未果,后续修改
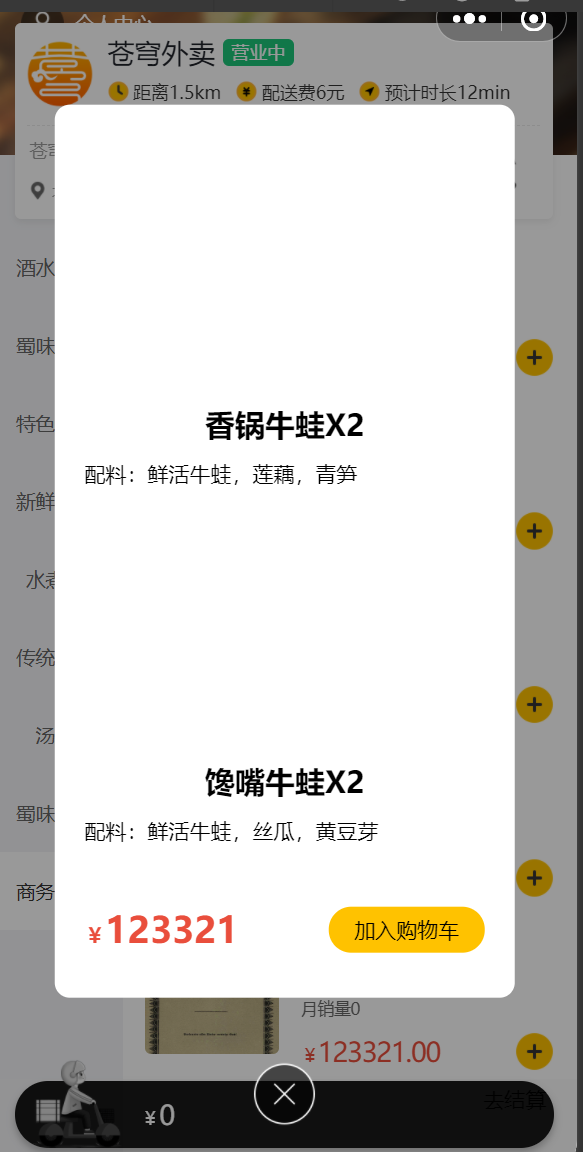
功能测试 & 提交
测试成功,提交代码

用户端导入商品浏览功能
需求分析&接口实现
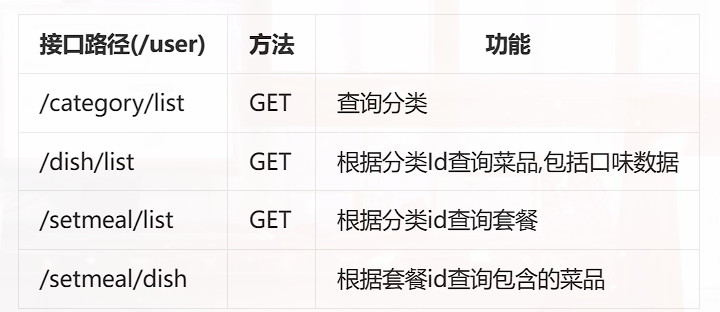

代码实现
导入资料提供的代码即可
功能测试 & 提交
测试成功:
提交

 浙公网安备 33010602011771号