多harbor节点共享存储--实战篇
一、环境准备
这里准备三台Linux服务器,规划如下
| 内网IP | 主机名 | 用途 | 软件版本 |
| 10.20.3.190 | harbor-master.example.com | harbor仓库 | v2.1.2 |
| 10.20.3.191 | haror-slave.example.com | harbor仓库 | v2.1.2 |
| 10.20.3.192 | db.example.com | redis,postgres,nfs | v2.1.2 |
1、关闭防火墙和selinux
# systemctl stop firewalld && systemctl disable firewalld
# sed -i 's#SELINUX=enforcing#SELINUX=disabled#g' /etc/selinux/config
# setenforce 0
2、设置主机名,hosts解析
# hostnamectl set-hostname harbor-master.example.com
echo "10.20.3.190 harbor-master.example.com" >> /etc/hosts
echo "10.20.3.191 harbor-slave.example.com" >> /etc/hosts
echo "10.20.3.192 db.example.com" >> /etc/hosts
二、NFS部署
1、部署nfs服务端
# yum -y install nfs-utils rpcbind
2、编辑配置文件
vim /etc/exports
/data *(rw,sync,no_root_squash,no_subtree_check,)
NFS共享目录 NFS客户端地址 读写,参数
3、启动rpcbind,nfs服务
# systemctl restart rpcbind && systemctl enable rpcbind
# systemctl restart nfs && systemctl enable nfs
4、部署nfs客户端,并启动服务
# yum -y install nfs-utils
# systemctl restart rpcbind && systemctl enable rpcbind
5、查看可挂载点
# showmount -e 10.20.3.192
6、客户端挂载远程nfs目录到本地
# mount -t nfs 10.20.3.192:/data /harbor_data
7、写入fstab文件,永久挂载
# vim /etc/fstab
10.20.3.192:/data /harbor_data nfs defaults 0 0
三、部署redis,postgres
1、redis文件,直接启动即可。
version: '3'
services:
redis:
image: goharbor/redis-photon:v2.1.2
container_name: redis
restart: always
cap_drop:
- ALL
cap_add:
- CHOWN
- SETGID
- SETUID
volumes:
- /data/redis:/var/lib/redis
network_mode: host
2、postgres镜像采用9.6.20,指定数据库密码,docker启动即可。
# docker run -d --name postgres -v /data/pg_data:/var/lib/postgresql/data -e POSTGRES_PASSWORD=postgres -p 5432:5432 postgres:9.6.20
3、进入postgres容器,创建yml文件里定义的数据库
postgres# CREATE DATABASE registry;
四、部署harbor
1、harbor机器上提前安装好docker,docker-compose,这里自行下载
docker官网: https://docs.docker.com/engine/install/centos/
compose官网:https://docs.docker.com/compose/install/
harbor官网: https://github.com/goharbor/harbor/releases
这里harbor版本选择v2.1.2,解压到/usr/local下
# wget https://github.com/goharbor/harbor/releases/download/v2.1.2/harbor-offline-installer-v2.1.2.tgz
# tar -xf harbor-offline-installer-v2.1.2.tgz -C /usr/local/
2、修改配置文件harbor.yml,数据卷改为nfs共享路径。同时修改数据库相关信息,确保harbor启动可以正常连接。
hostname: 10.20.3.190 #两台harbor配置主机名或IP,这里选用ip
http:
port: 8999 #harbor访问端口
harbor_admin_password: Harbor12345 #harbor访问登录密码
data_volume: /harbor_data
clair:
updaters_interval: 12
trivy:
ignore_unfixed: false
skip_update: false
insecure: false
jobservice:
max_job_workers: 10
notification:
webhook_job_max_retry: 10
chart:
absolute_url: disabled
log:
level: info
local:
rotate_count: 50
rotate_size: 200M
location: /var/log/harbor
_version: 2.0.0
external_database:
harbor:
host: 10.20.3.192
port: 5432
db_name: registry
username: postgres
password: postgres
ssl_mode: disable
max_idle_conns: 2
max_open_conns: 0
clair:
host: 10.20.3.192
port: 5432
db_name: clair
username: postgres
password: postgres
ssl_mode: disable
notary_signer:
host: 10.20.3.192
port: 5432
db_name: notarysigner
username: postgres
password: postgres
ssl_mode: disable
notary_server:
host: 10.20.3.192
port: 5432
db_name: notaryserver
username: postgres
password: postgres
ssl_mode: disable
external_redis:
host: 10.20.3.192:6379
proxy:
http_proxy:
https_proxy:
no_proxy:
components:
- core
- jobservice
- clair
- trivy
3、重新生成配置文件,并启动harbor
# ./prepare
# ./install.sh
4、登录190harbor web,新建项目test,看191harbor上是否存在。
5、同样在190服务器push镜像到harbor,看191harbor上是否显示。
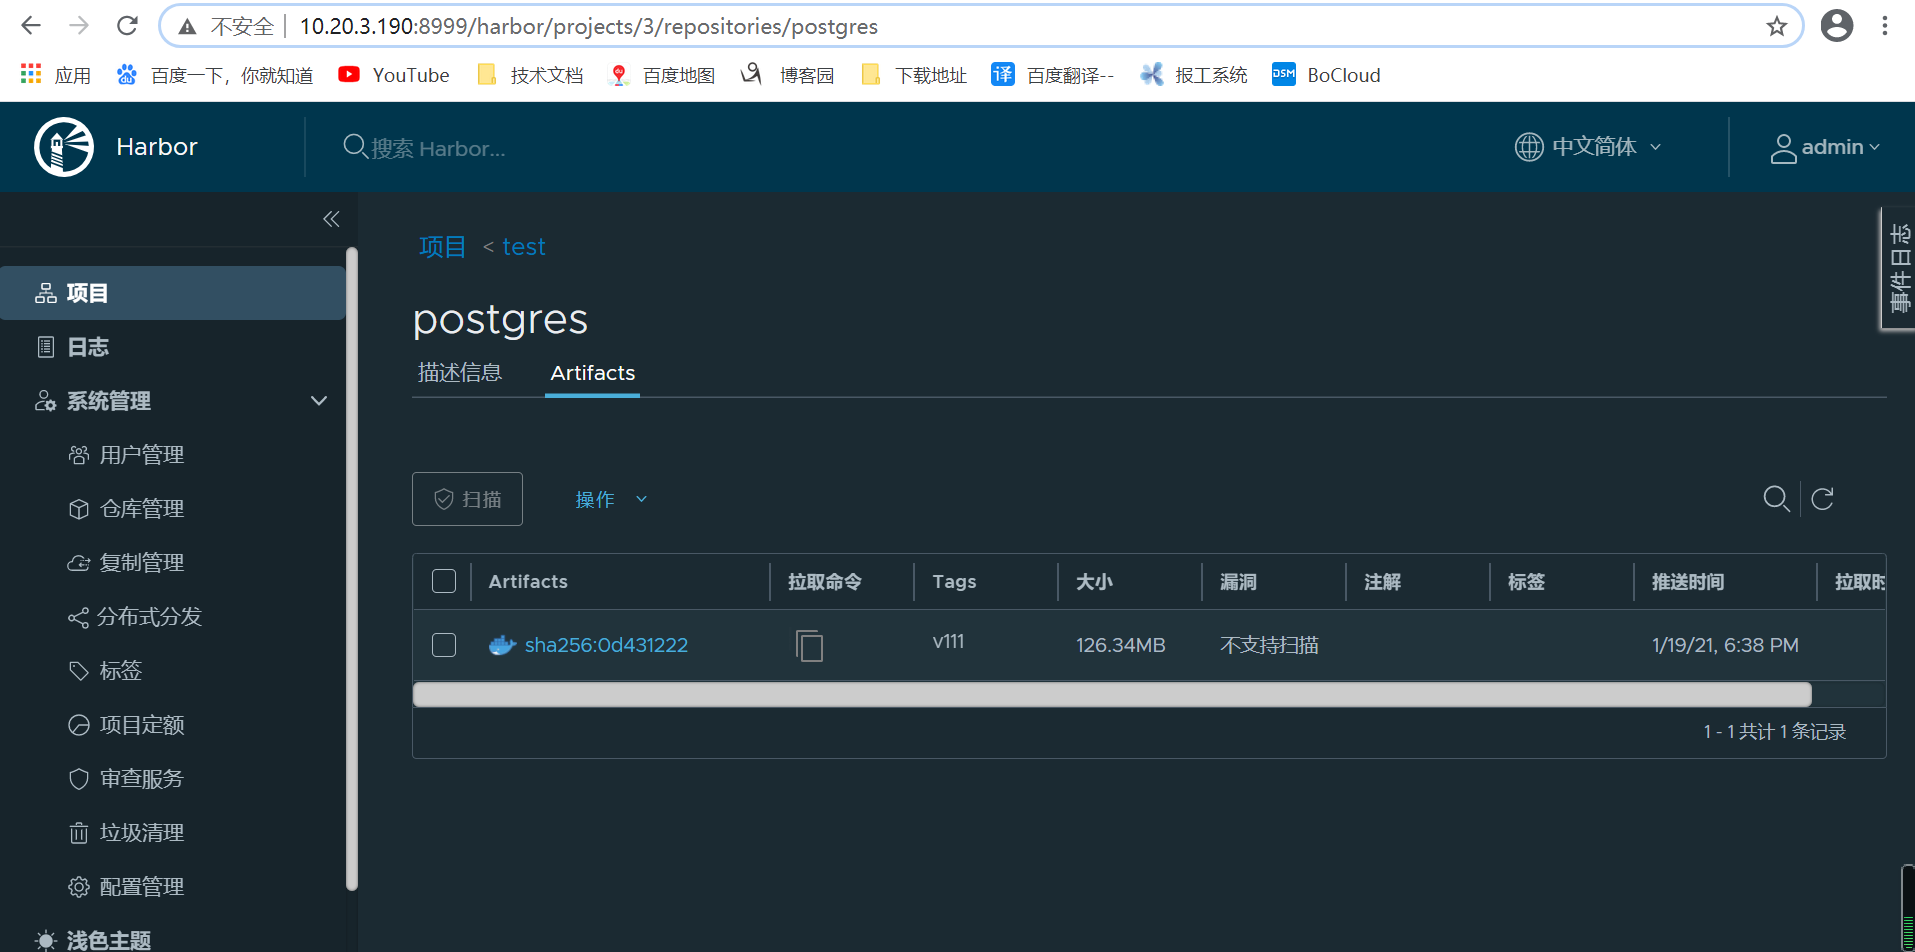
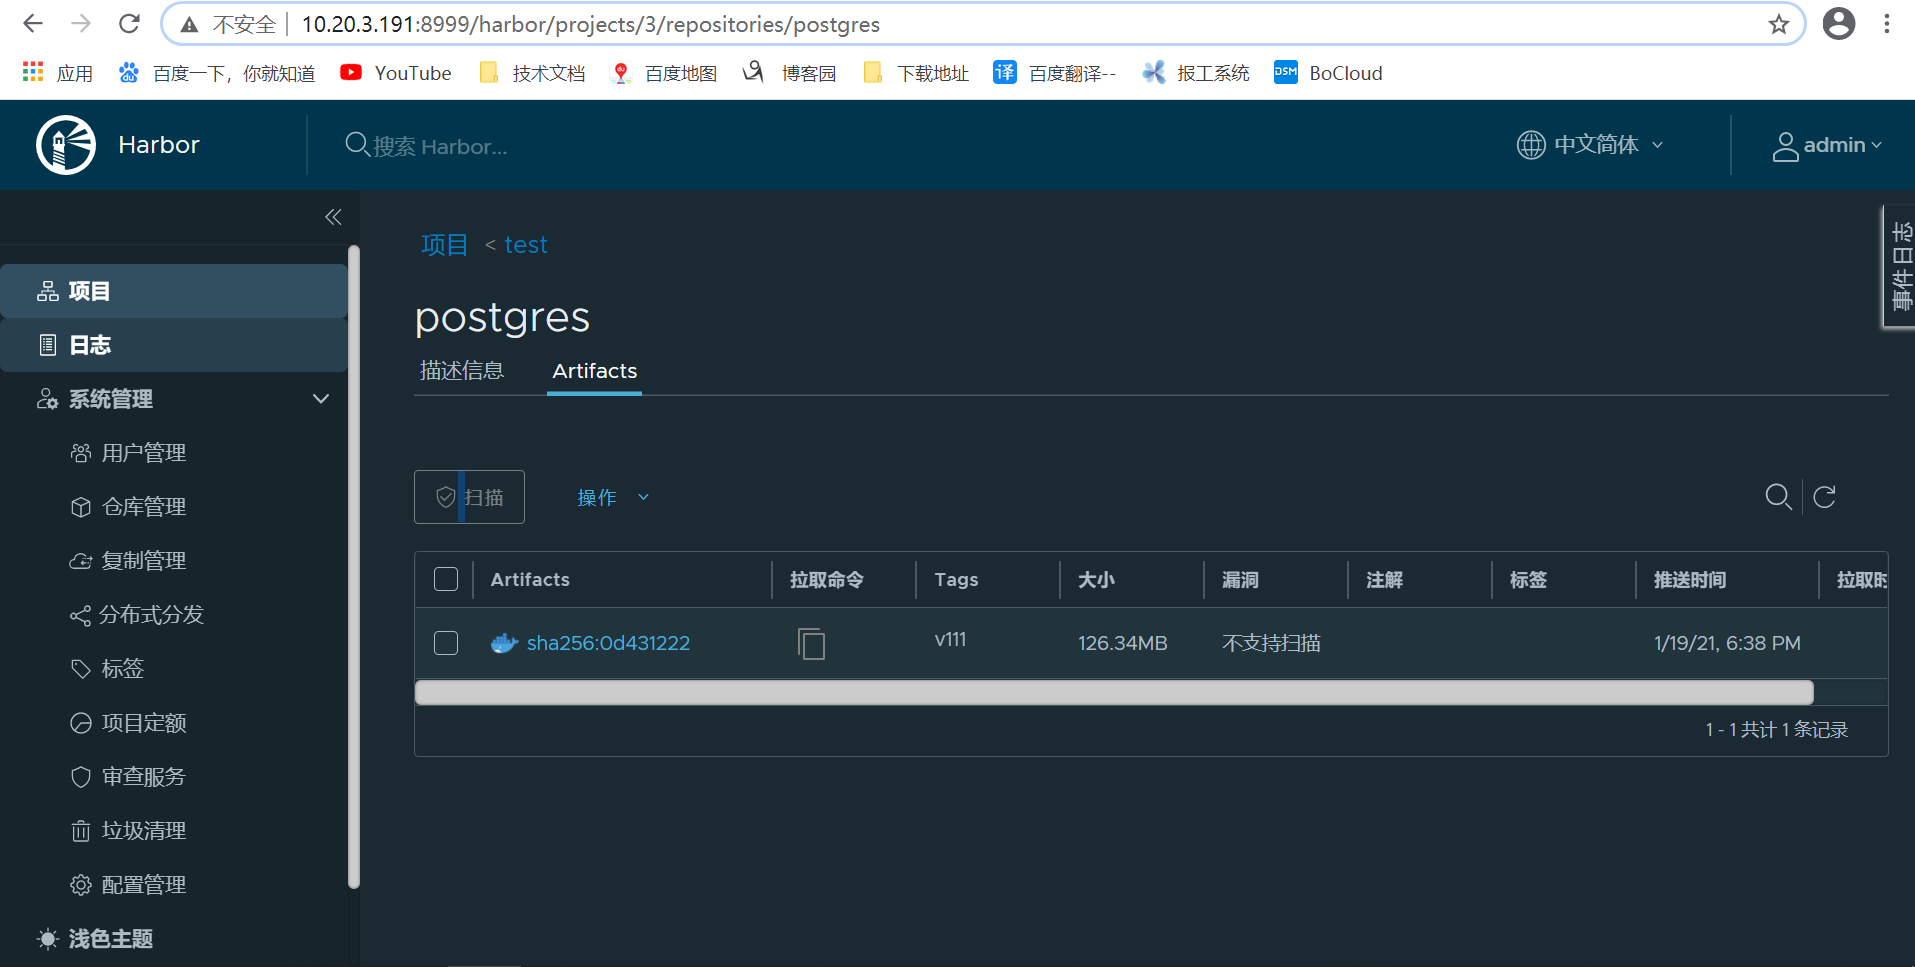
事实验证,数据是同步的。

 浙公网安备 33010602011771号