[TensorFlow]Windows下安装并运行Hello World
参考网址:https://www.tensorflow.org/install/pip (或要VPN)
为了减少不必要的错误:
确定电脑是Nvidia 显卡(下称:N卡),安装前先升级驱动
各N卡计算力查询:https://developer.nvidia.com/cuda-gpus
PS:不是N卡就别折腾CUDA、cuDNN、Tensorflow-GPU,只能安装Tensorflow-CPU
PS:老CPU建议从低版本开始测试安装,Tensorflow使用较新的指令集
1.下载Microsoft Visual C++ 2015 Redistributable Update 3(已安装更高级版或安装VS2015或VS2017可以跳过)
https://www.microsoft.com/zh-CN/download/details.aspx?id=53587
安装.NET Framework
https://dotnet.microsoft.com/download/dotnet-framework
2.启用长路径。(Win10)
https://superuser.com/a/1119980
3. 安装Python3.7.4,在安装界面上勾选添加环境变量复选框
https://www.python.org/downloads/
PS:tensorflow仅支持没有那么新的Python,查看https://tensorflow.google.cn/install/pip?lang=python3#package-location
PS:参考:https://tensorflow.google.cn/install/source_windows(得知官方tensorflow 1.x完全支持Python v3.5.x-v3.6.x)
修改pip源(永久)
新建C:\Users\Administrator\pip\pip.ini,添加代码:
[global]
timeout=6000
index-url=https://pypi.tuna.tsinghua.edu.cn/simple
trusted-host=pypi.tuna.tsinghua.edu.cn
批量更新包(可选)
参考:http://blog.sciencenet.cn/home.php?mod=space&uid=478347&do=blog&id=1115281
import pip
# pip V10.0.0以上版本需要导入下面的包
from pip._internal.utils.misc import get_installed_distributions
from subprocess import call

for dist in get_installed_distributions():
    call('python -m pip install --upgrade --user ' + dist.project_name, shell=True)
保存到D:\upgrade.py,执行命令更新
python D:\upgrade.py
PS:numpy不要装得太新(v1.17.0+),不然有很多警告
python -m pip install numpy==1.16.4
4.cuda 10.0和cudnn 7.6.1(不是N卡,跳过此步)
https://developer.nvidia.com/cuda-toolkit-archive
https://developer.nvidia.com/rdp/cudnn-archive (注意对应cuda版本)
cudnn安装方法参考:https://jingyan.baidu.com/article/39810a236d660bb636fda6d4.html(简单来说就是解压cudnn,将文件粘贴到C:\Program Files\NVIDIA GPU Computing Toolkit\CUDA\v10.0)
添加环境变量到PATH
C:\Program Files\NVIDIA GPU Computing Toolkit\CUDA\v10.0\bin
C:\Program Files\NVIDIA GPU Computing Toolkit\CUDA\v10.0\include
C:\Program Files\NVIDIA GPU Computing Toolkit\CUDA\v10.0\lib\x64
C:\Program Files\NVIDIA GPU Computing Toolkit\CUDA\v10.0\extras\CUPTI\libx64
PS:我的电脑不支持10.1,当运行hello world时就会报错
ImportError: Could not find 'cudart64_100.dll'. TensorFlow requires that this DLL be installed in a directory that is named in your %PATH% environment variable. Download and install CUDA 10.0 from this URL: https://developer.nvidia.com/cuda-90-download-archive
5. 安装tensorflow 1.14(选其一)(注意对应的Python版本)
安装GPU版
pip install tensorflow-gpu==1.14
安装CPU版
pip install tensorflow==1.14

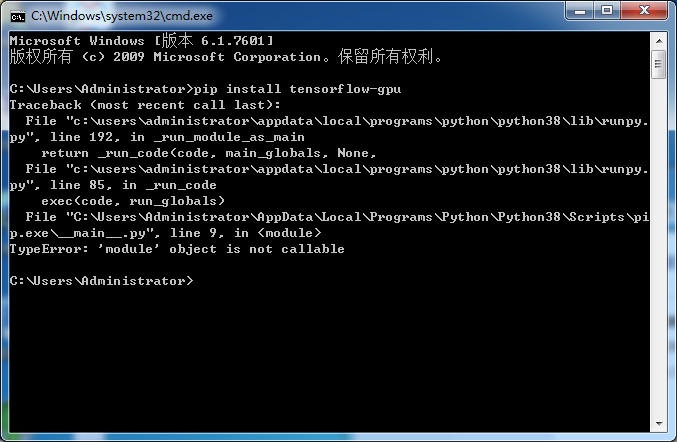
PS:当遇到这个情况时,可能是执行升级时失败
参考:https://ask.csdn.net/questions/942629?sort=id
我是pip升和setuptools级失败,所以会提示这个

进入C:\Users\Administrator\AppData\Roaming\Python\Python37\site-packages删除对应的pip-19.3.1.dist-info和setuptools-42.0.2.dist-info文件夹,再执行一次单独升级(再遇到也同样操作)(PS:估计是批量升级出错)
PS:安装失败时,将C:\Program Files\Python37的权限设置为完全控制

如遇到“ImportError: DLL load failed: 动态链接库(DLL)初始化例程失败。”,则说明你的硬件不支持该版本的TensorFlow,需要安装低版本
参考:https://blog.csdn.net/baiduauto1/article/details/96578662
参考:https://blog.csdn.net/lchzh1994/article/details/81223726
6.测试
import tensorflow as tf

h = tf.constant("Hello")
w = tf.constant(" World!")
hw = h + w

# 警告信息提示要将 tf.Session() 替换为 tf.compat.v1.Session()
with tf.compat.v1.Session() as sess:
    ans = sess.run(hw)

print(ans)
屏蔽GPU输出信息可以添加上这句:
参考:https://blog.csdn.net/dcrmg/article/details/80029741
import os
os.environ['TF_CPP_MIN_LOG_LEVEL'] = '1'
TF_CPP_MIN_LOG_LEVEL
0 :输出所有信息(默认值)
1 :屏蔽通知信息
2 :屏蔽通知信息和警告信息
3 :屏蔽通知信息、警告信息和报错信息
附:
当使用VSCode开发时可以按Ctrl+Shift+P,输入python->选择解析器,会显示所有环境(conda、venv等),选择任何一个作为解析器
关于Anaconda安装
只需要将上面的python安装替换为Anaconda(好像会自带python,没测试)
1.安装Anaconda 2019.07(注意对应Python版本)
https://www.anaconda.com/distribution/
清华大学镜像
https://mirrors.tuna.tsinghua.edu.cn/anaconda/archive/
# 指定升级某一个库,例如 pandas
conda update pandas

# 升级所有可升级的库
conda update --all
2.安装OpenSSL v1.1.1c,不然Conda安装时可能会出下面的错误
http://slproweb.com/products/Win32OpenSSL.html

3.打开CMD,添加Conda源(可以不要https)
conda config --add channels http://mirrors.tuna.tsinghua.edu.cn/anaconda/pkgs/main/

conda config --add channels http://mirrors.tuna.tsinghua.edu.cn/anaconda/cloud/bioconda/
PS:可以直接打开C:\Users\Administrator\.condarc编辑:
channels:
  - http://mirrors.tuna.tsinghua.edu.cn/anaconda/cloud/bioconda/
  - http://mirrors.tuna.tsinghua.edu.cn/anaconda/pkgs/main/
show_channel_urls: true
7. 安装tensorflow 1.14.0(选其一)
安装GPU版
conda install tensorflow-gpu==1.14.0
安装CPU版
conda install tensorflow==1.14.0
亲测:
Win7 旗舰版(台式机+独显)
python-3.7.3-amd64.exe
Anaconda3-2019.07-Windows-x86_64.exe(PS:控制面板-程序和功能看到:Anaconda3 2019.07 (Python 3.7.3 64-bit))
Win64OpenSSL-1_1_1c.exe
cuda_10.1.168_425.25_windows.exe
cudnn-10.1-windows7-x64-v7.5.0.56.zip
TensorFlow-GPU 1.14.0
Win10专业版(台式机+独立N卡)
python-3.7.3-amd64.exe
Anaconda3-2019.07-Windows-x86_64.exe
cuda_10.0.130_411.31_win10
cudnn-10.0-windows10-x64-v7.6.0.64.zip
TensorFlow-GPU 1.13.1
同一台机
python-3.7.4-amd64.exe
cuda_10.0.130_411.31_win10
cudnn-10.0-windows10-x64-v7.6.1.34.zip
TensorFlow-GPU 1.14.0


 浙公网安备 33010602011771号