springboot 发布tomcat(zip包)
废话不多说
一 POM
调试时使用tomcat,打包时过滤tomcat包
<dependencies>
        <dependency>
            <groupId>org.springframework.boot</groupId>
            <artifactId>spring-boot-starter-tomcat</artifactId>
            <scope>provided</scope>
        </dependency>
        <dependency>
            <groupId>org.springframework.boot</groupId>
            <artifactId>spring-boot-starter-web</artifactId>
            <exclusions>
                <exclusion>
                    <groupId>org.springframework.boot</groupId>
                    <artifactId>spring-boot-starter-tomcat</artifactId>
                </exclusion>
            </exclusions>
        </dependency>
    </dependencies>

打包插件
    <build>
        <plugins>
            <plugin>
                <groupId>org.apache.maven.plugins</groupId>
                <artifactId>maven-assembly-plugin</artifactId>
                <version>3.0.0</version>
                <configuration>
                    <descriptors>
                        <descriptor>src/main/assembly/assembly.xml</descriptor>
                        <!--对应在src/main/resource包下创建assembly.xml配置文件-->
                    </descriptors>
                </configuration>
                <executions>
                    <execution>
                        <id>make-assembly</id>
                        <phase>package</phase>
                        <goals>
                            <goal>single</goal>
                        </goals>
                    </execution>
                </executions>
            </plugin>
        </plugins>
    </build>
二 assembly.xml
具体路径根据上面plugin中来
<assembly>
    <id>test</id>
    <formats>
        <format>zip</format>
    </formats>
    <fileSets>
        <fileSet>  <!--将项目必须的文件打包到zip包根目录下-->
            <directory>${project.build.directory}/${project.build.finalName}</directory>
            <includes>
                <include>**</include>
            </includes>
            <outputDirectory>${file.separator}</outputDirectory>
        </fileSet>
    </fileSets>

</assembly>
三 启动类
@SpringBootApplication
public class Application{

    public static void main(String[] args) {
        SpringApplication.run(Application.class, args);
    }
}
四 打包
mvn clean package
在target目录下出现了war和zip包
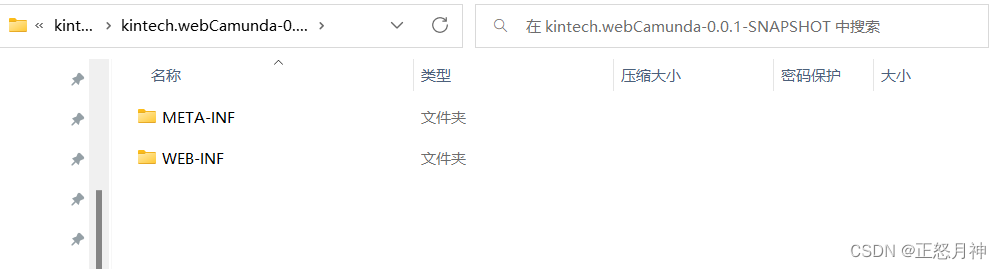
打包出来的zip内容:
1 没有META-INF没有主文件
2 WEB-INF中没有web.xml
![]()
解压zip包,修改一下名字:比如我的
kintech.webCamunda-0.0.1-SNAPSHOT-test
改成
kintech.webCamunda
然后把他拷贝到一个文件夹,我拷贝到的是 D:\project
五,设置tomcat的项目启动路径
<Host name="localhost" appBase="webapps" unpackWARs="true" autoDeploy="true"> <!--主要是这句Context docBase --> <Context docBase="D:\project\kintech.webCamunda" path="" reloadable="false" /> <Valve className="org.apache.catalina.valves.AccessLogValve" directory="logs" prefix="localhost_access_log" suffix=".txt" pattern="%h %l %u %t "%r" %s %b" /> </Host>
PS:windows打的是绝对路径
Lunix 打的是 /root/project ......这样
六 启动tomcat
运行tomcat中的 startup.bat
七 访问
如下访问就可以了。
我设置了端口9022,controller也增加了test方法。

 浙公网安备 33010602011771号