【入门】使用Node.js开发一个MCP服务器(STDIO方式)
介绍
一个小小后端码农,研究了一下午,终于搞明白怎么开发一个nodeJs的MCP服务器,特写成一篇粗略的博客,供大家参考。
MCP 是什么?
MCP(Model Control Protocol)是一个标准化接口协议,用于定义AI工具的功能和参数格式。它允许AI以标准方式调用各种工具,例如通过定义参数格式(如城市名称)来获取城市天气信息。当用户请求查询北京天气时,AI会按照MCP标准参数格式组装参数,调用MCP服务器执行相应功能,并处理返回结果。
开发MCP服务器(Node.js方式)
提示:首先需要下载安装nodeJs
下边我将带你开发一个简单的MCP服务器:
文件结构
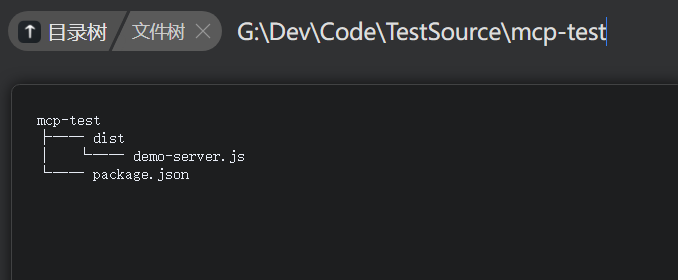
package.json 文件:
{
  "name": "mcp-test",
  "version": "1.0.0",
  "description": "",
  "main": "index.js",
  "scripts": {
    "test": "echo \"Error: no test specified\" && exit 1"
  },
  "keywords": [],
  "author": "",
  "license": "ISC",
  "dependencies": {
    "@modelcontextprotocol/sdk": "^1.20.2",
    "zod": "^3.23.8"
  },
  "type": "module"
}
demo-server.js:
#!/usr/bin/env node

import { McpServer } from "@modelcontextprotocol/sdk/server/mcp.js";
import { StdioServerTransport } from "@modelcontextprotocol/sdk/server/stdio.js";
import { z } from "zod";

const server = new McpServer({
    name: "demo_service",
    version: "1.0.0"
});

server.tool(
    "say_hello",
    {
        needShowMeText: z.string().describe("想要展示的话")
    },
    async ({ needShowMeText }) => {
        try {
            // 返回成功响应
            return {
                content: [{ type: "text", text: 'Hello =>' + needShowMeText }]
            };
        } catch (error) {
            // 错误处理
            return {
                content: [{ type: "text", text: `失败: ${error.message}` }],
                isError: true
            };
        }
    }
);

async function main() {
    try {
        console.log("MCP服务器启动中...");
        const transport = new StdioServerTransport();
        await server.connect(transport);
        console.log("MCP服务器已启动并等待连接");
    } catch (error) {
        console.error("启动服务器时出错:", error);
        process.exit(1);
    }
}

main();
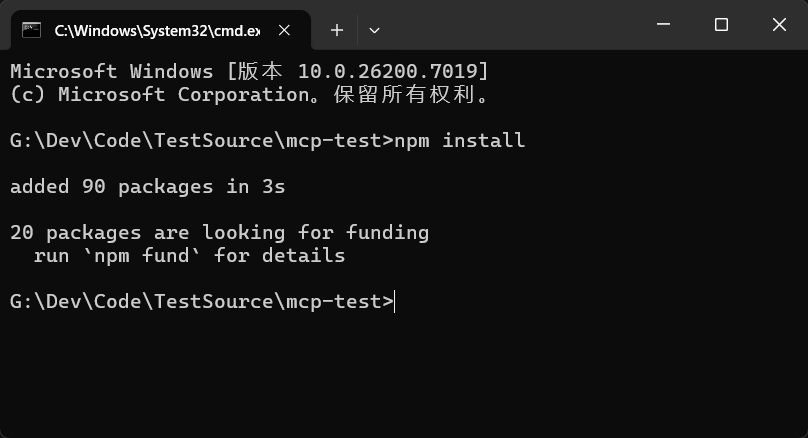
在根目录下,cmd 命令框输入 npm install 进行安装相关依赖:
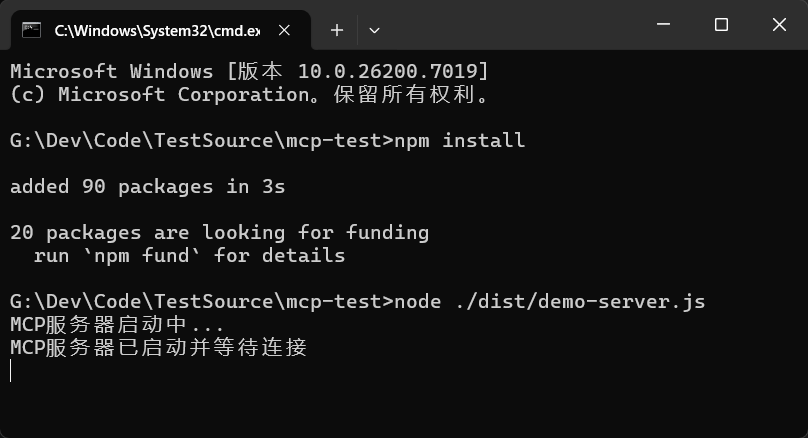
使用node ./dist/demo-service.js 测试是否可以启动成功
使用官方工具测试
使用 mcp-inspector 进行测试,打开新终端输入以下命令:
npx @modelcontextprotocol/inspector

按图中步骤输入各项参数:

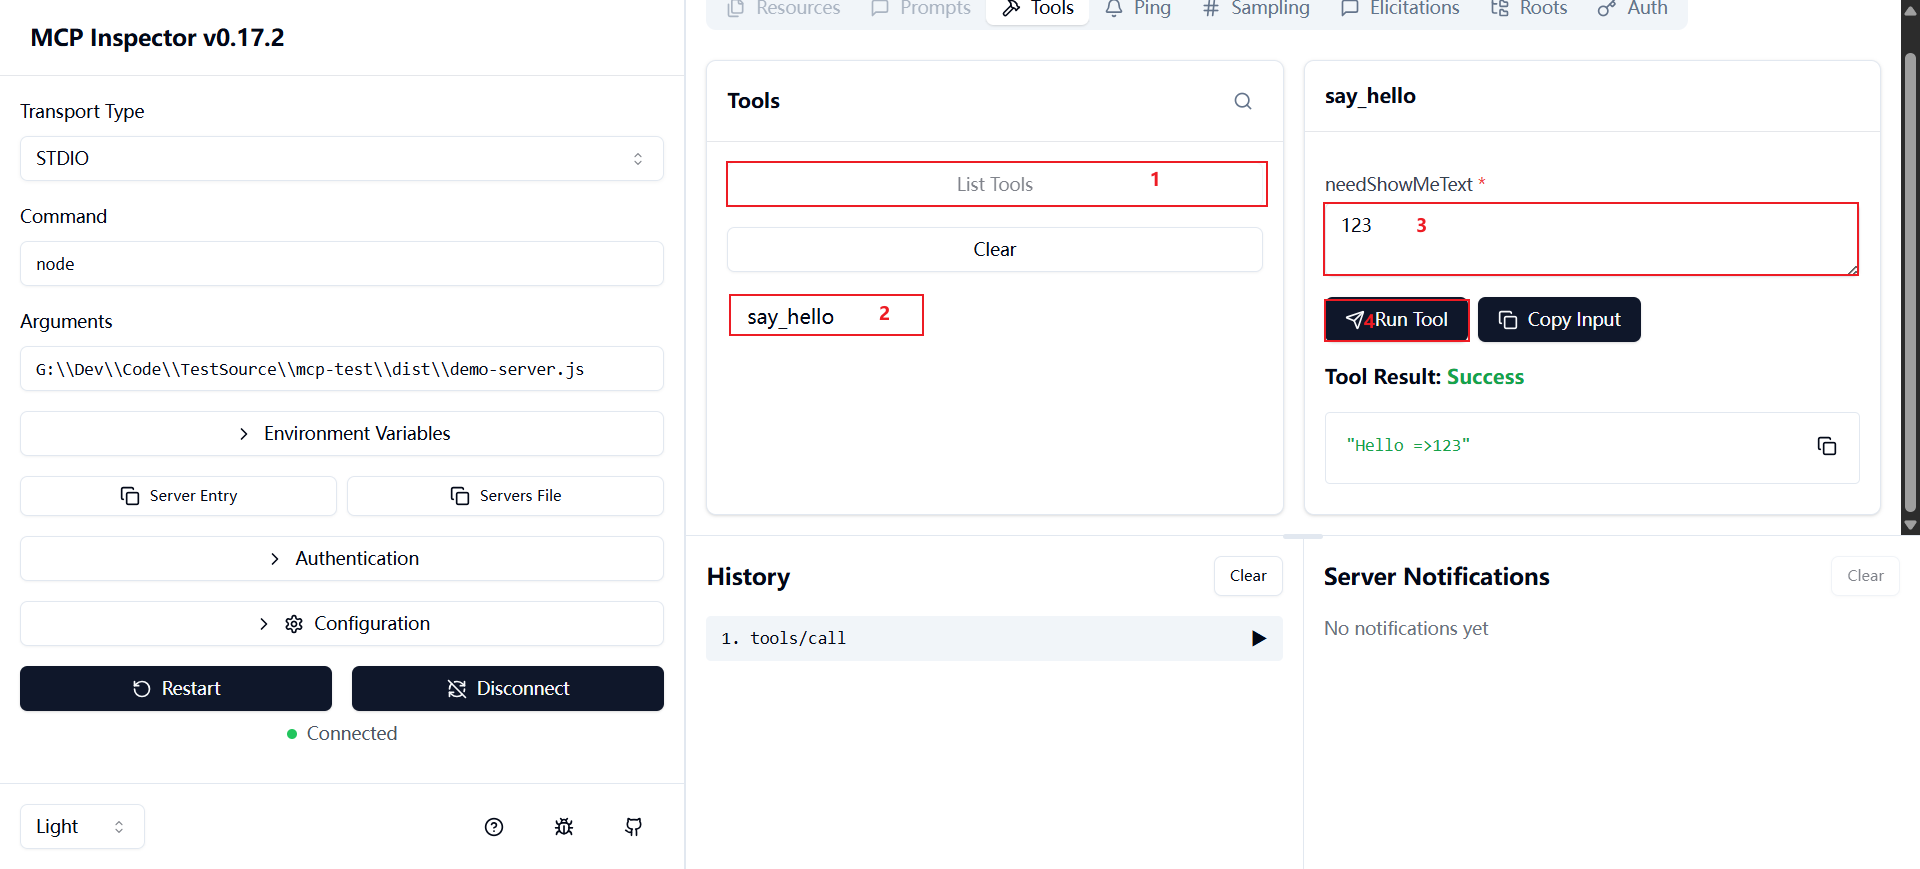
看到Tool Result: Success便成功了
Qoder、IDEA等代码编辑器集成MCP服务器
打开 文件 -> 首选项 -> Qoder 设置 -> MCP服务 -> +添加
{
    "mcpServers": {
        "mcp本地测试3": {
            "name": "mcp本地测试3",
            "command": "node",
            "args": [
                "G:\\Dev\\Code\\TestSource\\mcp-test\\dist\\demo-server.js"
            ]
        }
    }
}

这样MCP安装便成功了!
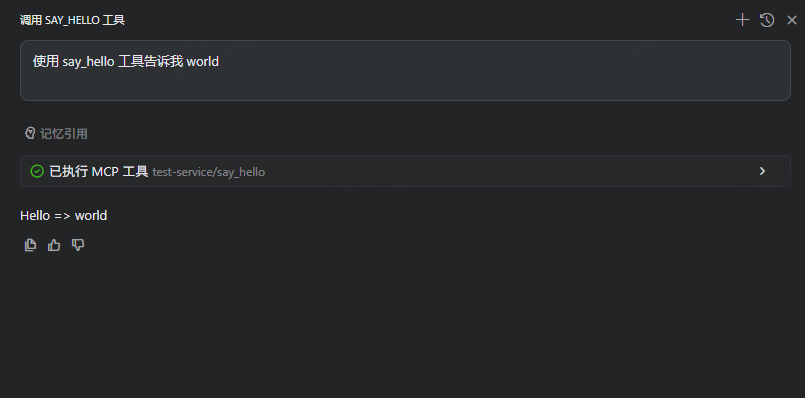
使用
新建会话窗口,输入 使用 say_hello 工具告诉我world
总结
MCP 有什么作用呢?我个人理解的是它可以更加精准控制程序的中间执行过程,获取准确的数据,然后使用AI能力进行分析。举个例子,你现在请求AI获取北京今天的天气,如果没有MCP,AI可能会从海量的网页中寻找数据/接口,然后通过调用接口/直接给我们返回网页的数据/返回其他数据,这个过程,我们无法控制,所以最终结果数据准确性还需要进一步判断。从另外一个方面思考,如果我们都不能控制源数据的准确性,那么后续的分析过程也没有任何意义。
MCP服务就是封装了一个个接口的服务器,我们可以从接口获取我们想要的准确数据,然后通过AI的理解能力,幻化出各种各样的效果,不管后续分析结果如何,源数据的准确性我们可以保证
本文来自博客园,作者:帅气的涛啊,转载请注明原文链接:https://www.cnblogs.com/handsometaoa/p/19188458

 浙公网安备 33010602011771号