Hexo框架搭建个人博客
Hexo框架搭建个人博客
一、安装Hexo
使用cnpm切换到淘宝源安装
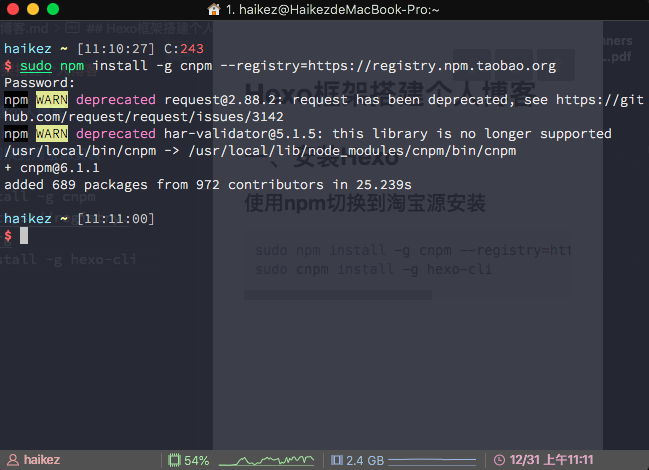
安装cnpm并切换到淘宝源:
sudo npm install -g cnpm --registry=https://registry.npm.taobao.org
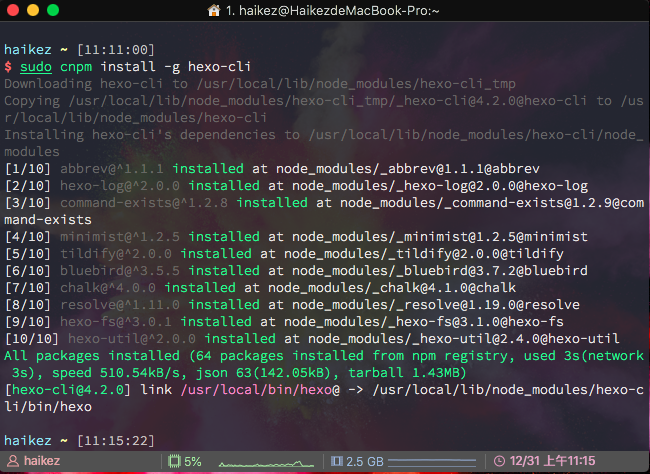
用cnpm安装hexo:
sudo cnpm install -g hexo-cli
至此hexo安装完成
二、Hexo框架的基本使用
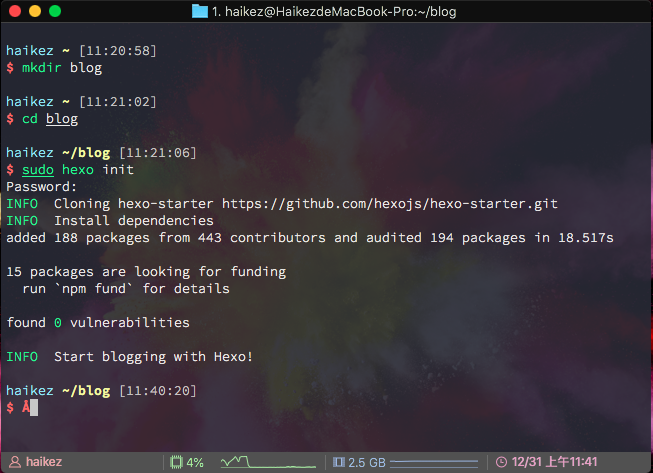
1. 新建或打开项目文件夹
$ cd
$ mkdir blog
$ cd blog
2. 初始化项目
$ sudo hexo init
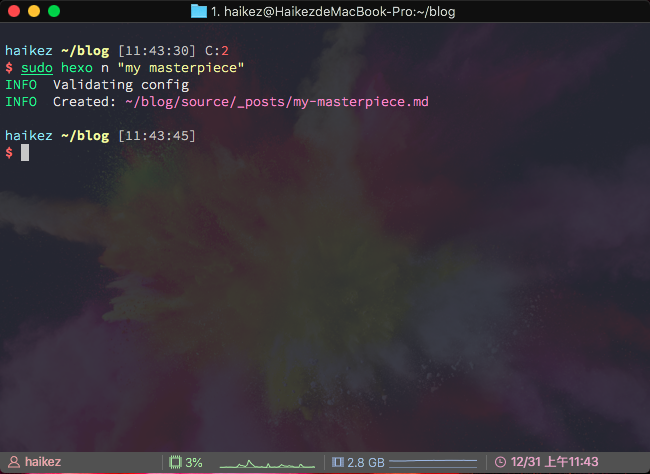
3. 创建文章
$ sudo hexo n "文章名称" #其中的n表示new
4. 启动博客(本地展示预览)
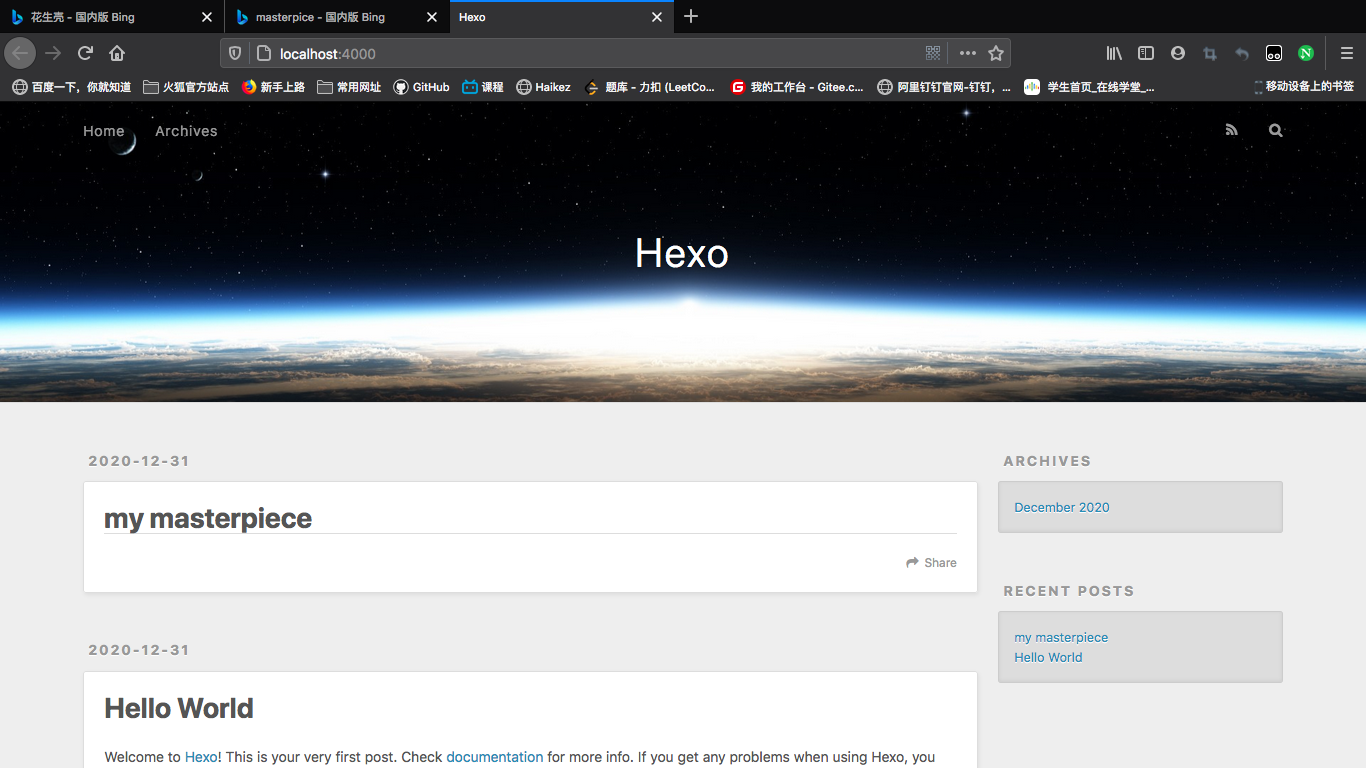
$ hexo s #其中的s表示server

可以打开浏览器进入 http://localhost:4000 进行预览
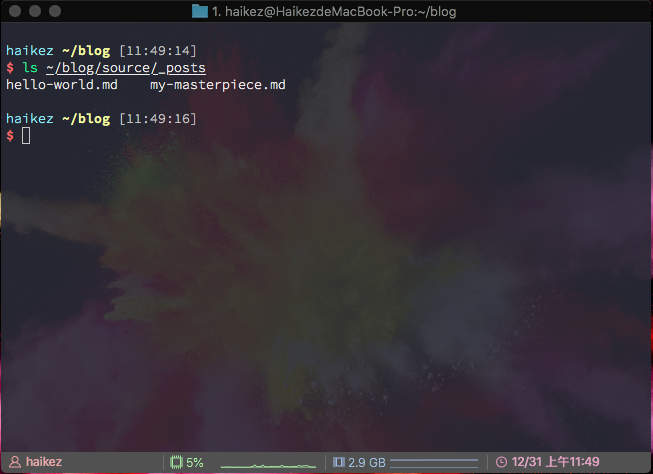
5. 文章路径(位置)
$ ls ~/blog/source/_posts/
6. 生成文章(generate)
$ hexo g

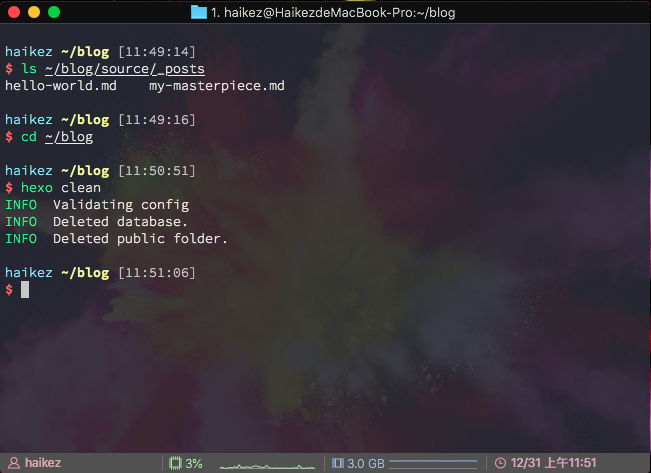
7. 清理缓存
$ cd ~/blog
$ hexo clean
三、Hexo的一些插件
插入图片插件
1.安装插件,在hexo根目录打开Git Bash,执行
npm install hexo-asset-image --save
2. 打开hexo的配置文件_config.yml找到 post_asset_folder,把这个选项从false改成true
3.打开
/node_modules/hexo-asset-image/index.js
将内容更换为下面的代码
'use strict';
var cheerio = require('cheerio');

// http://stackoverflow.com/questions/14480345/how-to-get-the-nth-occurrence-in-a-string
function getPosition(str, m, i) {
  return str.split(m, i).join(m).length;
}

var version = String(hexo.version).split('.');
hexo.extend.filter.register('after_post_render', function(data){
  var config = hexo.config;
  if(config.post_asset_folder){
        var link = data.permalink;
    if(version.length > 0 && Number(version[0]) == 3)
       var beginPos = getPosition(link, '/', 1) + 1;
    else
       var beginPos = getPosition(link, '/', 3) + 1;
    // In hexo 3.1.1, the permalink of "about" page is like ".../about/index.html".
    var endPos = link.lastIndexOf('/') + 1;
    link = link.substring(beginPos, endPos);

    var toprocess = ['excerpt', 'more', 'content'];
    for(var i = 0; i < toprocess.length; i++){
      var key = toprocess[i];

      var $ = cheerio.load(data[key], {
        ignoreWhitespace: false,
        xmlMode: false,
        lowerCaseTags: false,
        decodeEntities: false
      });

      $('img').each(function(){
        if ($(this).attr('src')){
            // For windows style path, we replace '\' to '/'.
            var src = $(this).attr('src').replace('\\', '/');
            if(!/http[s]*.*|\/\/.*/.test(src) &&
               !/^\s*\//.test(src)) {
              // For "about" page, the first part of "src" can't be removed.
              // In addition, to support multi-level local directory.
              var linkArray = link.split('/').filter(function(elem){
                return elem != '';
              });
              var srcArray = src.split('/').filter(function(elem){
                return elem != '' && elem != '.';
              });
              if(srcArray.length > 1)
                srcArray.shift();
              src = srcArray.join('/');
              $(this).attr('src', config.root + link + src);
              console.info&&console.info("update link as:-->"+config.root + link + src);
            }
        }else{
            console.info&&console.info("no src attr, skipped...");
            console.info&&console.info($(this));
        }
      });
      data[key] = $.html();
    }
  }
});
4.现在就可以插入图片了,比如hexo new post photo之后就在source/_posts生成photo.md文件和photo文件夹,我们把要插入的图片复制到photo文件夹内就好了。
Hexo下Git代码提交插件 -- hexo-deployer-git
- 输入以下命令安装插件
$ npm install hexo-deployer-git --save
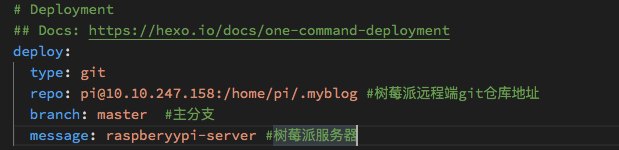
- 修改配置:_config.yml
deploy:
  type: git
  repo: <repository url> #仓库地址
  branch: [branch]       #分支
  message: [message]     #描述
- 生成站点文件并推送至远程库。执行
$ hexo clean && hexo deploy
- 登入 Github/BitBucket/Gitlab,请在库设置(Repository Settings)中将默认分支设置为_config.yml配置中的分支名称。稍等片刻,您的站点就会显示在您的Github Pages中。
这一切是如何发生的?
当执行 hexo deploy 时,Hexo 会将 public 目录中的文件和目录推送至 _config.yml 中指定的远端仓库和分支中,并且完全覆盖该分支下的已有内容。
Hexo主题安装
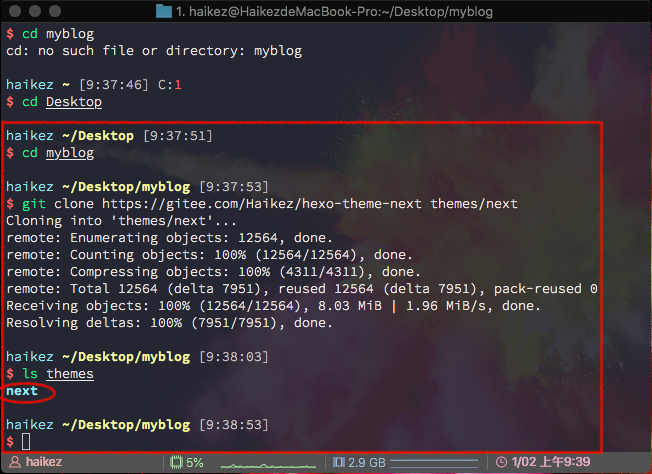
- 进入博客所在的文件夹
$ cd myblog #我的博客项目名称为myblog
- 从我的gitee仓库中下载主题(gitee快)
$ git clone https://gitee.com/Haikez/hexo-theme-next themes/next
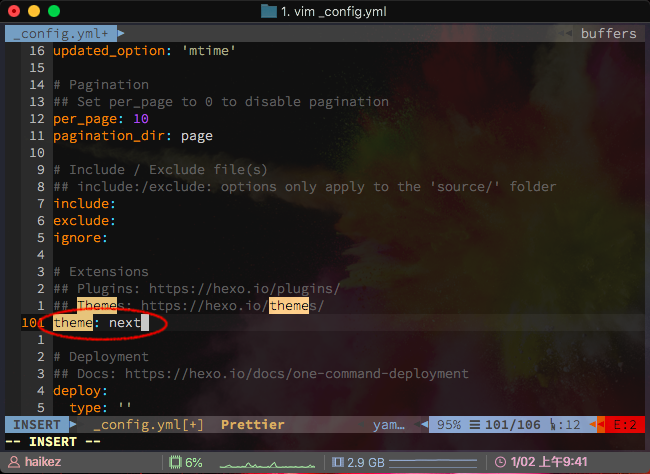
3. 将blog目录下_config.yml里theme的名称由landscape修改为next
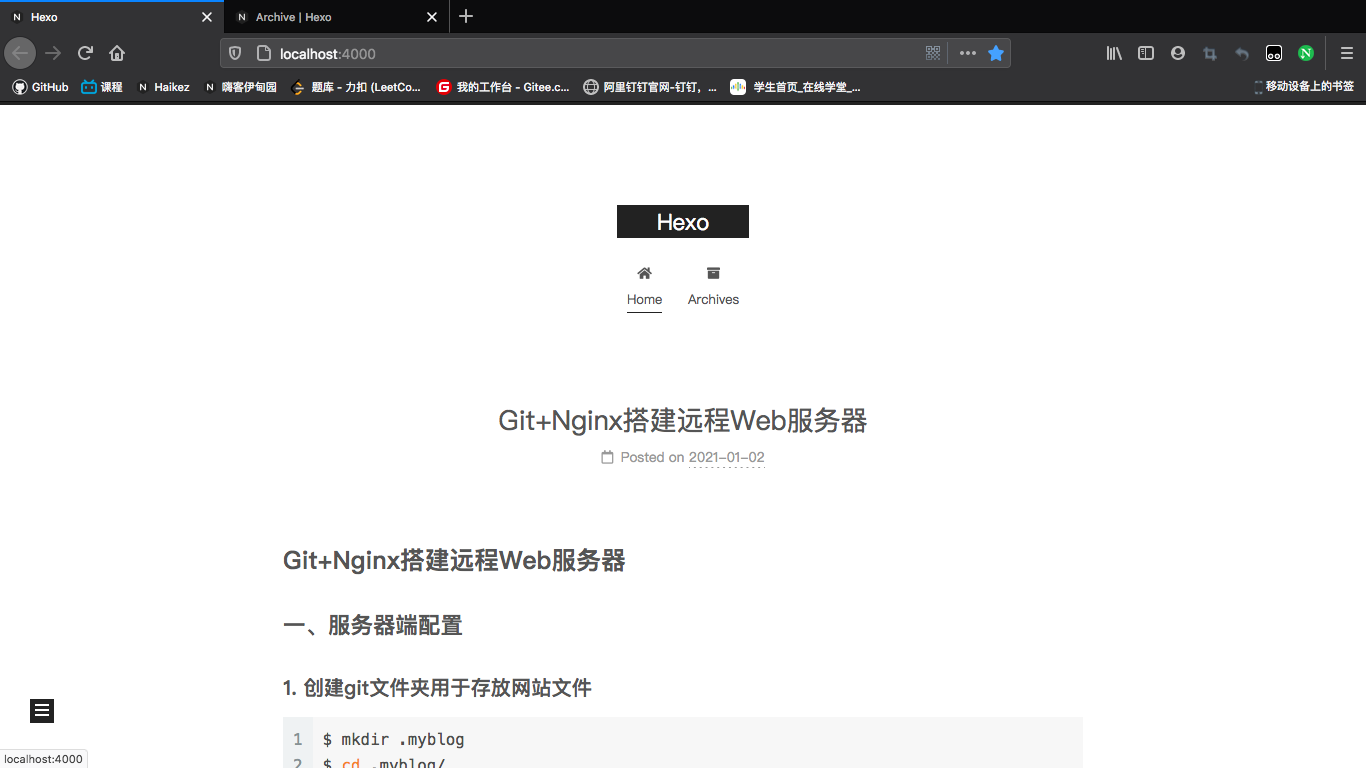
4. 清除hexo缓存使用命令:hexo clear,生成项目文件命令:hexo g,验证主题是否正确启用,命令为:hexo s --debug

 浙公网安备 33010602011771号