ES7.x客户端的认证创建一步一步来
前言
好久没来写博客了,还是简单的记录一下吧。今天要写的是es在7.x版本后的客户端的创建以及一些es的查询所语句到的小问题。直接先吧客户端端的代码呈上。
正文
public class ESClientUtils {
    private ESClientUtils() {
    }

    private static volatile RestHighLevelClient client = null;

    public static RestHighLevelClient getClient() {
        try {
            if (client == null) {
                synchronized (ESClientUtils.class) {
                    if (client == null) {
                        final CredentialsProvider credentialsProvider =
                                new BasicCredentialsProvider();
                        credentialsProvider.setCredentials(AuthScope.ANY, new UsernamePasswordCredentials(YamlTool.getInstance().getInfo("es.prod.name", "cluster-address.yml"), YamlTool.getInstance().getInfo("es.prod.password", "cluster-address.yml")));
                        RestClientBuilder restClientBuilder = RestClient.builder(
                                new HttpHost(YamlTool.getInstance().getInfo("es.prod.hostName", "cluster-address.yml").split(",")[0], Integer.parseInt(YamlTool.getInstance().getInfo("es.prod.port", "cluster-address.yml"))),
                                new HttpHost(YamlTool.getInstance().getInfo("es.prod.hostName", "cluster-address.yml").split(",")[1], Integer.parseInt(YamlTool.getInstance().getInfo("es.prod.port", "cluster-address.yml"))),
                                new HttpHost(YamlTool.getInstance().getInfo("es.prod.hostName", "cluster-address.yml").split(",")[2], Integer.parseInt(YamlTool.getInstance().getInfo("es.prod.port", "cluster-address.yml"))),
                                new HttpHost(YamlTool.getInstance().getInfo("es.prod.hostName", "cluster-address.yml").split(",")[3], Integer.parseInt(YamlTool.getInstance().getInfo("es.prod.port", "cluster-address.yml"))),
                                new HttpHost(YamlTool.getInstance().getInfo("es.prod.hostName", "cluster-address.yml").split(",")[4], Integer.parseInt(YamlTool.getInstance().getInfo("es.prod.port", "cluster-address.yml"))))
                                .setHttpClientConfigCallback(new RestClientBuilder.HttpClientConfigCallback() {
                                    @Override
                                    public HttpAsyncClientBuilder customizeHttpClient(HttpAsyncClientBuilder httpAsyncClientBuilder) {
                                        return httpAsyncClientBuilder.
                                                //setDefaultIOReactorConfig(IOReactorConfig.custom().setIoThreadCount(2).build());
                                                        setDefaultCredentialsProvider(credentialsProvider).setDefaultIOReactorConfig(IOReactorConfig.custom().setIoThreadCount(2).build());
                                    }
                                });

                        client = new RestHighLevelClient(restClientBuilder);
                    }
                }
            }
        } catch (Exception e) {

            e.printStackTrace();
        }
        return client;

    }

}

  我擦,博客的格式正式是不想整,但是看着又恶心。这个格式还是一开始用我同学给的格式。就这样吧,关键还是看内容吧。其实客户端官网都有,
那么我从官网一步一步走起。
第一步打开官网地址:https://www.elastic.co/guide/index.html
找到如图:
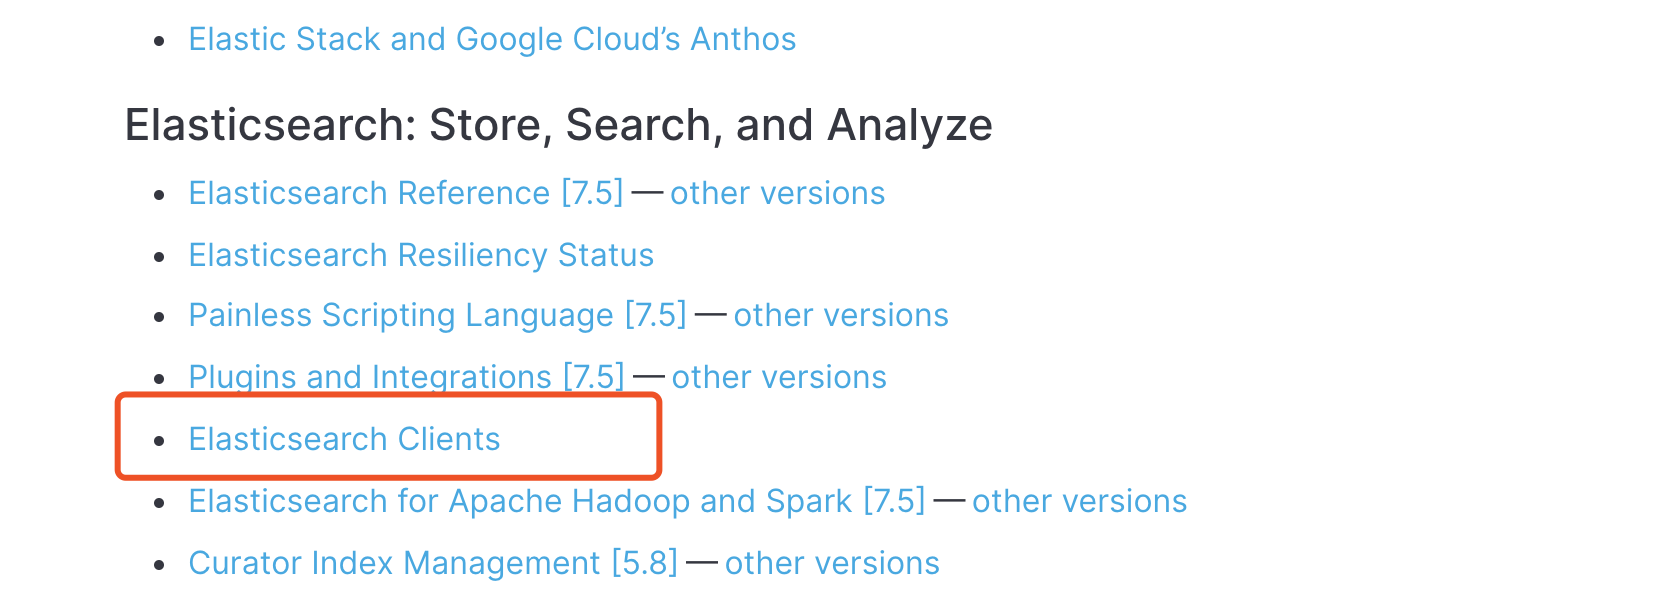
第二步:打开链接找到我们需要的客户端
我这个是 java 的client 实例,那么我们会有两个客户端,一个是low,一个是high。我代码的演示是high level的,其实high 是建立在基础的。那么我们要用户密码验证,怎么搞,我们发现high中是没有basi认证的,其实low里面已经提供了。在high level的介绍也是说是基础low level基础上的。那么我们在创建客户端的时候也是基于low的。所以直接看low是怎么创建的high就是再套一层壳就可以了。

然后就是自己在写代码的时候只是写了一个简单的单例模式避免client不断重建。
至于7.x之后的变化,就是没有了type,指定为_doc,这个也是在我们升级后,代码写索引的时候需要改的一个地方。还有就是用script 做脚本的时候 需要 先加 if( doc['field'].size() > 0)这样的判断,否则会报错;还有一个问题就是 es 默认返回数据是10000条,如果你想全部那么需要在查询的时候添加一个属性设置,"track_total_hits": true。
总结
东西很简单,希望对初学者有所帮助,大家共同进步,做个终生学习者。
A good leader is a good reader.

 浙公网安备 33010602011771号