
Pinpoint简介
Pinpoint是用Java / PHP编写的大规模分布式系统的APM(应用程序性能管理)工具。受Dapper的启发,Pinpoint提供了一种解决方案,可通过跟踪跨分布式应用程序的事务来帮助分析系统的整体结构以及其中的组件如何互连。
特点:
- 一目了然地了解您的应用程序拓扑
- 监控应用程序的实时
- 获得每笔交易的代码级可见性
- 安装APM代理而无需更改任何代码
- 对性能的影响最小(资源使用量增加约3%)
参考git地址:https://github.com/naver/pinpoint
pinpoint架构图

Pinpoint安装部署
前期准备
本例在ContenOS 7.4 下安装,本次需要安装pinpoint和pinpoint-agent和hbase、zookeeper,先在git上将需要用到的安装包都下载好
hbase下载地址:https://hbase.apache.org/downloads.html,pinpoint下载地址:https://github.com/naver/pinpoint/releases
安装它用到的2台服务器,一台主要部署pinpoint和pinpoint-agent,一台主要部署hbase、zookeeper
-
- jdk8 --- Java运行环境
- hbase-1.2.7 --- 数据库(单机版自带zookeeper),用来存储监控信息
- tomcat9.0 --- Web服务器
- pinpoint-collector-1.8.5.war --- pp的控制器
- pinpoint-web-1.8.5.war --- pp展示页面
- pinpoint-agent-1.8.5.tar.gz --- pp探针
安装hbase
在第一台服务器192.168.1.5上安装
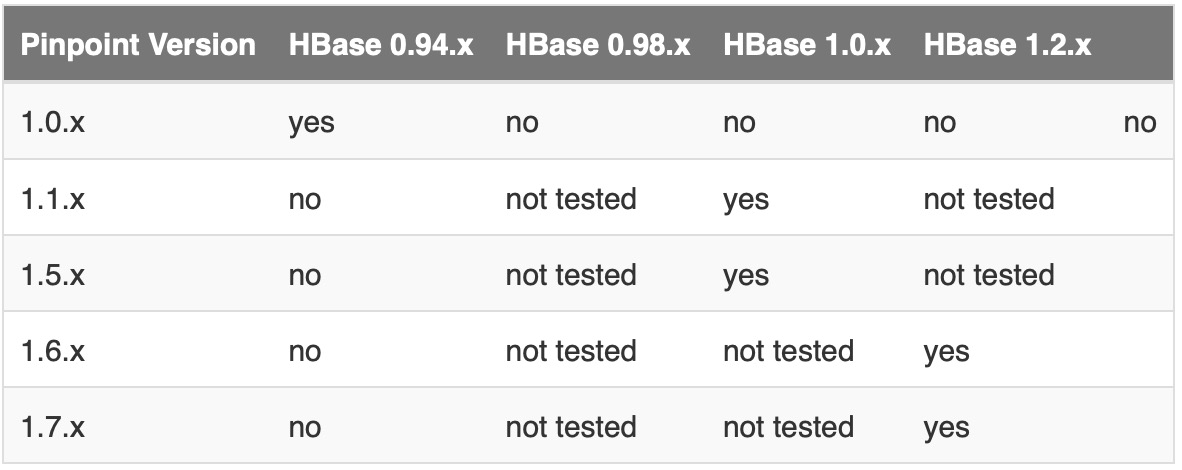
1、在hbase官网上下载hbase,本例安装的是hbase-1.2.7版,因为pinpoint和hbase有版本兼容的问题,可能导致pinpoint收集器无法写入数据到hbase
hbase的hbase-site.xml配置文件如下


 1 <configuration>
 2   <!-- hbase存放数据目录 -->
 3   <property>
 4     <name>hbase.rootdir</name>
 5     <value>file:///data/soft/hbase-1.2.7/hbase</value>
 6   </property>
 7
 8   <!-- ZooKeeper数据文件路径 -->
 9   <property>
10     <name>hbase.zookeeper.property.dataDir</name>
11     <value>/data/soft/hbase-1.2.7/zookeeper</value>
12   </property>
13
14   <property>
15         <name>hbase.zookeeper.property.clientPort</name>
16         <value>12181</value>
17   </property>
18
19
20   <property>
21     <name>hbase.unsafe.stream.capability.enforce</name>
22     <value>false</value>
23     <description>
24       Controls whether HBase will check for stream capabilities (hflush/hsync).
25
26       Disable this if you intend to run on LocalFileSystem, denoted by a rootdir
27       with the 'file://' scheme, but be mindful of the NOTE below.
28
29       WARNING: Setting this to false blinds you to potential data loss and
30       inconsistent system state in the event of process and/or node failures. If
31       HBase is complaining of an inability to use hsync or hflush it's most
32       likely not a false positive.
33     </description>
34   </property>
35
36 </configuration>
安装后并启动hbase
2、初始化Hbase的Pinpoint库,在git中下载hase-create.hbase脚本文件,并安装基础表
下载hase-create.hbase地址:https://github.com/naver/pinpoint/blob/master/hbase/scripts/hbase-create.hbase
执行脚本命令:$HBASE_HOME/bin/hbase shell hbase-create.hbase
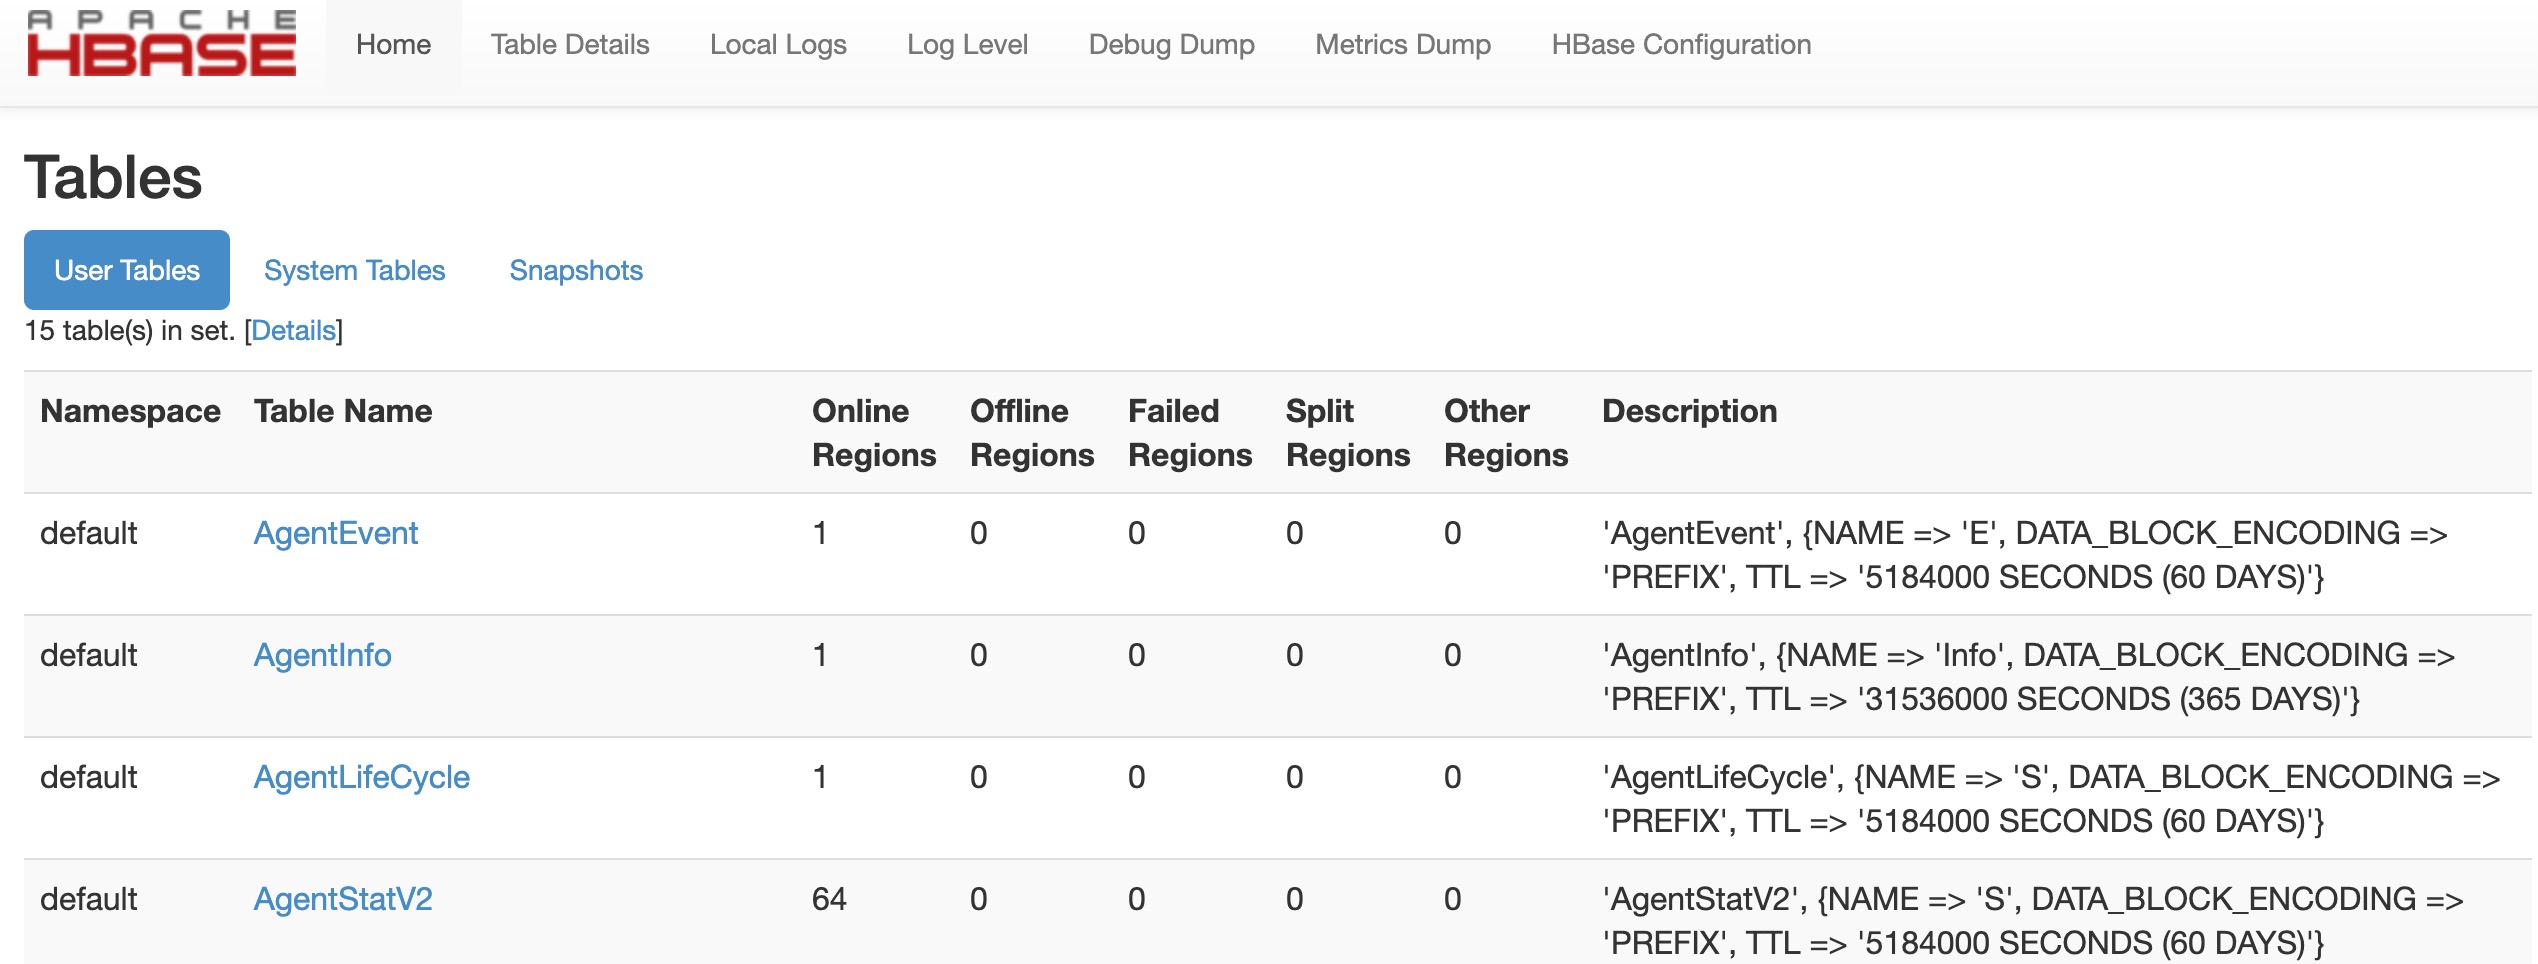
3、执行完成后可以在Hbase的网页中查看表信息
安装pinpoint-collector
在第二台服务器192.168.1.6上安装
1、将下载好的pinpoint-collector-1.8.5.war解压,并移动到tomcat的webapp中。
解压命令:unzip pinpoint-collector-1.8.5.war -d pinpoint-collector-1.8.5
移动命令:mv pinpoint-collector-1.8.5 /data/soft/apache-tomcat-8081/webapps/
2、进入/data/soft/apache-tomcat-8081/webapps/pinpoint-collector-1.8.5/WEB-INF/classes目录,编辑配置文件
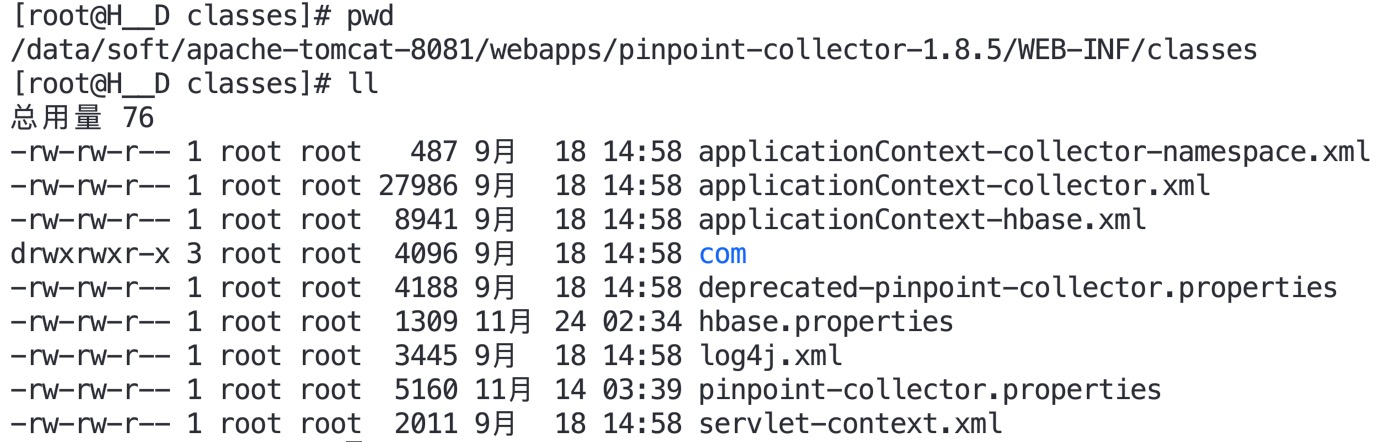
注:收集器的端口配置文件pinpoint-collector.properties,里面可以设置接受探针发送过来的数据端口,需要与Agent搭配使用。默认9994、9995、9996。
修改hbase.properties文件,配置zookeeper地址
命令:vim hbase.properties
1 hbase.client.host=192.168.1.5
2 hbase.client.port=12181
修改pinpoint-collector.properties,配置zookeeper地址
命令:vim pinpoint-collector.properties
1 cluster.enable=true
2 cluster.zookeeper.address=192.168.1.5:12181
3 cluster.zookeeper.sessiontimeout=30000
4 cluster.listen.ip=
5 cluster.listen.port=
3、在192.168.1.6服务器上配置192.168.1.5服务器的hostname地址
注:由于pinpoint-collector回到zookeeper中获取hbase的地址,但是hbase在zookeeper中注册的是自己的主机名称,pinpoint-collector拿到的就hbase主机名称,访问的时候需要在hosts文件中配置主机名称对应的IP地址
命令:vim /etc/hosts
# hbasehostname为192.168.1.5的主机名称
192.168.1.5    hbasehostname
4、启动tomcat,即将pinpoint的收集器部署好了
安装pinpoint-agent
在第二台服务器192.168.1.6上安装
1、将下载好的pinpoint-agent-1.8.5.tar.gz进行解压
新建目录:mkdir /data/soft/pinpoint/pinpoint-agent-1.8.5
解压命令:tar -zxvf pinpoint-agent-1.8.5.tar.gz -C /data/soft/pinpoint/pinpoint-agent-1.8.5
2、对agent进行配置,编辑/data/soft/pinpoint/pinpoint-agent-1.8.5中的pinpoint.config文件,对pinpoint收集器信息进行配置
 1 profiler.collector.ip=127.0.0.1
 2
 3 # placeHolder support "${key}"
 4 profiler.collector.span.ip=${profiler.collector.ip}
 5 profiler.collector.span.port=9996
 6
 7 # placeHolder support "${key}"
 8 profiler.collector.stat.ip=${profiler.collector.ip}
 9 profiler.collector.stat.port=9995
10
11 # placeHolder support "${key}"
12 profiler.collector.tcp.ip=${profiler.collector.ip}
13 profiler.collector.tcp.port=9994
3、在应用tomcat的bin/catalina.sh中,加入三句话,就安装好pinpoint的探针了,如下:
1 #2019-11-11
2 # 在20行增加如下字段
3 # 第一行是pp-agent的jar包位置
4 # 第二行是agent的ID,这个ID是唯一的,我是用pp + 今天的日期命名的,只要与其他的项目的ID不重复就好了
5 # 第三行是采集项目的名字,这个名字可以随便取,只要各个项目不重复就好了
6 CATALINA_OPTS="$CATALINA_OPTS -javaagent:/data/soft/pinpoint/pinpoint-agent-1.8.5/pinpoint-bootstrap-1.8.5.jar"
7 CATALINA_OPTS="$CATALINA_OPTS -Dpinpoint.agentId=pp20191112"
8 CATALINA_OPTS="$CATALINA_OPTS -Dpinpoint.applicationName=Tomcat8080"
4、重启应用tomcat,即可收集应用数据
安装pinpoint-web
在第二台服务器192.168.1.6上安装
1、将下载好的pinpoint-web-1.8.5.war解压,并移动到tomcat的webapp中。
解压命令:unzip pinpoint-web-1.8.5.war -d pinpoint
移动命令:mv pinpoint /data/soft/apache-tomcat-8081/webapps/
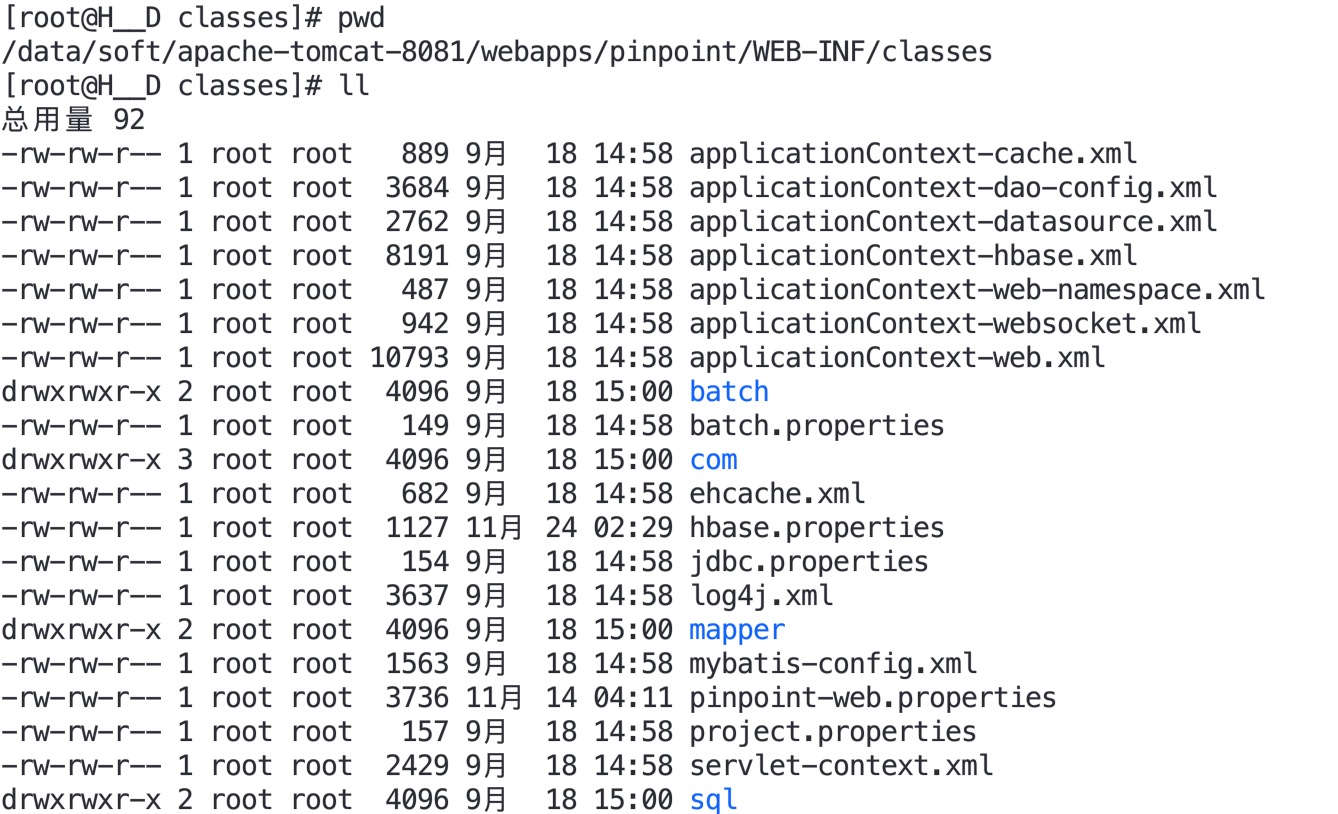
2、进入/data/soft/apache-tomcat-8081/webapps/pinpoint/WEB-INF/classes目录,编辑配置文件
修改hbase.properties文件,配置zookeeper地址
命令:vim hbase.properties
1 hbase.client.host=192.168.1.5
2 hbase.client.port=12181
修改pinpoint-web.properties文件,配置zookeeper地址
命令:vim pinpoint-web.properties
1 cluster.enable=true
2 cluster.web.tcp.port=9997
3 cluster.zookeeper.address=192.168.1.5:12181
4 cluster.zookeeper.sessiontimeout=30000
5 cluster.zookeeper.retry.interval=60000
6 cluster.connect.address=
3、重启应用tomcat8081,即可收集应用数据,使用地址http://192.168.1.6:8081/pinpiont,即可访问pinpiont的web界面
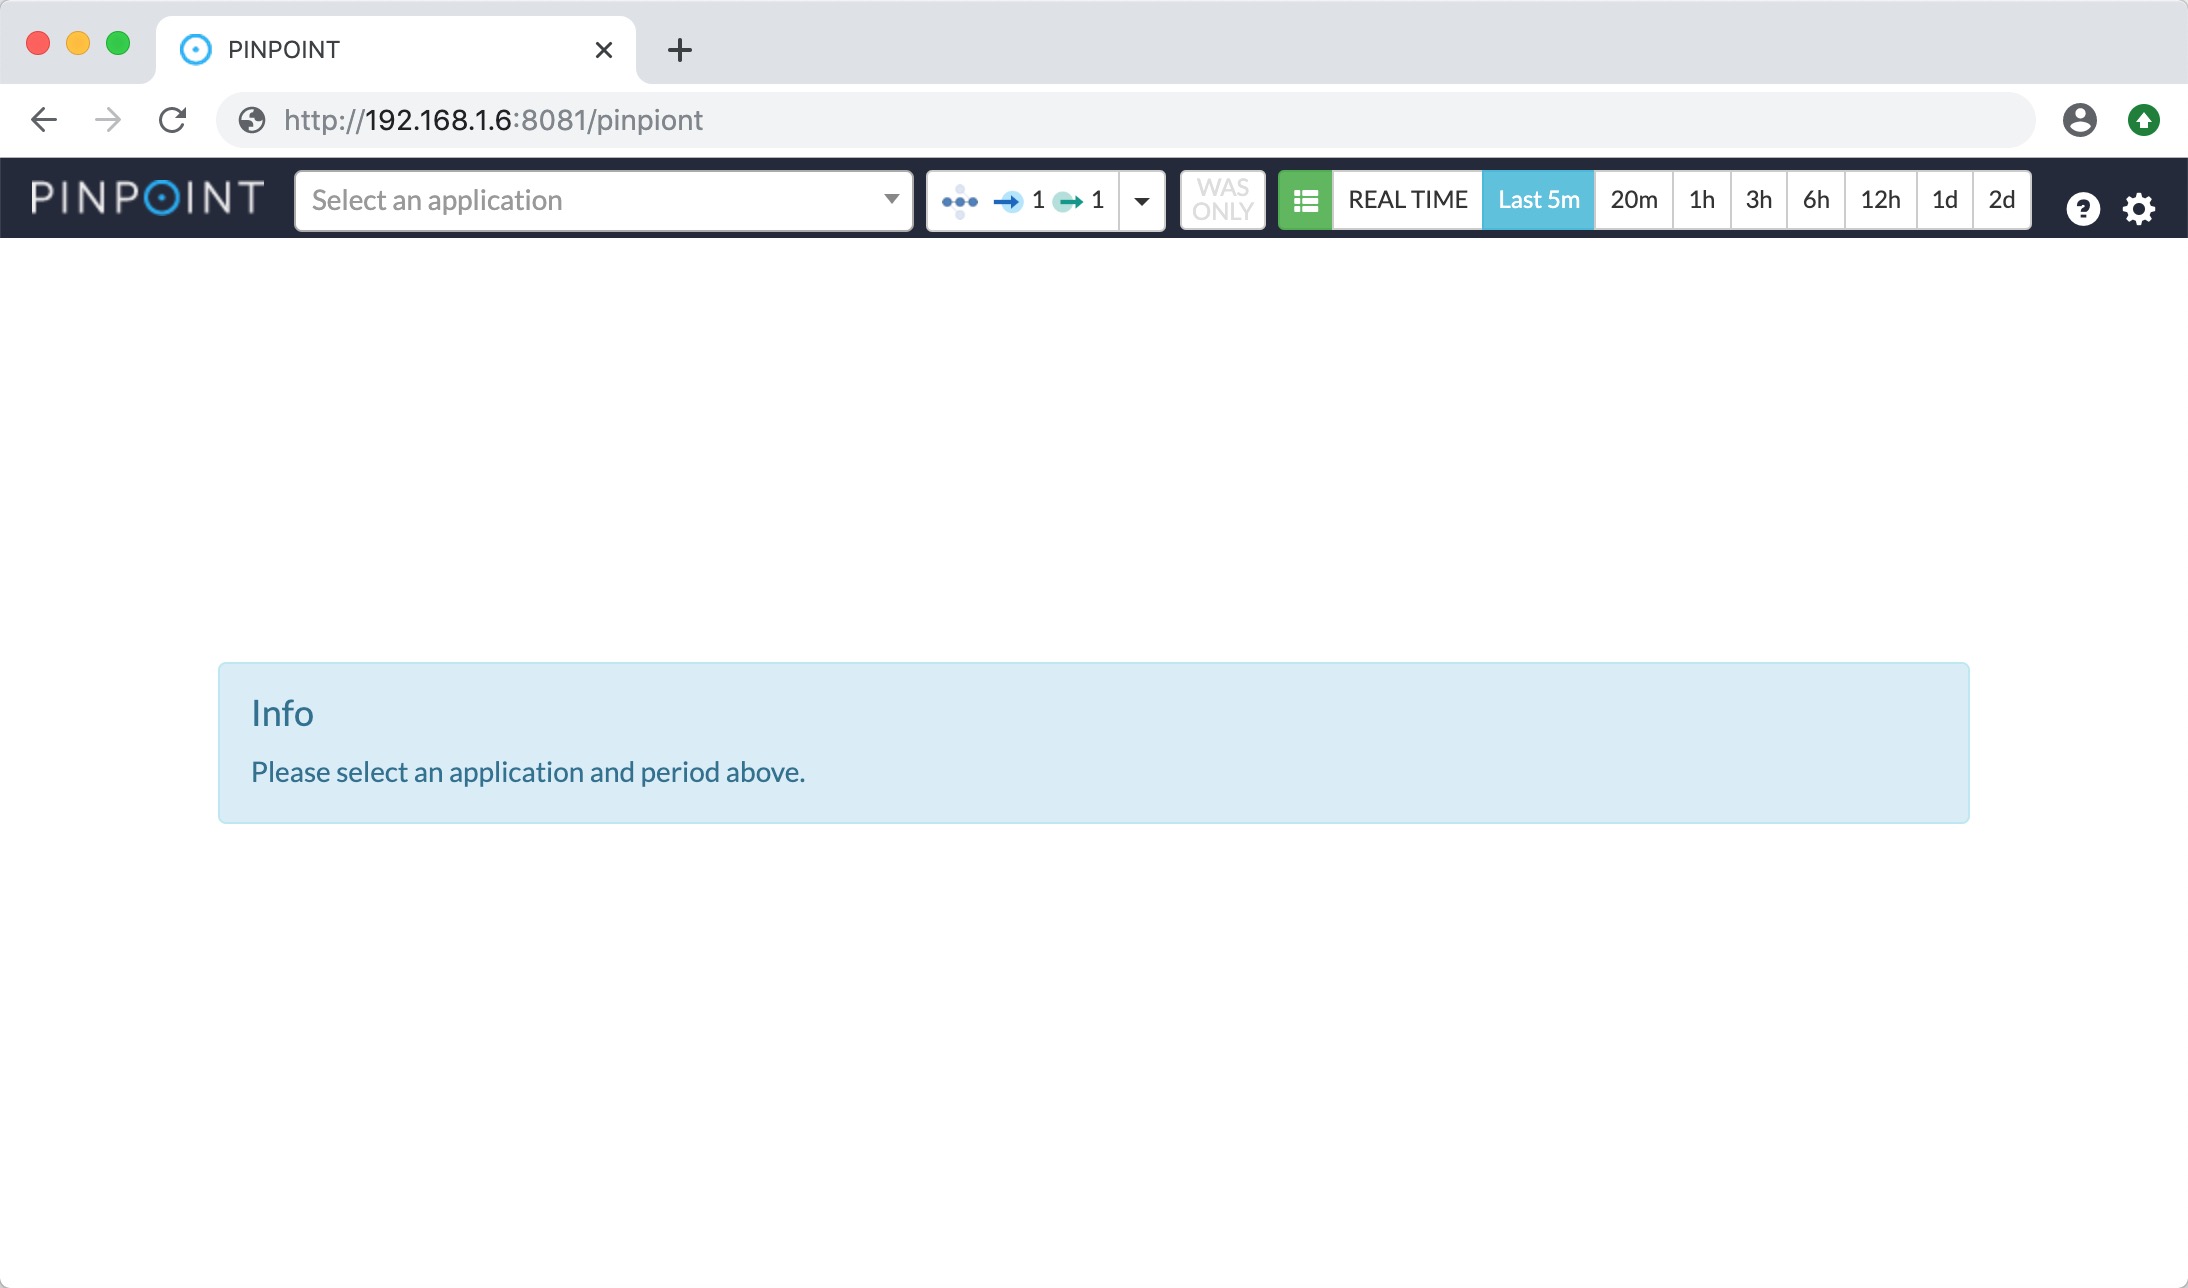
4、在界面中选择一个应用即可看到应用使用的情况


 浙公网安备 33010602011771号