
SpringBoot介绍
Spring Boot使创建可运行的独立,生产级基于Spring的应用程序变得容易。对Spring平台和第三方库整合,这样就可以以最小的麻烦开始使用。大多数Spring Boot应用程序只需要很少的Spring配置。
可以使用Spring Boot创建可以通过使用java -jar或更传统的战争部署启动的Java应用程序。
主要目标是:
- 为所有Spring开发提供根本上更快且可广泛访问的入门体验。
- 开箱即用,但由于需求开始与默认值有所出入,因此很快就会摆脱困境。
- 提供一系列大型项目通用的非功能性功能(例如嵌入式服务器,安全性,指标,运行状况检查和外部化配置)。
- 完全没有代码生成,也不需要XML配置。
SpringBoot搭建
环境:Java 1.8
工具:Idea
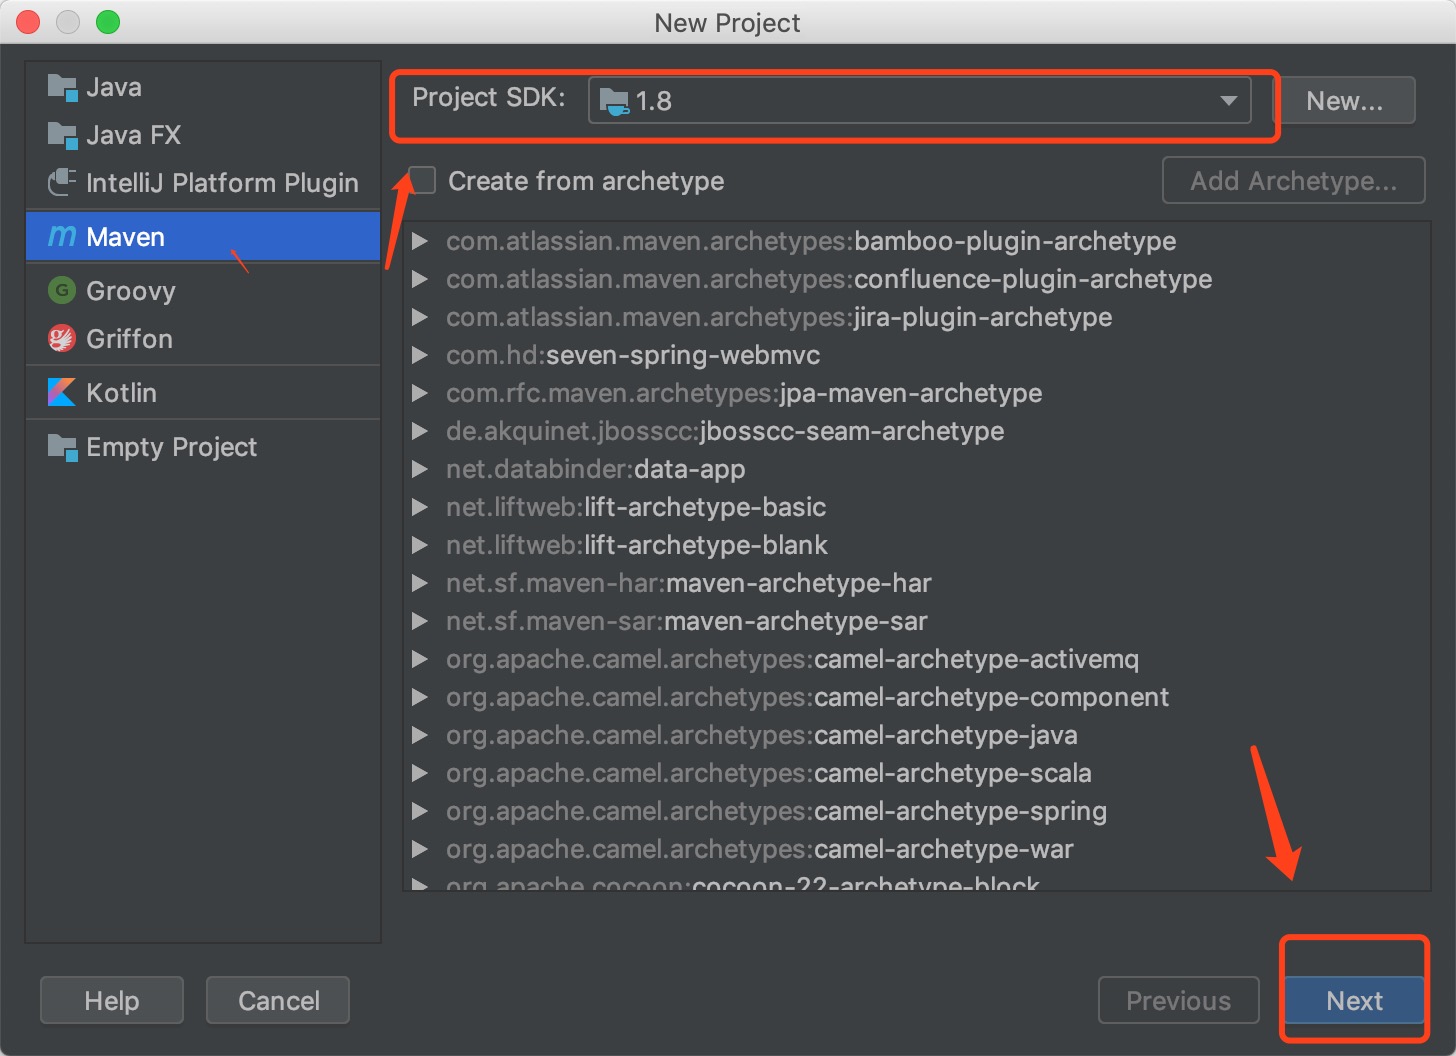
1、打开idea,创建工程Maven工程
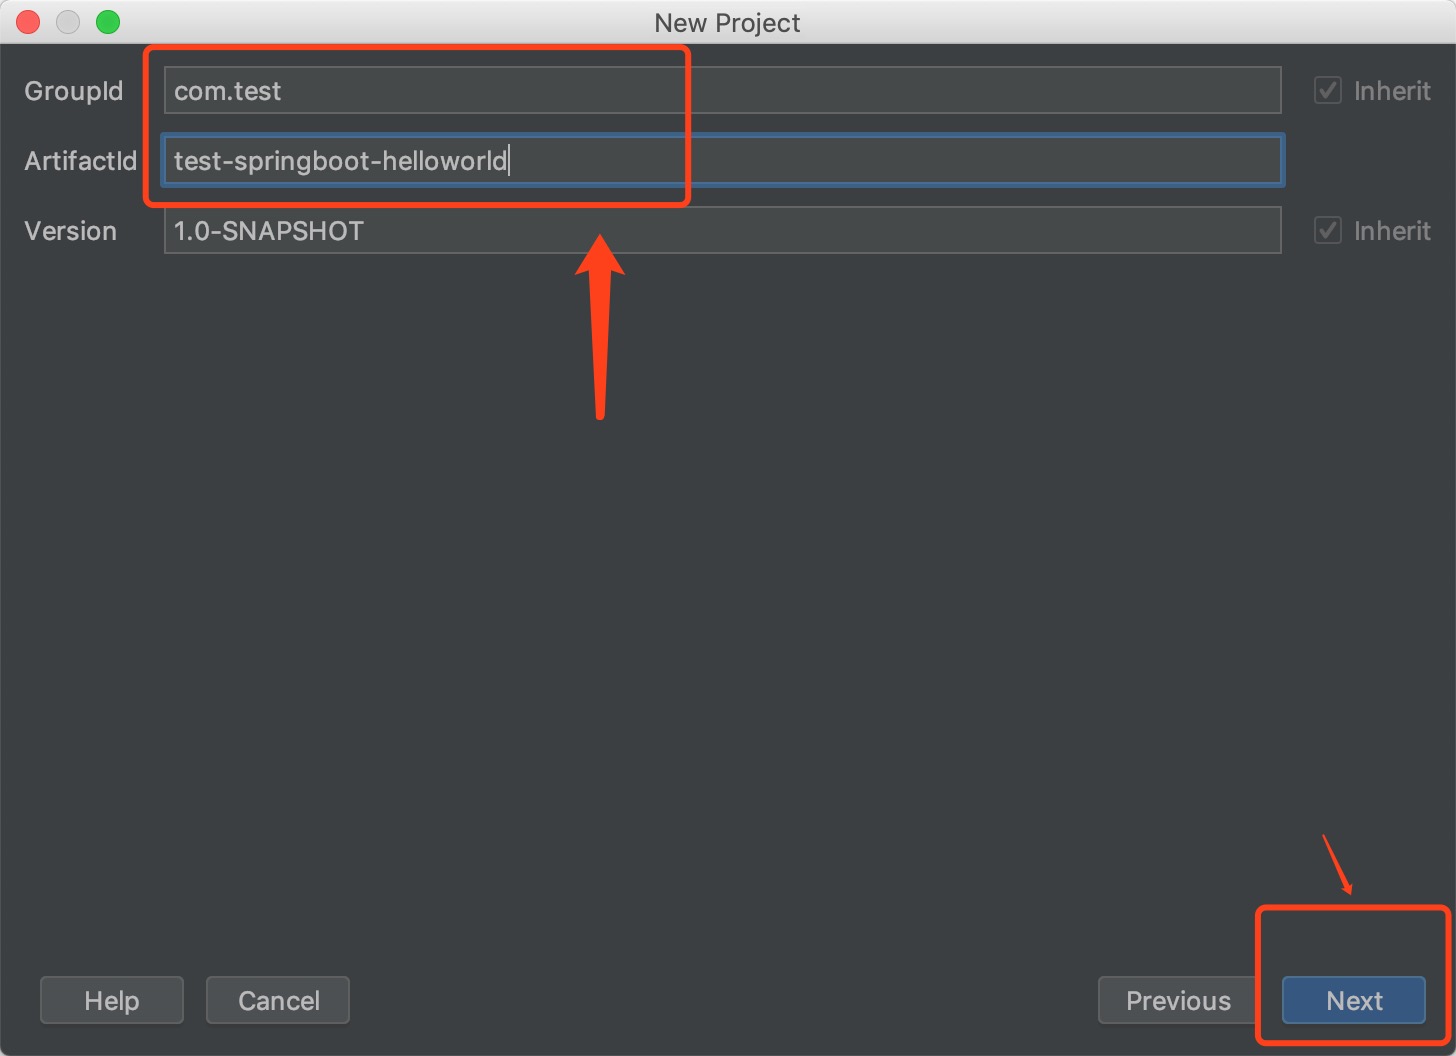
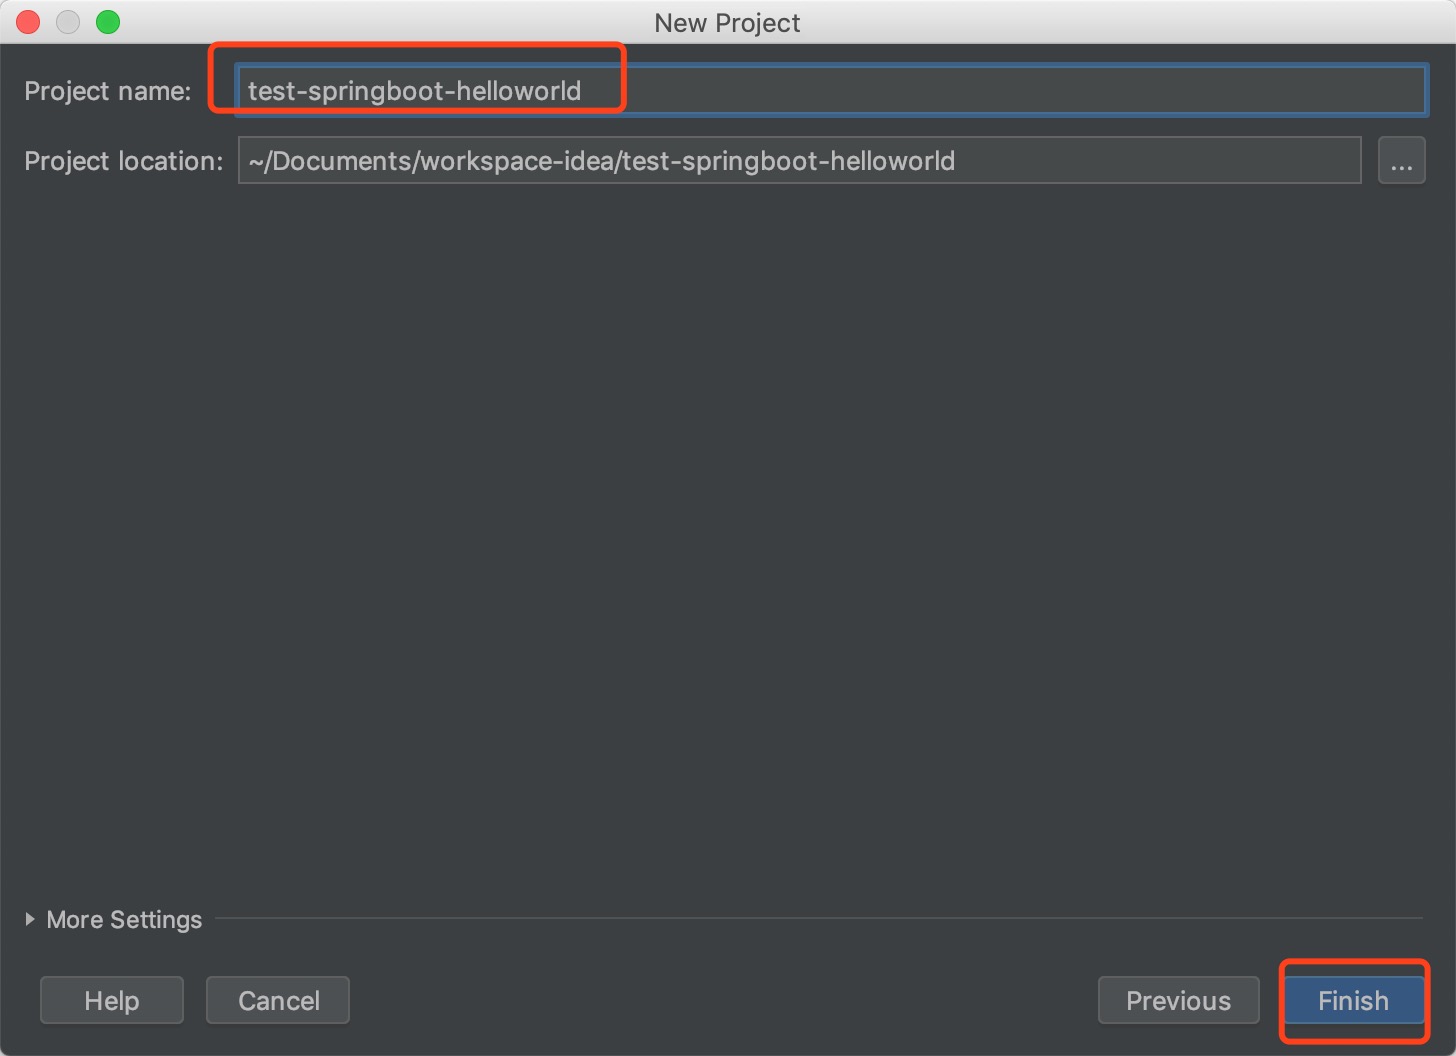
2、根据步骤,填入GroupId和ArtifactId,和项目名称,完成之后,等于Maven工程创建好了
3、编辑pom.xml文件,添加SpringBoot父工程,和web项目的启动器依赖,以及打包SpringBoot项目的插件
 1 <?xml version="1.0" encoding="UTF-8"?>
 2 <project xmlns="http://maven.apache.org/POM/4.0.0"
 3          xmlns:xsi="http://www.w3.org/2001/XMLSchema-instance"
 4          xsi:schemaLocation="http://maven.apache.org/POM/4.0.0 http://maven.apache.org/xsd/maven-4.0.0.xsd">
 5     <modelVersion>4.0.0</modelVersion>
 6
 7     <groupId>com.test</groupId>
 8     <artifactId>test-springboot-helloworld</artifactId>
 9     <version>1.0-SNAPSHOT</version>
10
11     <parent>
12         <groupId>org.springframework.boot</groupId>
13         <artifactId>spring-boot-starter-parent</artifactId>
14         <version>2.1.8.RELEASE</version>
15     </parent>
16
17
18     <dependencies>
19         <!-- 不需要写版本号,版本号依赖父项目(spring-boot-starter-parent)管理 -->
20         <!-- SpringBoot 将所有的功能场景抽取出来,做成一个个starter(启动器),
21             只需要在项目中引入这些starter相关场景的所有依赖都会导入进来,要用什么功能就导入什么启动器-->
22         <dependency>
23             <groupId>org.springframework.boot</groupId>
24             <artifactId>spring-boot-starter-web</artifactId>
25         </dependency>
26     </dependencies>
27
28
29     <!-- SpringBoot打包插件,可以将代码打包成一个可执行的jar包 -->
30     <build>
31         <plugins>
32             <plugin>
33                 <groupId>org.springframework.boot</groupId>
34                 <artifactId>spring-boot-maven-plugin</artifactId>
35             </plugin>
36         </plugins>
37     </build>
38
39 </project>
4、增加SpringBoot启动类,Application.java,内容如下:
 1 package com.test.springboot;
 2
 3 import org.springframework.boot.SpringApplication;
 4 import org.springframework.boot.autoconfigure.SpringBootApplication;
 5
 6
 7 /**
 8  * @SpringBootApplication 用来标注一个主程序,说明这是一个Spring Boot应用
 9  */
10 @SpringBootApplication
11 public class Application {
12
13     public static void main(String[] args) {
14
15         // Spring应用启动
16         SpringApplication.run(Application.class, args);
17     }
18 }
5、增加一个Controller,用来验证web访问是否成功,HelloController.java
 1 package com.test.springboot.controller;
 2
 3 import org.springframework.stereotype.Controller;
 4 import org.springframework.web.bind.annotation.RequestMapping;
 5 import org.springframework.web.bind.annotation.ResponseBody;
 6
 7 @Controller
 8 public class HelloController {
 9
10     @RequestMapping("/hello")
11     @ResponseBody
12     public String hello(){
13         return "Hello World!";
14     }
15
16 }
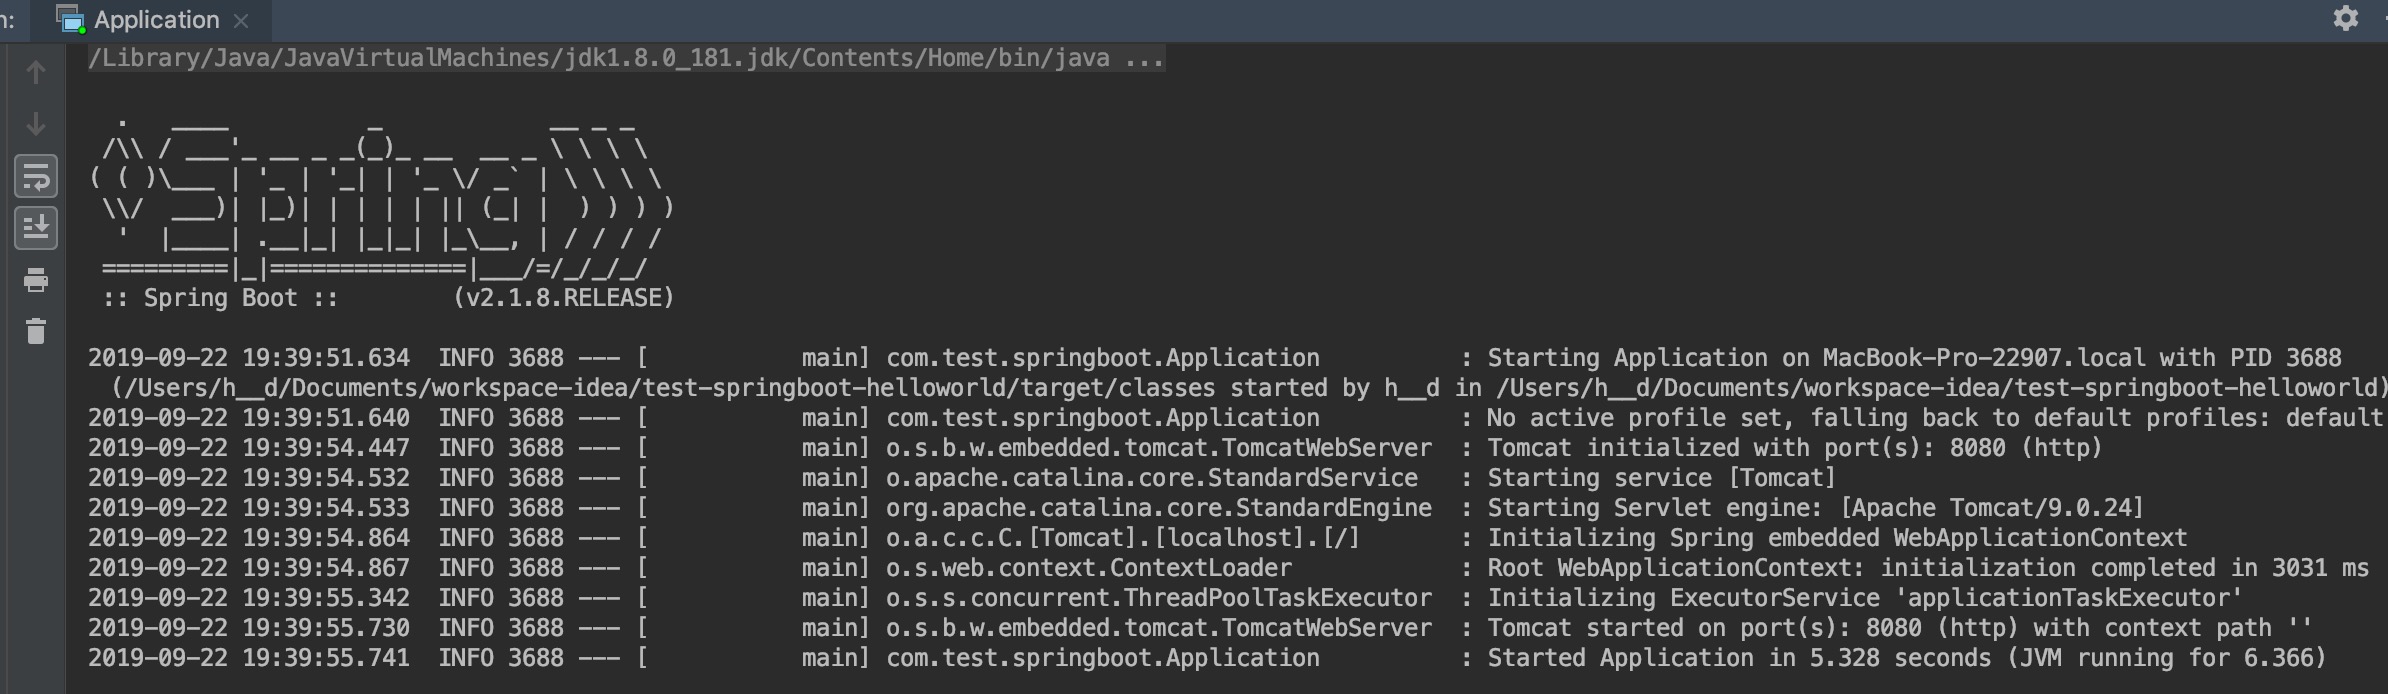
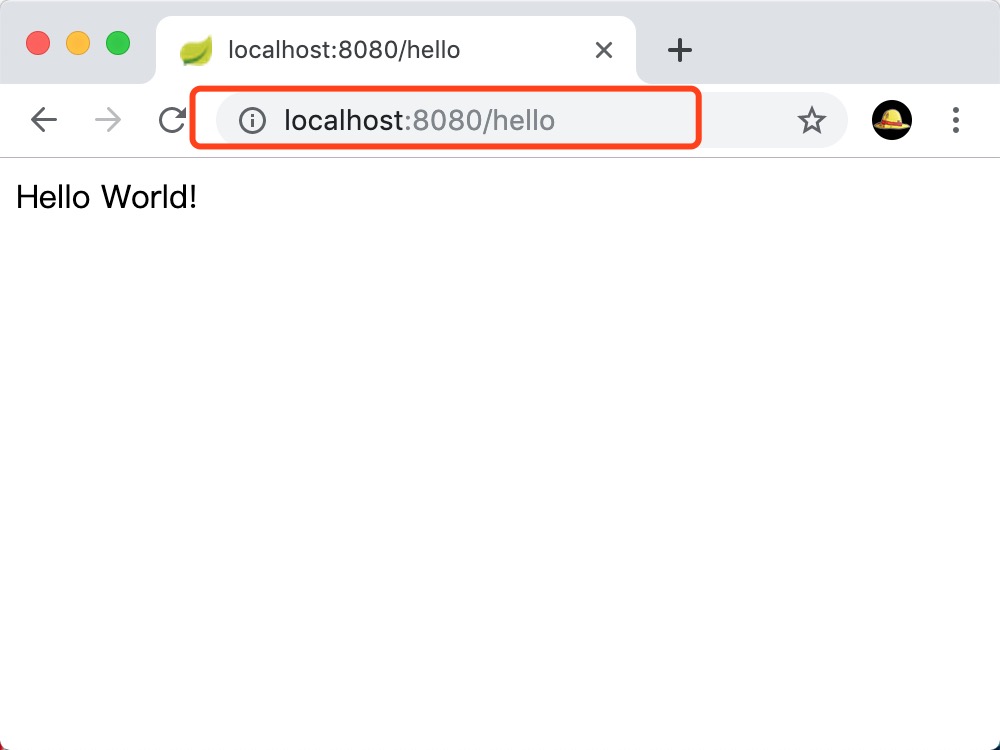
6、运行Application.java的主方法,然后浏览器输入地址: http://localhost:8080/hello,进行访问
启动控制台输出如下:
浏览器访问结果如下:
SpringBoot项目部署
1、使用Maven进行打包,可以使用idea的Maven界面快捷打包

2、打包成功后,找target目录中找到test-springboot-helloworld-1.0-SNAPSHOT.jar包
使用命令运行:java -jar test-springboot-helloworld-1.0-SNAPSHOT.jar
3、浏览器输入地址: http://localhost:8080/hello访问,效果如上
SpringBoot项目目录结构
1、登录springboot官方的网站:https://start.spring.io/,快速搭建一个springboot项目
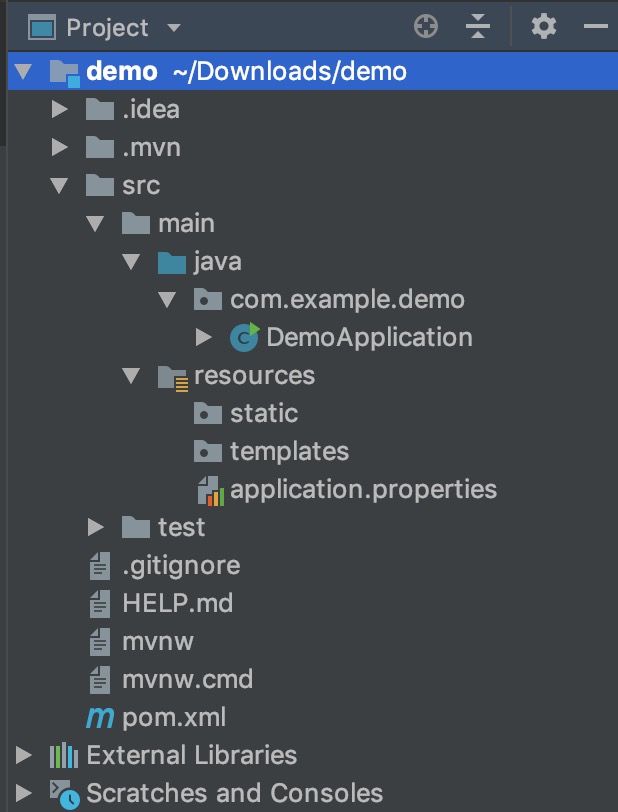
2、查看目录,目录说明如下
src/main/java --- 源代码目录
src/main/resources --- 资源文件目录
static --- 保存所有的静态资源:js css images
templates --- 保存所有的模版资源:(SpringBoot默认jar包使用嵌入式的Tomcat,默认不支持jsp页面),可以使用模版引擎(freemarker、thymeleaf)
application.properties --- SpringBoot的配置文件
pom.xml --- maven配置文件


 浙公网安备 33010602011771号