

Yolo环境配置总结(二)-Anaconda环境配置
多个开发环境思路:
1)在Anaconda安装目录下的envi文件内新建一个名为python_yolo的文件(没有envs文件夹就自己新建)
2)将yolo整个安装目录复制python_yolo
1.在网站下载对应版本的torch和torchvision的whl文件
https://download.pytorch.org/whl/torch_stable.html
2.新建虚拟环境
|
1
|
conda create -n YOLOV11 python=3.9 |
3.查看虚拟环境
|
1
|
conda info -e |
4.激活虚拟环境
|
1
|
activate YOLOV11conda env list deactivate conda env remove -n 你的环境名称 |
5.安装相关库
|
1
2
3
4
5
6
7
8
9
10
11
12
|
pip3 install opencv-python==4.4.0.46 -i https://pypi.tuna.tsinghua.edu.cn/simple/pip3 install numpy==1.19.2 -i https://pypi.tuna.tsinghua.edu.cn/simple/pip3 install Cython==0.29.21 -i https://pypi.tuna.tsinghua.edu.cn/simple/pip3 install pillow==8.0.1 -i https://pypi.tuna.tsinghua.edu.cn/simple/pip3 install matplotlib==3.3.2 -i https://pypi.tuna.tsinghua.edu.cn/simple/pip3 install pyyaml==5.3.1 -i https://pypi.tuna.tsinghua.edu.cn/simple/pip3 install tensorboard==2.3.0 -i https://pypi.tuna.tsinghua.edu.cn/simple/pip3 install scipy==1.5.2 -i https://pypi.tuna.tsinghua.edu.cn/simple/pip3 install tqdm==4.54.0 -i https://pypi.tuna.tsinghua.edu.cn/simple/pip3 install pandas==1.1.3 -i https://pypi.tuna.tsinghua.edu.cn/simple/pip3 install seaborn==0.11.0 -i https://pypi.tuna.tsinghua.edu.cn/simple/pip3 install pycocotools==2.0.2 -i https://pypi.tuna.tsinghua.edu.cn/simple/ |
6.安装torch
将路径跳转到步骤1中下载的文件位置,使用pip install .....whl 格式来安装whl文件
7.验证
|
1
2
3
4
5
6
7
|
import torch#查看版本print(torch.__version__)#查看gpu是否可用.返回True则表示可以使用gputorch.cuda.is_available()#返回设备gpu个数torch.cuda.device_count() |
8.图像检测
|
1
|
python detect.py |
9.调用摄像头
|
1
|
python detect.py --source 0 |
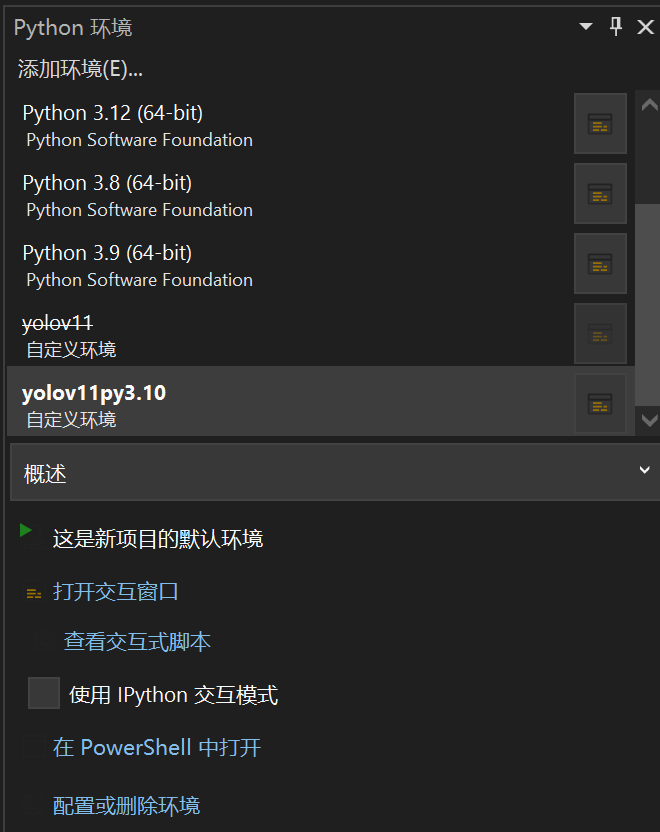
10.在vs中加载在conna中配置好的环境,此时这个环境缺少依赖,在vs中的虚拟环境上右键安装requirements.txt

 浙公网安备 33010602011771号