

fastdfs部署使用
fastdfs服务部署:
官方配置文档:https://github.com/happyfish100/fastdfs/wiki/
一台服务器做部署,一个tracker和两组storage
1、环境准备
操作系统:centos7.6
IP:192.168.53.123
2、安装部署
PS:
1)fastdfs-6.07 及之前得版本部署不需要单独编译安装 libserverframe,经测试 fastdfs-6.07 仅适配 libfastcommon-1.0.55 及以前得版本,如果安装 libfastcommon-1.0.56 及以上版本, 编译 fastdfs-6.07 则会报错——(测试版本 libfastcommon:1.0.50-1.0.59;fastdfs:6.07、6.08)
2)如果安装 fastdfs-6.08 及以上版本,安装前需编译安装 libfastcommon 和 libserverframe
安装包准备
1)安装所需依赖包
# yum -y install git libevent libevent-devel gcc gcc-c++
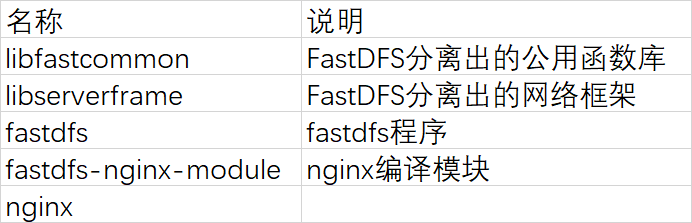
2)安装 libfastcommon (FastDFS分离出的公用函数库)
下载地址:https://github.com/happyfish100/libfastcommon
将 libfastcommon 的压缩包上传服务器安装路径下(我安装在 /home/fastdfs),执行解压命令及部署命令
# unzip libfastcommon-master.zip
# cd libfastcommon-master/
# ./make.sh
# ./make.sh install
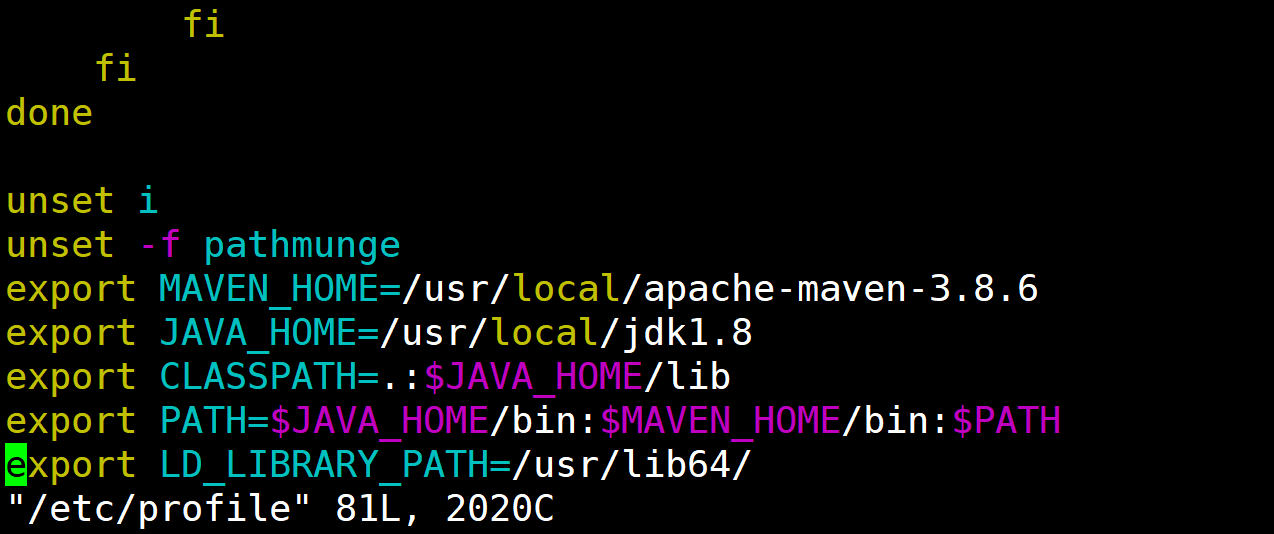
设置环境变量
# vim /etc/profile
export LD_LIBRARY_PATH=/usr/lib64/
创建软链接
# ln -s /usr/lib64/libfastcommon.so /usr/local/lib/libfastcommon.so
3)安装 libserverframe (FastDFS分离出的网络框架)
安装包下载地址:https://github.com/happyfish100/libserverframe
# unzip libserverframe-master.zip
# cd libserverframe-master/
# ./make.sh && ./make.sh install
4)安装配置 FastDFS
下载地址:https://github.com/happyfish100/fastdfs
将 fastdfs 的压缩包上传 /home/fastdfs 目录下,然后执行解压及部署命令
# unzip fastdfs.zip
# cd fastdfs-master
# ./make.sh
# ./make.sh install
注:如果编译有问题需要二次编译时候需要清理第一次的编译 ,执行 ./make clean
5)创建文件存放目录
# mkdir /home/fastdfs/{tracker,storage_group1,storage_group2,client}
6)查看配置文件是否齐全
进入 /etc/fdfs/ 目录下,查看目录下文件是否齐全
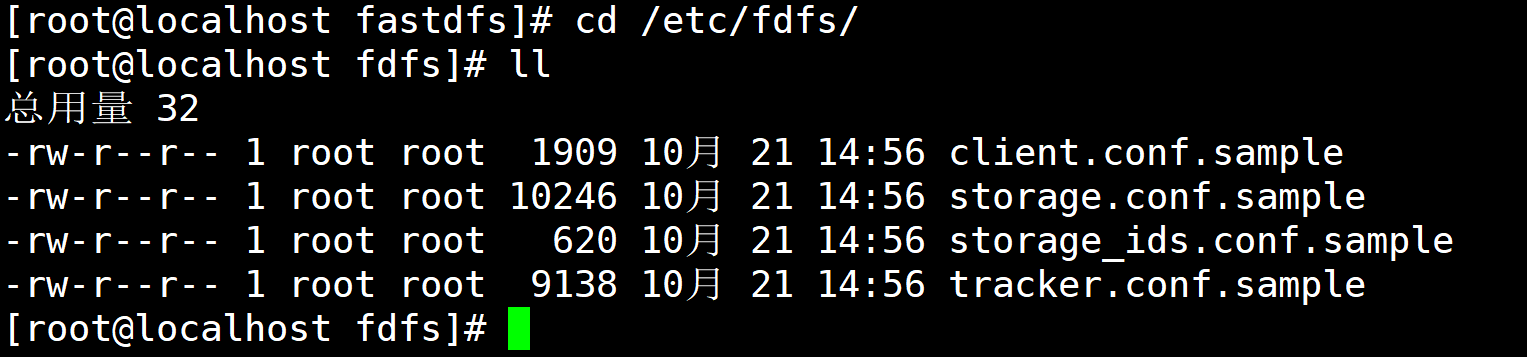
7)修改配置文件 tracker.conf
# yum -y install zlib zlib-devel pcre pcre-devel gcc gcc-c++ openssl openssl-devel libevent libevent-devel perl unzip net-tools wget

# cp tracker.conf.sample tracker.conf
# vim tracker.conf

disabled = false                #启用配置文件
bind_addr =                        #解析主机地址,空则解析所有主机
port = 22122                    #tracker 服务端口
connect_timeout = 5                #连接超时时间
network_timeout = 60            #网络超时时间
base_path = /home/fastdfs/tracker    #tracker 基础数据和日志的存储路径
max_connections = 1024            #最大并发连接数
accept_threads = 1
work_threads = 2                #工作线程数,最好和CPU核数一致
min_buff_size = 8KB
max_buff_size = 128KB
store_lookup = 0                #选择文件上传模式,0 代表group轮询,1 指定特定group,2 选择空间最大的group
#store_group = group2            #上传文件组,如果模式为 1,则必须设置成特定group一致的组名
store_server = 0                #选择存储服务器上传文件,0 代表轮询,1 根据IP的顺序,2 通过优先级
store_path = 0                    #选择哪块存储盘上传文件,0 代表轮询,2 代表优先最大存储空间
download_server = 0                #选择哪块存储服务器下载文件,0 代表轮询,1 代表当前文件上传的源服务器
reserved_storage_space = 20%    #系统保留存储空间20%
#####其余配置默认即可
log_level = info
run_by_group=
run_by_user =
allow_hosts = *
sync_log_buff_interval = 1
check_active_interval = 120
thread_stack_size = 256KB
storage_ip_changed_auto_adjust = true
storage_sync_file_max_delay = 86400
storage_sync_file_max_time = 300
use_trunk_file = false
slot_min_size = 256
slot_max_size = 1MB
trunk_alloc_alignment_size = 256
trunk_free_space_merge = true
delete_unused_trunk_files = false
trunk_file_size = 64MB
trunk_create_file_advance = false
trunk_create_file_time_base = 02:00
trunk_create_file_interval = 86400
trunk_create_file_space_threshold = 20G
trunk_init_check_occupying = false
trunk_init_reload_from_binlog = false
trunk_compress_binlog_min_interval = 86400
trunk_compress_binlog_interval = 86400
trunk_compress_binlog_time_base = 03:00
trunk_binlog_max_backups = 7
use_storage_id = false
storage_ids_filename = storage_ids.conf
id_type_in_filename = id
store_slave_file_use_link = false
rotate_error_log = false
error_log_rotate_time = 00:00
compress_old_error_log = false
compress_error_log_days_before = 7
rotate_error_log_size = 0
log_file_keep_days = 0
use_connection_pool = true
connection_pool_max_idle_time = 3600
http.server_port = 8080
http.check_alive_interval = 30
http.check_alive_type = tcp
http.check_alive_uri = /status.html
8)修改配置文件storage.conf
配置group1 的配置文件
# cp storage.conf.sample storage_group1.conf
# vim storage_group1.conf

disabled = false
group_name = group1            #存储组名
bind_addr =
client_bind = true            #连接其他服务器时解析该主机地址
port = 23000                #storage 服务端口
connect_timeout = 5
network_timeout = 60
heart_beat_interval = 30
stat_report_interval = 60
base_path = /home/fastdfs/storage_group1    #基础数据和日志的存储路径
max_connections = 1024
buff_size = 256KB
accept_threads = 1
work_threads = 4
disk_rw_separated = true
disk_reader_threads = 1
disk_writer_threads = 1
sync_wait_msec = 50
sync_interval = 0
sync_start_time = 00:00
sync_end_time = 23:59
write_mark_file_freq = 500
disk_recovery_threads = 3
store_path_count = 1
store_path0 = /home/fastdfs/storage_group1    #group 所占用的目录或者存储,有几个写几个
subdir_count_per_path = 256
tracker_server = 192.168.53.123:22122    #指定tracker1服务器
##其余默认即可
log_level = info
run_by_group =
run_by_user =
allow_hosts = *
file_distribute_path_mode = 0
file_distribute_rotate_count = 100
fsync_after_written_bytes = 0
sync_log_buff_interval = 1
sync_binlog_buff_interval = 1
sync_stat_file_interval = 300
thread_stack_size = 512KB
upload_priority = 10
if_alias_prefix =
check_file_duplicate = 0
file_signature_method = hash
key_namespace = FastDFS
keep_alive = 0
use_access_log = false
rotate_access_log = false
access_log_rotate_time = 00:00
compress_old_access_log = false
compress_access_log_days_before = 7
rotate_error_log = false
error_log_rotate_time = 00:00
compress_old_error_log = false
compress_error_log_days_before = 7
rotate_access_log_size = 0
rotate_error_log_size = 0
log_file_keep_days = 0
file_sync_skip_invalid_record = false
use_connection_pool = true
connection_pool_max_idle_time = 3600
compress_binlog = true
compress_binlog_time = 01:30
check_store_path_mark = true
http.domain_name =
http.server_port = 8888
配置group2 的配置文件
和group1 配置一样,修改端口为23001,组名及路径修改为group2 的即可
9)修改配置文件client.conf
# cp client.conf.sample client.conf
# vim client.conf

connect_timeout = 5
network_timeout = 60
base_path = /home/fastdfs/client
tracker_server = 192.168.53.123:22122
log_level = info
use_connection_pool = false
connection_pool_max_idle_time = 3600
load_fdfs_parameters_from_tracker = false
use_storage_id = false
storage_ids_filename = storage_ids.conf
http.tracker_server_port = 80
10)启动服务
tracker
# fdfs_trackerd /etc/fdfs/tracker.conf start
storage
# fdfs_storaged /etc/fdfs/storage_group1.conf start
# fdfs_storaged /etc/fdfs/storage_group2.conf start
3、使用测试
1)文件上传测试
# fdfs_test /etc/fdfs/client.conf upload /home/21d12f5ee69e277768bf67fb199bcb2.png
# fdfs_upload_file /etc/fdfs/client.conf /home/21d12f5ee69e277768bf67fb199bcb2.png
group1/M00/00/00/wKg1e2NSVTGAL85QAALmiN4fo-E481.png
2)文件下载测试
# fdfs_download_file /etc/fdfs/client.conf group1/M00/00/00/wKg1e2NSVTGAL85QAALmiN4fo-E481.png
3)删除文件测试
# fdfs_delete_file /etc/fdfs/client.conf group1/M00/00/00/wKg1e2NSVTGAL85QAALmiN4fo-E481.png
4)查看文件状态
# fdfs_file_info /etc/fdfs/client.conf group1/M00/00/00/wKg1e2NSVTGAL85QAALmiN4fo-E481.png
GET FROM SERVER: false

file type: normal
source storage id: 0
source ip address: 192.168.53.123
file create timestamp: 2022-10-21 16:15:45
file size: 190088
file crc32: -568351775 (0xde1fa3e1)
4、nginx调用Fastdfs配置
下载地址:https://github.com/happyfish100/fastdfs-nginx-module
1)将nginx及fastdfs-nginx 扩展源代码上传并解压(路径:/home/nginx-module)
unzip fastdfs-nginx-module-master.zip
tar xf nginx-1.20.1.tar.gz
2)安装编译nginx
安装编译nginx所需要的依赖包
# yum -y install gcc openssl openssl-devel pcre pcre-devel zlib zlib-devel
编译安装nginx
# ./configure --prefix=/home/nginx --add-module=/home/nginx-module/fastdfs-nginx-module-master/src
# make && make install
3)修改配置文件
# cd /home/nginx-module/fastdfs-nginx-module-master/src
# cp mod_fastdfs.conf /etc/fdfs/

# cd /home/fastdfs/fastdfs-master/conf
# cp http.conf /etc/fdfs/
# cp mime.types /etc/fdfs/

# vim /etc/fdfs/mod_fastdfs.conf
connect_timeout=2
network_timeout=30
base_path=/home/fastdfs/storage_group1
load_fdfs_parameters_from_tracker=true
storage_sync_file_max_delay = 86400
use_storage_id = false        #url中是否包含组名
storage_ids_filename = storage_ids.conf
tracker_server=192.168.53.123:22122
storage_server_port=23000
group_name=group1
url_have_group_name = true
store_path_count=1
store_path0=/home/fastdfs/storage_group1
log_level=info
log_filename=
response_mode=proxy
if_alias_prefix=
flv_support = true
flv_extension = flv
group_count = 2        #0代表单组,非零代表多组,一般设置几就为几组
[group1]
group_name=group1
storage_server_port=23000
store_path_count=1
store_path0=/home/fastdfs/storage_group1
[group2]
group_name=group2
storage_server_port=23001
store_path_count=1
store_path0=/home/fastdfs/storage_group2
4)修改nginx配置文件
# cd /home/nginx
# vim conf/nginx.conf
    server {
            listen  80;
            server_name  localhost;
       #拦截请求路径中包含 /group[1-9]/M00 的请求,用 fastdfs的Nginx 模块进行转发
            location ~/group[0-9]/M00 {
            root /home/fastdfs/storage/data/;
            index index.html index.htm;
            ngx_fastdfs_module;  #根据这个指令找到FastDFS提供的Nginx模块配置文件,然后找到Tracker,最终找到Stroager
        }

    }
5)启动服务
./sbin/nginx -t
./sbin/nginx
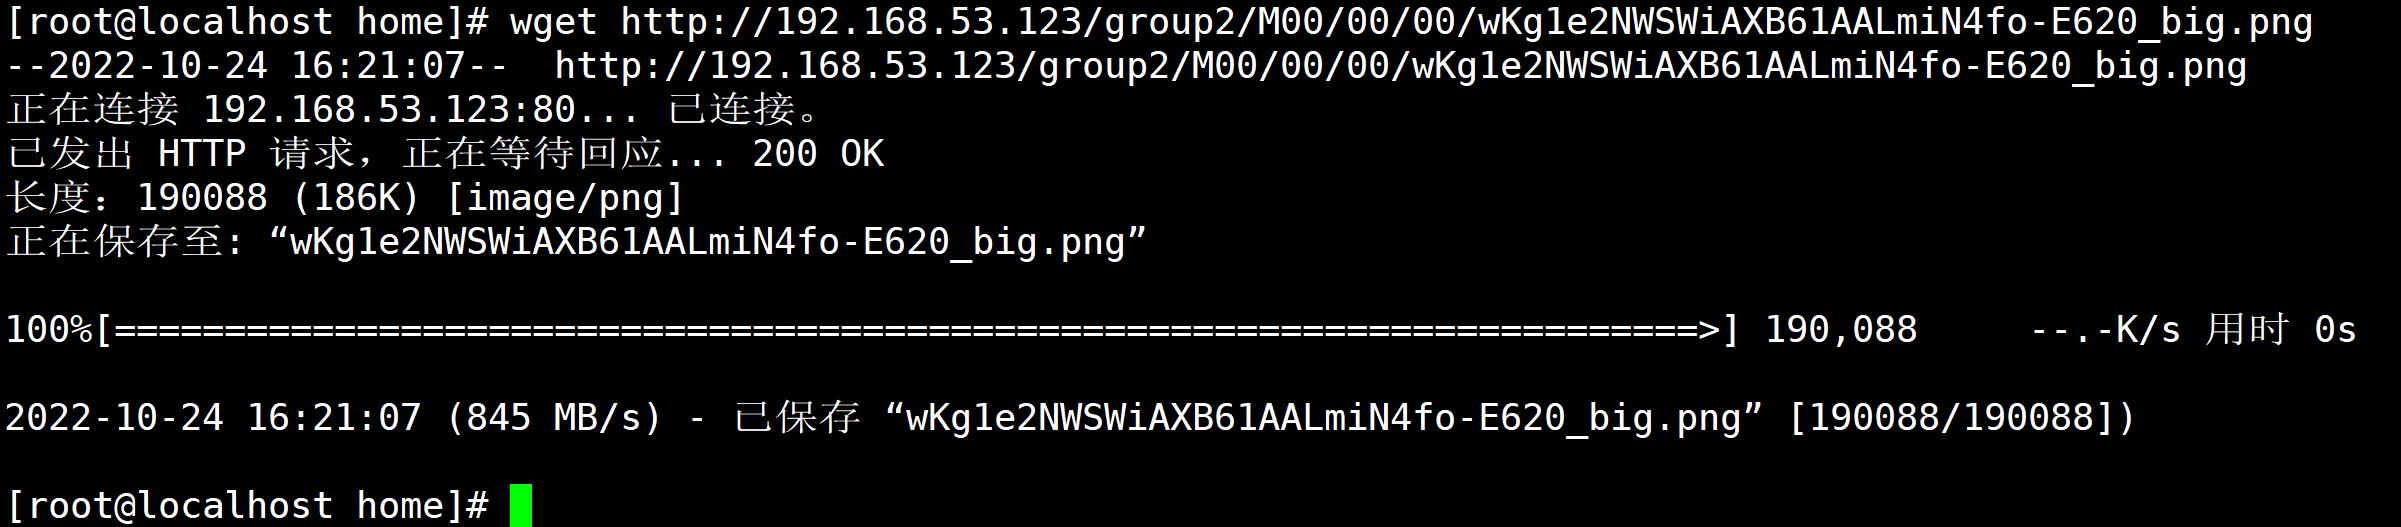
6)上传文件访问测试
# fdfs_test /etc/fdfs/client.conf upload /home/21d12f5ee69e277768bf67fb199bcb2.png
This is FastDFS client test program v6.08

Copyright (C) 2008, Happy Fish / YuQing

FastDFS may be copied only under the terms of the GNU General
Public License V3, which may be found in the FastDFS source kit.
Please visit the FastDFS Home Page http://www.fastken.com/
for more detail.

[2022-10-24 16:14:32] DEBUG - base_path=/home/fastdfs/client, connect_timeout=5, network_timeout=60, tracker_server_count=1, anti_steal_token=0, anti_steal_secret_key length=0, use_connection_pool=0, g_connection_pool_max_idle_time=3600s, use_storage_id=0, storage server id count: 0

tracker_query_storage_store_list_without_group:
    server 1. group_name=, ip_addr=192.168.53.123, port=23000

group_name=group2, ip_addr=192.168.53.123, port=23001
storage_upload_by_filename
group_name=group2, remote_filename=M00/00/00/wKg1e2NWSWiAXB61AALmiN4fo-E620.png
source ip address: 192.168.53.123
file timestamp=2022-10-24 16:14:32
file size=190088
file crc32=3726615521
example file url: http://192.168.53.123/group2/M00/00/00/wKg1e2NWSWiAXB61AALmiN4fo-E620.png
storage_upload_slave_by_filename
group_name=group2, remote_filename=M00/00/00/wKg1e2NWSWiAXB61AALmiN4fo-E620_big.png
source ip address: 192.168.53.123
file timestamp=2022-10-24 16:14:32
file size=190088
file crc32=3726615521
example file url: http://192.168.53.123/group2/M00/00/00/wKg1e2NWSWiAXB61AALmiN4fo-E620_big.png

 浙公网安备 33010602011771号