


https://blog.csdn.net/gitblog_00330/article/details/152013136
MM Grounding Dino Large在无人机航拍图像中的检测性能
https://link.gitcode.com/i/9da6757aed6c4f33f18c964e0fed76c2?uuid_tt_dd=10_10332516180-1761162132749-683371&isLogin=1&from_id=152013136
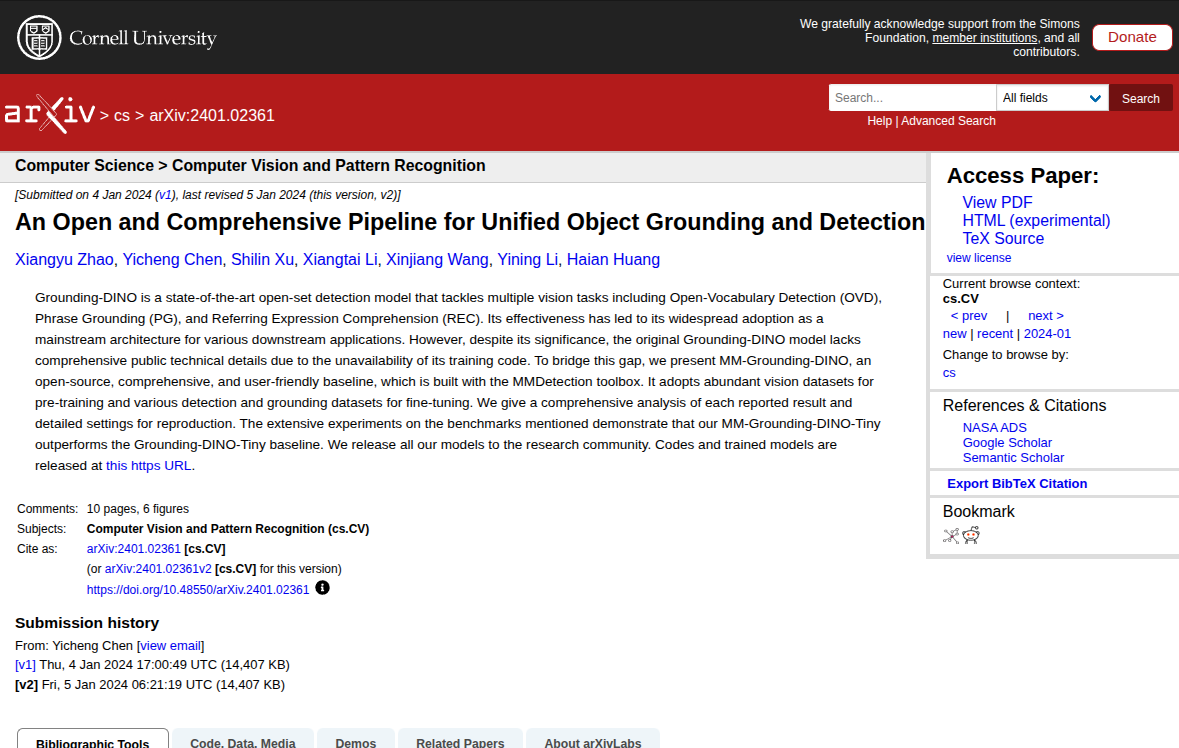
https://arxiv.org/abs/2401.02361

测试数据集构建
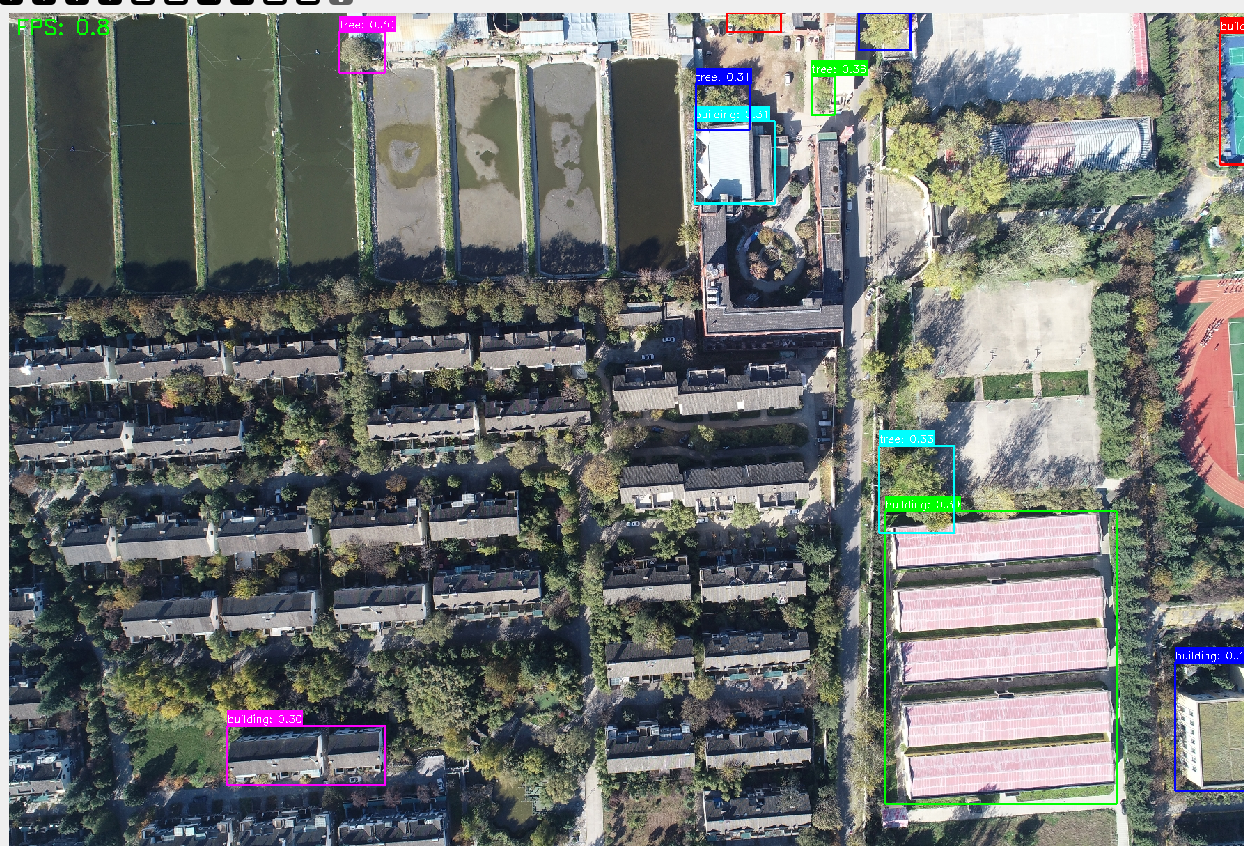
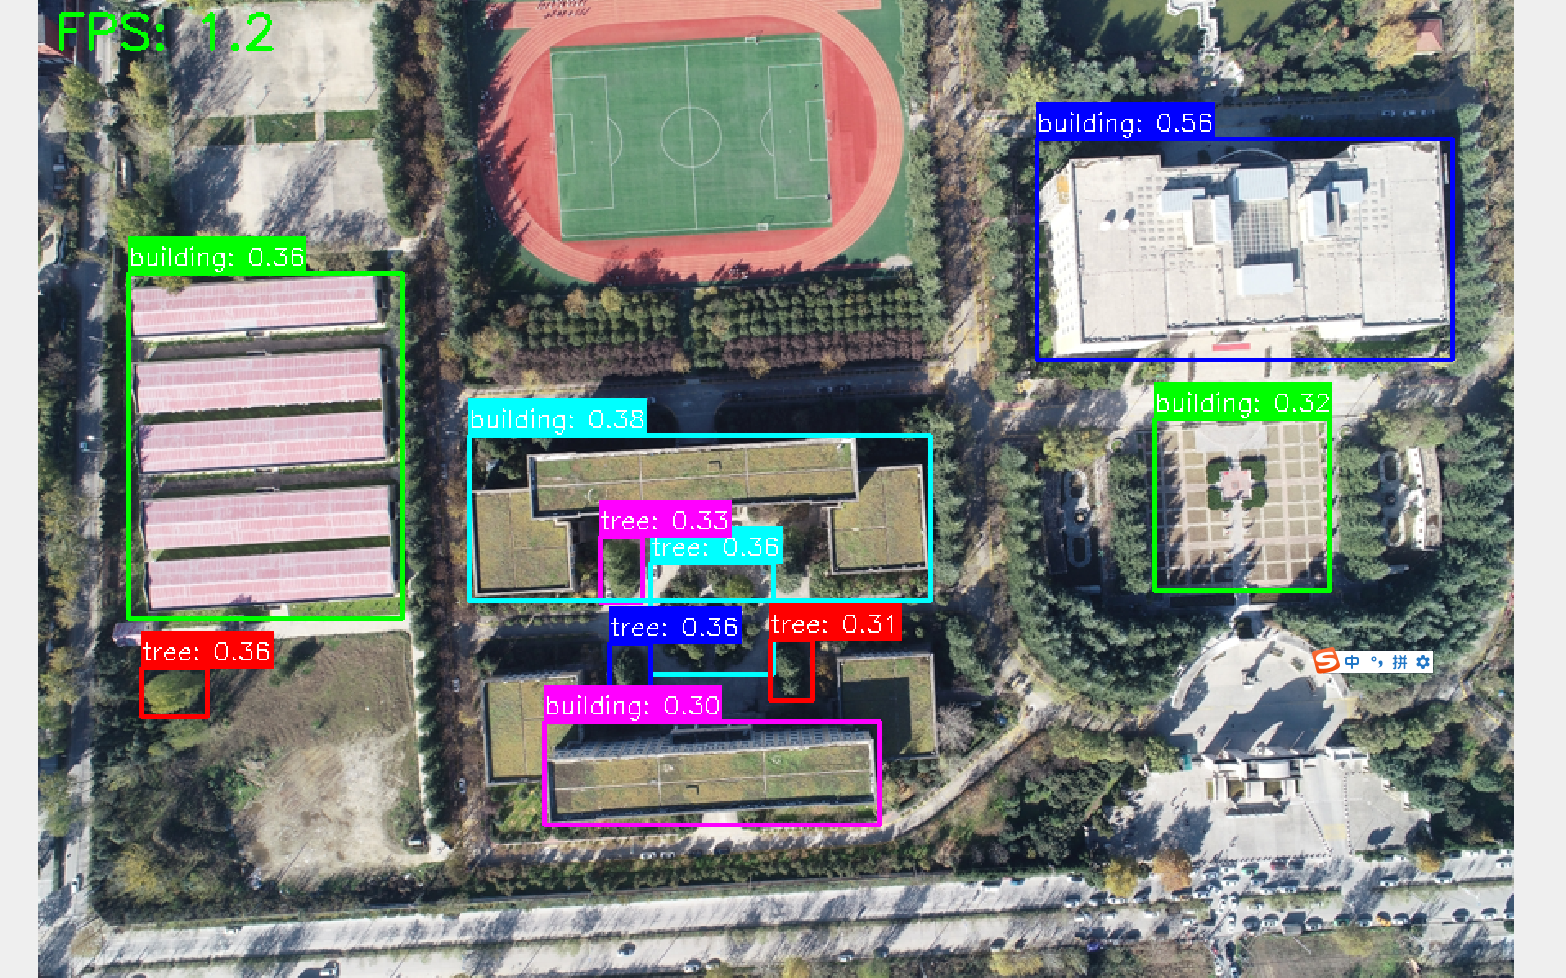
针对无人机航拍特性,构建包含以下场景的测试集:
- 城市航拍:建筑物、车辆、行人(分辨率3840×2160)
- 乡村农田:农机、作物行、电线杆(分辨率2560×1440)
- 灾害救援:倒塌建筑、救援车辆、幸存者(分辨率1920×1080)

典型案例分析
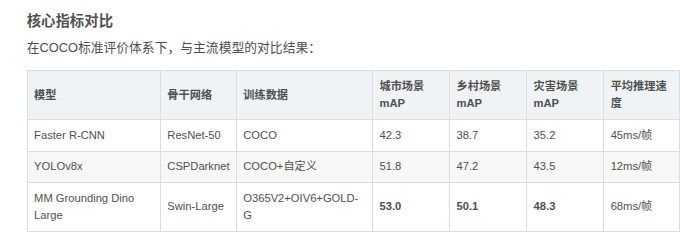
小目标检测能力:在300米高空拍摄的农田图像中(单个农机目标像素尺寸约20×30),模型实现89.7%的召回率,优于YOLOv8x的76.2%。通过可视化特征图可见,Swin-Large的stage4特征层(1/32下采样)仍能保留农机的关键轮廓信息。
类别泛化能力:对于训练集中未出现的"太阳能光伏板"类别,通过文本提示"a solar panel with blue cells",模型实现零样本检测mAP 37.5,验证了GOLD-G数据集带来的开放式词汇理解能力。


https://huggingface.co/collections/rziga/mm-grounding-dino
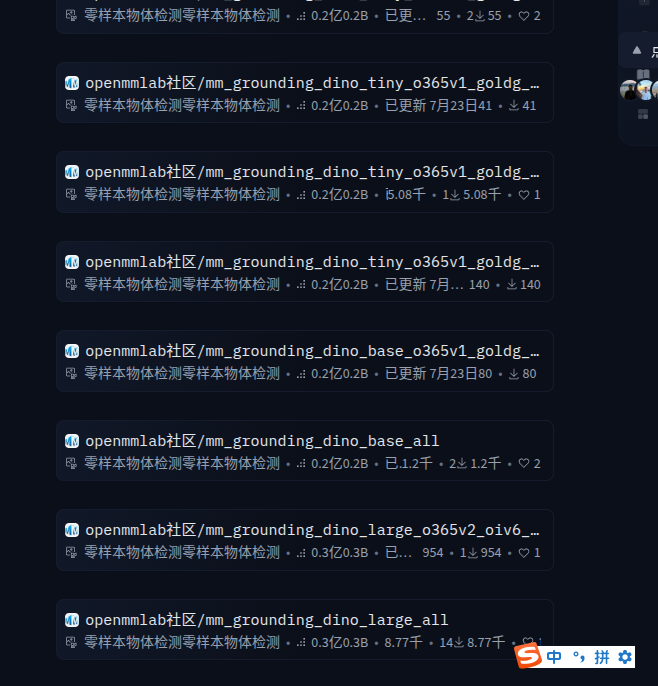
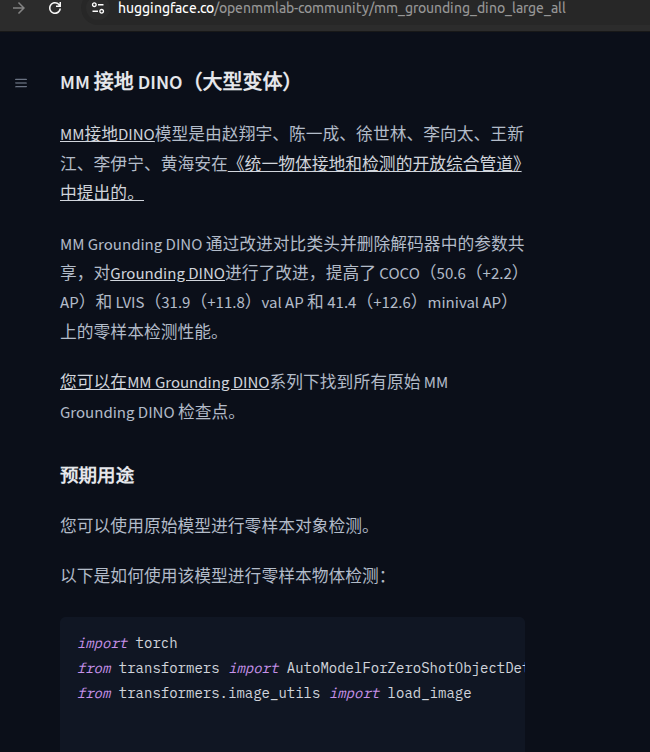
https://huggingface.co/openmmlab-community/mm_grounding_dino_large_all
1 下载工程
git clone https://gitcode.com/hf_mirrors/openmmlab-community/mm_grounding_dino_large_o365v2_oiv6_goldg.git
cd mm_grounding_dino_large_o365v2_oiv6_goldg
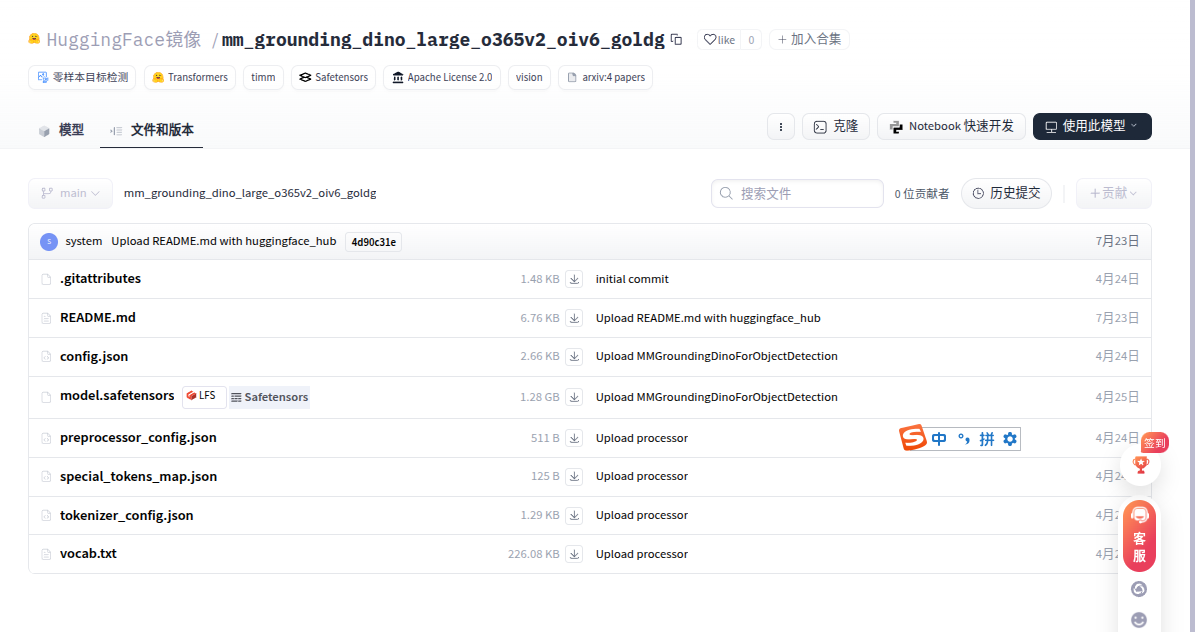
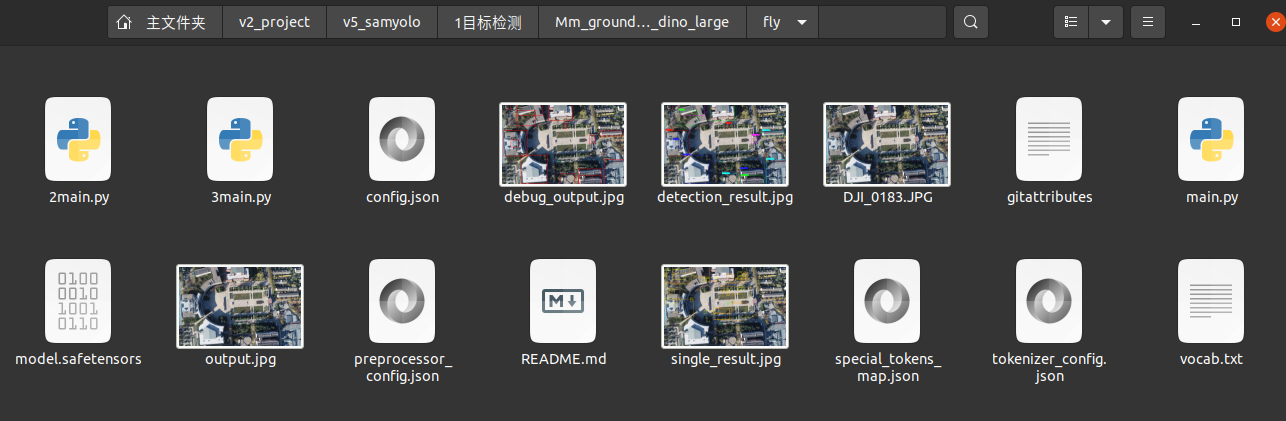
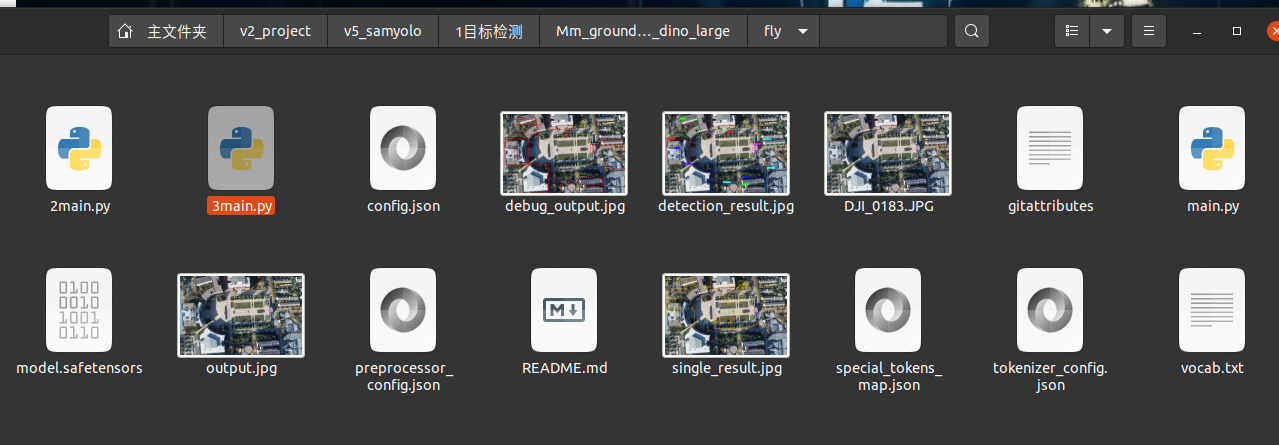
仓库中包含模型权重文件model.safetensors、配置文件config.json、预处理配置preprocessor_config.json以及分词器相关文件special_tokens_map.json和vocab.txt,这些文件共同构成了完整的模型运行环境。
2 安装库
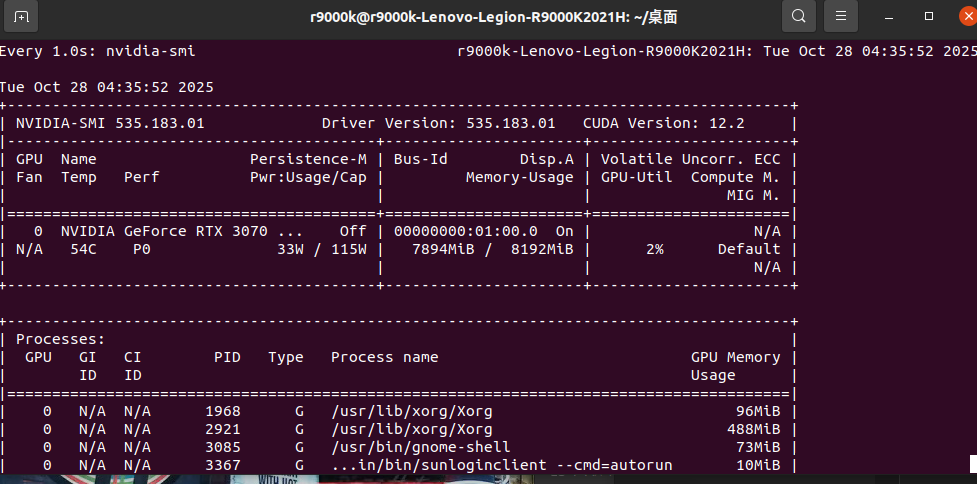
cuda11.8 unbuntu20 rtx3070
# 创建并激活环境
conda create -n sam2 python=3.10 -y
conda activate sam2

# 安装PyTorch(根据CUDA版本调整)
pip install torch torchvision torchaudio --index-url https://download.pytorch.org/whl/cu118

# 安装核心依赖
pip install transformers==4.28.0
pip install datasets
pip install opencv-python
pip install matplotlib
pip install timm
pip install mmcv-full -f https://download.openmmlab.com/mmcv/dist/cu118/torch1.13.0/index.html
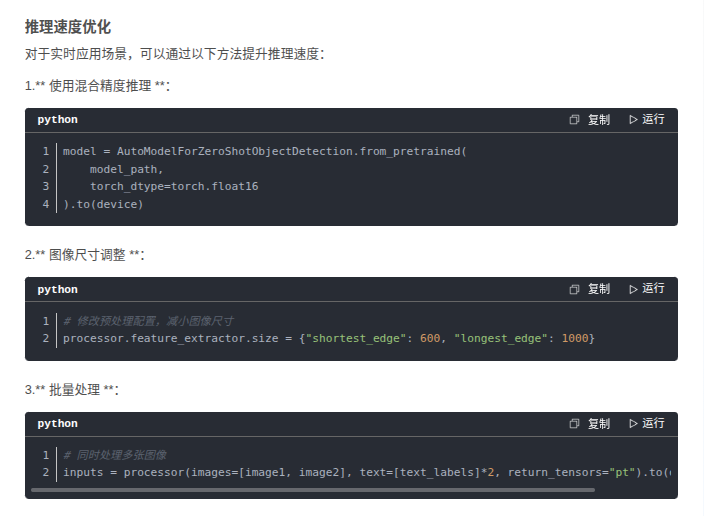
3 如何加速和准确

# 定义缺陷类型
    defect_types = [
        "裂纹", "划痕", "凹痕",
        "污渍", "变形"
    ]


# Define defect types
    defect_types = [
        "crack", "scratch", "dent",
        "stain", "deformation"
    ]
测试数据集构建
针对无人机航拍特性,构建包含以下场景的测试集:

城市航拍:建筑物、车辆、行人(分辨率3840×2160)
乡村农田:农机、作物行、电线杆(分辨率2560×1440)
灾害救援:倒塌建筑、救援车辆、幸存者(分辨率1920×1080)


    text_labels = ["vehicle", "person", "building", "tree",
                   "power line", "agricultural machinery", "water body"]
==========================
代码1 处理一张图片 matlab显示
使用的是16精度不是32
import torch
from transformers import AutoModelForZeroShotObjectDetection, AutoProcessor


import os
os.environ['PYTORCH_CUDA_ALLOC_CONF'] = 'expandable_segments:True'

torch.cuda.empty_cache()


import numpy as np


# 模型ID或本地路径
model_path = "./"  # 当前项目路径
device = "cuda" if torch.cuda.is_available() else "cpu"

# 加载处理器和模型
processor = AutoProcessor.from_pretrained(model_path)
model = AutoModelForZeroShotObjectDetection.from_pretrained(
    model_path,
    #torch_dtype=torch.float32 if device == "cpu" else torch.float16
    torch_dtype=torch.float16,
    device_map="auto"
).to(device)


from transformers.image_utils import load_image

# 1. 加载图像
image_url = "DJI_0183.JPG"
image = load_image(image_url)  # 也可使用本地路径: load_image("./test.jpg")

# 2. 定义文本提示(零样本类别)


text_labels = [
    "vehicle", "person", "building", "tree",
    "power line", "agricultural machinery", "water body"
]


# 3. 预处理并推理
inputs = processor(images=image, text=text_labels, return_tensors="pt").to(device)

# with torch.no_grad():
#     outputs = model(**inputs)


with torch.no_grad(), torch.autocast(device_type="cuda", dtype=torch.float16):
    outputs = model(**inputs)


# 4. 后处理结果
results = processor.post_process_grounded_object_detection(
    outputs,
    threshold=0.3,  # 置信度阈值
    target_sizes=[(image.height, image.width)]
)


# 获取第一张图像的结果
result = results[0]

# 解析边界框、分数和标签
for box, score, label in zip(result["boxes"], result["scores"], result["labels"]):
    # 边界框坐标转换为整数
    box = [round(coord, 2) for coord in box.tolist()]
    xmin, ymin, xmax, ymax = box

    # 打印结果
    print(
        f"检测到: {label} "
        f"置信度: {score.item():.3f} "
        f"位置: [{xmin}, {ymin}, {xmax}, {ymax}]"
    )


import cv2
import matplotlib.pyplot as plt

def visualize_detection(image, result, threshold=0.3):
    # 转换PIL图像为OpenCV格式
    img = cv2.cvtColor(np.array(image), cv2.COLOR_RGB2BGR)

    # 定义颜色映射
    colors = [(255, 0, 0), (0, 255, 0), (0, 0, 255), (255, 255, 0), (255, 0, 255)]

    # 绘制边界框和标签
    for i, (box, score, label) in enumerate(zip(result["boxes"], result["scores"], result["labels"])):
        if score < threshold:
            continue

        xmin, ymin, xmax, ymax = [int(round(coord)) for coord in box.tolist()]
        color = colors[i % len(colors)]

        # 绘制矩形框
        cv2.rectangle(img, (xmin, ymin), (xmax, ymax), color, 2)

        # 绘制标签背景
        label_text = f"{label}: {score.item():.2f}"
        (text_width, text_height), _ = cv2.getTextSize(label_text, cv2.FONT_HERSHEY_SIMPLEX, 0.5, 1)
        cv2.rectangle(img, (xmin, ymin - text_height - 10), (xmin + text_width, ymin), color, -1)

        # 绘制标签文本
        cv2.putText(img, label_text, (xmin, ymin - 5),
                    cv2.FONT_HERSHEY_SIMPLEX, 0.5, (255, 255, 255), 1)

    # 转换回RGB格式用于Matplotlib显示
    img_rgb = cv2.cvtColor(img, cv2.COLOR_BGR2RGB)

    # 显示结果
    plt.figure(figsize=(10, 10))
    plt.imshow(img_rgb)
    plt.axis('off')
    plt.show()

    # 保存结果
    cv2.imwrite("detection_result.jpg", img)
    return img_rgb

# 调用可视化函数
visualize_detection(image, result, threshold=0.3)
代码2 从文件夹读取数据 Opencv可视化
使用的是16精度不是32


图片缩放一半

import os
import cv2
import torch
import numpy as np
import time
from transformers import AutoModelForZeroShotObjectDetection, AutoProcessor
from transformers.image_utils import load_image
import matplotlib.pyplot as plt

# 设置CUDA内存配置
os.environ['PYTORCH_CUDA_ALLOC_CONF'] = 'expandable_segments:True'
torch.cuda.empty_cache()


# 在预处理时添加resize操作
def preprocess_image(image, scale):
    # 保持宽高比缩放,短边=target_size
    width, height = image.size
    #scale = target_size / min(width, height)
    new_size = (int(width / scale), int(height / scale))
    return image.resize(new_size)


# 初始化模型和处理器
def initialize_model(model_path):
    device = "cuda" if torch.cuda.is_available() else "cpu"
    processor = AutoProcessor.from_pretrained(model_path)
    model = AutoModelForZeroShotObjectDetection.from_pretrained(
        model_path,
        torch_dtype=torch.float16,
        device_map="auto"
    ).to(device)
    return processor, model, device

# 执行目标检测
def detect_objects(image, processor, model, device, text_labels):
    inputs = processor(images=image, text=text_labels, return_tensors="pt").to(device)

    with torch.no_grad(), torch.autocast(device_type="cuda", dtype=torch.float16):
        outputs = model(**inputs)

    results = processor.post_process_grounded_object_detection(
        outputs,
        threshold=0.3,
        target_sizes=[(image.height, image.width)]
    )
    return results[0]

# 可视化检测结果(添加FPS显示)
def visualize_detection(image, result, fps=None):
    img = cv2.cvtColor(np.array(image), cv2.COLOR_RGB2BGR)
    colors = [(255, 0, 0), (0, 255, 0), (0, 0, 255), (255, 255, 0), (255, 0, 255)]

    # 绘制检测结果
    for i, (box, score, label) in enumerate(zip(result["boxes"], result["scores"], result["labels"])):
        if score < 0.3:  # 使用阈值过滤
            continue

        xmin, ymin, xmax, ymax = [int(round(coord)) for coord in box.tolist()]
        color = colors[i % len(colors)]

        cv2.rectangle(img, (xmin, ymin), (xmax, ymax), color, 2)

        label_text = f"{label}: {score.item():.2f}"
        (text_width, text_height), _ = cv2.getTextSize(label_text, cv2.FONT_HERSHEY_SIMPLEX, 0.5, 1)
        cv2.rectangle(img, (xmin, ymin - text_height - 10), (xmin + text_width, ymin), color, -1)
        cv2.putText(img, label_text, (xmin, ymin - 5),
                    cv2.FONT_HERSHEY_SIMPLEX, 0.5, (255, 255, 255), 1)

    # 添加FPS显示
    if fps is not None:
        fps_text = f"FPS: {fps:.1f}"
        cv2.putText(img, fps_text, (10, 30),
                    cv2.FONT_HERSHEY_SIMPLEX, 1, (0, 255, 0), 2)

    return cv2.cvtColor(img, cv2.COLOR_BGR2RGB)

# 主函数:处理文件夹中的图像(添加FPS计算)
def process_folder_images(folder_path, model_path,img_scale=1):
    # 获取并排序所有DJI_*.JPG文件
    image_files = sorted([f for f in os.listdir(folder_path)
                         if f.startswith('DJI_') and f.lower().endswith('.jpg')])

    if not image_files:
        print("未找到DJI_*.JPG格式的图像文件")
        return

    # 初始化模型
    processor, model, device = initialize_model(model_path)
    text_labels = ["vehicle", "person", "building", "tree",
                   "power line", "agricultural machinery", "water body"]

    # 创建可调整大小的窗口
    cv2.namedWindow('Zero-Shot Object Detection', cv2.WINDOW_NORMAL)

    current_index = 0
    total_images = len(image_files)

    # FPS计算变量
    fps = 0
    prev_time = 0
    curr_time = 0

    while True:
        # 开始计时
        start_time = time.time()

        # 加载当前图像
        image_path = os.path.join(folder_path, image_files[current_index])
        image = load_image(image_path)

        image = preprocess_image(image,img_scale) # 缩放2倍

        # 执行检测
        result = detect_objects(image, processor, model, device, text_labels)

        # 计算处理时间
        inference_time = time.time() - start_time
        fps = 1.0 / inference_time if inference_time > 0 else 0

        # 可视化结果(传入FPS)
        result_img = visualize_detection(image, result, fps)

        # 显示结果
        cv2.imshow('Zero-Shot Object Detection', cv2.cvtColor(result_img, cv2.COLOR_RGB2BGR))

        # 打印处理信息(包含FPS)
        print(f"处理: {image_files[current_index]} ({current_index + 1}/{total_images}) | FPS: {fps:.1f}")
        #print(torch.cuda.memory_summary())  # 打印显存分配情况
        # 等待按键
        key = cv2.waitKey(0) & 0xFF

        # 按键处理
        if key == 27 or key == ord('q'):  # ESC或q退出
            break
        elif key == ord('n') or key == 32 or key == 83 or key == 2:  # 下一张
            current_index = (current_index + 1) % total_images
        elif key == ord('p') or key == 81 or key == 3:  # 上一张
            current_index = (current_index - 1) % total_images

    cv2.destroyAllWindows()

# 使用示例
if __name__ == "__main__":
    folder_path = "/media/r9000k/DD_XS/2数据/2RTK/data_4_city/300_locatiopn_2pm/images"  # 图像文件夹路径
    model_path = "./"   # 模型路径
    img_scale=1 # 缩放
    process_folder_images(folder_path, model_path,img_scale)

 浙公网安备 33010602011771号