SpringBoot集成Mybatis
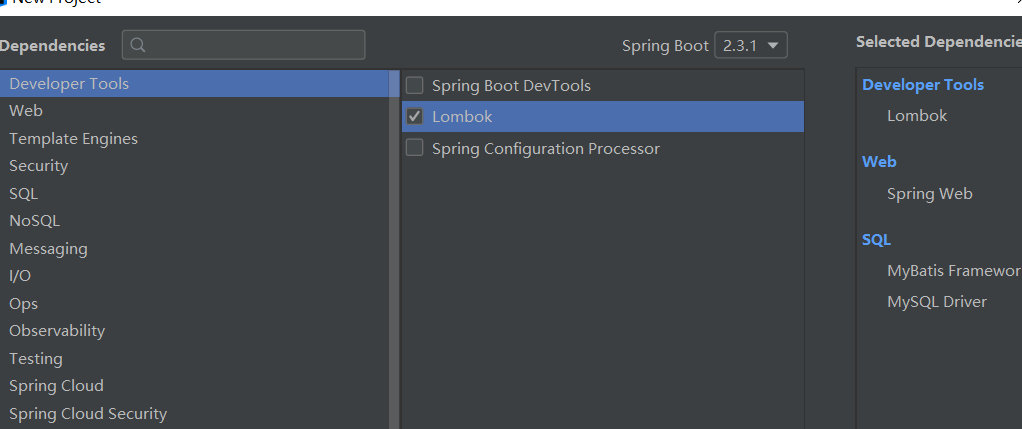
1.创建一个springboot工程
2.引入druid数据驱动
前面的工程创建会自动引入mybatis和springboot整合包,mysql连接包等,引入junit是为了测试mapper
 <dependency>
            <groupId>junit</groupId>
            <artifactId>junit</artifactId>
        </dependency>

        <!--数据源的驱动-->
        <dependency>
            <groupId>com.alibaba</groupId>
            <artifactId>druid</artifactId>
            <version>1.1.10</version>
        </dependency>
3.写配置文件
#项目端口和项目名字
server:
  port: 8989
  servlet:
    context-path: /
#springboot的数据源配置
spring:
  datasource:
    url: jdbc:mysql://localhost:3306/test?serverTimezone=GMT%2B8&useUnicode=true&characterEncoding=utf-8
    type: com.alibaba.druid.pool.DruidDataSource
    username: root
    password: root
    driver-class-name: com.mysql.cj.jdbc.Driver
#mybatis的xml映射路径以及扫描的实体类的位置
mybatis:
  mapper-locations: classpath:/mapper/*Mapper.xml
  type-aliases-package: com.gwq.springmybatis.springmybatis.pojo
4.在启动类中配置接口的扫描位置
@SpringBootApplication
@MapperScan("com.gwq.springmybatis.springmybatis.mapper")
public class SpringMybatisApplication {

    public static void main(String[] args) {
        SpringApplication.run(SpringMybatisApplication.class, args);
    }

}
5.写实体类,mapper,xml文件以及测试类
pojo
//实体类
@Data
public class User {
    private Integer id;
    private String name;
}
mapper
public interface mapper {

    User findById(@Param("id") Integer id);
}
xml
<!DOCTYPE mapper PUBLIC "-//mybatis.org//DTD Mapper 3.0//EN" "http://mybatis.org/dtd/mybatis-3-mapper.dtd">
<mapper namespace="com.gwq.springmybatis.springmybatis.mapper.mapper">
    <!--创建订单-->
    <select id="findById" parameterType="int" resultType="com.gwq.springmybatis.springmybatis.pojo.User" >
        select * from user where id = #{id}
    </select>
</mapper>
测试类
@SpringBootTest
@RunWith(SpringRunner.class)
@Slf4j
public class mapperTest {

    @Resource
    mapper mapper;
    @Test
    public void findUser(){
      User u =  mapper.findById(1);
      log.info(u.getName());
        Assert.assertNotEquals(null,u);
    }

}
测试类输出: 输出了数据库中存储的名字
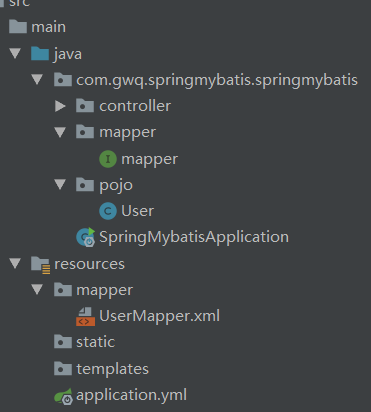
项目目录结构

 浙公网安备 33010602011771号