
Adding opencv to VisualStudio2019
This tutorial demonstrates how to add Opencv libraries to Visual Studio 2019 projects:
In general, there are just three variables we need to specify for a project to use Opencv libraries.
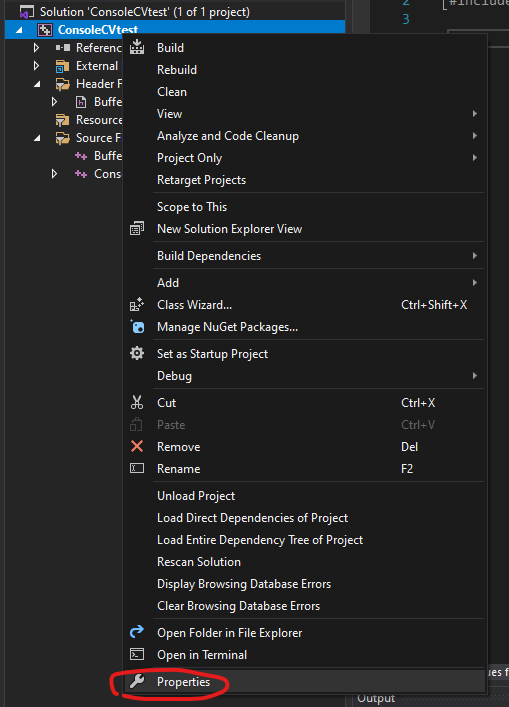
First, we right-click on the project name and select properties:
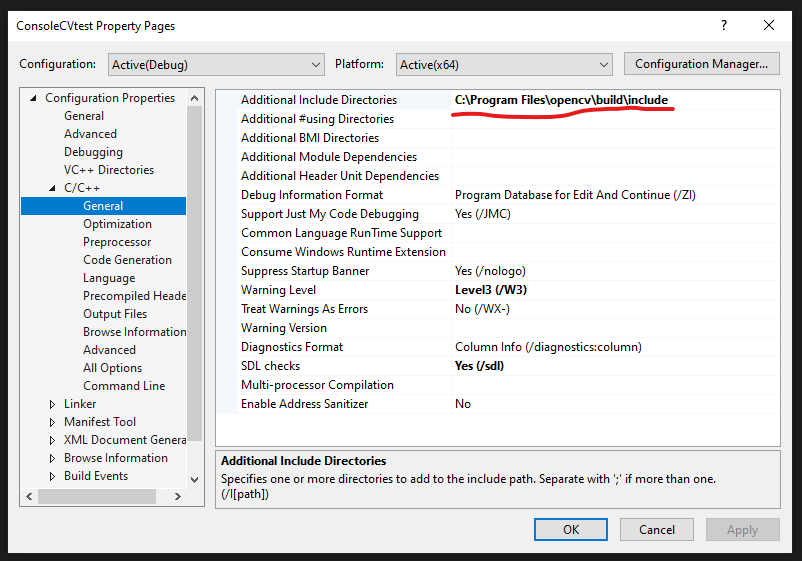
Inside the properties, we go to: cpp->general->Additional Include Directories adding our installation include directory to the path.
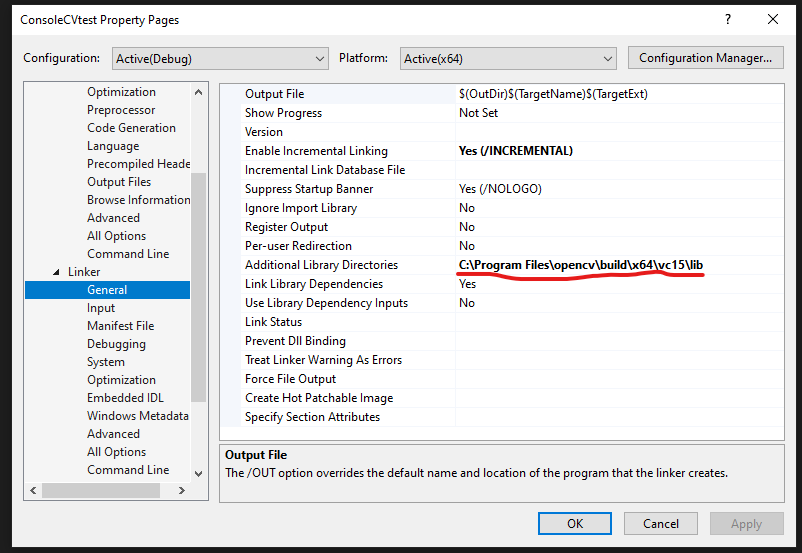
Next, go to Linker -> General -> Additional Libraries Directories
we add lib directory which indicates the library directory of the Opencv package to the linker additional libraries.
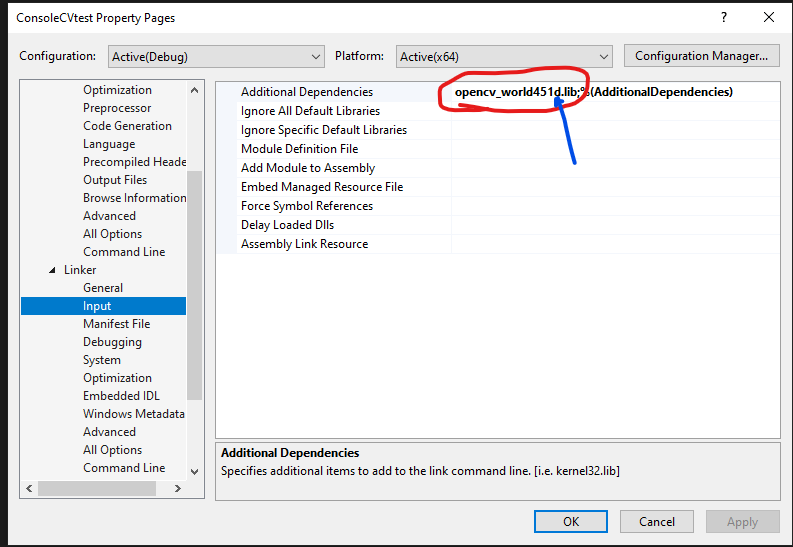
Finally, inside Linker -> Input we add Additional Dependencies. Which is a .lib file inside the Opencv package, for me, the directory is:
C:\Program Files\opencv\build\x64\vc15\lib\opencv_world451d.lib
Be careful that there are two files with a similar name, the one with a 'd' at the end is the file we want, which stands for debugging.
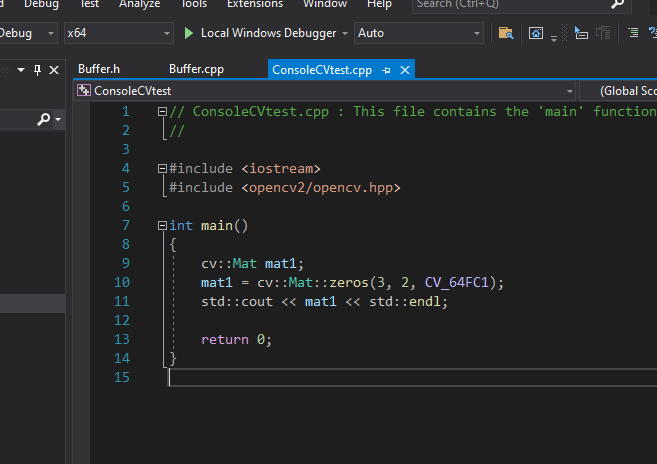
So, yep, we are done! Then when you create a simple new program, you will see there is no error anymore!

 浙公网安备 33010602011771号