OpenCV:图像的腐蚀和膨胀
图像的腐蚀和膨胀实际上是利用卷积进行计算,首先导包:
import numpy as np
import cv2
import matplotlib.pyplot as plt
def show(image):
    plt.imshow(image)
    plt.axis('off')
    plt.show()
def imread(image):
    image=cv2.imread(image)
    image=cv2.cvtColor(image,cv2.COLOR_BGR2RGB)
    return image
然后生成一个正方形的核:
kernel=cv2.getStructuringElement(cv2.MORPH_RECT,(5,5))
print(kernel)
输出:
[[1 1 1 1 1]
 [1 1 1 1 1]
 [1 1 1 1 1]
 [1 1 1 1 1]
 [1 1 1 1 1]]
当然我们作运算的时候都是使用的正方形的核,这里也展示下生成椭圆核的方法:
kernel=cv2.getStructuringElement(cv2.MORPH_ELLIPSE,(10,10))#这里生成的是椭圆
print(kernel)
生成十字形的核:
kernel=cv2.getStructuringElement(cv2.MORPH_CROSS,(5,5))#这里生成的是十字形
print(kernel)
利用卷积进行图像的腐蚀:可以使黑色的点变大
kernel=cv2.getStructuringElement(cv2.MORPH_RECT,(10,10))
ero=cv2.erode(image,kernel)
show(ero)
循环进行多次腐蚀:
show(image)
kernel=cv2.getStructuringElement(cv2.MORPH_RECT,(10,10))
for i in range(2):
    ero=cv2.erode(image,kernel,iterations=i+1)
    show(ero)
图像的膨胀,使白色的点变大,用于去除图像当中的黑点:
show(image)#利用卷积将图像进行膨胀,求解的是区域最大值,腐蚀则是求解的区域最小值
dilation=cv2.dilate(image,kernel)
show(dilation)#用于去除图像当中黑色的小点
循环去除:
image=imread('123.jpg')
show(image)
kernel=cv2.getStructuringElement(cv2.MORPH_RECT,(21,21))
for i in range(3):
    ero=cv2.erode(image,kernel,iterations=i+1)
    show(dilation)
下面是处理朱茵图片进行膨胀的效果: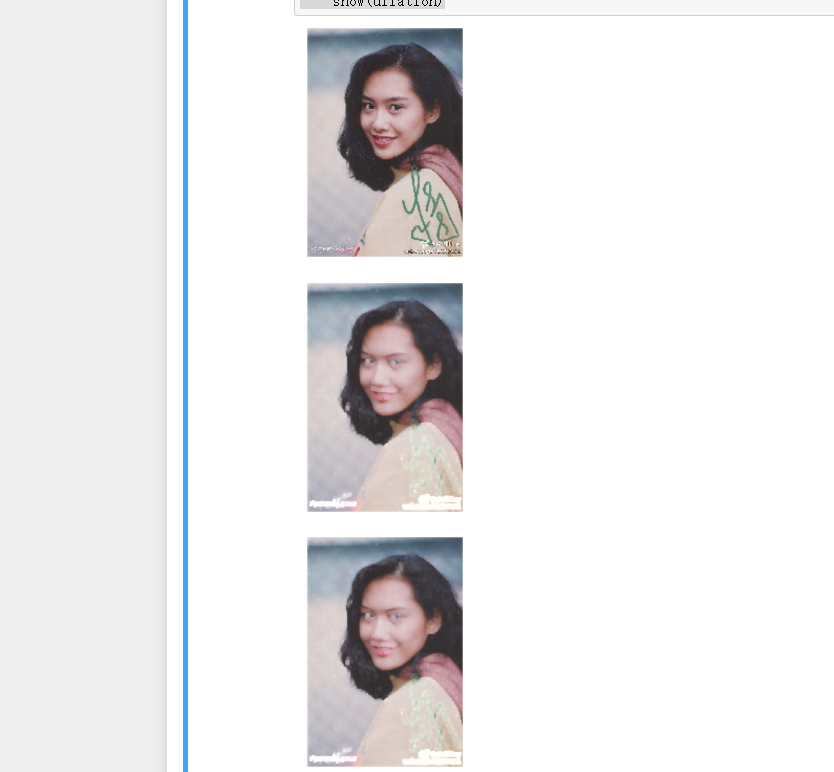

 浙公网安备 33010602011771号